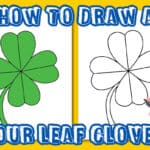
Four-Leaf Clover
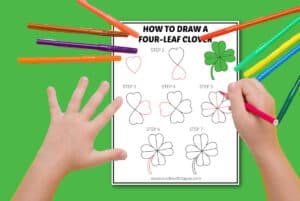
Learn how to draw a four-leaf clover easily with our step-by-step guide. Perfect for St. Patrick's Day crafts and DIY projects!
Equipment
- Pencil
Ingredients
Instructions
- Start by printing out the free Four Leaf Clover Drawing Guide at the bottom of the blog post. Follow along the simple steps with a piece of paper and pencil.
- The first step is to draw a heart.

- Next, draw another heart upside down from the first heart where the tips meet in the middle.

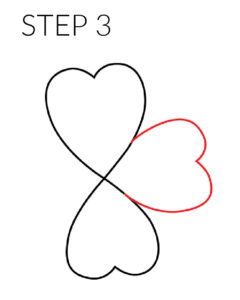
- For the next step, draw the third of the clover leaves to the right of the other two.
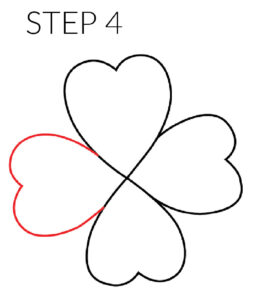
- Draw the fourth clover leaf again with the heart-shaped tip in the middle.
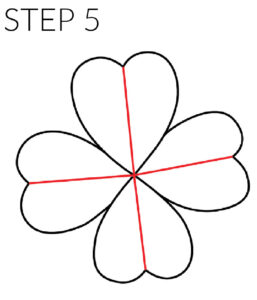
- Next, draw two straight lines from the middle of one heart to the opposite heart. Draw another straight line crossing from the other two leaves.
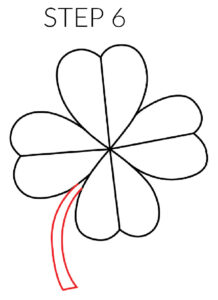
- For the stem, simply draw two curved lines out the bottom between the two leaves.
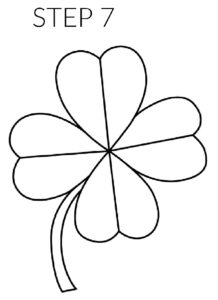
- Once you have the final touches and four-leaf clover drawing exactly how you want it, the final step is tracing over all your light lines with a sharp pencil and even outlining it all with a black marker!
- The final step if you choose to is to use markers, crayons, colored pencils, or paints and bring your four-leaf clover flowers to life! We of course love the bright green shade for a more realistic coloring, but you be as creative as you want!