Learn how to draw a four-leaf clover easily with our step-by-step guide. Perfect for St. Patrick's Day crafts and DIY projects!
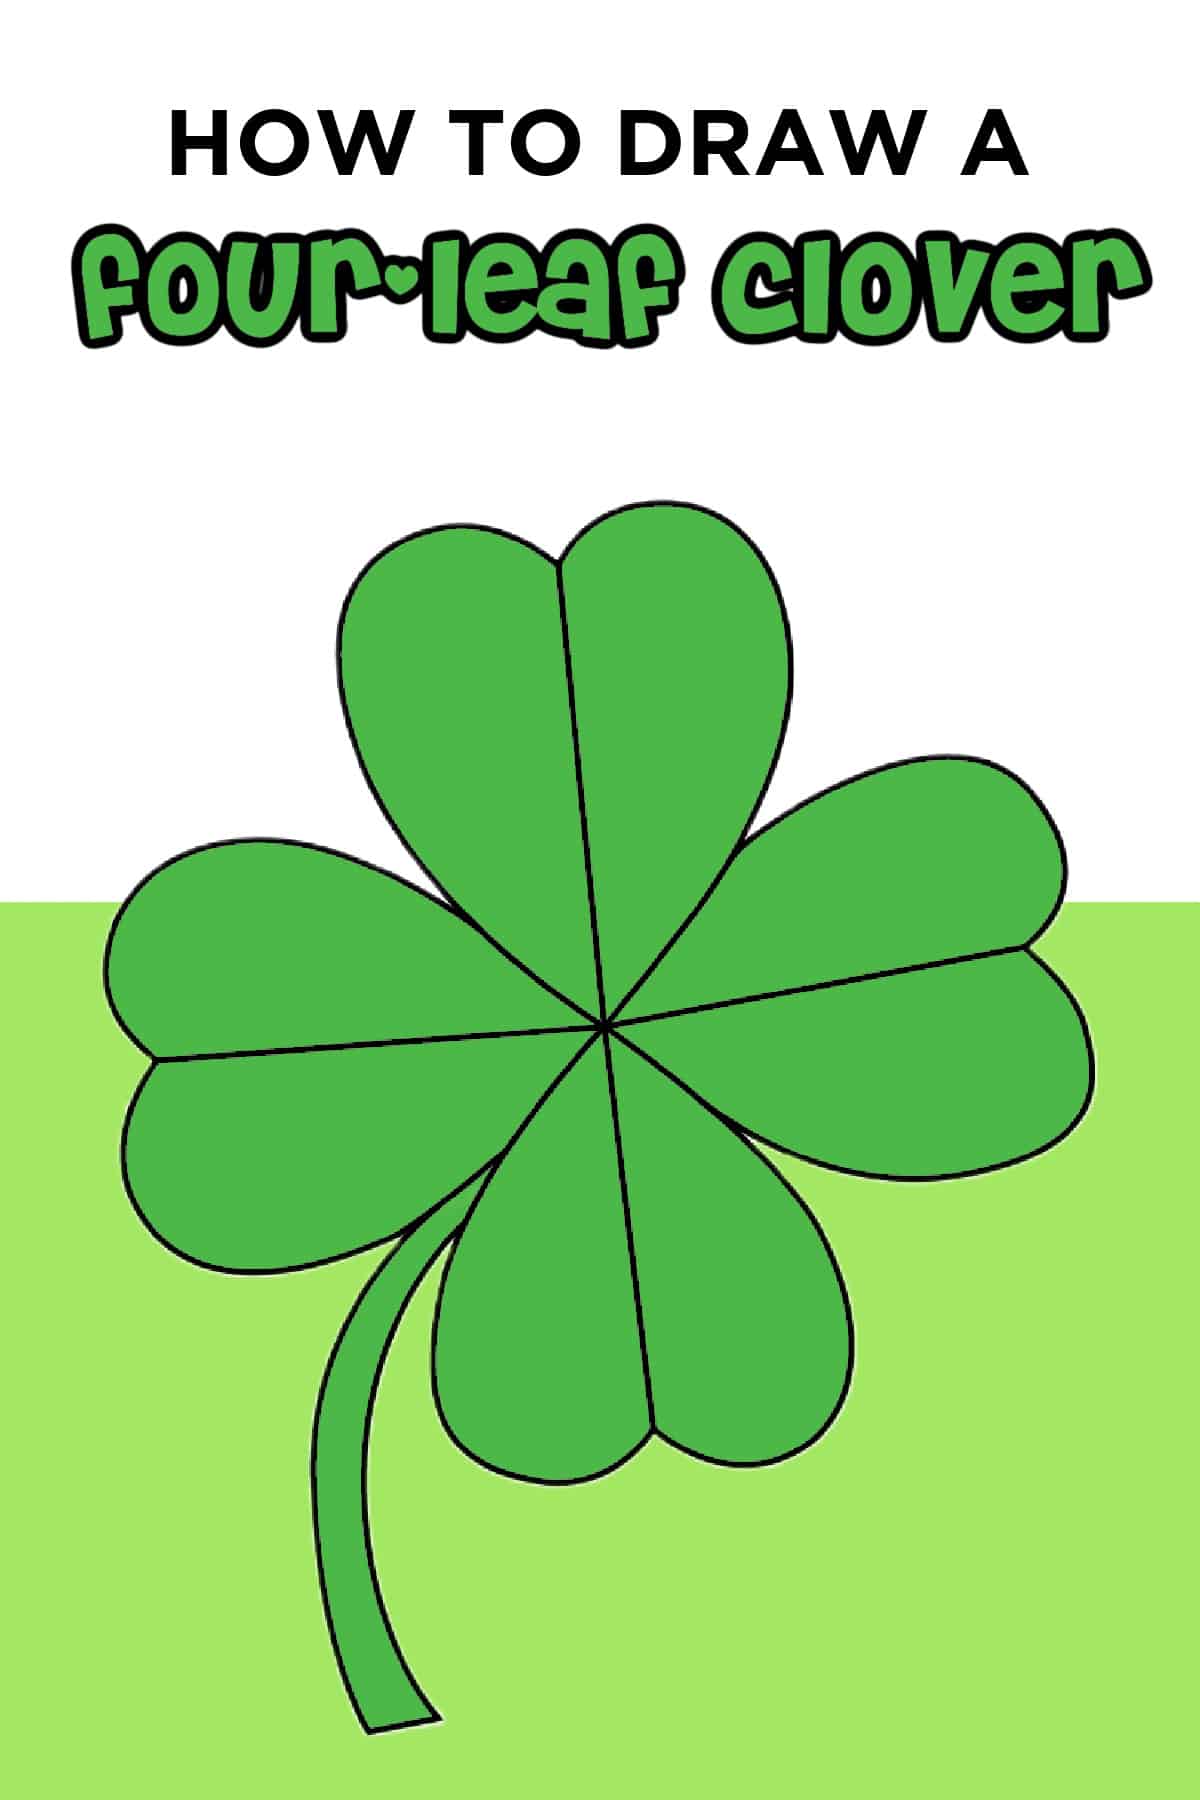
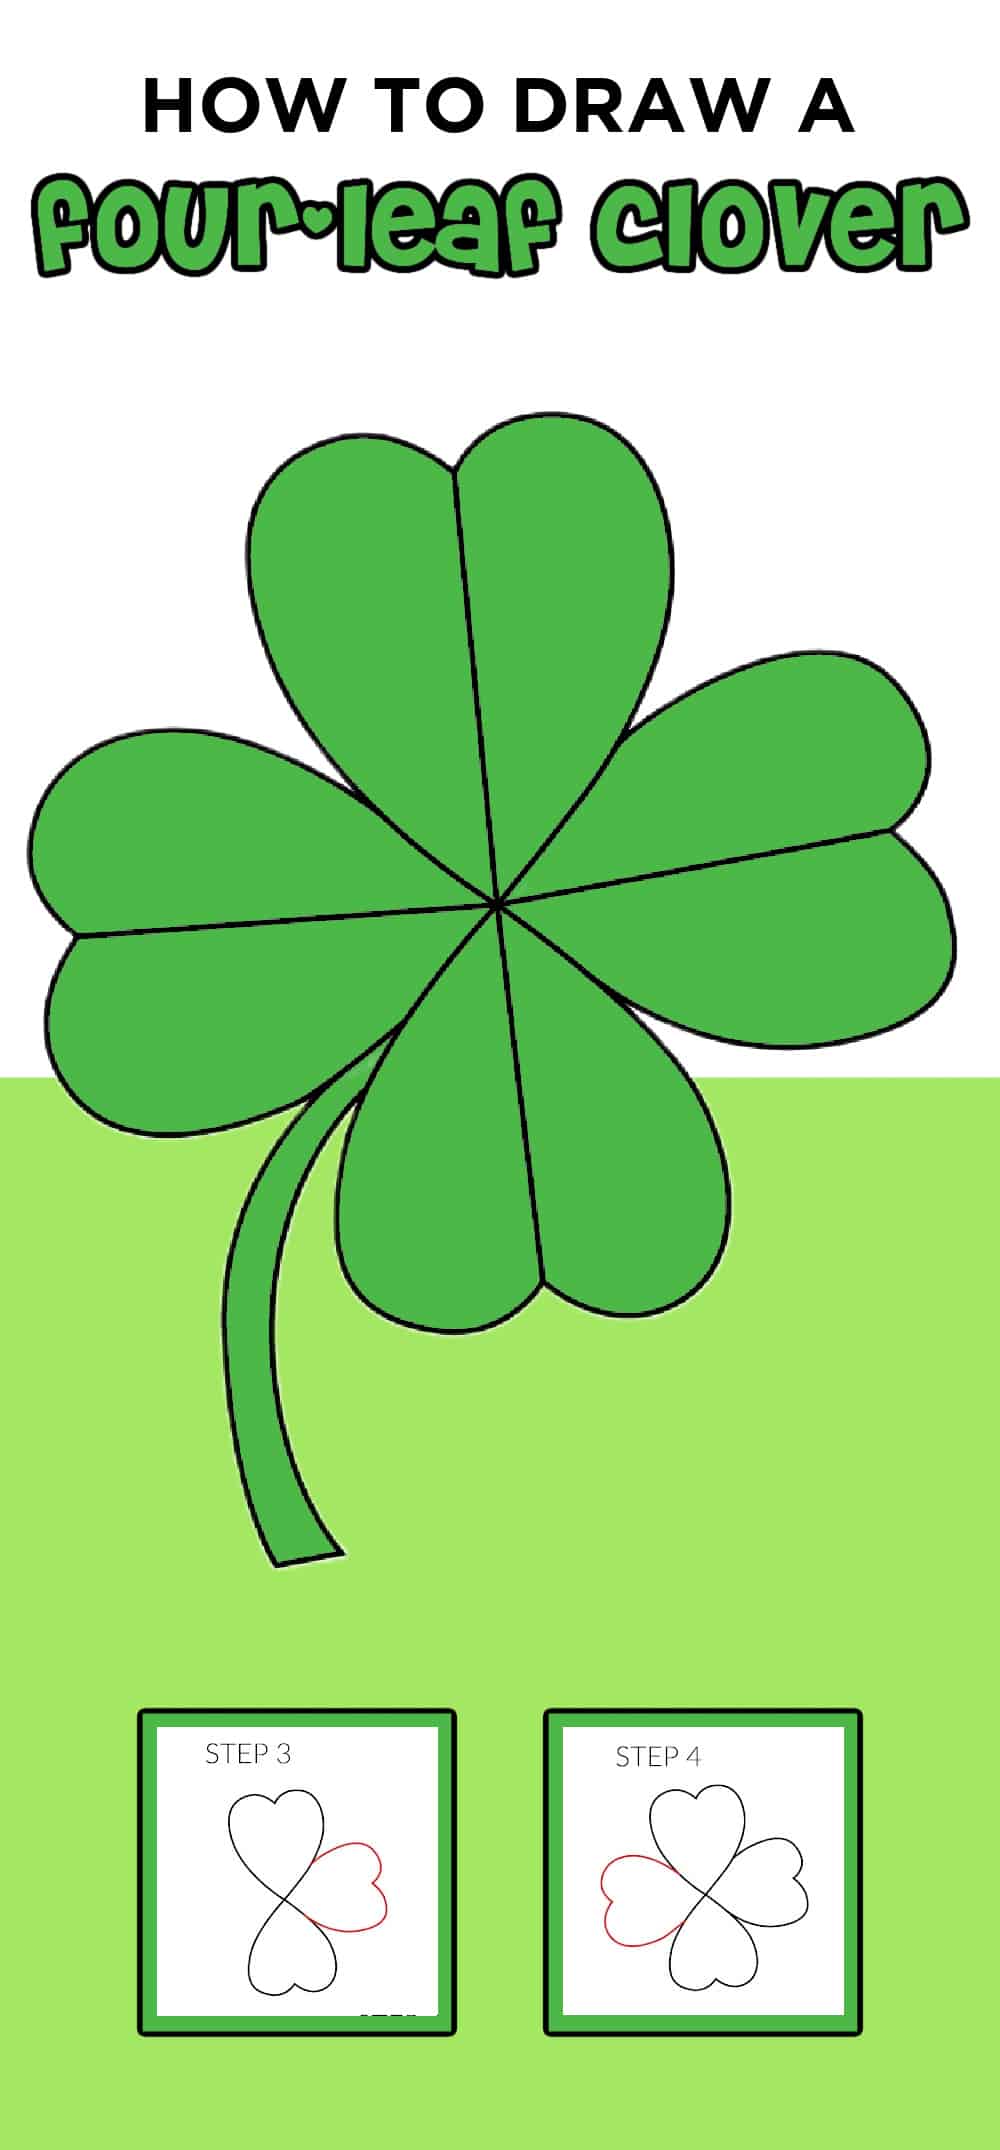
This How to Draw a Four-Leaf Clover easy drawing tutorial is so fun for younger artists to learn the easy steps on how to make their own four-leaf clover drawing. It's a great way to turn a heart shape tiny flower into a shamrock drawing.
Have your artists of all ages ever dreamt of finding your very own pot of gold at the end of a rainbow? Well, get ready to sprinkle some luck into your life with our fun and easy tutorial on how to draw a four-leaf clover!
Whether you're celebrating St. Patrick's Day or just craving a little extra good fortune, mastering this simple yet magical drawing will surely make you smile! So grab your pencils, put on your lucky socks, and get sketching!
In this step-by-step guide, we'll show you how to bring a touch of Irish charm into your doodles with our simple techniques. No need to be a professional artist – all you need is a dash of creativity and a sprinkle of imagination!
Get ready to impress your friends and family with your newfound drawing skills, and who knows? You might just find yourself feeling luckier than a leprechaun with a pot of gold!

Want to save this project?
Enter your email below, and then we'll send it straight to your inbox. Plus get awesome new projects from us each week.
Meaning of a Four-Leaf Clover
Have you ever wondered why four-leaf clovers are so special? Well, each leaf on a four-leaf clover represents something unique. Each leaf of the four-leaf clover means something special. The first leaf is for hope, so we remember to stay positive. The second leaf is for faith, so we believe in ourselves. The third leaf is for love, to remind us to cherish the people we care about. And the fourth leaf is for luck, to bring us happiness.
When you find or draw a four-leaf clover, remember the special meanings behind each leaf and let it bring joy and positivity into your life!
Finding a real four-leaf clover is like discovering a hidden treasure! People believe that these rare clovers bring good luck and happiness to those who find them. Even though they're hard to find in nature, drawing your own four-leaf clover is a fun way to invite luck and positivity into your life.
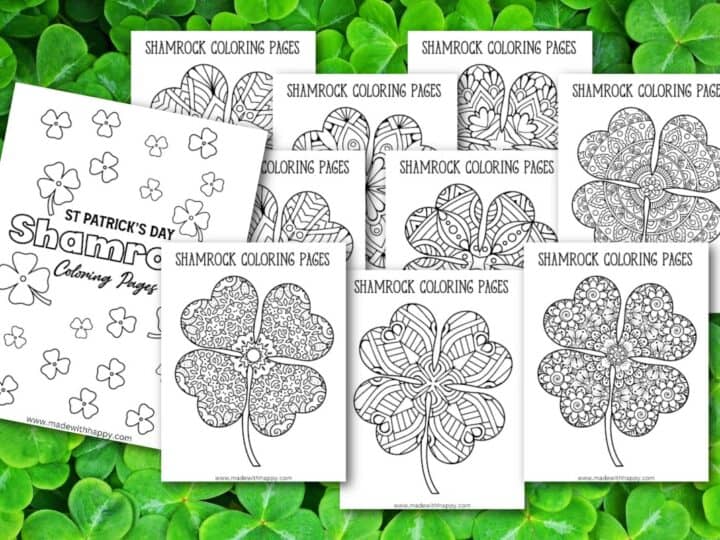
Whether you're celebrating St. Patrick's Day or just want to spread some good vibes this March or any other month, grab your drawing supplies and create your very own emblem of St. Patrick and lucky charm! Be sure to check out our Shamrock Coloring Pages and March Coloring Pages too.
Easy Drawings for St. Patrick's Day
St. Patrick's Day is a time for fun and creativity, and what better way to celebrate than by drawing some festive pictures? With just a few simple steps, kids can create their own St. Patrick's Day masterpieces that are sure to spread joy and cheer. From leprechauns to rainbows and pots of gold, there's no limit to the magical creations you can make!
Drawing St. Patrick's Day-themed pictures is not only fun but also a great way to express your creativity. Whether you're a beginner or an experienced artist, these easy drawing tutorials will help you create beautiful artwork that will impress your friends and family. So grab your favorite drawing supplies and get ready to unleash your inner artist this St. Patrick's Day!
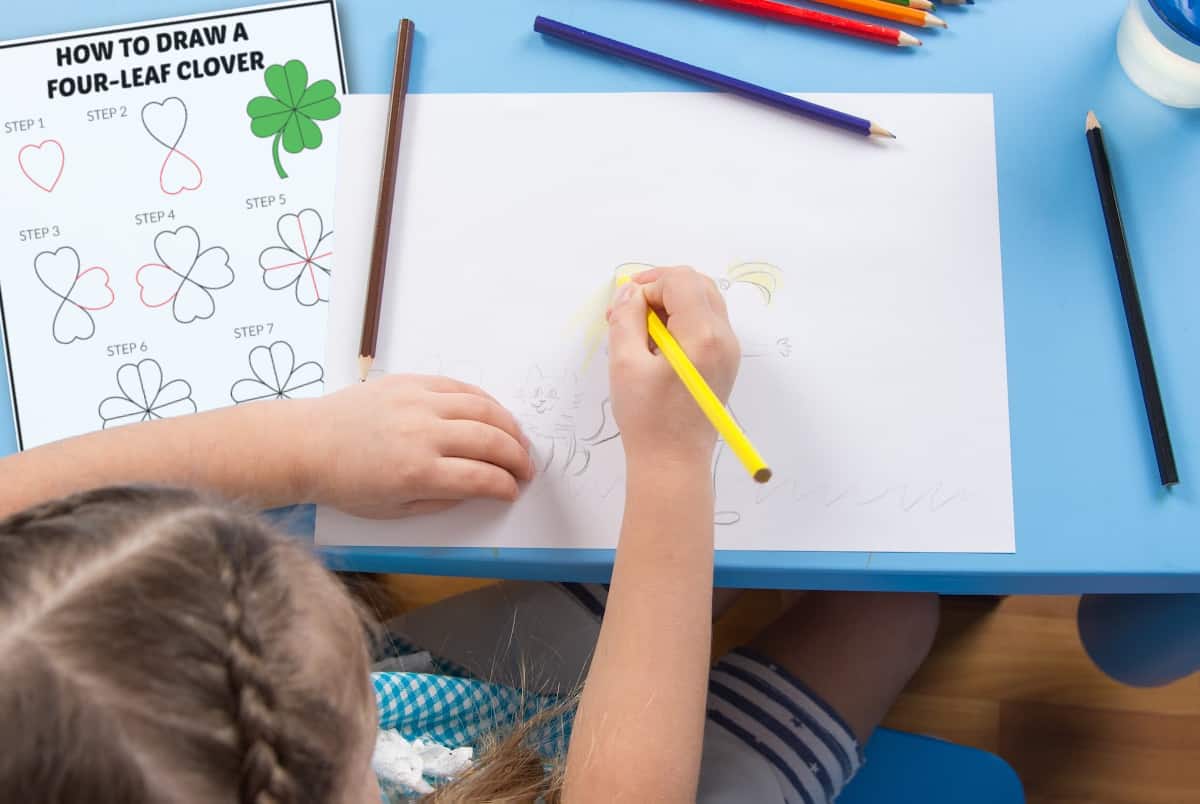
Before you start your shamrock drawing, we also want to make sure you have the right drawing tools. Here are the drawing paper, and drawing pencils that we like to use.
Don't miss our full list of Easy Drawings as well as our other St. Patrick's Day Drawings including How To Draw a Rainbow.
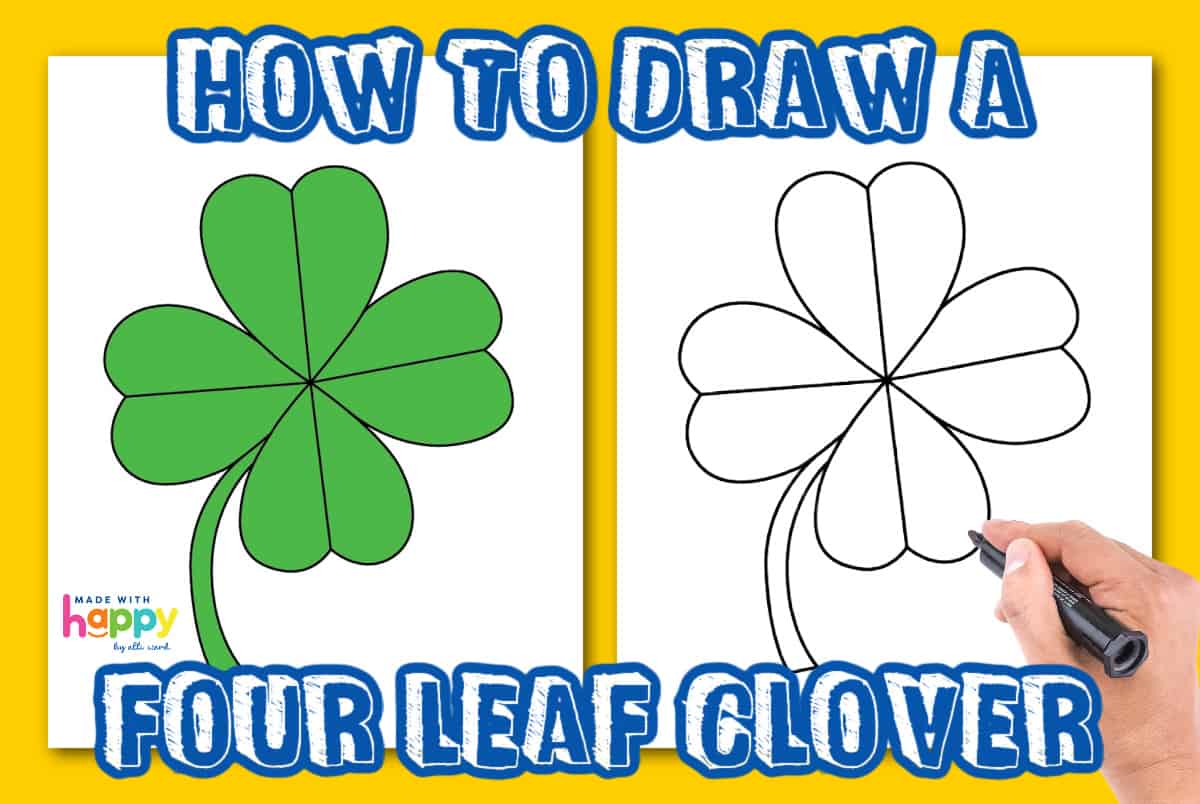
How to Draw a Four-Leaf Clover
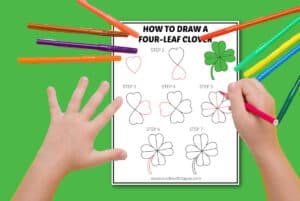
Start by printing out the free Four Leaf Clover Drawing Guide at the bottom of the blog post. Follow along the simple steps with a piece of paper and pencil.
Clovers Leaves

The first step is to draw a heart.
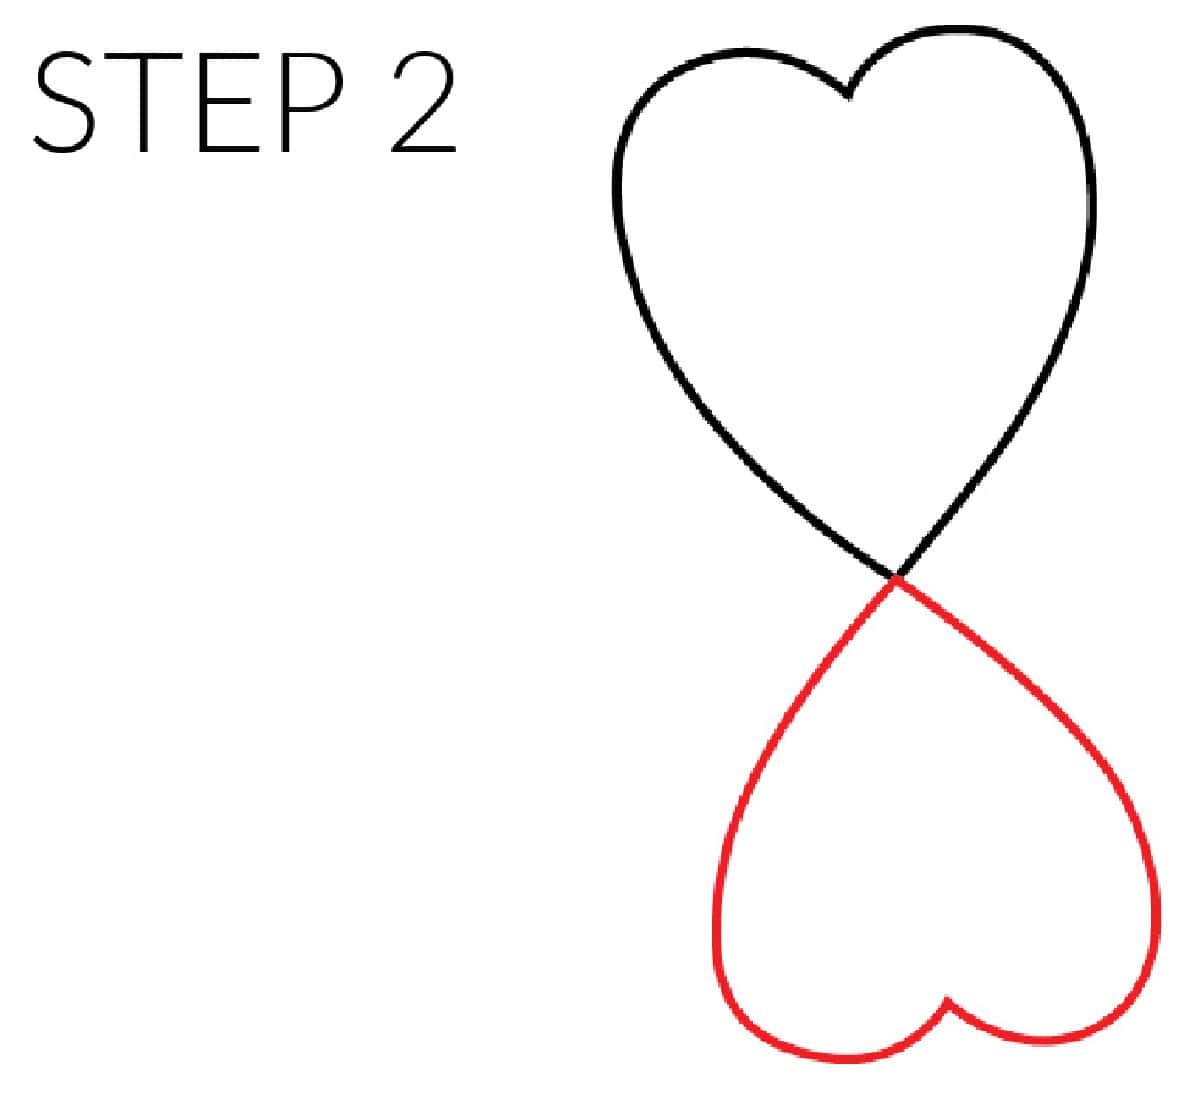
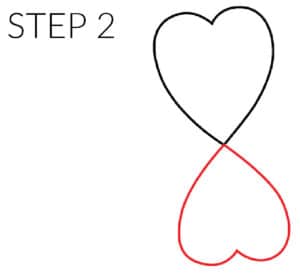
Next, draw another heart upside down from the first heart where the tips meet in the middle.
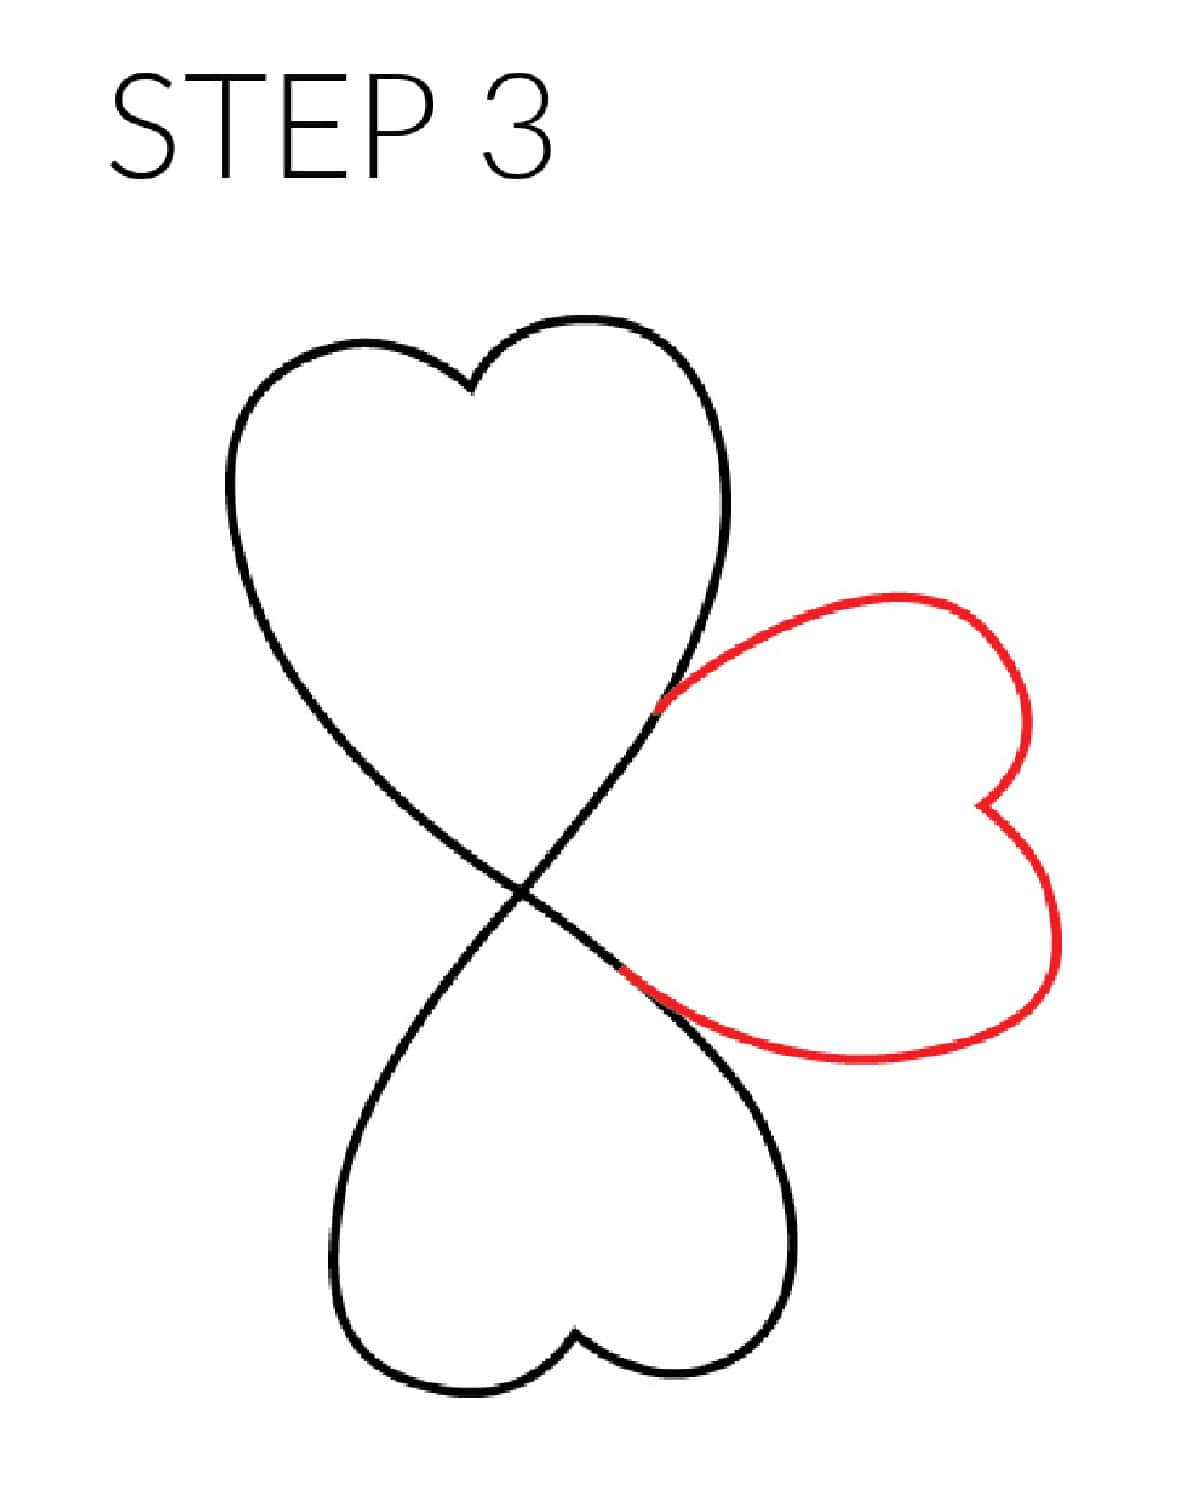
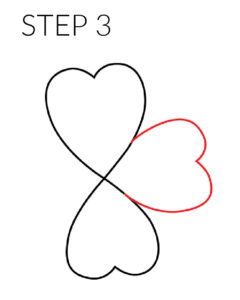
For the next step, draw the third of the clover leaves to the right of the other two.
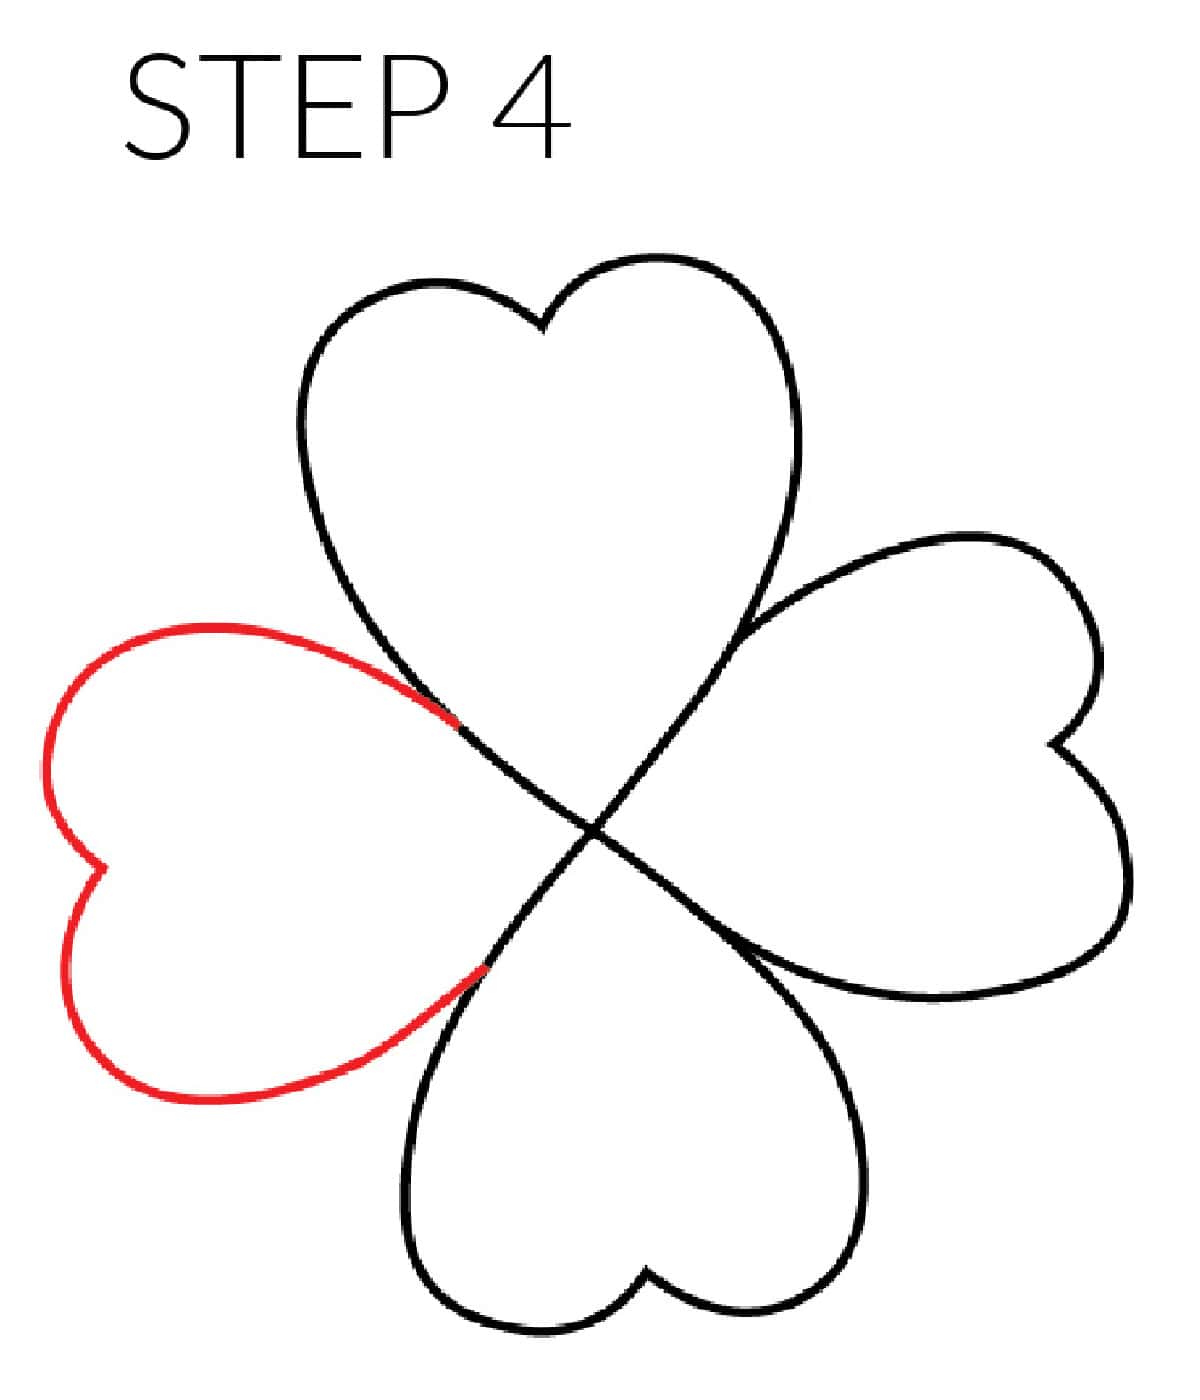
Draw the fourth clover leaf again with the heart-shaped tip in the middle.
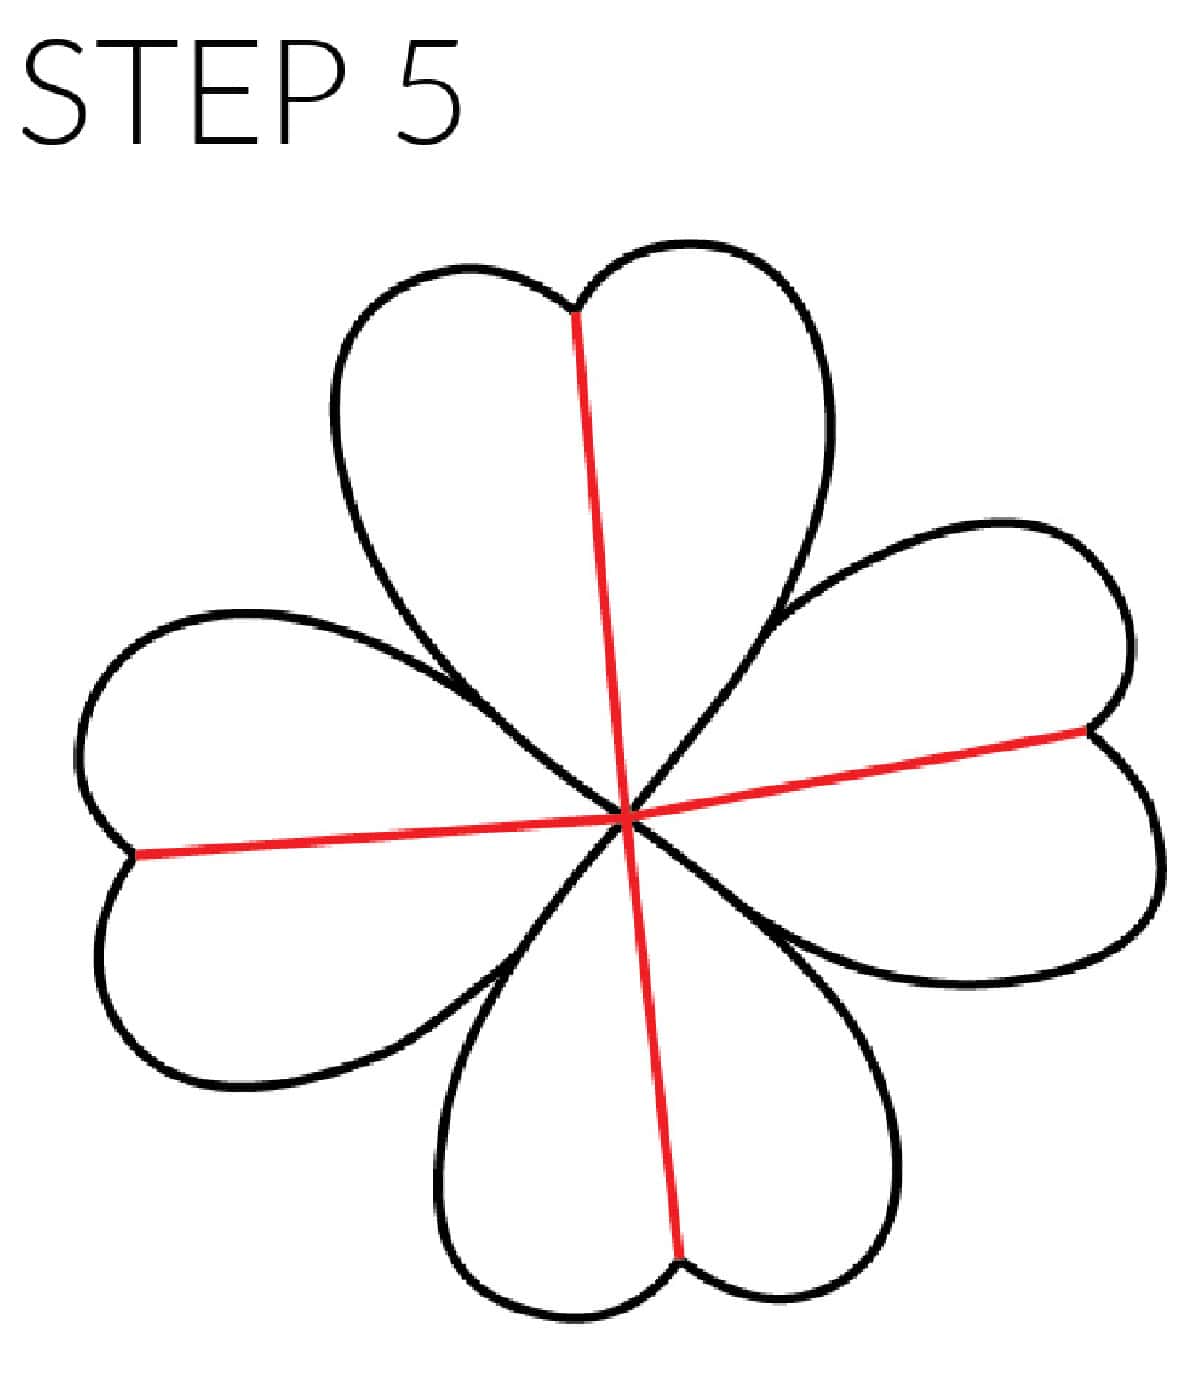
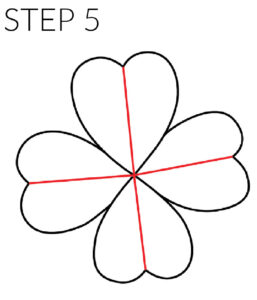
Next, draw two straight lines from the middle of one heart to the opposite heart. Draw another straight line crossing from the other two leaves.
Clover's Stem
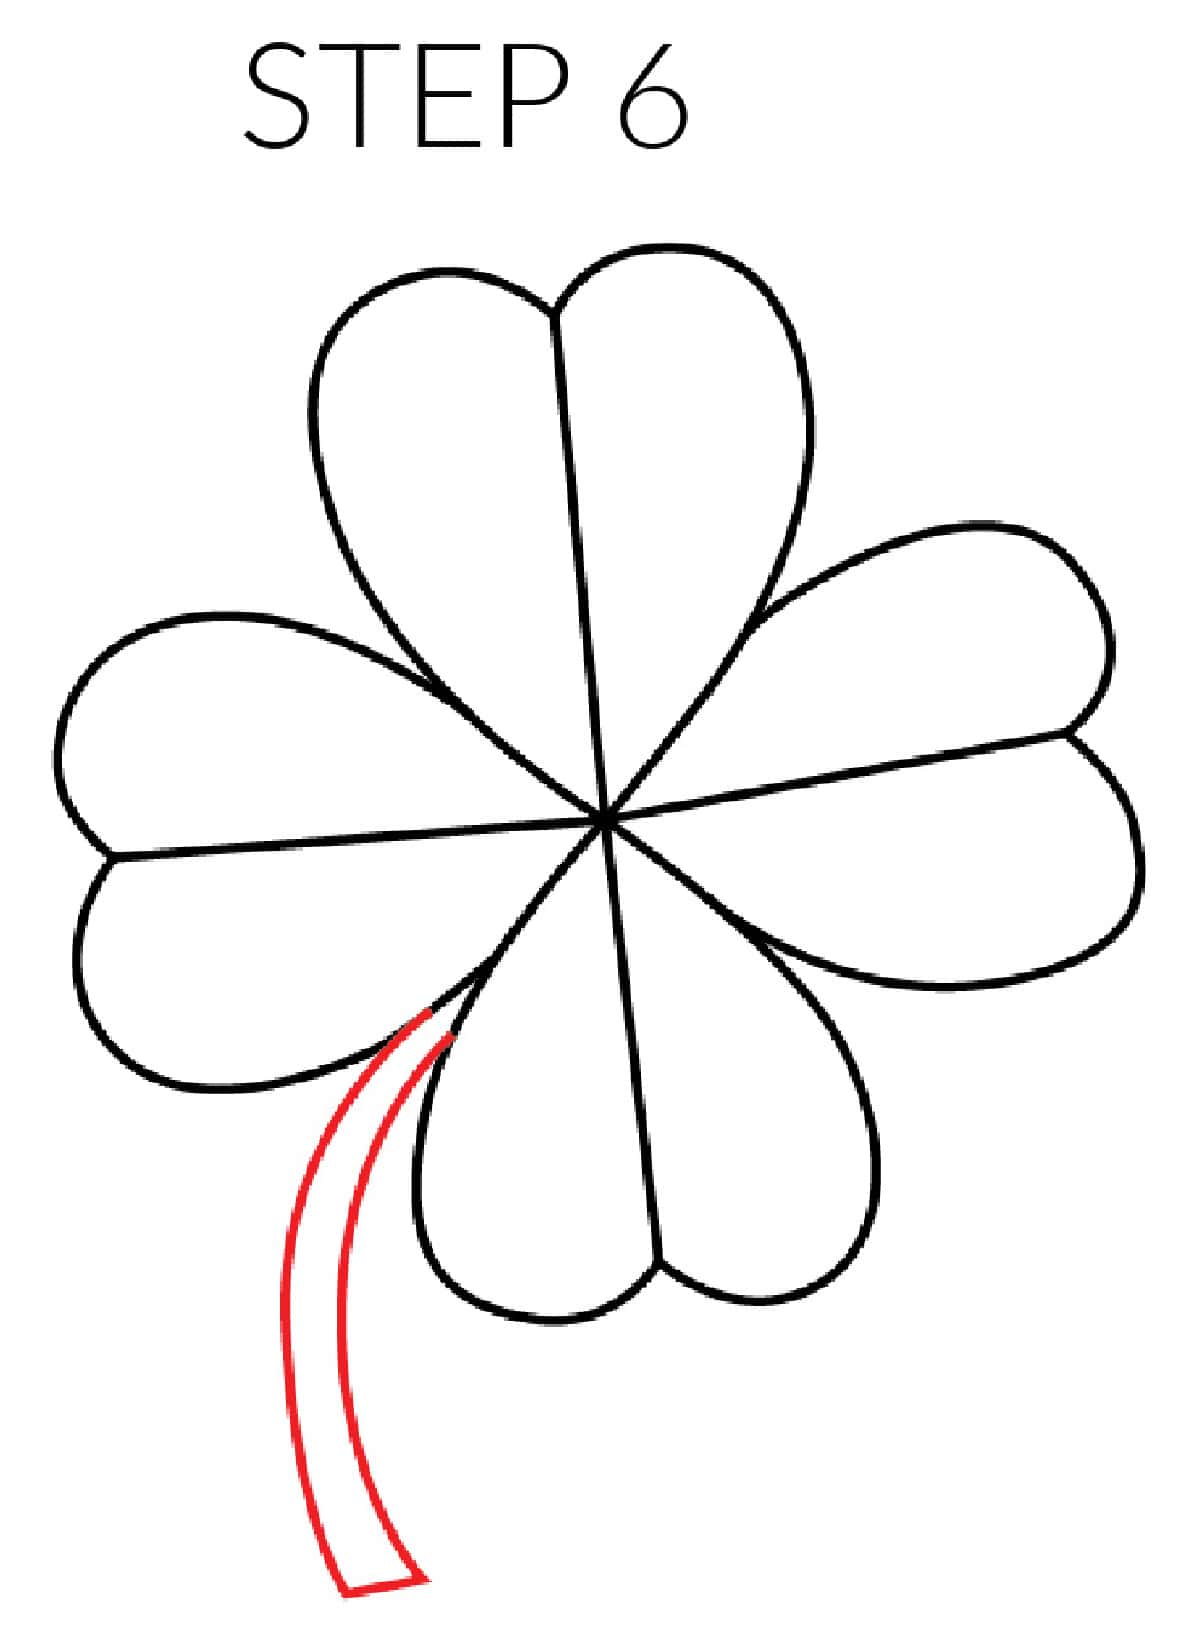
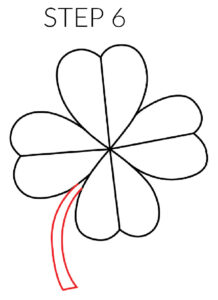
For the stem, simply draw two curved lines out the bottom between the two leaves.
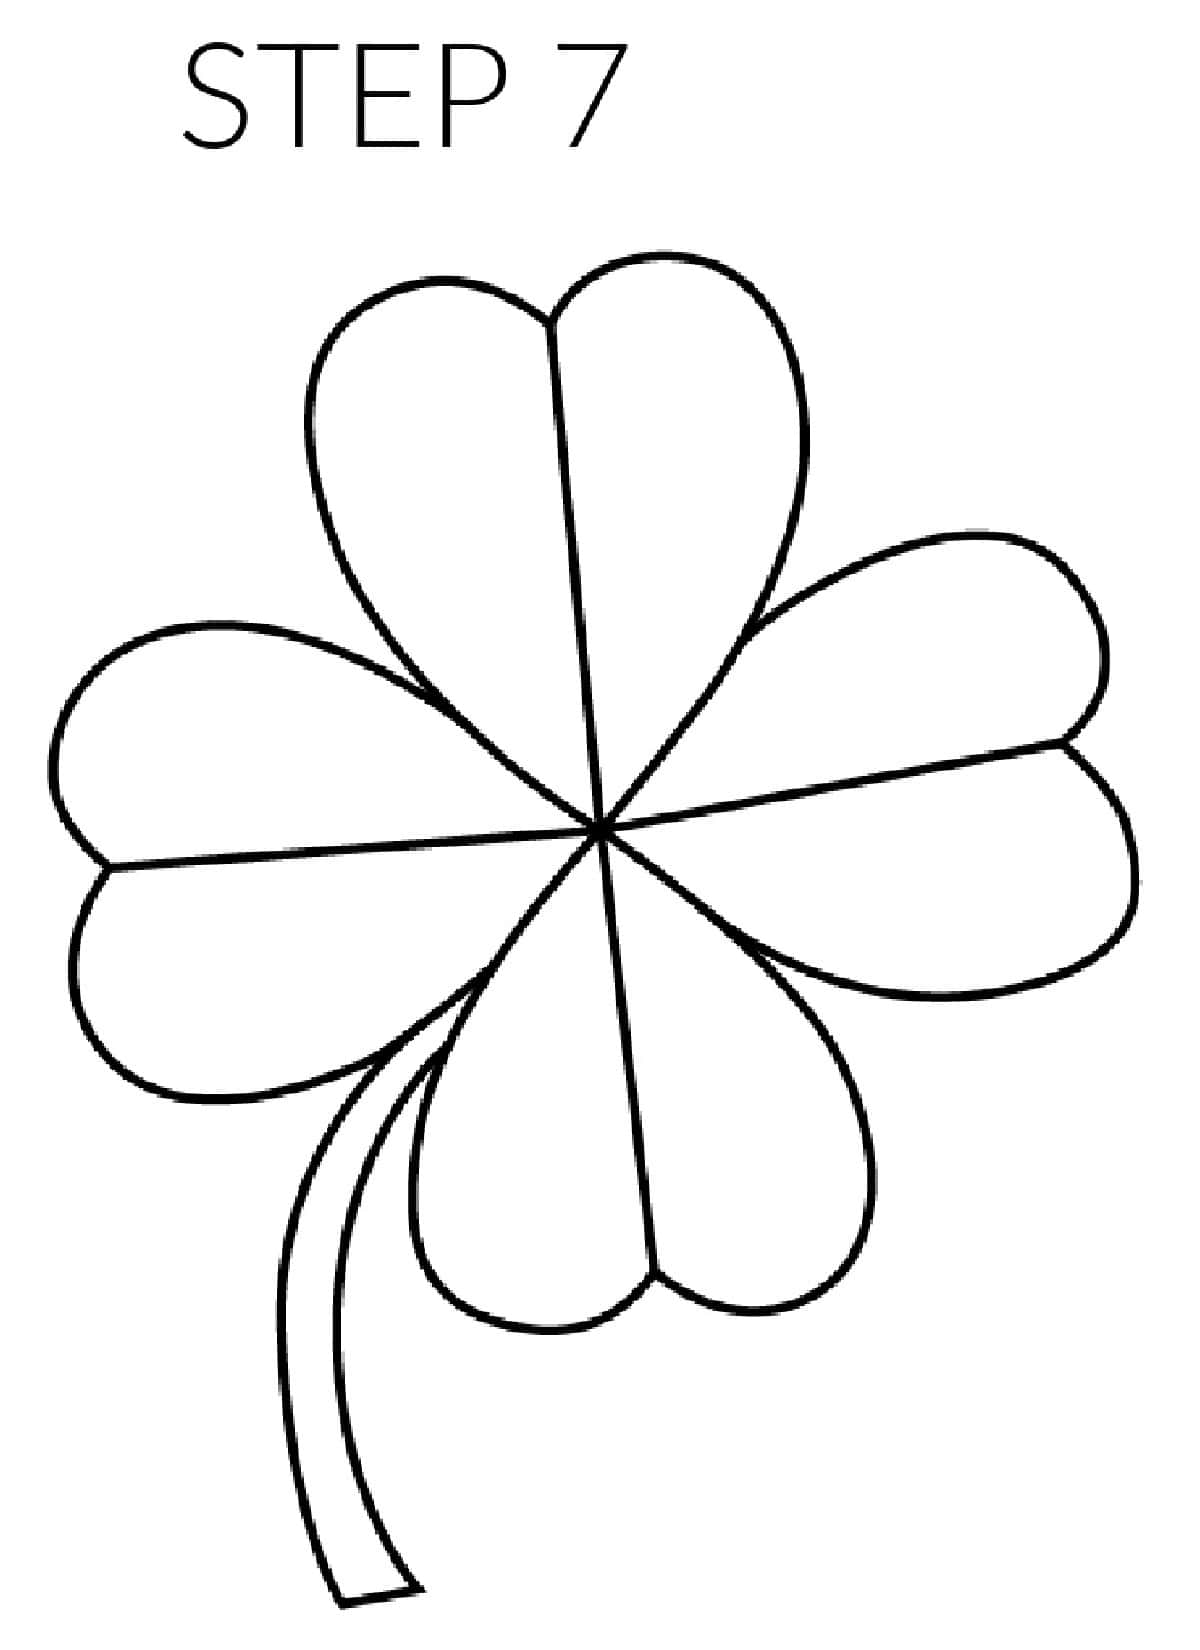
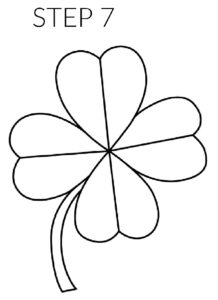
Once you have the final touches and four-leaf clover drawing exactly how you want it, the final step is tracing over all your light lines with a sharp pencil and even outlining it all with a black marker!

The final step if you choose to is to use markers, crayons, colored pencils, or paints and bring your four-leaf clover flowers to life! We of course love the bright green shade for a more realistic coloring, but you be as creative as you want!
Happy St. Patrick's Day and Happy Drawing!
We highlighted this Nature Drawing along with some other fun kid's crafts in our Spring Drawings as well as March Crafts along with our Easy Kids Crafts.
You also do not want to miss our hundreds of Coloring Pages and Printables For Kids full of Crafts and Coloring Pages.
Nature Drawings
Here are some other nature drawings that you'd enjoy.
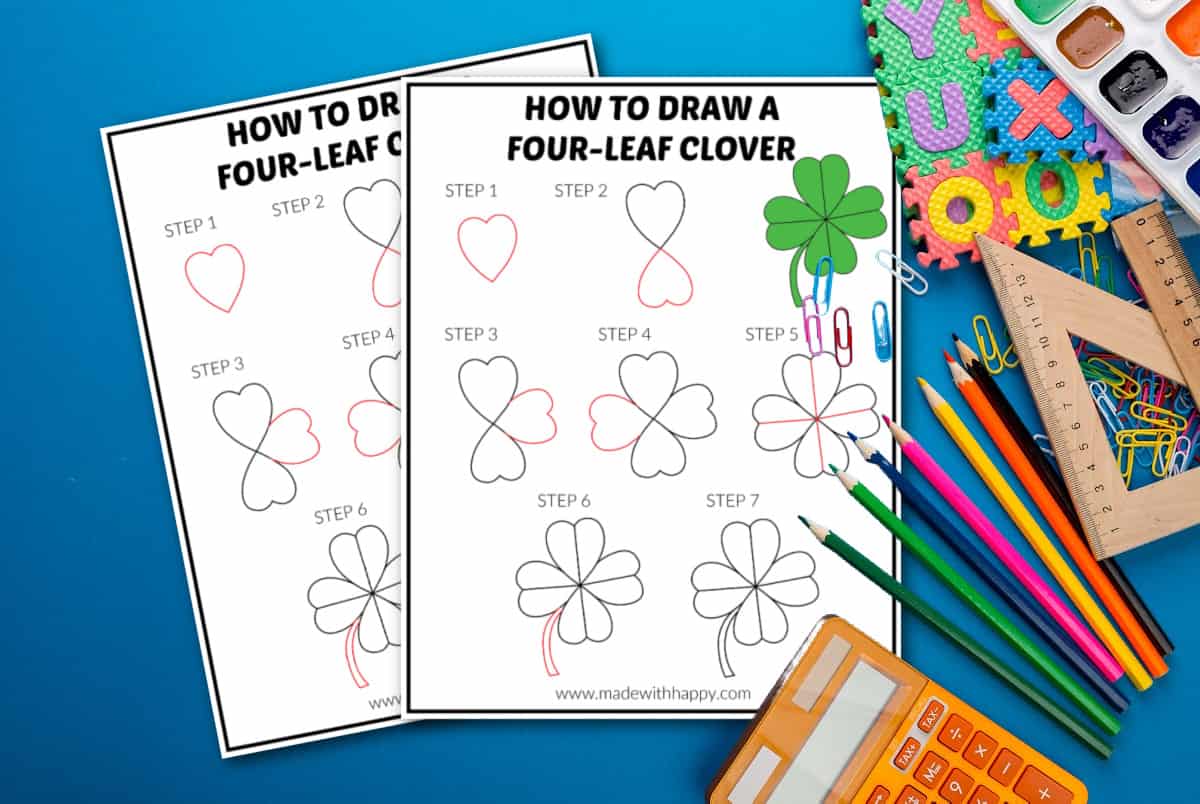
Download Free Four-Leaf Clover Drawing Tutorial
Enter your email address in the form below and you'll be taken directly to the free downloadable four-leaf clover drawing PDF file.
*For personal use only

Four-Leaf Clover
Material
Tools
- Pencil
Instructions
- Start by printing out the free Four Leaf Clover Drawing Guide at the bottom of the blog post. Follow along the simple steps with a piece of paper and pencil.
- The first step is to draw a heart.
- Next, draw another heart upside down from the first heart where the tips meet in the middle.
- For the next step, draw the third of the clover leaves to the right of the other two.
- Draw the fourth clover leaf again with the heart-shaped tip in the middle.
- Next, draw two straight lines from the middle of one heart to the opposite heart. Draw another straight line crossing from the other two leaves.
- For the stem, simply draw two curved lines out the bottom between the two leaves.
- Once you have the final touches and four-leaf clover drawing exactly how you want it, the final step is tracing over all your light lines with a sharp pencil and even outlining it all with a black marker!
- The final step if you choose to is to use markers, crayons, colored pencils, or paints and bring your four-leaf clover flowers to life! We of course love the bright green shade for a more realistic coloring, but you be as creative as you want!
CONNECT WITH MADE WITH HAPPY!
Be sure to follow me on social media, so you never miss a post!
Facebook | Twitter | Youtube | Pinterest | Instagram
Find and shop my favorite products on my Amazon storefront here!
How To Draw a Four-Leaf Clover
PIN IT TO YOUR DIY BOARD ON PINTEREST!
FOLLOW MADE WITH HAPPY ON PINTEREST FOR ALL THINGS HAPPY!
