Christmas Tree Drawing
Learn the festive art of drawing a Christmas tree step by step! Easy tutorial for creating your holiday masterpiece.
Equipment
- Pencil
Ingredients
Instructions
- The first step is to draw a star. Once you have that in place, then draw a simple triangle coming off the bottom of the star. Then add another triangle shape, slightly bigger, under the first triangle. Where the triangles overlap, we like to add a few small diagonal lines creating an M shape. Then erase the tip of the second triangle.

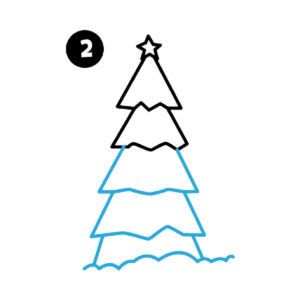
- The next step is to continue adding slightly larger triangles till you get to the bottom of your Christmas tree look. At the base of the tree, we are not drawing a trunk of the tree and adding the snowy ground with small billowy bumps as the bottom line.
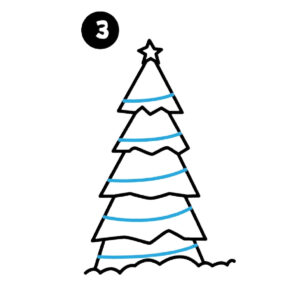
- Next, draw a single line at a slight diagonal across each of the triangle shapes as a garland.
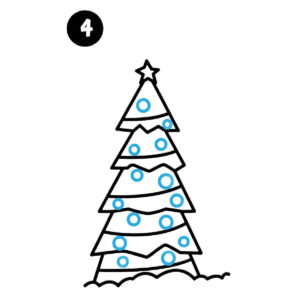
- Then add small circles throughout the tree and these will double as Christmas lights and Christmas ornaments together.
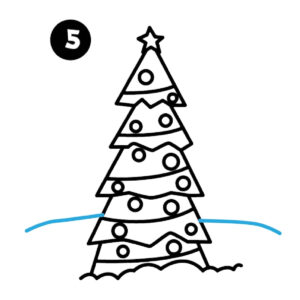
- Since we're drawing our festive tree in the snow, it is time to add some added detail. Draw one line out of each side of the second from the triangle from the bottom.
- Draw a simple Christmas tree or two along the line from the previous step. Viola, you have a sweet snowy Christmas tree!
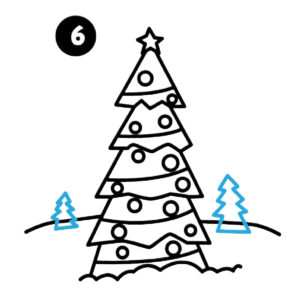
- Once you have your Christmas Tree exactly how you want it, the final step is tracing over all your light lines with a sharp pencil and erasing any extra lines. Then outline the tree with a black marker!