Learn the festive art of drawing a Christmas tree step by step! Easy tutorial for creating your holiday masterpiece.
Want to save this project?
Enter your email below, and then we'll send it straight to your inbox. Plus get awesome new projects from us each week.
This How to Draw a Christmas Tree Step By Step is so fun for the kids to learn the easy steps on how to make their own Christmas Tree Drawing.
It's that time of year, and the Christmas season is here! Have you taken out your Christmas tree yet?
Well, it's about time you start decorating it. Light it up, hang ornaments, and put that shiny star on top of the tree. It's so much fun; your little ones will miss the excitement once you all finish up!
But don't you worry! I have an easy drawing step-by-step guide for kids of all ages right here.
More About the Drawing Tutorial
This step-by-step drawing lesson is easy and kid-friendly. Your kid will use basic shapes like triangles and small circles to finish their tree drawing. It'll reinforce your child's knowledge of shapes.
They will have to make a horizontal line, a curved line, and a few angled lines. It's a very useful activity. Learning how to draw a straight line will be of great help for years to come!
This Christmas drawing lesson also requires kids to add small details like a tree topper, tiny Christmas lights, and a few small trees in the background. Drawing the details will help improve your little one's hand-eye coordination and fine motor skills.
Moreover, this tutorial will also teach kids about the concept of perspective. By drawing smaller trees in the background, they will understand how objects appear smaller when placed further away.
Don't Miss Our Easy Drawings and Christmas Drawings!
Ways to Use Christmas Tree Drawing
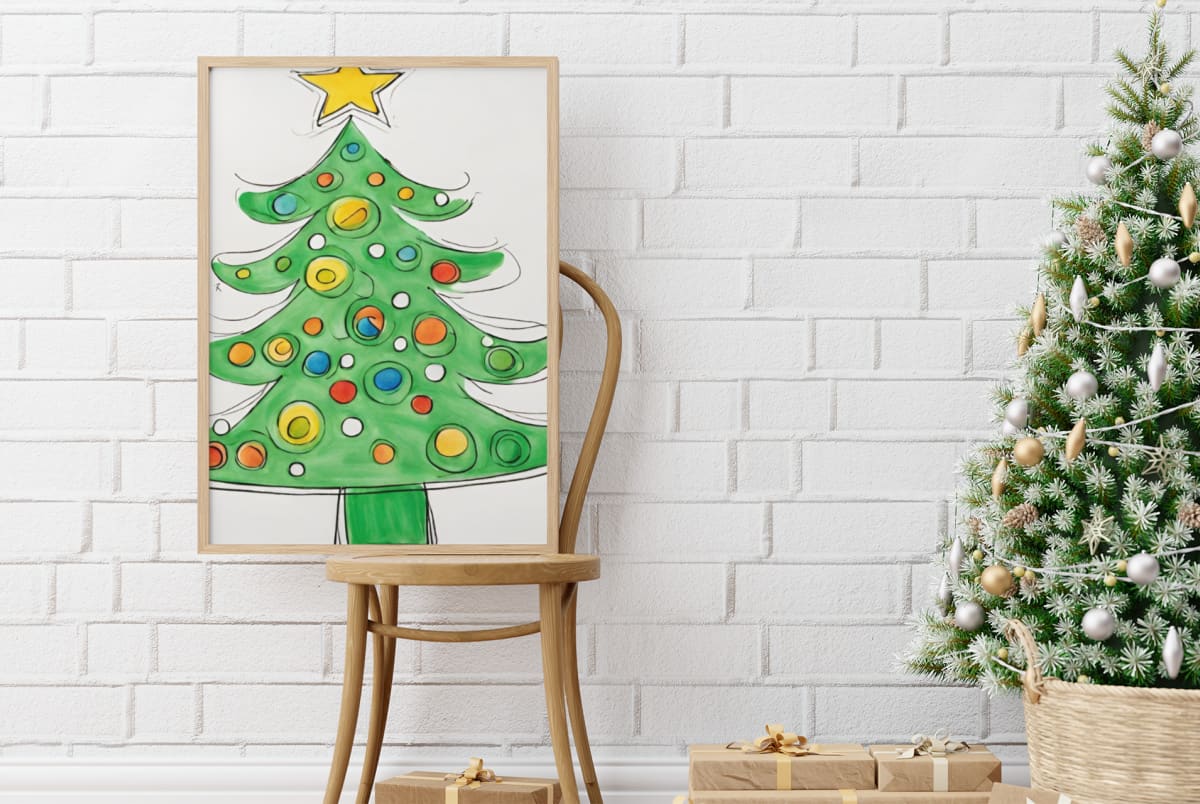
You can appreciate your child for their amazing artwork by framing their decorated tree drawing and hanging it in your living room.
These cute evergreen tree drawings also make great Christmas cards. Your children can write personalized messages on the back and give them to their grandparents, friends, or even teachers.
Alternatively, you can use these drawings as decorations for your Christmas tree. Cut out the drawing, punch a hole at the top, and tie a ribbon through it to hang it on your tree.
If you love Christmas Trees, then don't miss our other fun Christmas Tree crafts including our Wall Christmas Tree, How To Make a Paper Cone, and 3D Christmas Tree.
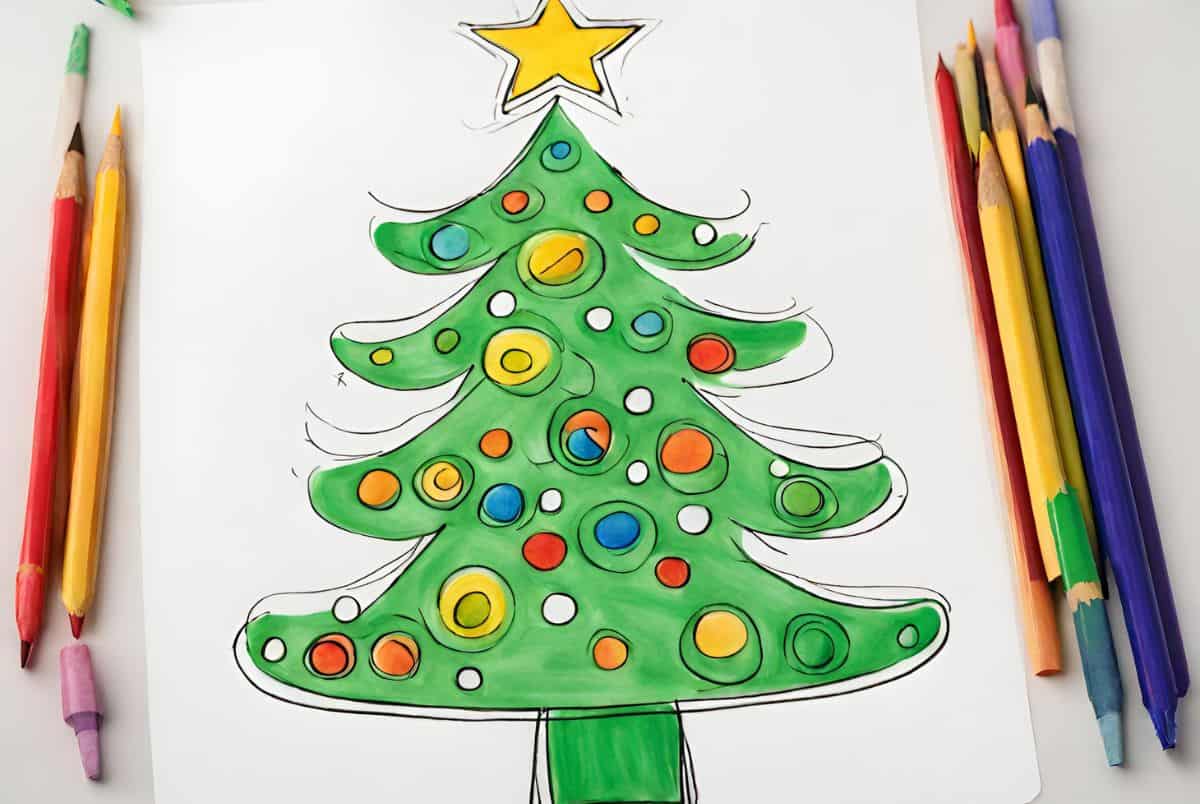
Coloring and Decorating the Christmas Tree
Let's talk about the fun element now - decorating the tree drawing.
There are so many ways kids can bring their trees to life. Use the ideas below for a fun time:
Draw the tree outline with glitter glue or a marker of your favorite color.
- Stick a sparkly star sticker at the top of your tree.
- Use a golden permanent marker 9even a yellow one would do) to draw tiny dots (representing lights).
- Sprinkle some glitter on the body of the tree once your little one is done coloring.
- Draw some candy canes on the tree.
Let children use their imagination. They can draw a Santa Claus next to the tree, a few Christmas presents at the bottom of the tree, or even use a different color for their tree.
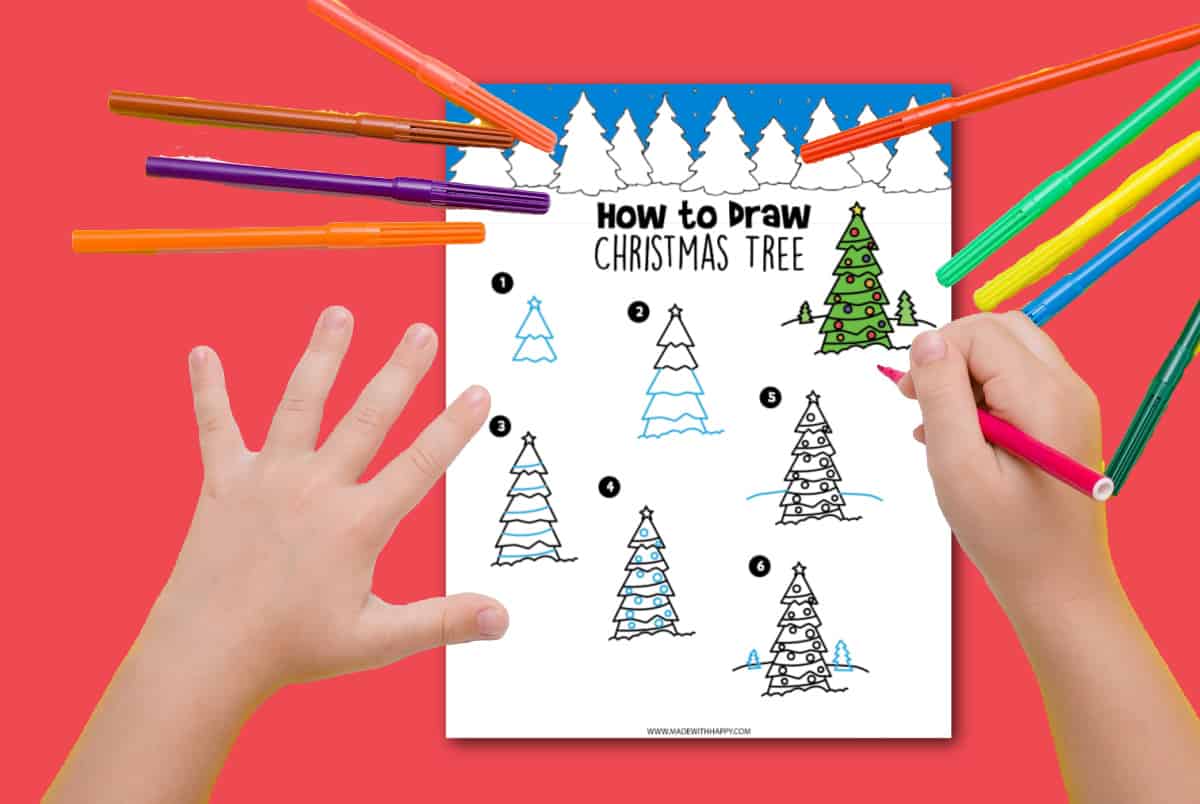
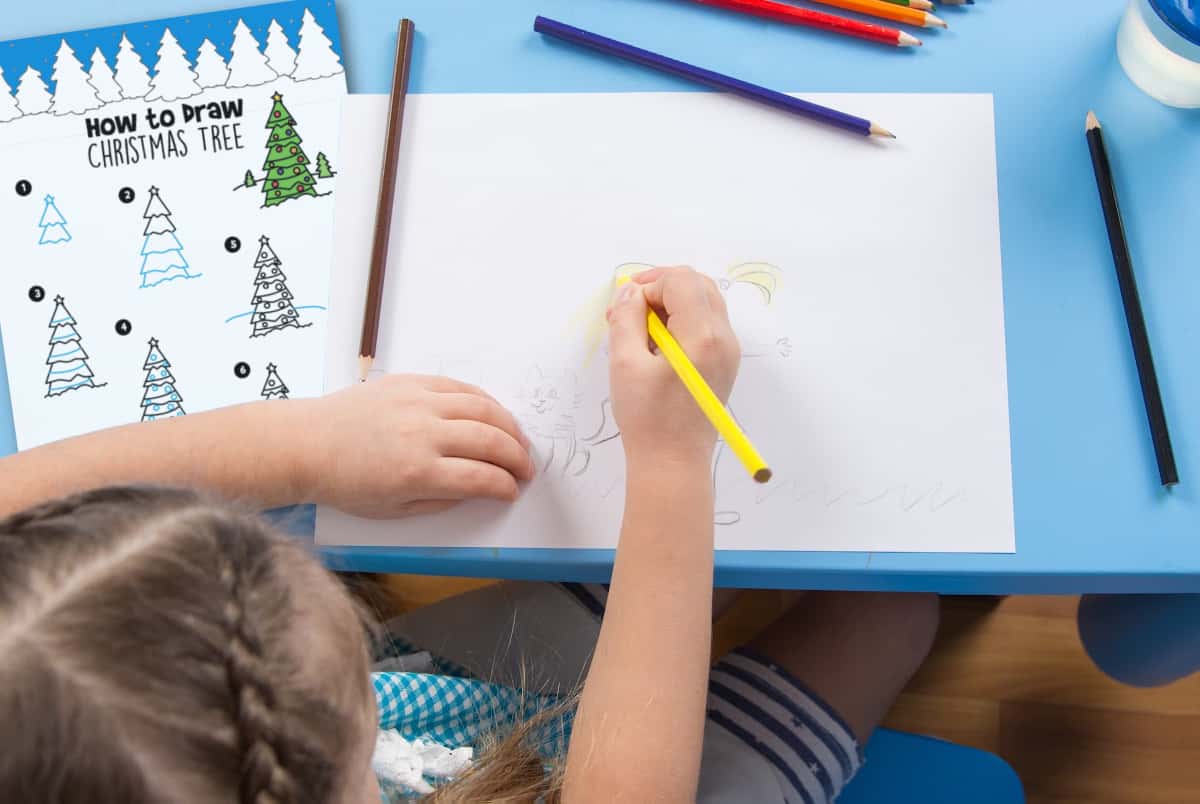
How To Draw a Christmas Tree
Before you start drawing, we also want to ensure you have the right tools. Here are the drawing paper, and drawing pencils we like to use.
Don't forget to print out the Christmas Tree step-by-step guide at the bottom of the post for an easy way to follow along.
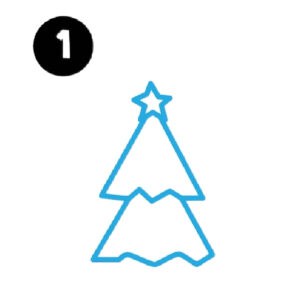
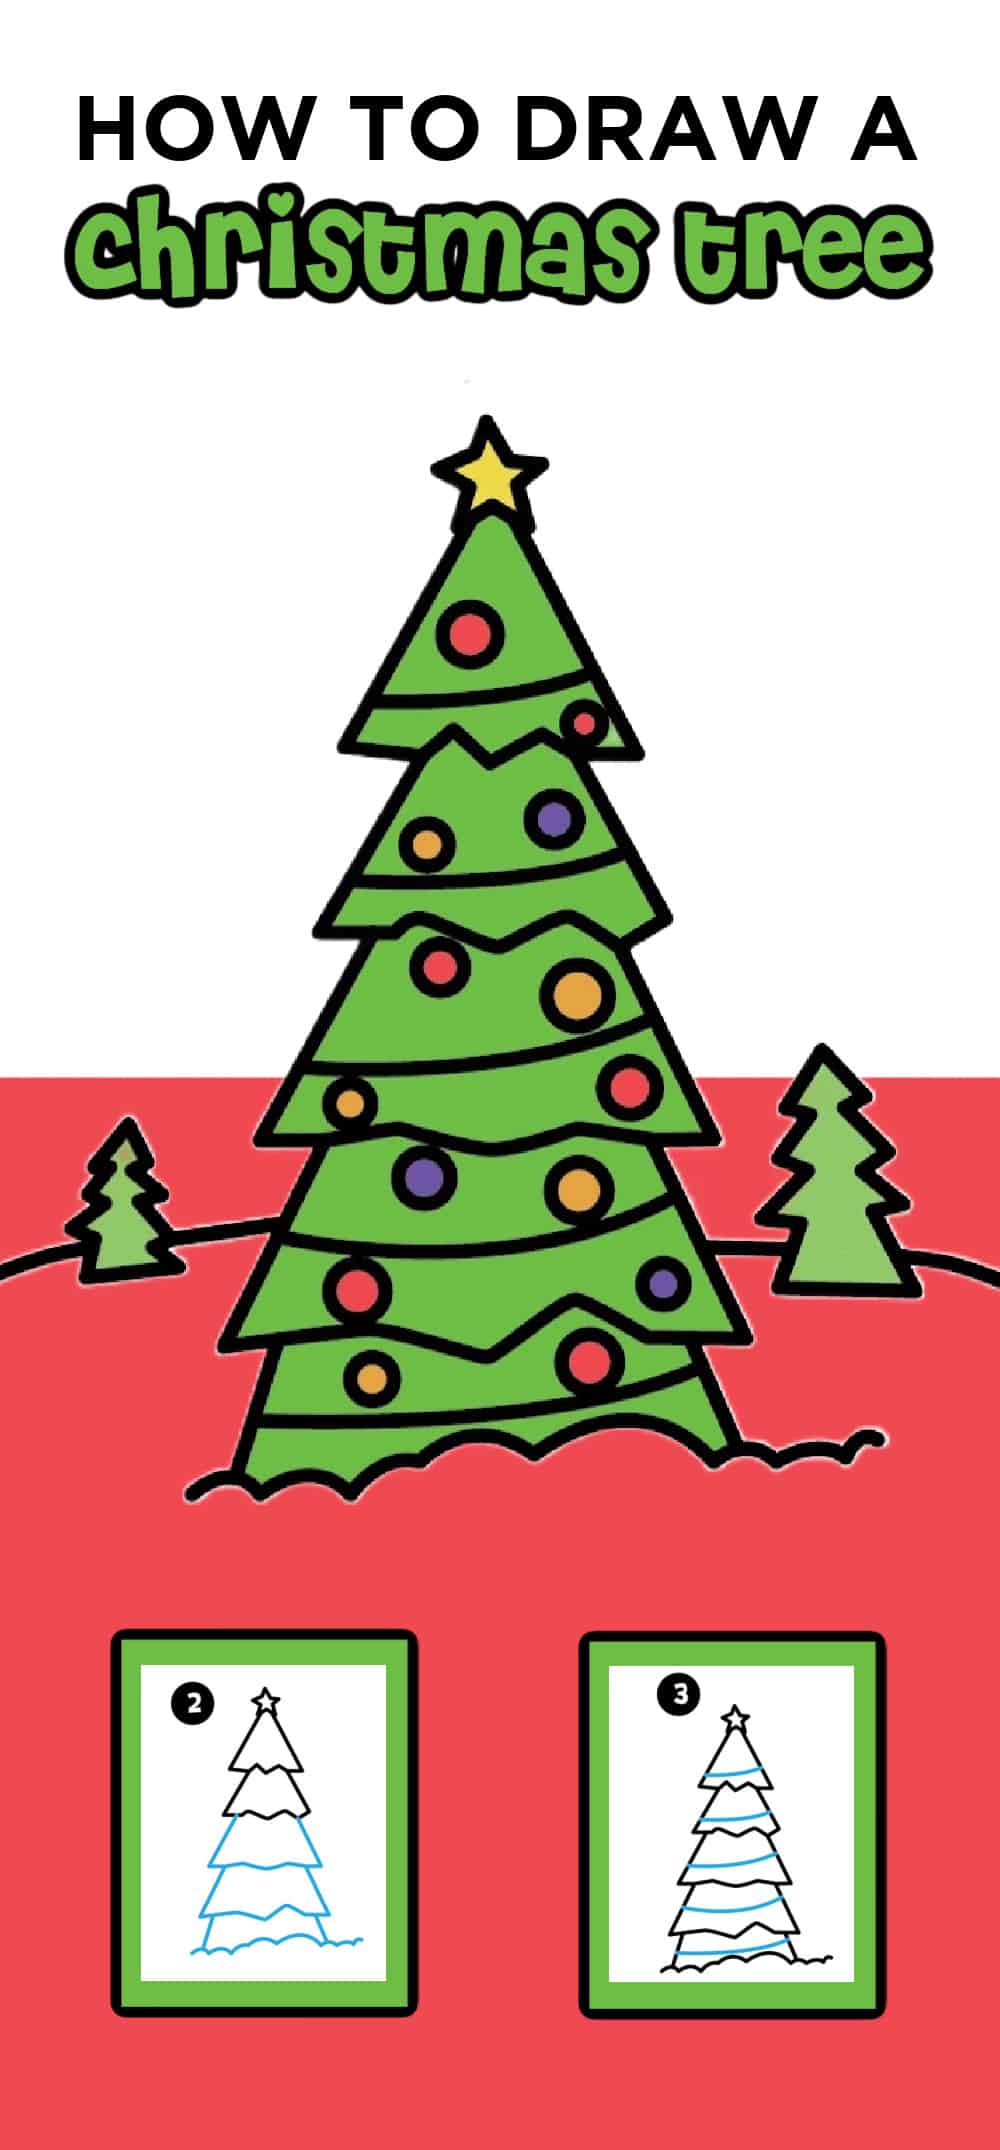
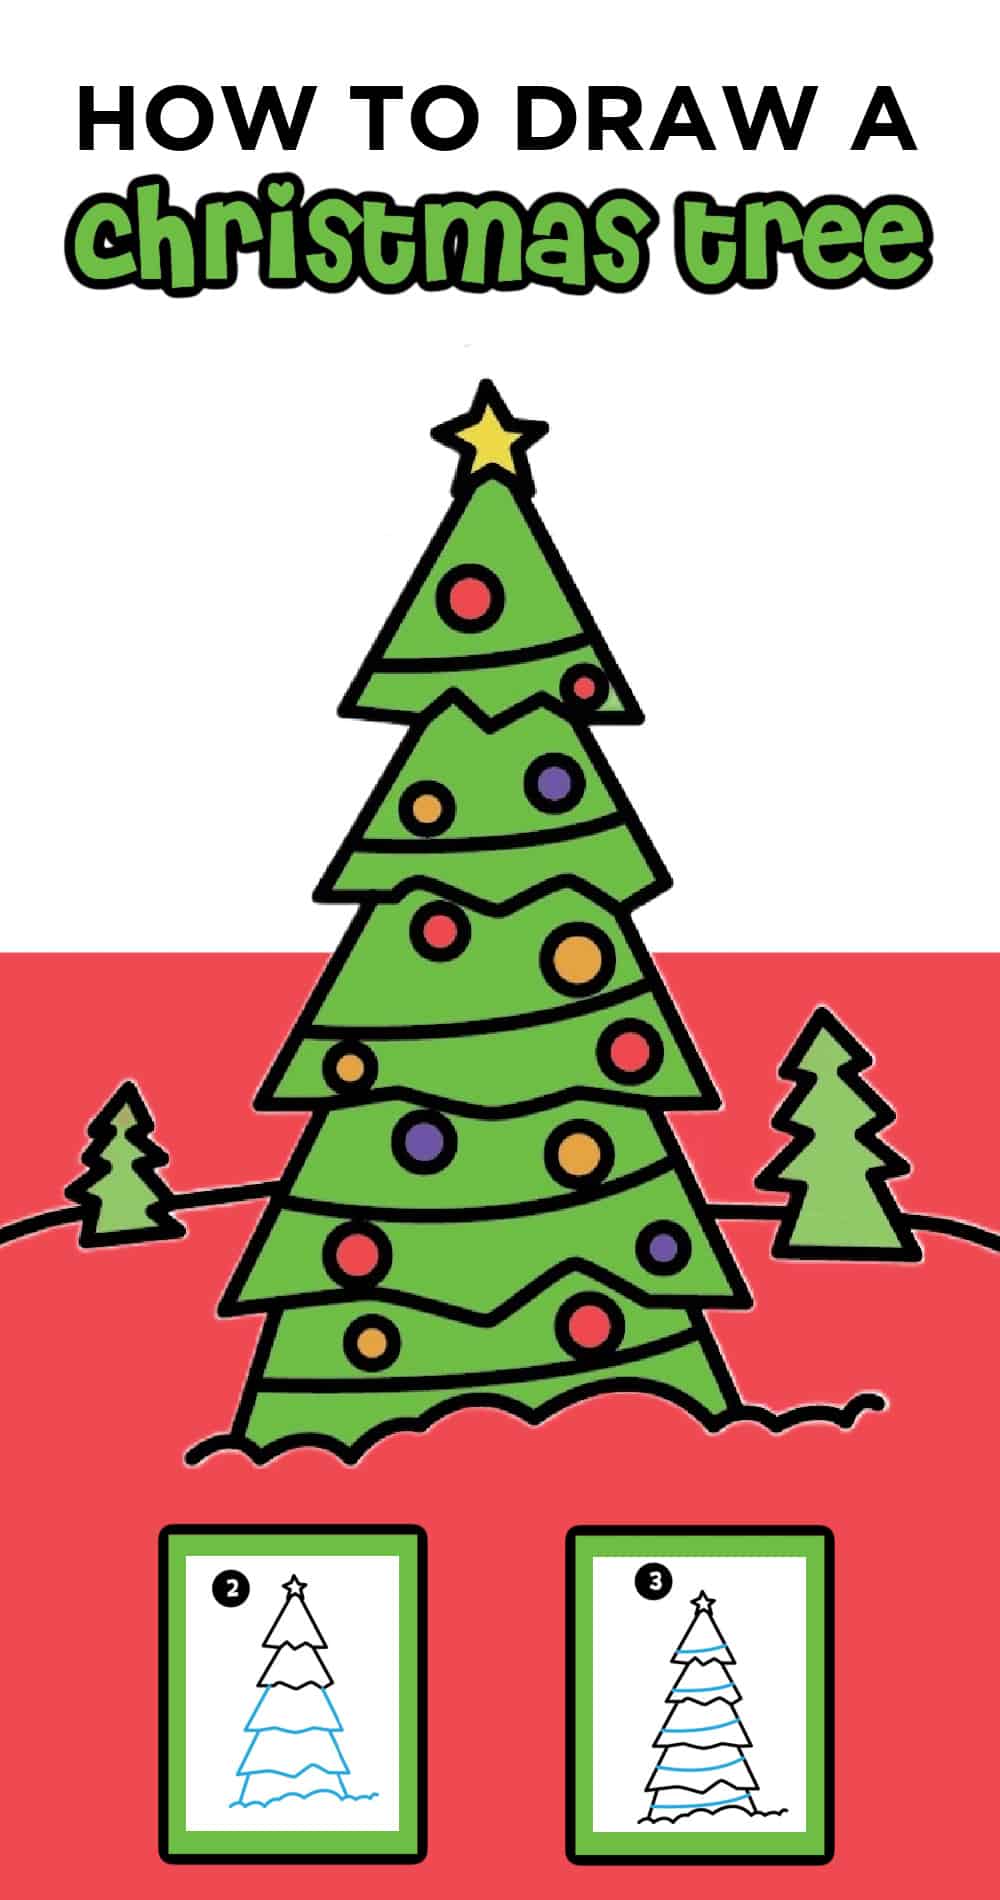
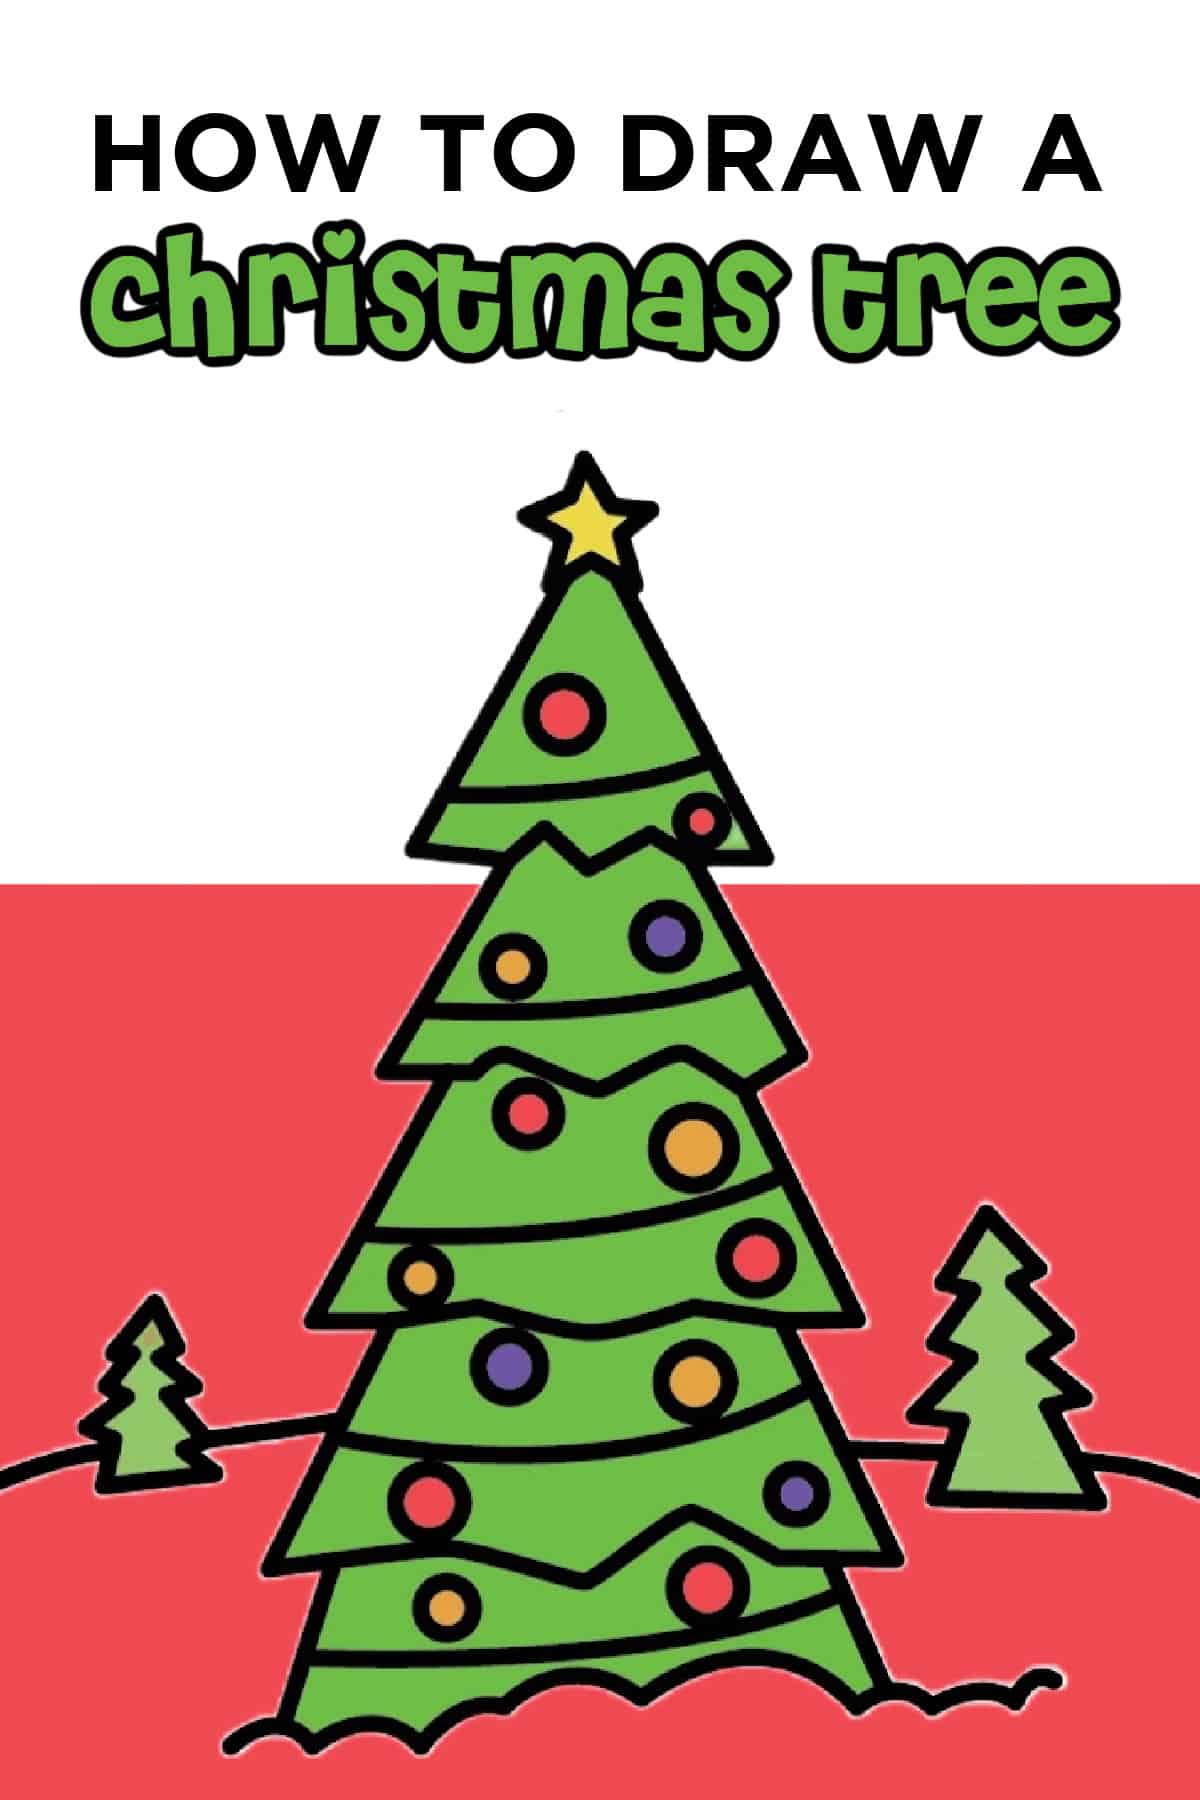
The first step is to draw a star. Once you have that in place, then draw a simple triangle coming off the bottom of the star. Then add another triangle shape, slightly bigger, under the first triangle. Where the triangles overlap, we like to add a few small diagonal lines creating an M shape. Then erase the tip of the second triangle.

The next step is to continue adding slightly larger triangles till you get to the bottom of your Christmas tree look. At the base of the tree, we are not drawing a trunk of the tree and adding the snowy ground with small billowy bumps as the bottom line.
Christmas Tree Decorations

Next, draw a single line at a slight diagonal across each of the triangle shapes as a garland.

Then add small circles throughout the tree and these will double as Christmas lights and Christmas ornaments together.

Since we're drawing our festive tree in the snow, it is time to add some added detail. Draw one line out of each side of the second from the triangle from the bottom.

Draw a simple Christmas tree or two along the line from the previous step. Viola, you have a sweet snowy Christmas tree!

Once you have your Christmas Tree exactly how you want it, the final step is tracing over all your light lines with a sharp pencil and erasing any extra lines. Then outline the tree with a black marker!
Use markers, crayons, colored pencils, or acrylic paints, and turn your drawing lesson into a cute Christmas tree drawing! Different colors and bright colors make for a great drawing!
Merry Christmas and Happy Drawing!
We highlighted this Christmas Drawing along with some other fun kid's crafts in our Christmas Crafts as well as December Crafts along with our Easy Craft Ideas for kids.
You also do not want to miss our 101+ Printable Coloring Pages For Kids and 101+ Printables For Kids full of Crafts and Coloring Pages.
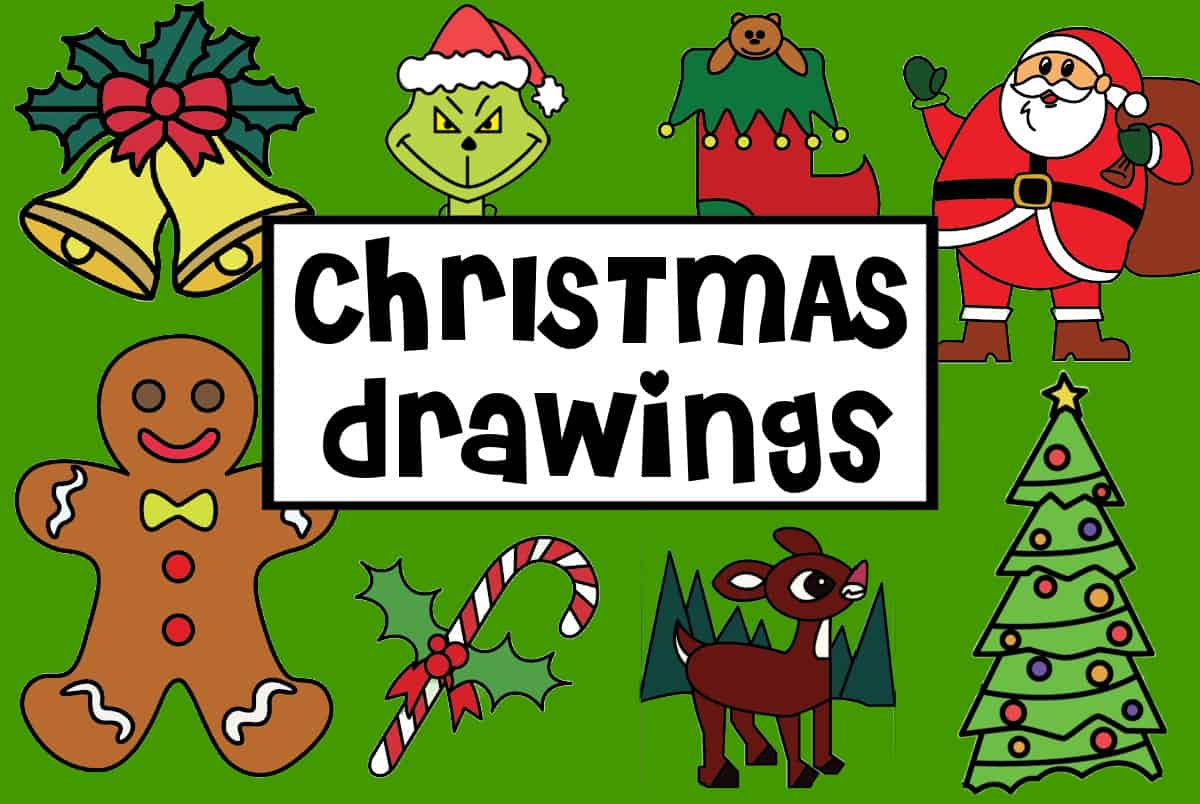
Other Christmas Drawings You'll Enjoy
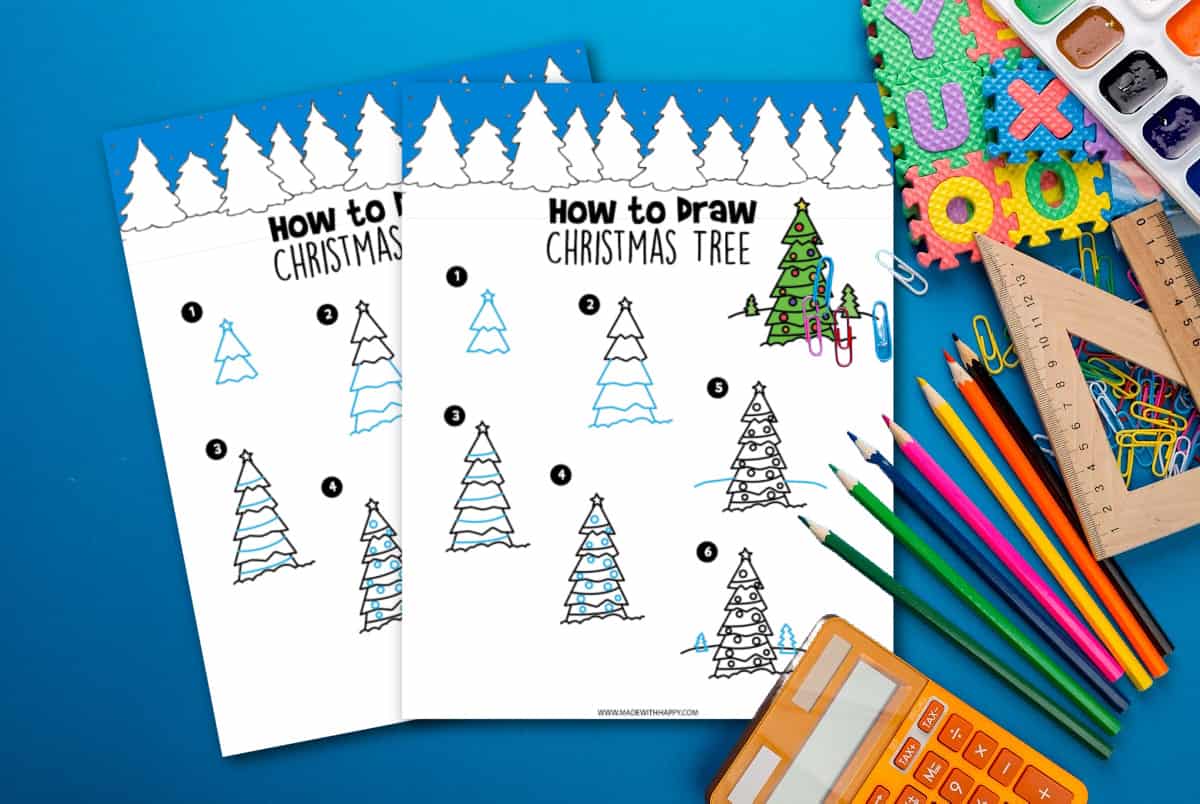
Download Free Easy Christmas Tree Drawing Step-By-Step Tutorial
Enter your email address in the form below and you'll be taken directly to the easy Christmas Tree Drawing Tutorial PDF File.
*For personal use only

Christmas Tree Drawing
Equipment
- Pencil
Ingredients
Instructions
- The first step is to draw a star. Once you have that in place, then draw a simple triangle coming off the bottom of the star. Then add another triangle shape, slightly bigger, under the first triangle. Where the triangles overlap, we like to add a few small diagonal lines creating an M shape. Then erase the tip of the second triangle.

- The next step is to continue adding slightly larger triangles till you get to the bottom of your Christmas tree look. At the base of the tree, we are not drawing a trunk of the tree and adding the snowy ground with small billowy bumps as the bottom line.
- Next, draw a single line at a slight diagonal across each of the triangle shapes as a garland.
- Then add small circles throughout the tree and these will double as Christmas lights and Christmas ornaments together.
- Since we're drawing our festive tree in the snow, it is time to add some added detail. Draw one line out of each side of the second from the triangle from the bottom.
- Draw a simple Christmas tree or two along the line from the previous step. Viola, you have a sweet snowy Christmas tree!
- Once you have your Christmas Tree exactly how you want it, the final step is tracing over all your light lines with a sharp pencil and erasing any extra lines. Then outline the tree with a black marker!
Video
CONNECT WITH MADE WITH HAPPY!
Be sure to follow me on social media, so you never miss a post!
Facebook | Twitter | Youtube | Pinterest | Instagram
Find and shop my favorite products on my Amazon storefront here!
How To Draw a Christmas Tree
PIN IT TO YOUR DIY BOARD ON PINTEREST!
FOLLOW MADE WITH HAPPY ON PINTEREST FOR ALL THINGS HAPPY!