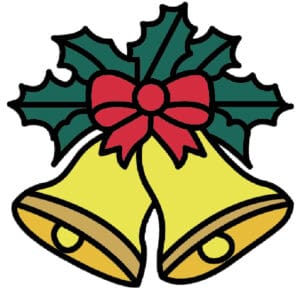
How To Draw Christmas Bell
Dive into holiday creativity with our step-by-step guide on How To Draw Christmas Bells, adding festive charm to your artistic repertoire!
Equipment
- Pencil
Ingredients
Instructions
- Start by printing out the Free Christmas Bells Drawing Step-by-Step Guide at the bottom of the post. Follow along with a sheet of paper and pencil.

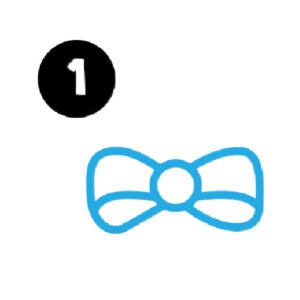
- Start by drawing a simple bow. The middle is a circle and then there are two rounded triangles off each side of the circle. Then draw a simple curved line matching the top of the bow curves inside the sides of the bow. This gives it dimension.
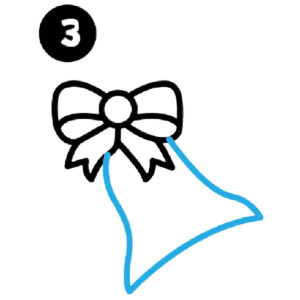
- Next, draw the ends of the bow with a W shape off the bottom of the bow.

- Draw a bell shape off the right end of the bow.
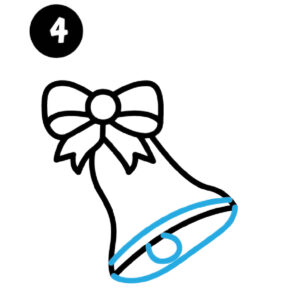
- Next steps... draw a small U shape off the bottom of your bell shape in the middle. Then draw a similar curved line as the bottom of your bell shape inside your bell. This will give you the bell look. Then draw a curved line outward off the bottom of your bell.
- Then draw another bell shape off the left end of the ribbon.
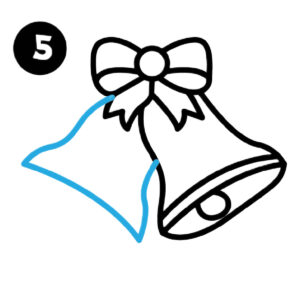
- Similar to step 4, draw a small U shape off the bottom of your bell shape on the left side in the middle. Then draw a similar curved line as the bottom of your bell shape inside your bell. This will give your bell some dimension. Then draw a curved line outward off the bottom of your bell.
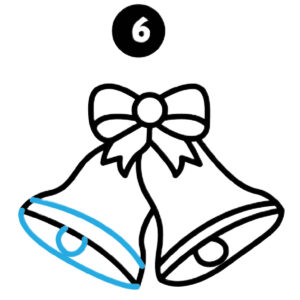
- At the top of the bells, draw holly leave out each side of the bow. The outside of the holly is small curved lines that come together at a point.
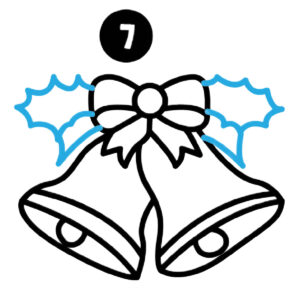
- Lastly, draw three small holly leaves around the top of the bow. Each with a line in the middle. Once you have your drawing how you like it, erase any extra lines. Then viola, you have a realistic jingle bell drawing.
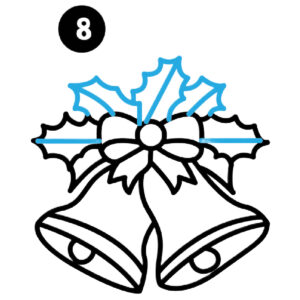
- The final step is to color in your Christmas Bells Drawing using your favorite coloring tools - crayons, colored pencils, markers, or even paints. We love the idea of making this