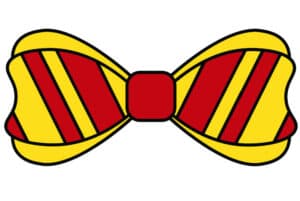
How to Draw a Bow Tie
Learn to draw a stylish bow tie effortlessly with this easy step-by-step easy tutorial. Enhance your art with a touch of elegance!
Equipment
- Drawing Pencils
Ingredients
Instructions
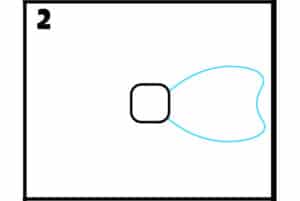
- Start with drawing the center piece of the bow shape. Draw a square in the middle of the page. The corners of the middle of the bow square are rounded.

- The next step is to draw a curved line off the right side of the middle of the bow. Curving the ends of the bow in a curved line will make it more realistic.
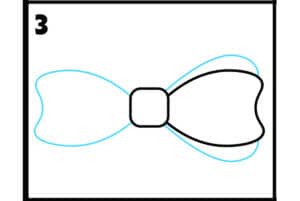
- In this step, you will draw a similar curved line of the middle of the tie on the left side. Next, draw another curved line behind the front portion of the right side of the tie. The ends should be behind the front portion of the tie.
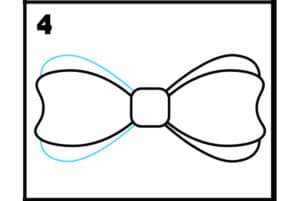
- Draw the behind bow portion of the left side of the bow tie as you did on the other side.
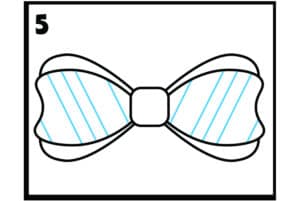
- The last step in the drawing is to add a pattern to the front part of the tie. We dreaw straight lines to give it a striped pattern.
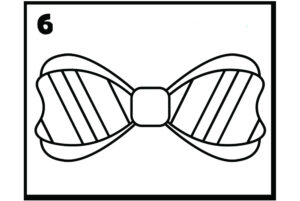
- The final step is to go over the drawing of a bow tie with a darker pencil and erase all the extra drawing lines.
- Grab your crayons, watercolor paint, watercolor pencils, and or markers to color in your own types of bow ties and colorful drawing.