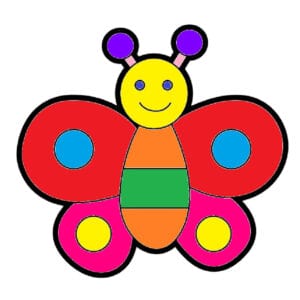
How to Draw a Butterfly
Have some butterfly drawing fun with this How to Draw a Butterfly Step By Step Drawing Tutorial. We've included a free printable step-by-step worksheet too!
Equipment
- Drawing Pencils
Ingredients
Instructions
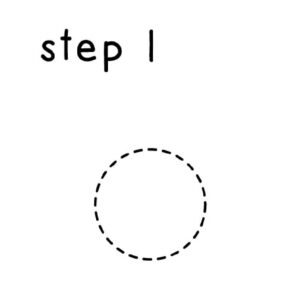
- Start with a small circle for the butterfly's head.
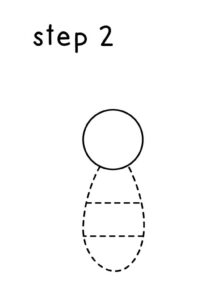
- Next, is the body of the butterfly. Draw an elongated U shape for the body off the bottom of the head of the butterfly from the previous step. Draw a horizontal line approximately a third way through the body, and then another third of the way.
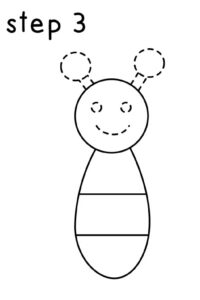
- Next, is to draw the face of the butterfly and its antennas. An easy way is two circles and a smile. For the antennas, we went with simple circles and straight lines on the top of the butterfly head. Remember we are drawing basic butterfly shapes.
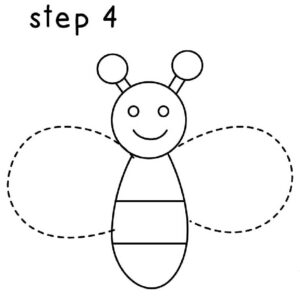
- In drawing the butterfly's wings, we drew them in two simple steps. The first is the upper wings or top wings. These are the larger of the wings, so draw a curved line starting at where the head meets the body and ending halfway through the middle section of the side of the butterfly.
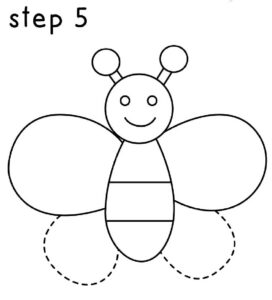
- The next step is to draw the lower wings or bottom wings. These are curved lines starting around the bottom part of the wing and ending towards the bottom of the body when it's about to curve to the end. Same for the other side.
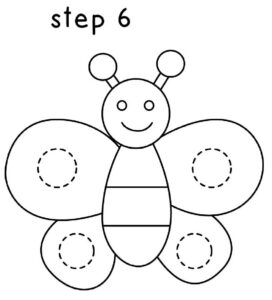
- The last step is to draw the different patterns in the wings. We went with a simple circle in each of the wings. We realize that a more realistic-looking butterfly would have fun and more intricate butterfly wing patterns, but with this easy tutorial, we wanted to keep it simple. Feel free to use your own creative ways to make it your own butterfly.
- Once you have your drawing exactly how you want it, we recommend tracing over all your lines with a sharp pencil. Then use markers, crayons, pencils, or paints and turn your drawing into butterfly art!