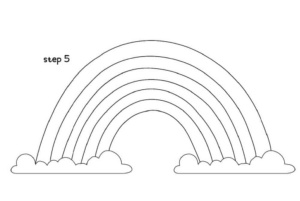
How to Draw A Rainbow
Have some colorful fun with this How to Draw a Rainbow Step By Step Tutorial. This is an easy way to have fun with a rainbow drawing.
Equipment
- Markers
Ingredients
Instructions
- First, orient your paper horizontally. This means the longer end of your paper is at the top and bottom. This will allow for the large rainbow drawing to take up most of the paper.

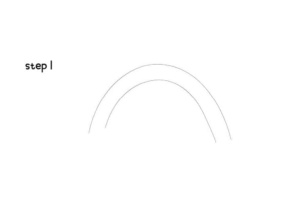
- The first step in drawing a rainbow is to draw a curved line creating a half circle. This will be the inside line of your rainbow. You then draw another curved line around the following the same curved line as the one underneath it. This will create two parallel curves.
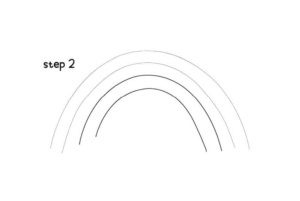
- The second step is to continue to create half circle ecurved lines moving out from the first line. If you imagine there is an invisible horizontal line running at the bottom of your rainbow, this is where each of the lines should end.
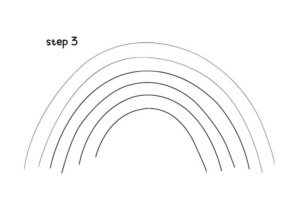
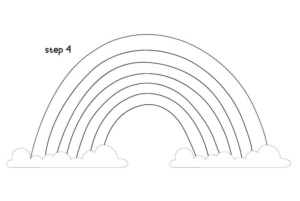
- Continue to create lines moving out and creating a full rainbow. You will want to make sure you have 7 or 8 lines to make sure you have room for each rainbow gradient color.
- The last step is to create small clouds on each end of your rainbow. There are different methods for clouds. We created ours with the rounded edges of the cloud towards the rainbow and the bottom of the clouds were flat with a horizontal line. You can also make the cloud round and billowy on both sides. Either will look great
- The last step once you have your rainbow drawing is to grab your favorite markers and color your rainbow in.