How To Draw a Rose
Have some rose drawing fun with this How to Draw a Rose Step By Step Drawing Tutorial. We've included a free printable direct drawing too!
Equipment
- Drawing Pencils
Ingredients
Instructions
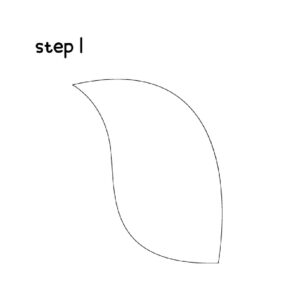
- The first step is to draw the first line of the first petal. First draw a curved waterfall-like shape on the top side, then a slightly curved line on the bottom connecting both points.
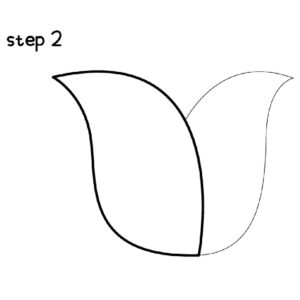
- Next, create a similar shape of the petal from the previous step. off to the right. The only difference is that the top curve stops when you hit the first petal. This is the second of the outer petals.
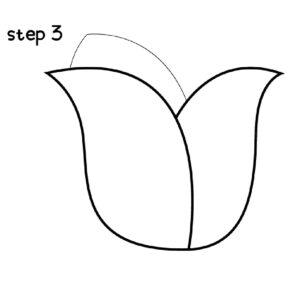
- The third step is to start to draw the inner petals starting a small distance from the left tip of the first petal and drawing it up to a point and then down to about the same distance to the right of the center of the flower.
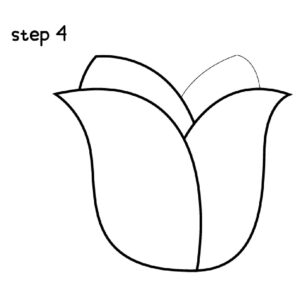
- Add another petal to the back of the flower on the right side.
- The next step is to add another petal to the back. We went with the right back
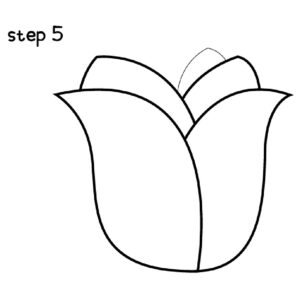
- Add a third petal to the back on the left side. This will be the last left petal.
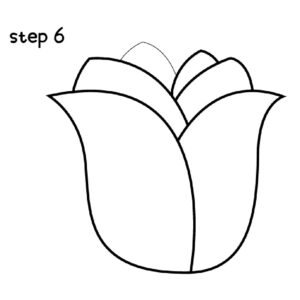
- Add one last small petal in the middle of the flower.
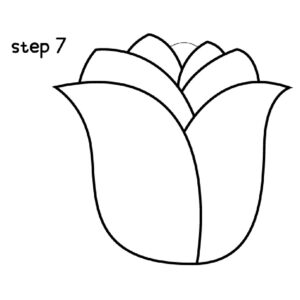
- The next step is to add the base of the rose which is called the hip (the bottom) and sepals (the arms). Draw it at the center of the rose at the bottom of the stem.
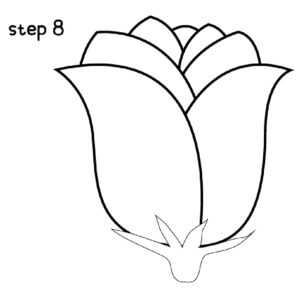
- The next step is to draw a small stem off the bottom of the rose. Draw two vertical lines creating an overall shape of a very thin rectangle.
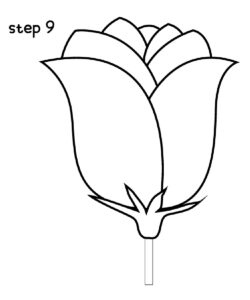
- The final step is to outline the rose with a black marker on the final lines and erase any extra lines you had while sketching the rose.
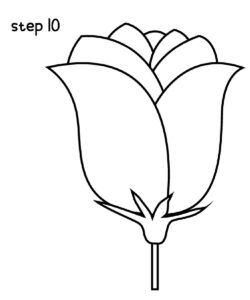
- We think it's fun to color in your rose at the end with either crayons, colored pencils, or markers.