Have some rose drawing fun with this How to Draw a Rose For Kids Step By Step Drawing Tutorial. We've included a free printable direct drawing too!
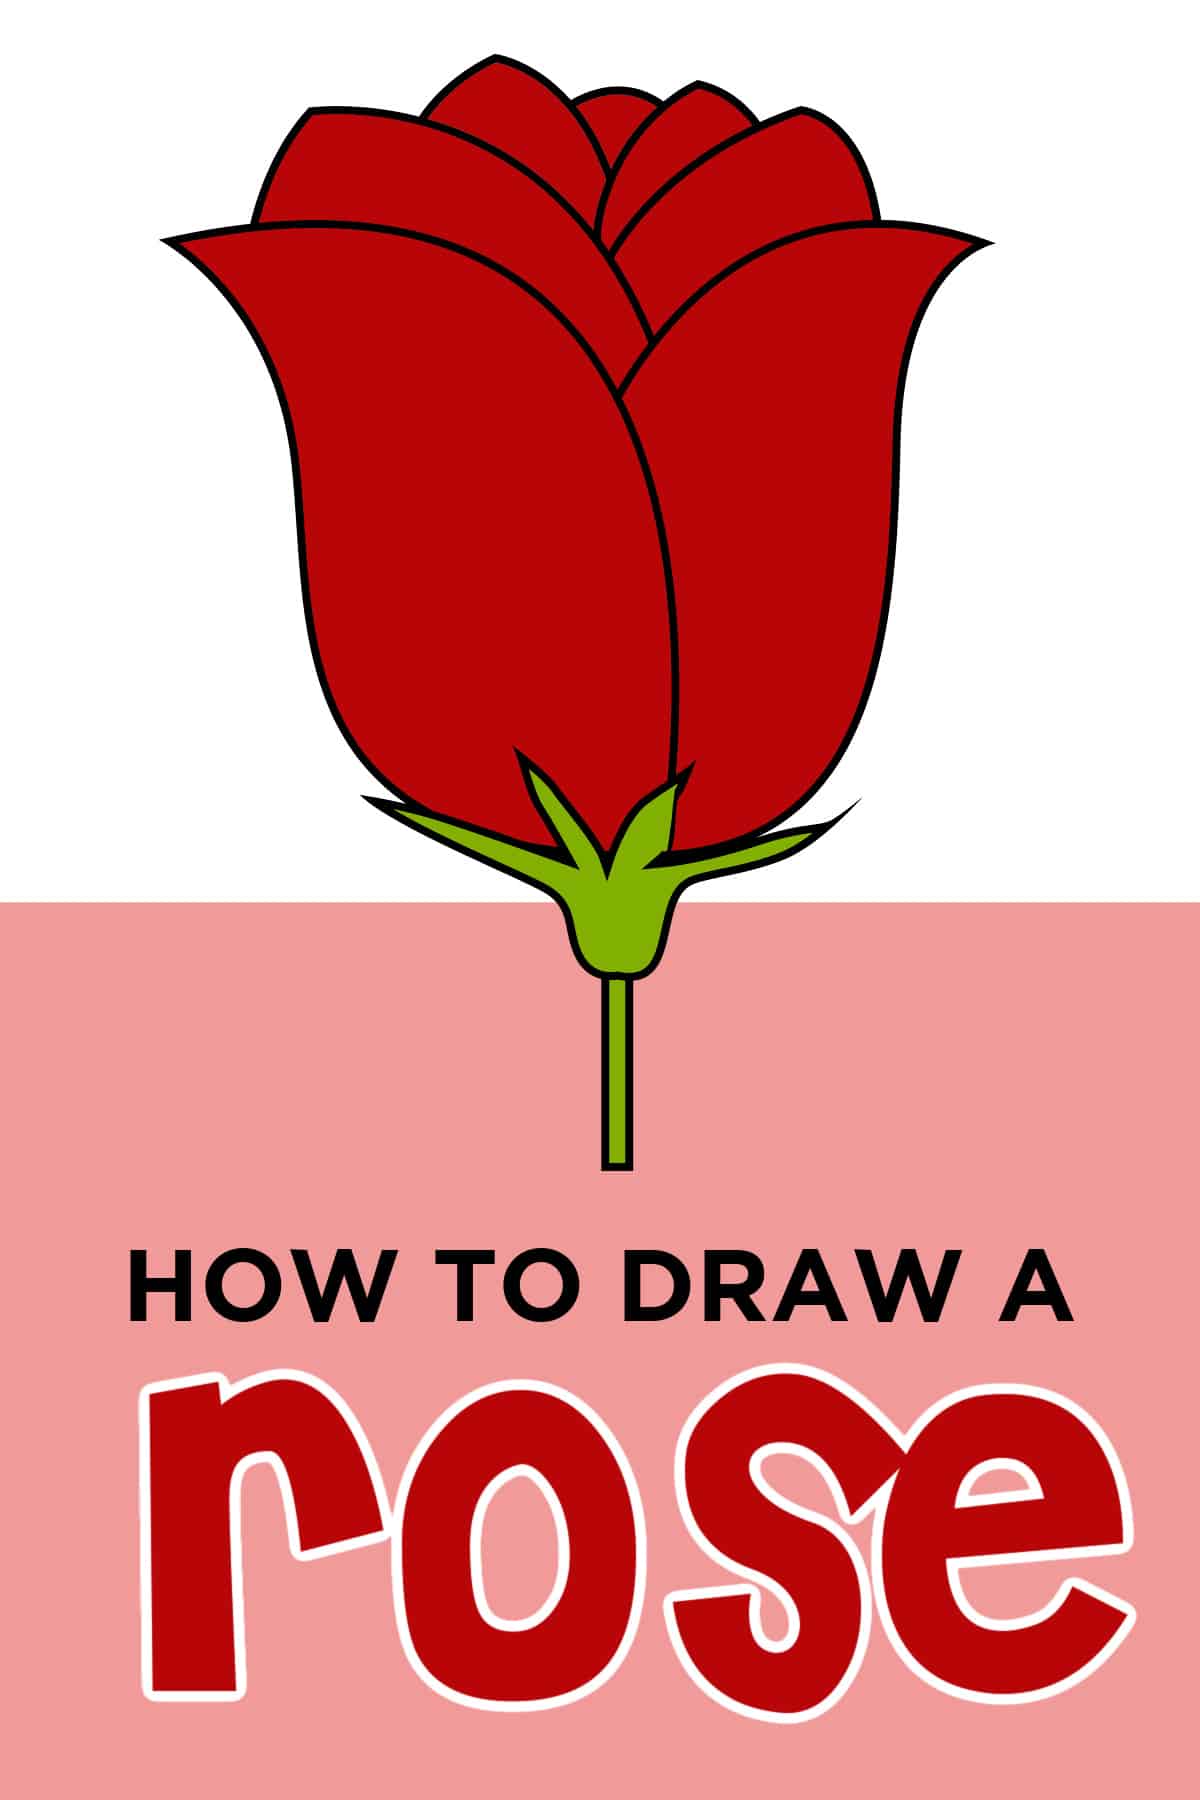
This How to Draw a Rose Step-by-Step tutorial is so fun for kids of all ages to learn the easy step-by-step lesson on how to make their own rose drawing.
Roses appear to be complicated to draw, but it really isn't as long as it is broken into steps. Roses can be really simple to draw. This cute rose drawing easy tutorial makes it simple for anyone can create an easy sketch of a rose.
We know this drawing of a rose tutorial that we are sure kids of all ages are going to love. Speaking of love, this would make for a great Valentine's Activity throughout the month of February, the month of Love. The reality is that it would be great any month of the year.
Fun Fact - Did you know that a Strawberry is part of the rose family?
Check out our other How to Draw a Flower and How to Draw a Tulip Tutorial

Want to save this project?
Enter your email below, and then we'll send it straight to your inbox. Plus get awesome new projects from us each week.
Beautiful Flowers
Flowers are one of the most beautiful creations in nature. The different colors and shapes and petals. It is no wonder that they are a lovely gift to be given, especially on Valentine's Day or Mother's Day.
A rose flower in particular is one of the most popular flowers in the world. Throughout the world roses in different colors symbolize different meanings. Some of the different colors symbolize love, friendship, sympathy, romance, and sadness. For instance, a red rose often means love and or romance.
The rose is such a beautiful flower and smells incredible. There are so many ways that this fun flower, primarily when you draw one for a friend or family member, shows how lovely they are! We hope you enjoy this beautiful rose drawing as much as we did create it.
Check out these other Fun Flower Posts!
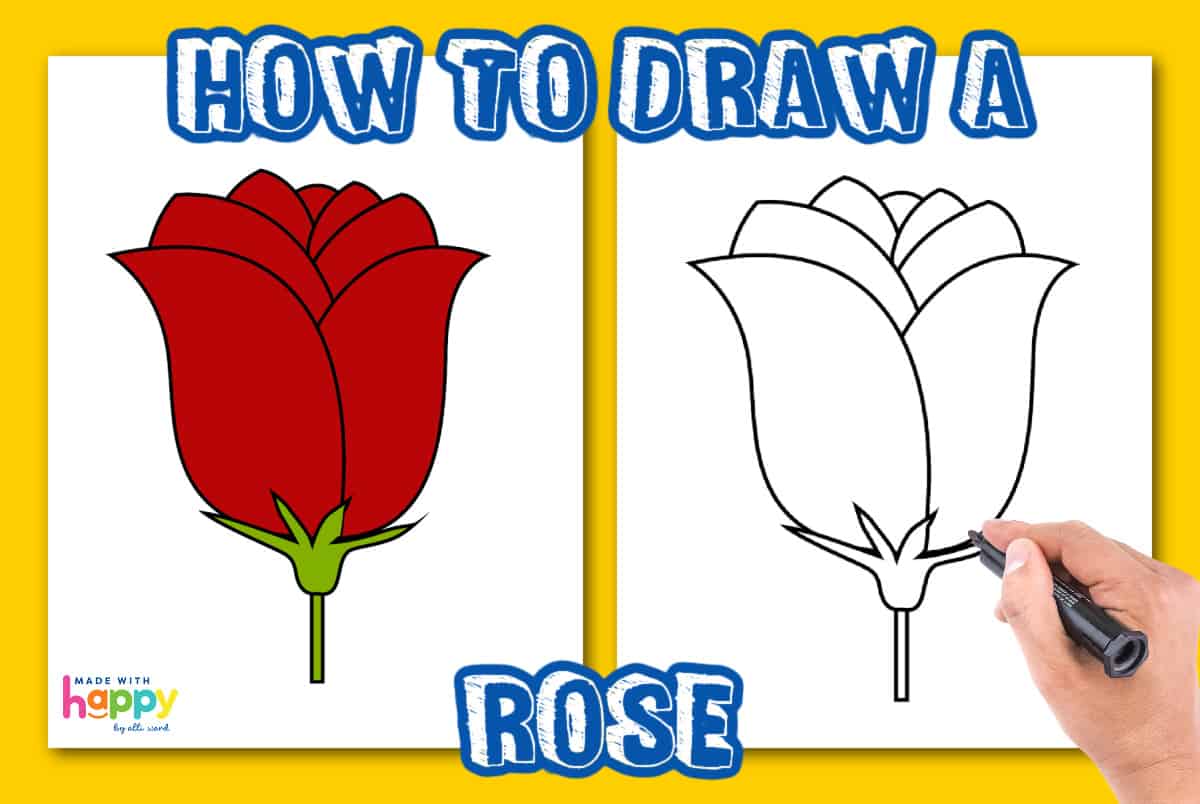
Easy Rose Drawing
Fun simple rose drawing guides like this rose drawing are a great way to learn to draw for kids of all ages. Simple shapes and curvy lines and nothing too complicated.
Until they start going for it, they don't realize how freeing it can be and how easy it can be to create something with your own hand. The best way to start is to just do it!
Before you start drawing, we also want to ensure you have the right tools. Here are the drawing paper, and drawing pencils we like to use.
If you like this How To Drawing, then don't miss our Drawing Animals Tutorial Bundle which includes 14 different printable step by step drawing guides.

Supplies for Rose Sketch
- Sheet of Paper
- Crayons, Markers, or Colored Pencils
- Drawing of a Rose step-by-step guide (download below)
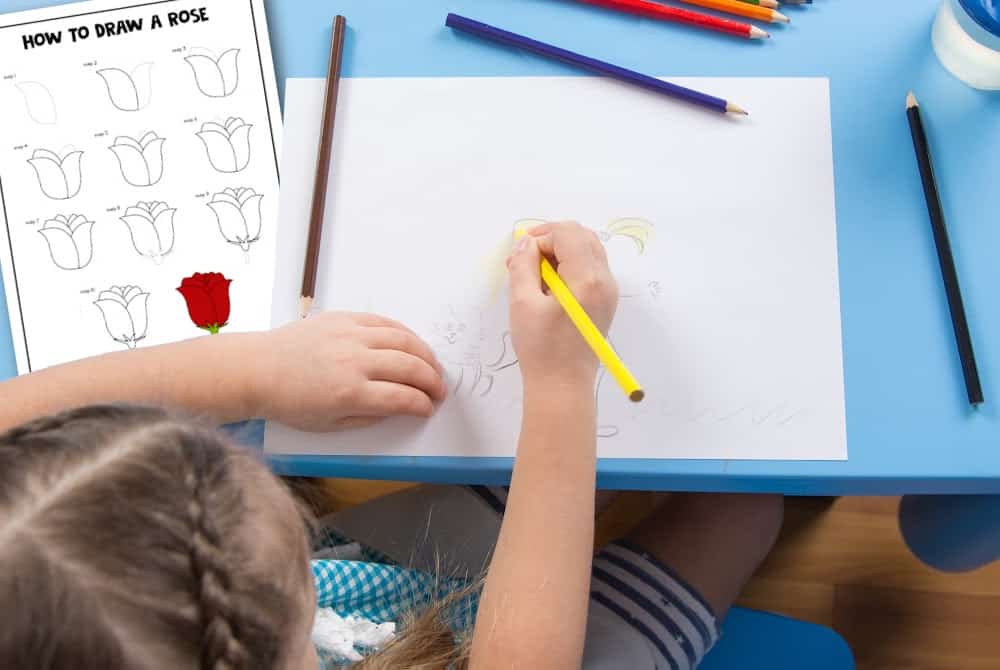
How To Draw a Rose Step By Step
Below we're sharing easy steps in the tutorial drawing lesson using basic shapes. Don't forget to print out the printable rose drawing tutorials at the bottom and follow along.
Grab a piece of paper, and a pencil, and let's draw this sweet rose. Here are the simple steps to how to draw a rose.
Rose Petals
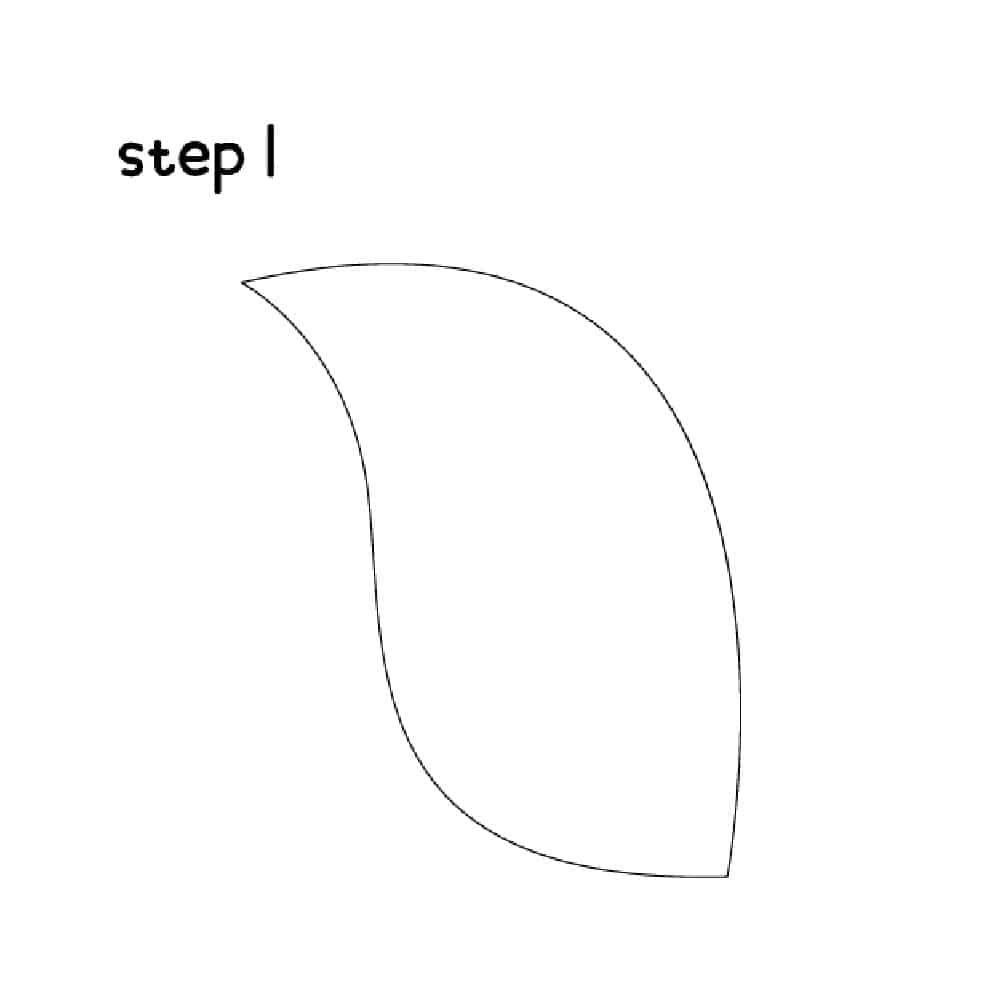
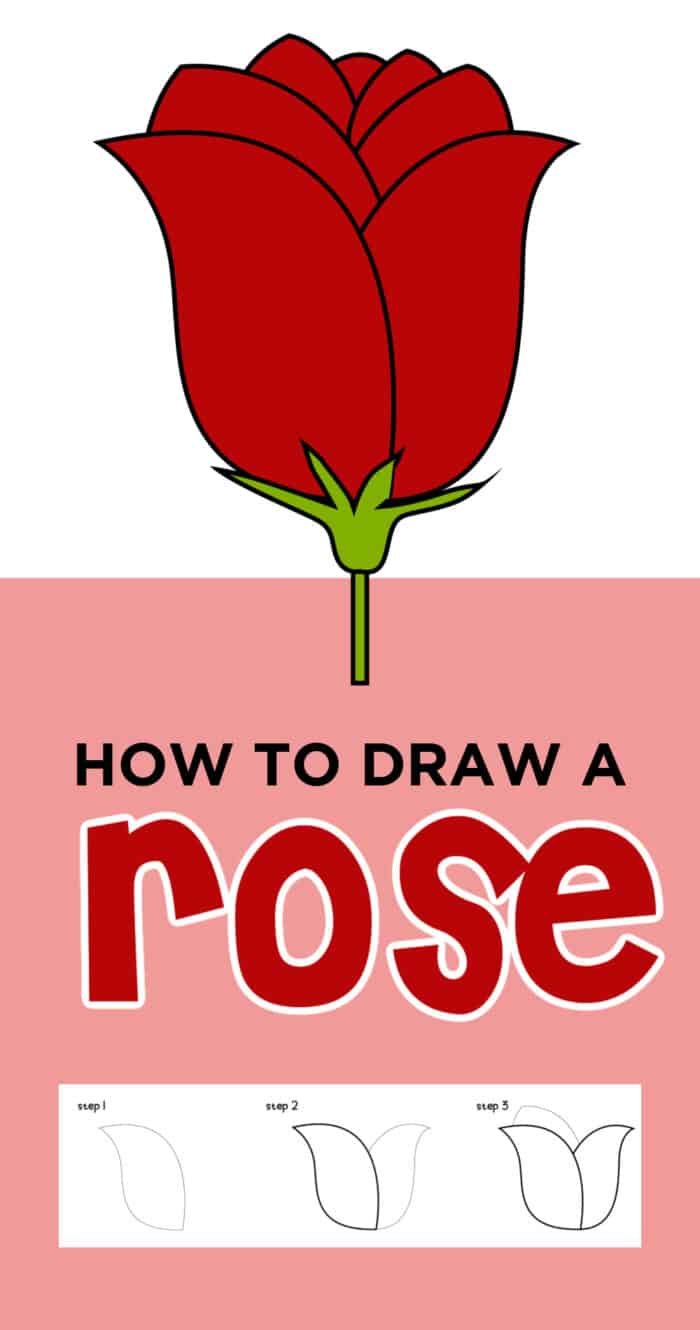
The first step is to draw the first line of the first petal. First draw a curved waterfall-like shape on the top side, then a slightly curved line on the bottom connecting both points.
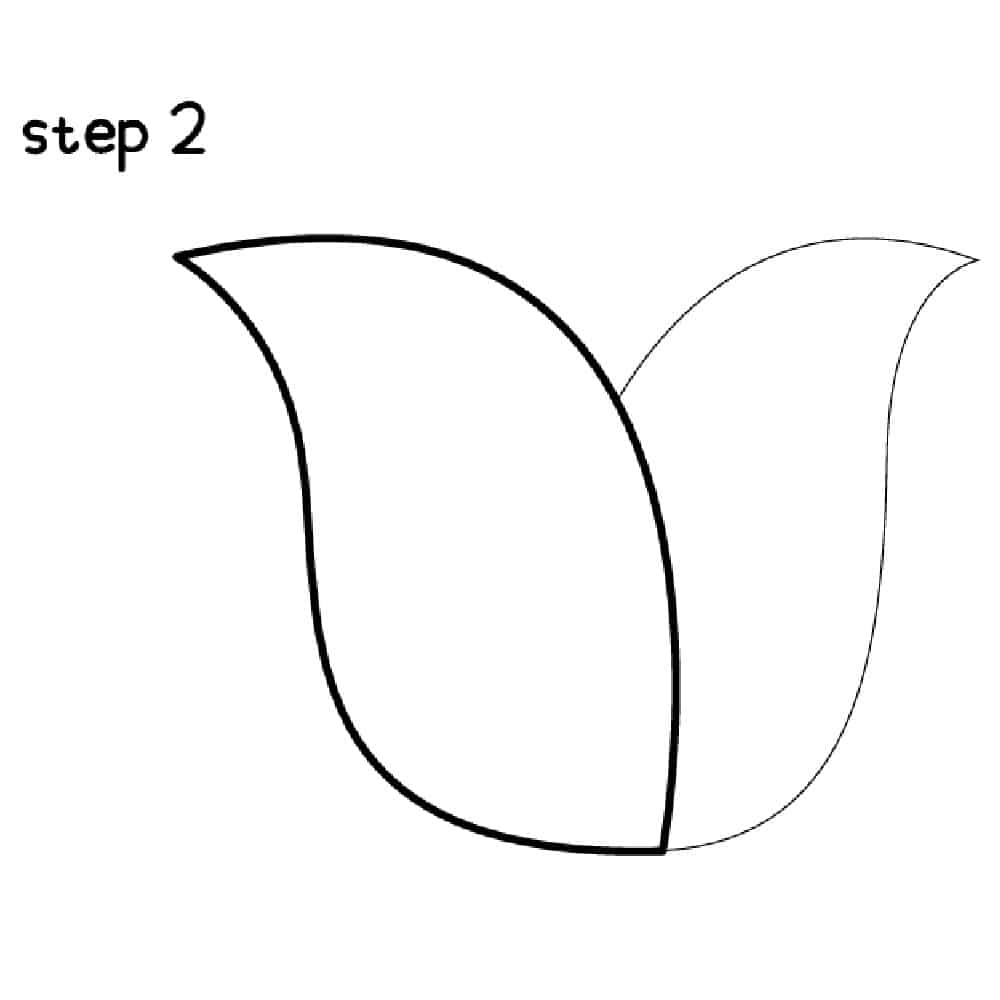
Next, create a similar shape of the petal from the previous step. off to the right. The only difference is that the top curve stops when you hit the first petal. This is the second of the outer petals.
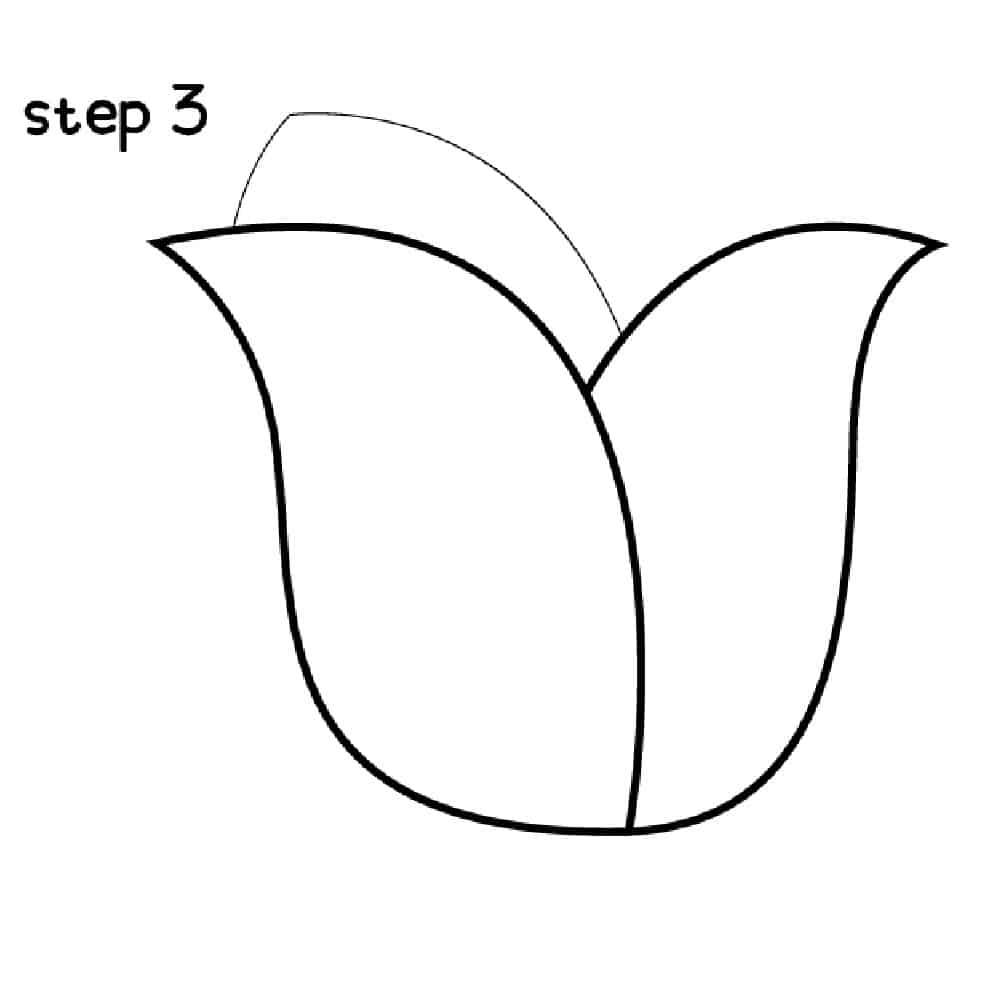
The third step is to start to draw the inner petals starting a small distance from the left tip of the first petal and drawing it up to a point and then down to about the same distance to the right of the center of the flower.
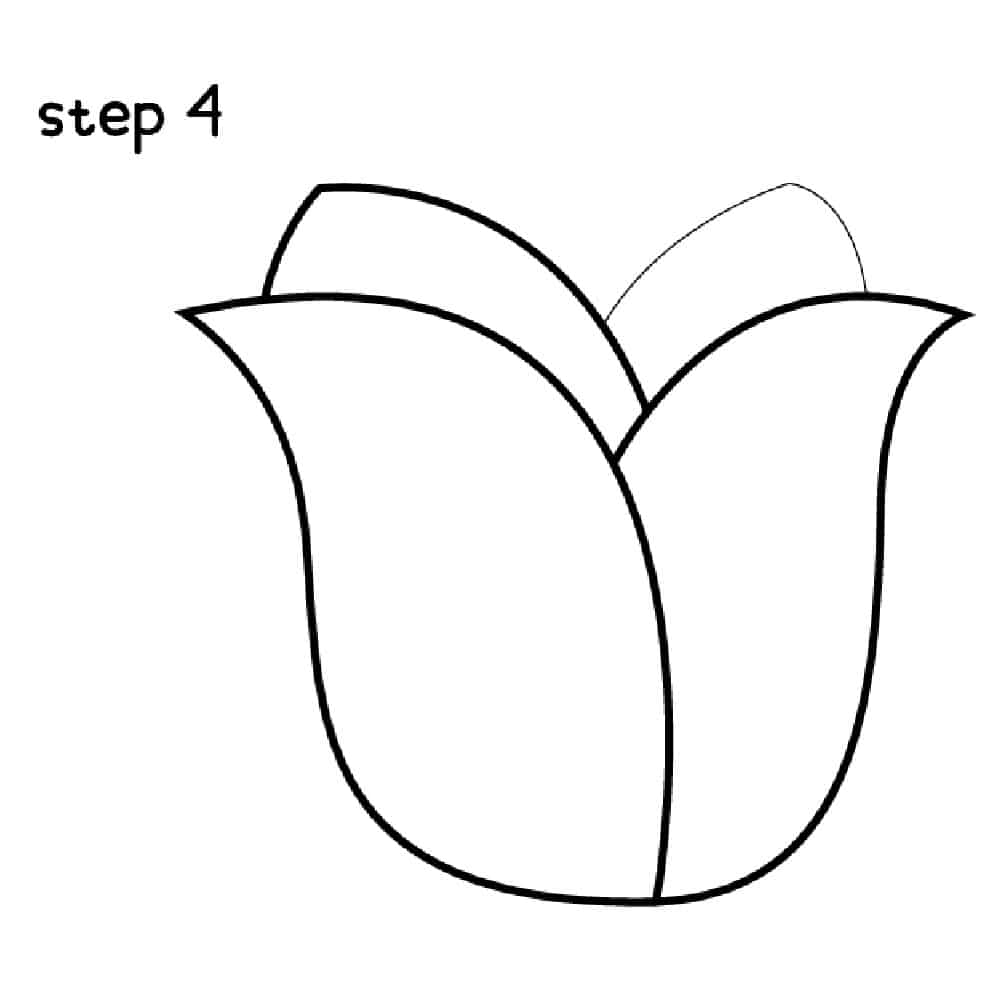
Add another petal to the back of the flower on the right side.
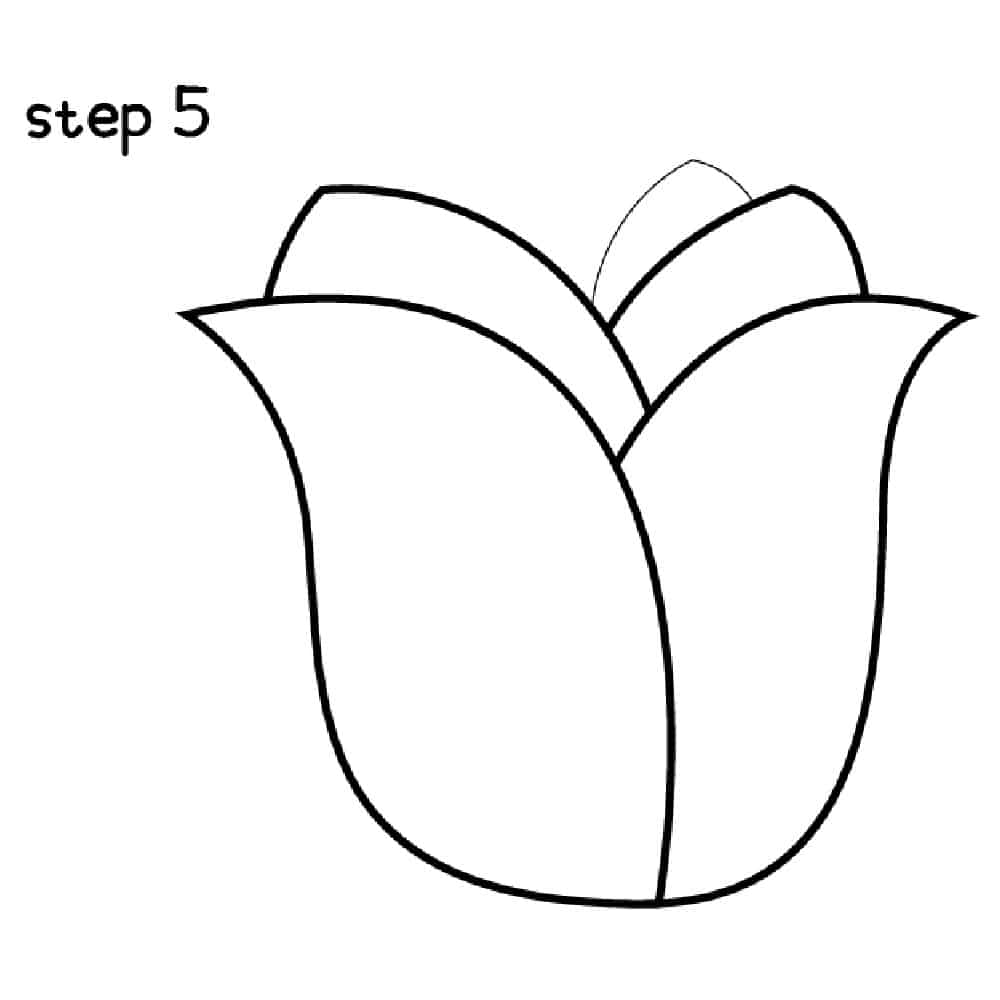
The next step is to add another petal to the back. We went with the right-back
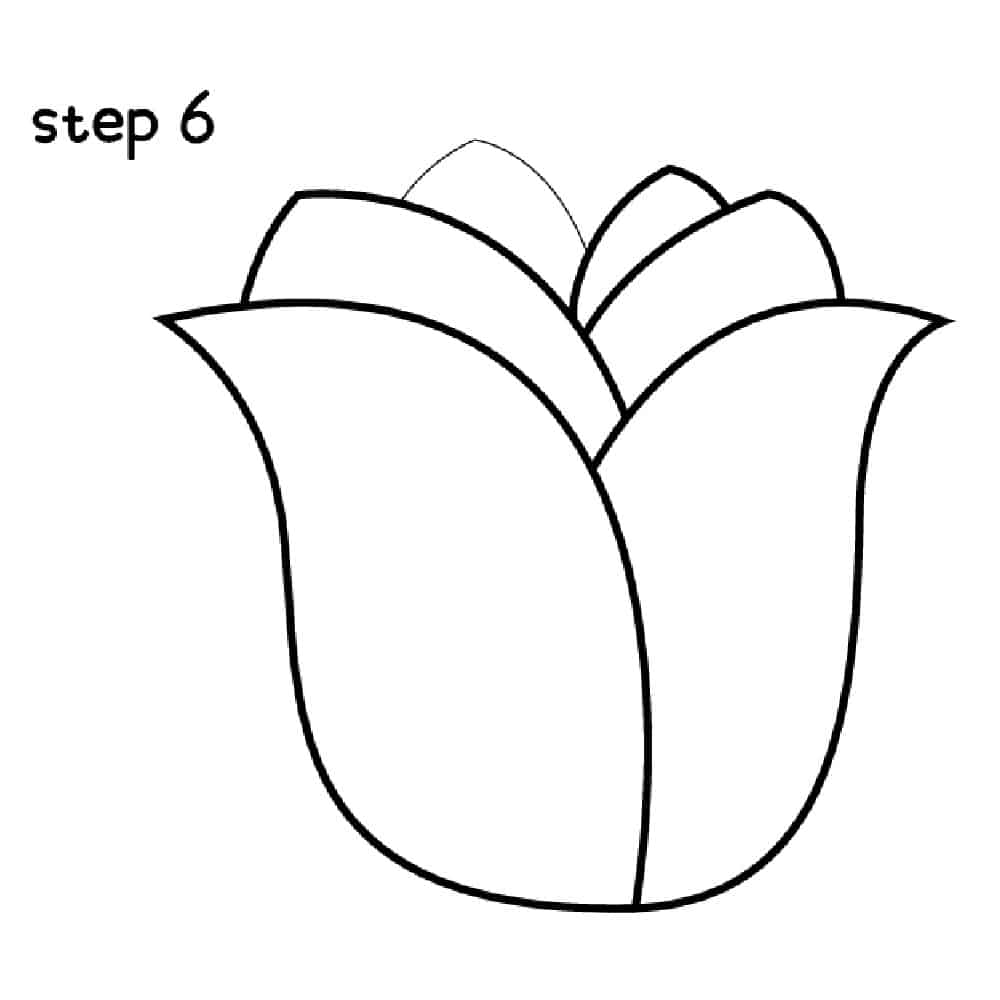
Add a third petal to the back on the left side. This will be the last left petal.
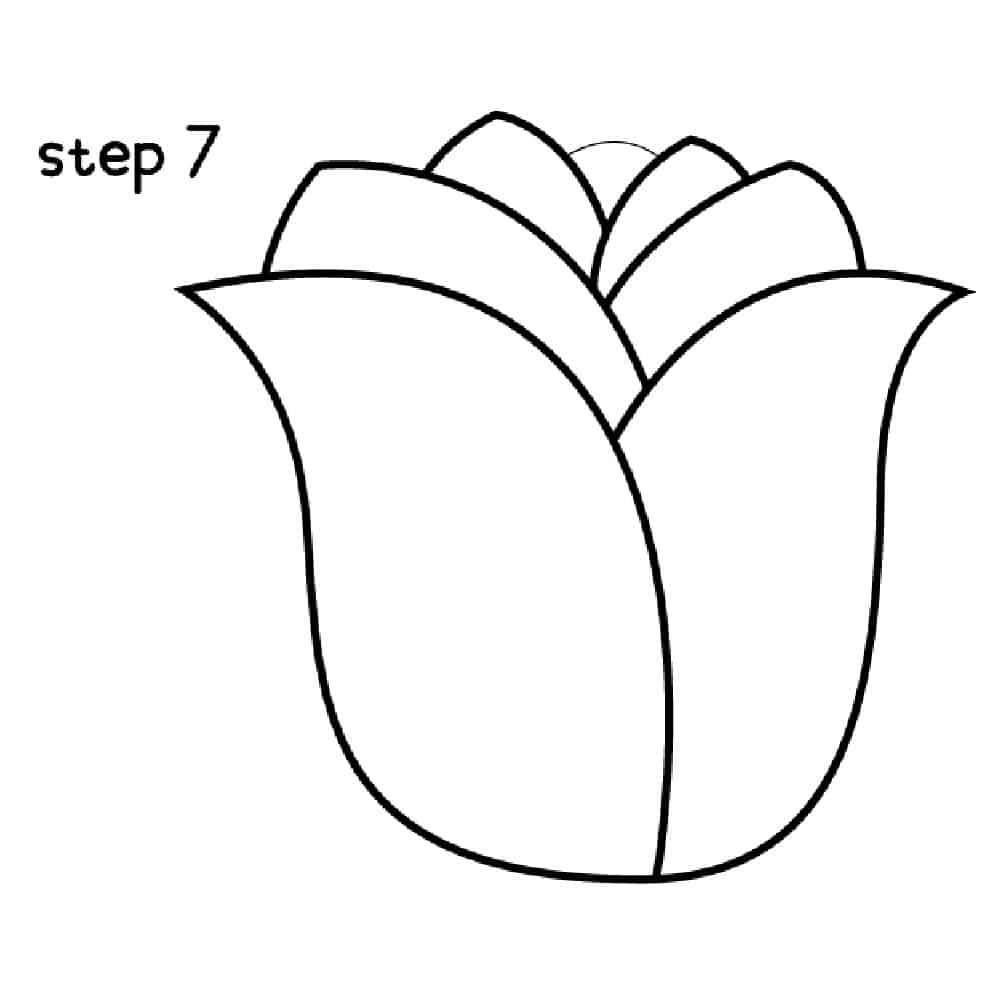
Add one last small petal in the middle of the flower.
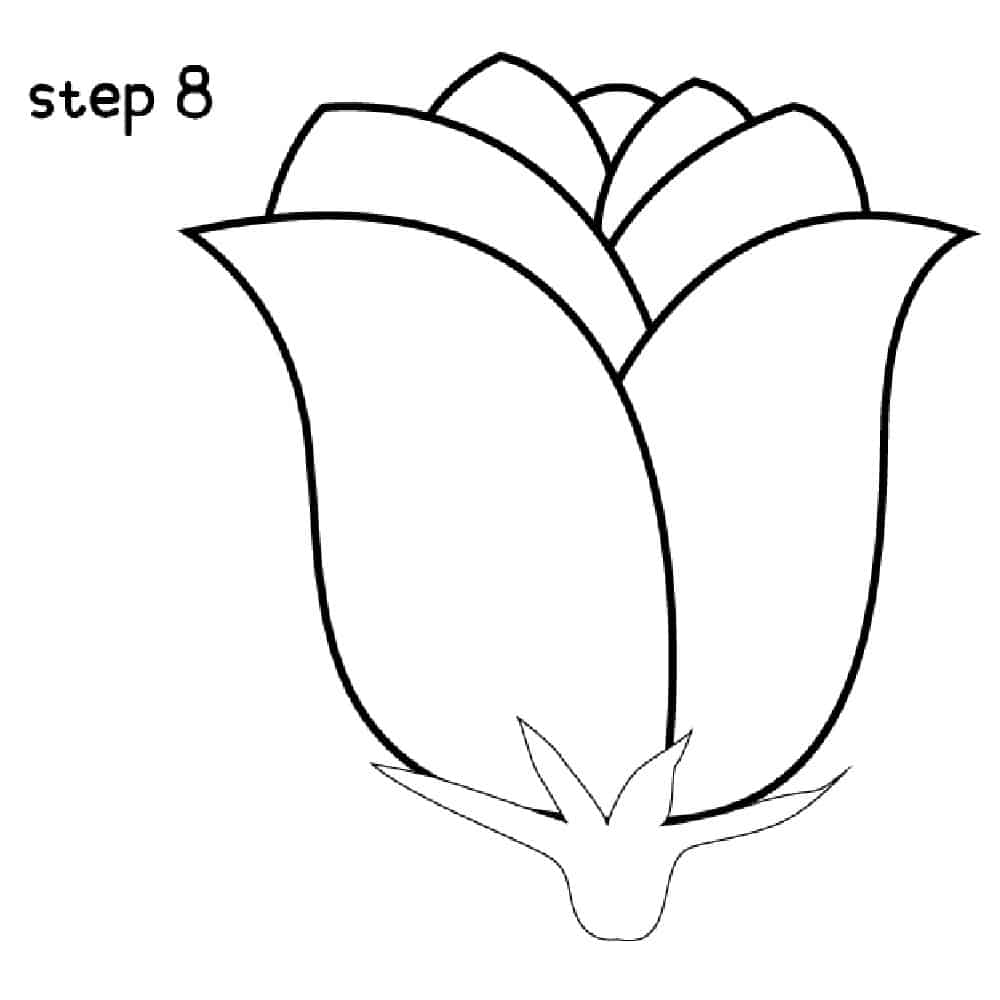
The next step is to add the base of the rose which is called the hip (the bottom) and sepals (the arms). Draw it at the center of the rose at the bottom of the stem.
The Stem of The Rose
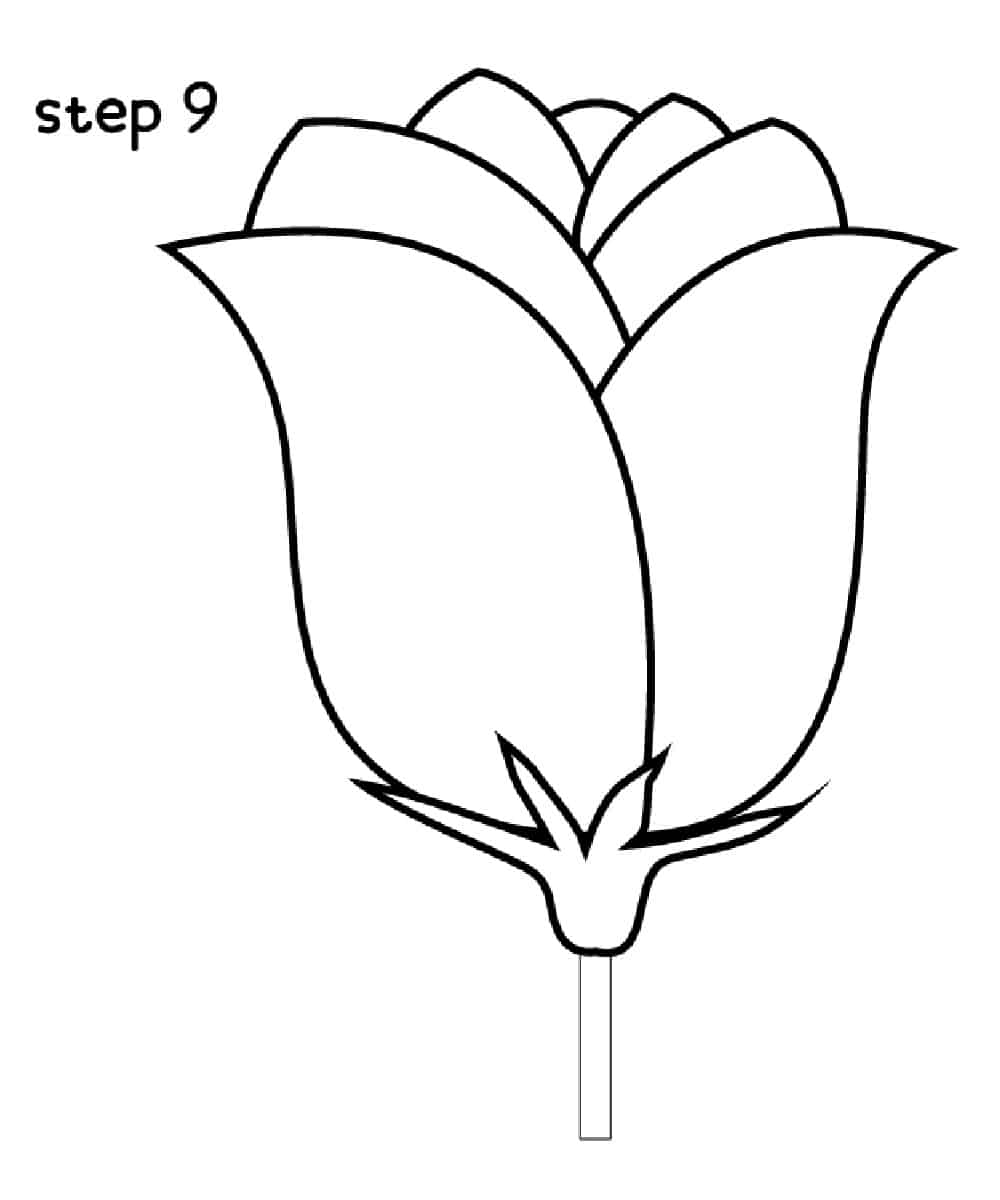
The next step is to draw a small stem off the bottom of the rose. Draw two vertical lines creating an overall shape of a very thin rectangle.
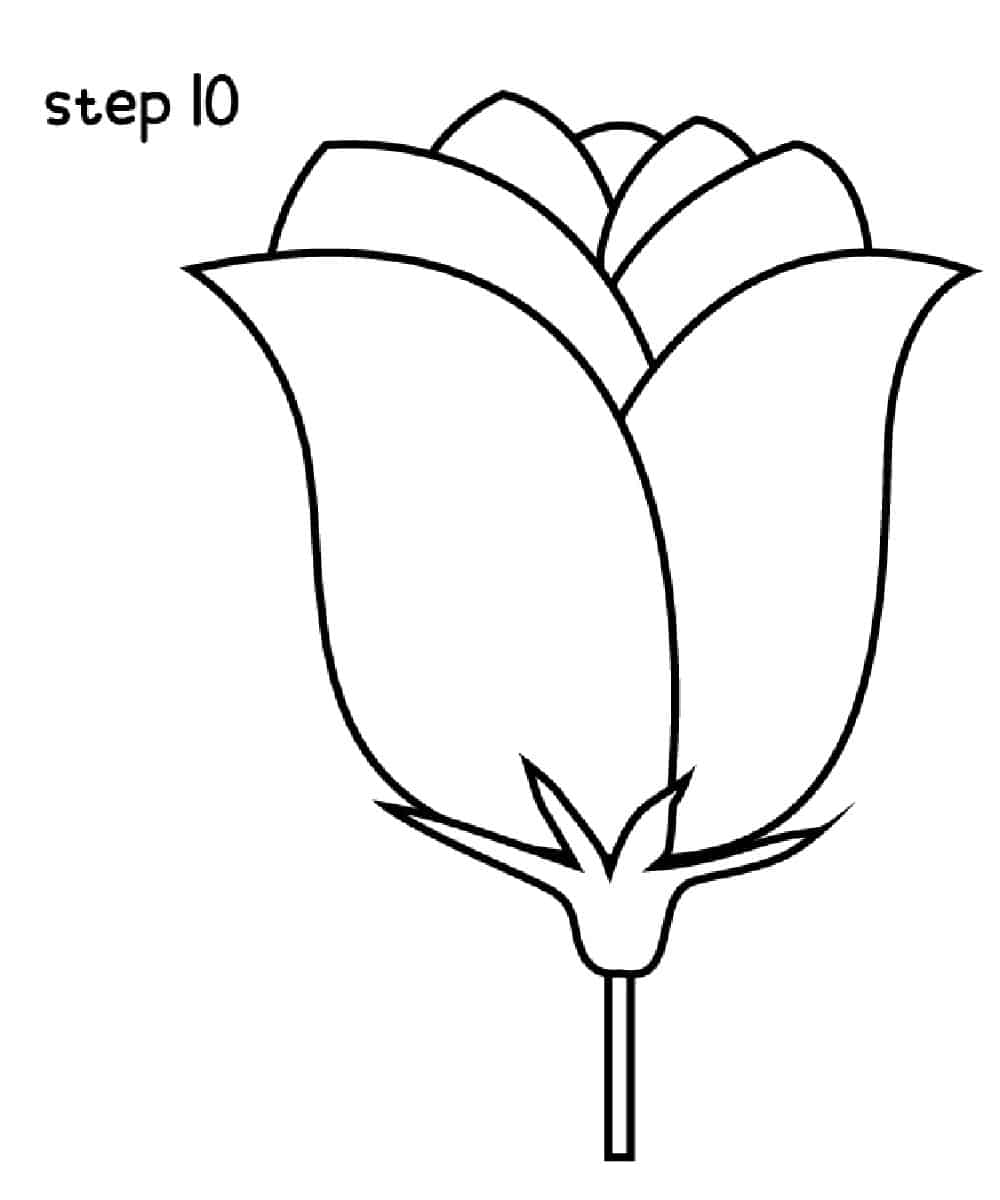
The final step is to outline the rose with a black marker on the final lines and erase any extra lines you had while sketching the rose.

We think it's fun to color in your rose at the end with either crayons, colored pencils, or markers.
We highlighted this Flower Activity along with some other fun kid's crafts in our February Crafts along with our 101+ Easy Kids Crafts.
You also do not want to miss our 101+ Printable Coloring Pages For Kids and 101+ Printables For Kids full of Crafts and Coloring Pages.
Other Drawing Tutorials You'll Enjoy
- How to Draw a Rainbow
- How to Draw a Heart
- How to Draw a Dragon
- How to Draw a Unicorn
- How to Draw a Ladybug
- How to Draw a Bunny
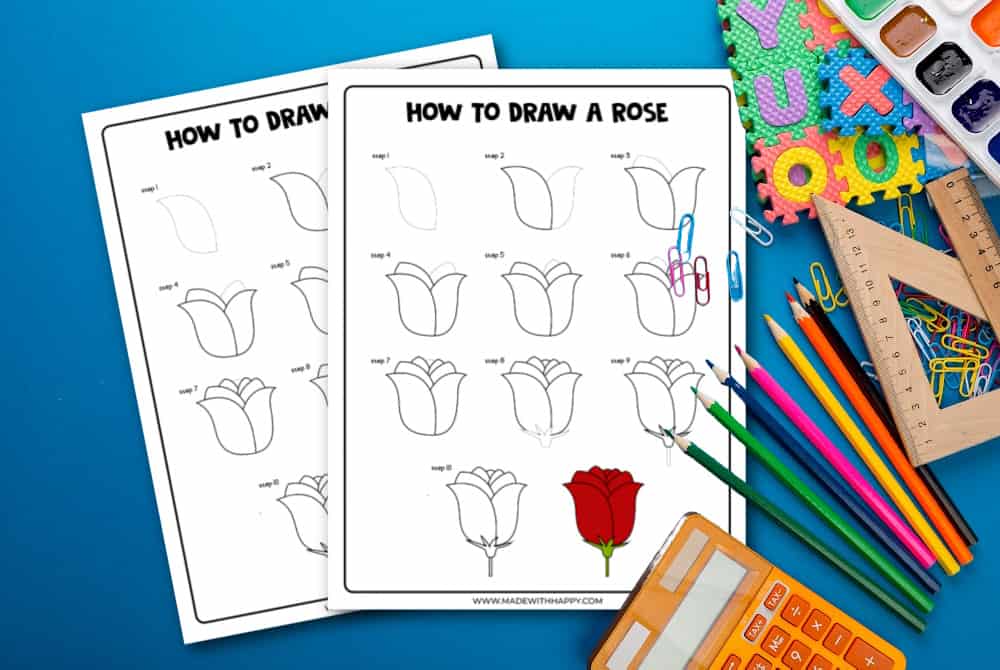
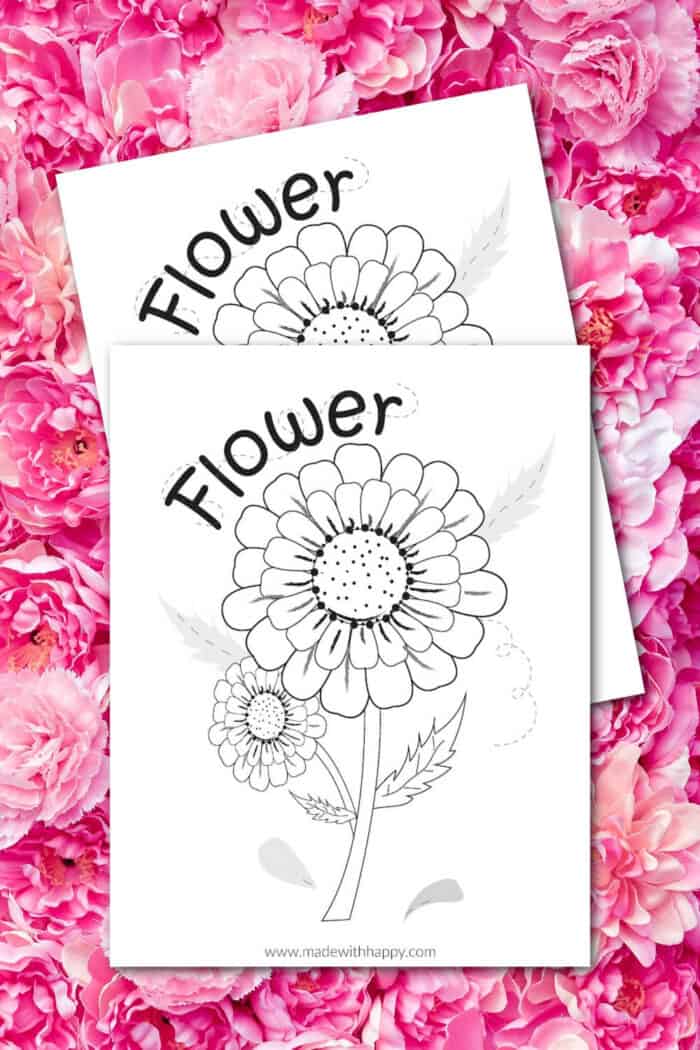
Download Free Printable Rose Drawing Lessons PDF
Simply enter your name and email address in the form below to be taken directly to the step-by-step instructions pdf file.
*For personal use only
How to Draw a Rose For Kids
How To Draw a Rose
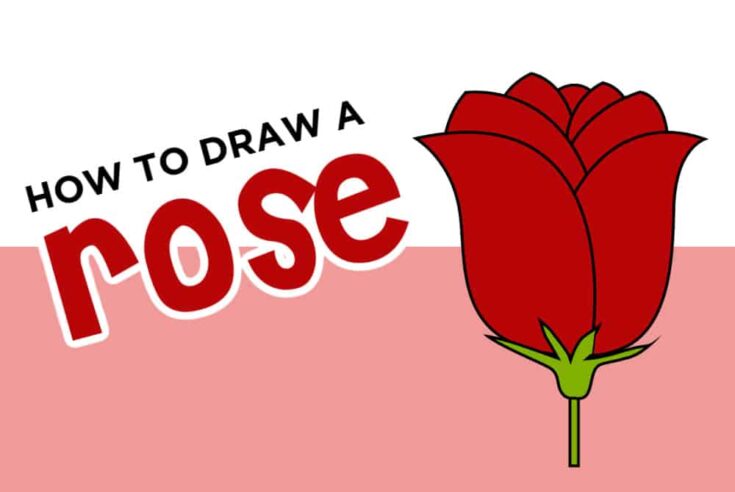
Have some rose drawing fun with this How to Draw a Rose Step By Step Drawing Tutorial. We've included a free printable direct drawing too!
Materials
Tools
- Drawing Pencils
Instructions
The first step is to draw the first line of the first petal. First draw a curved waterfall-like shape on the top side, then a slightly curved line on the bottom connecting both points.
Next, create a similar shape of the petal from the previous step. off to the right. The only difference is that the top curve stops when you hit the first petal. This is the second of the outer petals.
The third step is to start to draw the inner petals starting a small distance from the left tip of the first petal and drawing it up to a point and then down to about the same distance to the right of the center of the flower.
Add another petal to the back of the flower on the right side.
The next step is to add another petal to the back. We went with the right back
Add a third petal to the back on the left side. This will be the last left petal.
Add one last small petal in the middle of the flower.
The next step is to add the base of the rose which is called the hip (the bottom) and sepals (the arms). Draw it at the center of the rose at the bottom of the stem.
The next step is to draw a small stem off the bottom of the rose. Draw two vertical lines creating an overall shape of a very thin rectangle.
The final step is to outline the rose with a black marker on the final lines and erase any extra lines you had while sketching the rose.
We think it's fun to color in your rose at the end with either crayons, colored pencils, or markers.
CONNECT WITH MADE WITH HAPPY!
Be sure to follow me on social media, so you never miss a post!
Facebook | Twitter | Youtube | Pinterest | Instagram
Find and shop my favorite products in my Amazon storefront here!
How To Draw a Rose Step-By-Step
PIN IT TO YOUR DIY BOARD ON PINTEREST!
FOLLOW MADE WITH HAPPY ON PINTEREST FOR ALL THINGS HAPPY!


