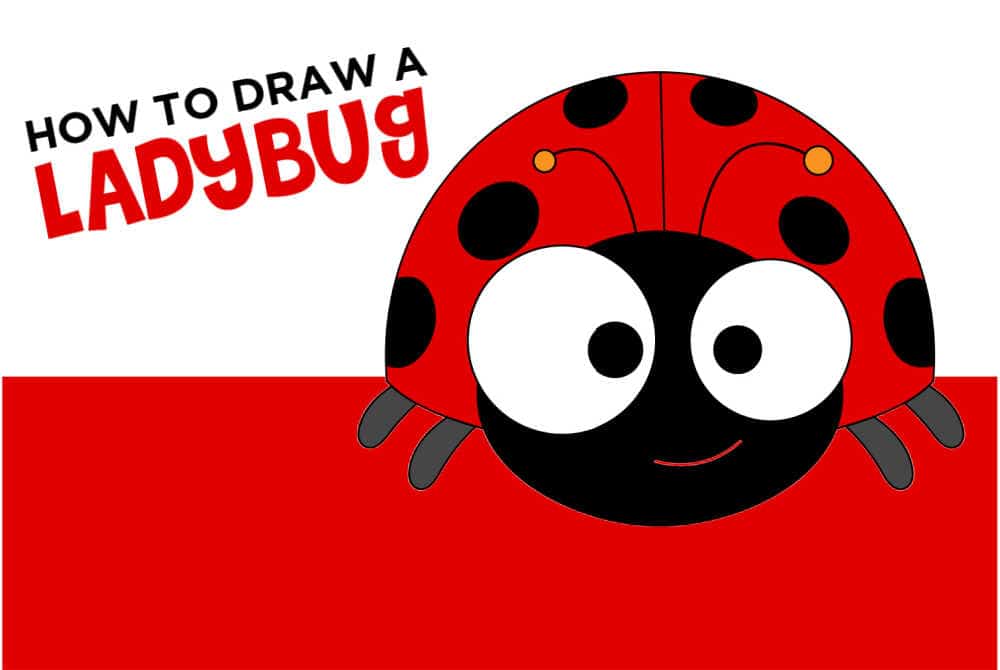
Learn the fun and easy instructions on how to draw a ladybug with our step by step tutorial and free printable. Easy Drawing For Kids!
Want to save this project?
Enter your email below, and then we'll send it straight to your inbox. Plus get awesome new projects from us each week.
This How to Draw a Ladybug tutorial is so much fun and is an easy drawing lesson for kids of all ages. Drawing this cartoon ladybug is broken down into simple easy steps using basic shapes. We know this is sure to make anyone a Ladybug fan!
Ladybug Facts
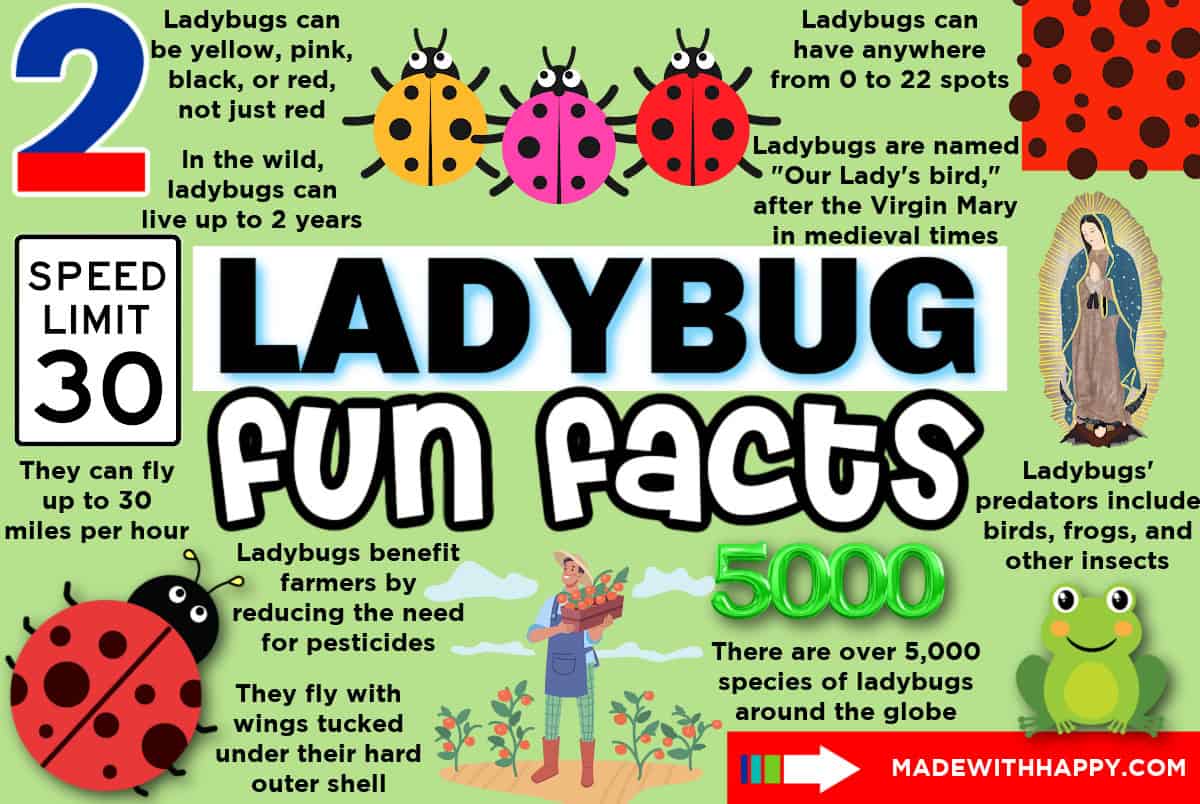
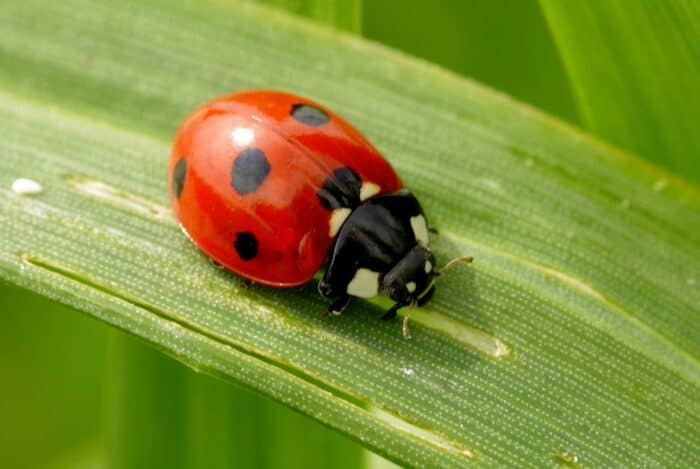
Ladybugs or lady beetles are one of the most beloved animals on the planet. They are one of my favorite bugs! If they land on you, they are considered a symbol of good luck. With more than 5000 species of them around the world, these harmless animals come in lots of different colors and patterns.
The one we are most familiar with within North America is the seven spotted ladybugs. It is typically red and shiny with black spots.
They come out of hibernation in the Spring and that is why you will see many activities and crafts with ladybugs in the Spring. Some of our favorites are our ladybug coloring page, ladybug preschool craft, and ladybug rock painting.
If you like this Ladybug Drawing, then don't miss our Drawing Animals Tutorial Bundle which includes 14 different printable step by step drawing guides.
Do Not Miss Our Full How to Draw Animals For Kids
Check out these other Drawing Tutorials!
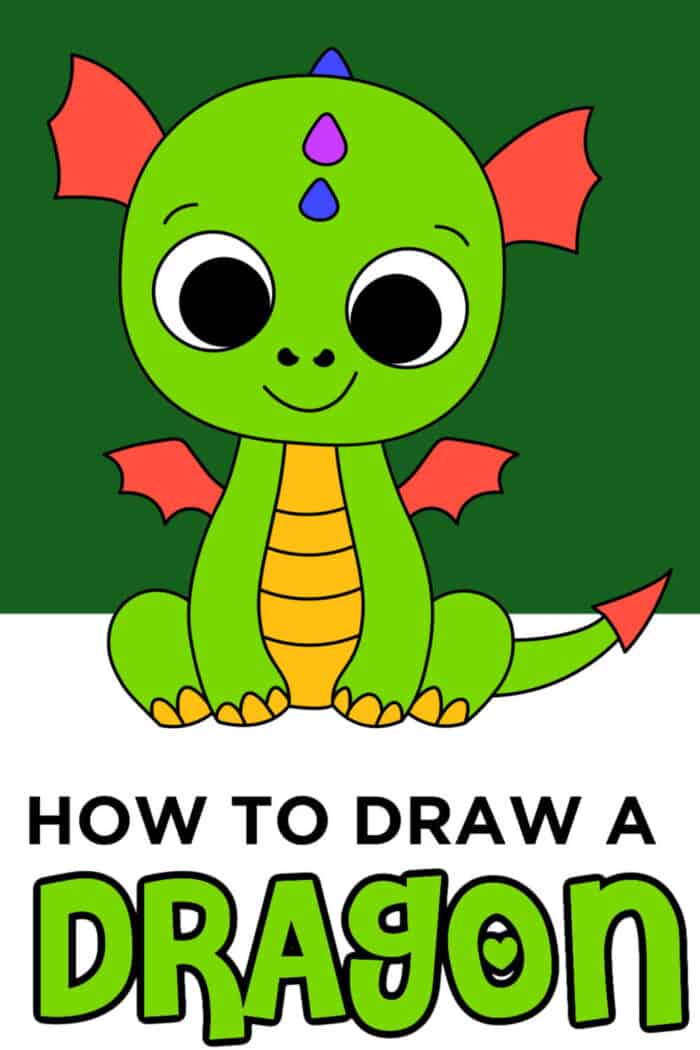
Cute How to Draw a Dragon
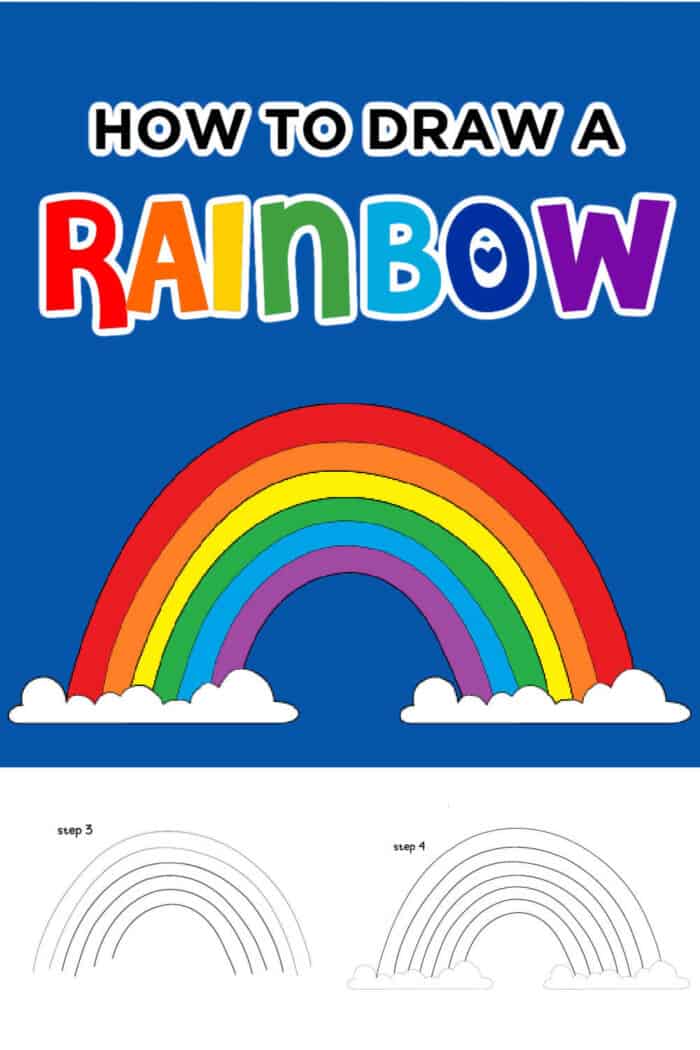
Cute Rainbow Drawing

Draw a Penguin Easy

How to Draw a Snowman
We highlighted this Spring Printable along with some other fun kid's crafts in our April Crafts for Kids along with our 101+ Easy Craft Ideas for kids.
Don't miss our Animal Charades, Animal Crafts, and Animal Bingo for more animal fun.
Easy Drawings For Kids
Drawing and Coloring are some of our favorite things to do with the kids. Teaching them fun techniques to draw fun animals and characters is always fun to do. If you are looking for other drawings for kids, then you won't want to miss our other popular posts.
Before you start drawing, we also want to make sure you have the right tools. Here is the drawing paper, and drawing pencils that we like to use.
Now onto drawing a ladybug, cute ladybugs at that!!
Ladybug Drawing Lesson
Below we have broken down the ladybug drawing into easy step-by-step instructions. For these sweet ladybird beetles, you can have your piece of paper oriented whichever way you want to create this easy drawing.

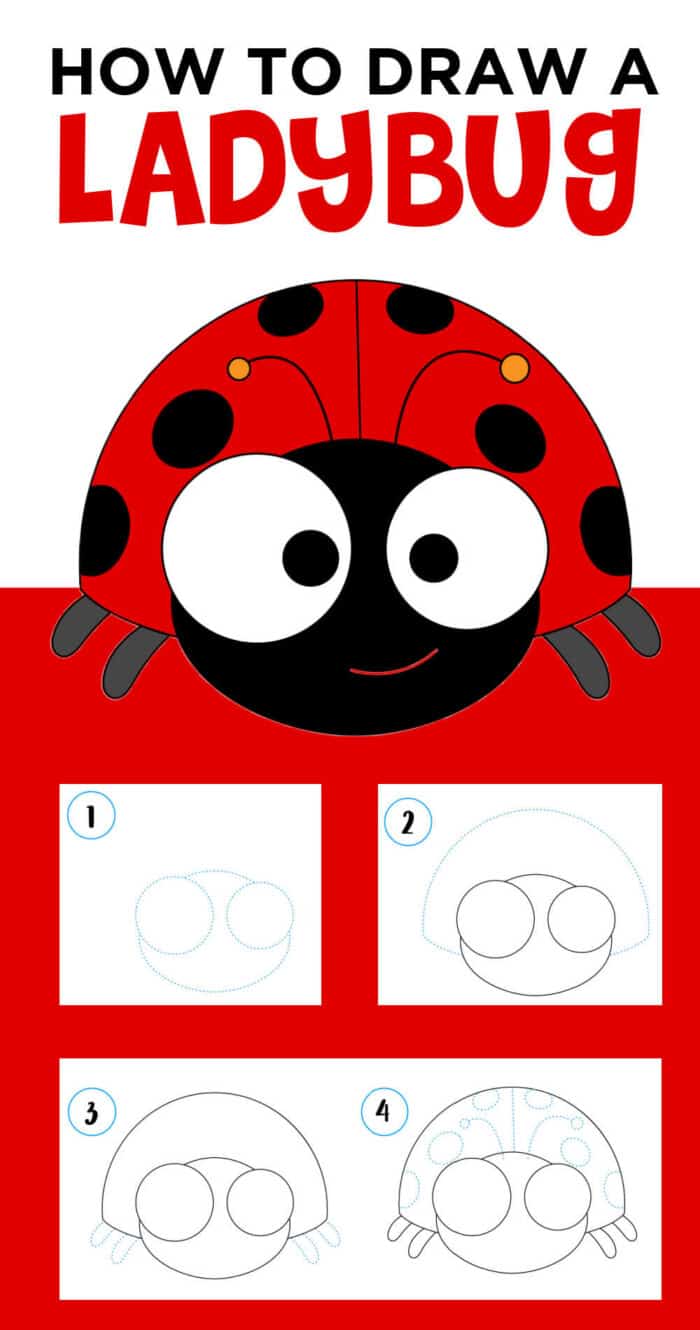
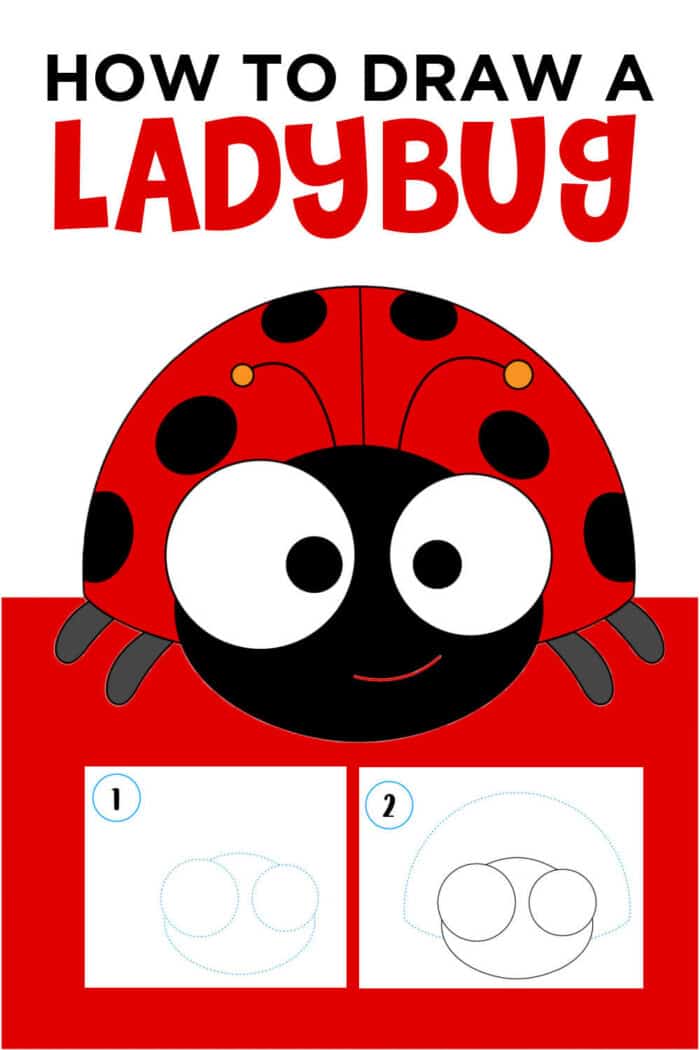
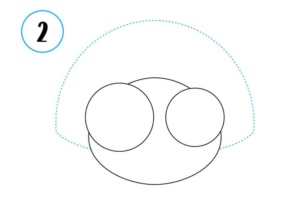
The first step (blue outline) is to start with two small circles. These are the ladybug beetles eyes, so this is the middle of your own ladybug. You will then create a curved line from the middle of the top of one eye to the other top of the middle of the other eye. This is creating the top of the head. Then draw a second curved line side of one eye to the other side of the eye creating a U shape.
The next step is to create the shell. Start by drawing a small line out from the side of the ladybug's head and then create a rainbow shape line around the head and then back in on the other side of the face.
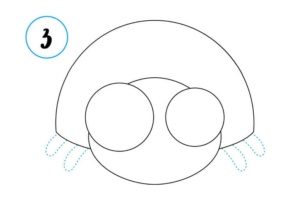
The next step is to draw small legs coming out of the bottom portion of the shell that we drew in the previous step. First pair of legs on one side and the second on the other side.
Adding Ladybug Detail
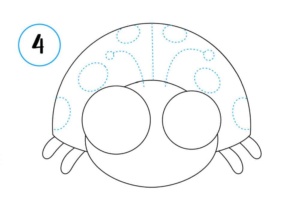
The next step is to draw on the spots on the shell and the antennas. First, draw a straight line in the middle of the shell from the top of the head to the top of the arch of the shell. Then draw small circles on each side of the shell to mark the ladybug spots. Draw the antennas out the top of the head with a small circle on the end of each of the antennas.
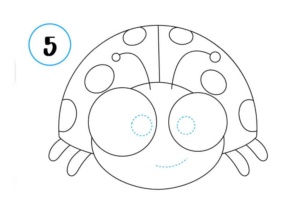
The last step in drawing a simple ladybug is to add eyes and a small smile. You can create the eyes with small circles inside the larger eyes. Make the smile in a half-smile or simple u in the middle of the face.
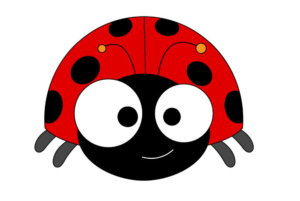
Last, but certainly not least, color in your sweet simple ladybug. We like going over our drawings with a black marker to make my drawing stand out. Then we start coloring. We of course with the bright red colored ladybug with tiny black spots, but you color yours in with your own creativity.
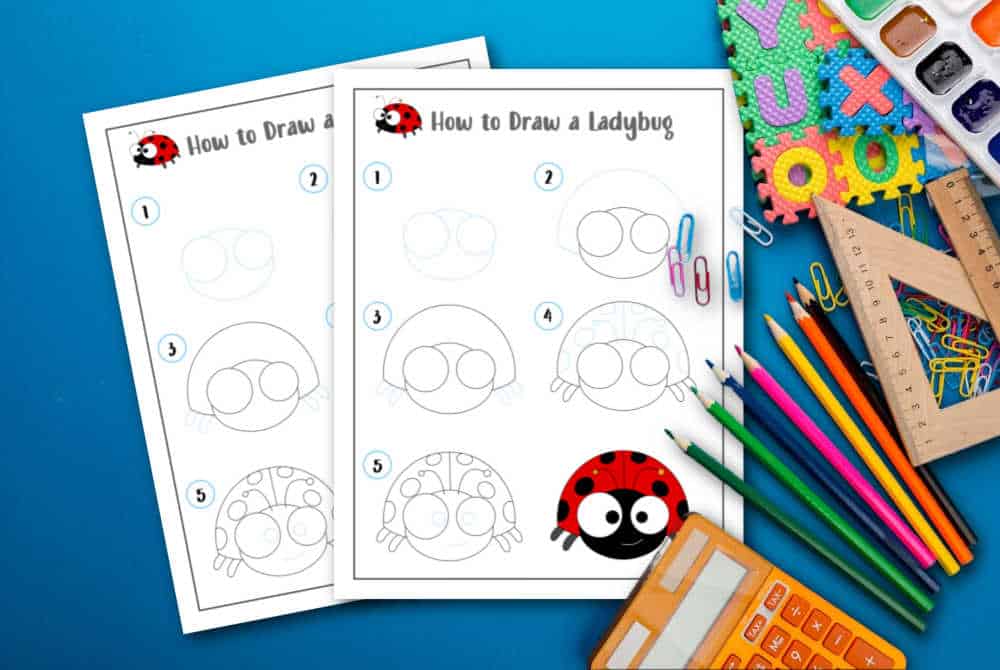
Download Free Step By Step Drawing Tutorial
Simply enter your name and email address in the form below. You will be taken directly to the drawing step by step lesson.
Or you can purchase the full animal bundle
Other Spring Printables You'll Love
- Happy Spring Coloring Pages
- Free Printable Spring Bingo
- Spring Word Search For Kids
- Sprint Pinwheel Paper Wreath
- Spring Crafts For Kids

How To Draw a Ladybug
Equipment
- Drawing Pencils
Ingredients
Instructions
- The first step (blue outline) is to start with two small circles. These are the ladybug beetles eyes, so this is the middle of your own ladybug. You will then create a curved line from the middle of the top of one eye to the other top of the middle of the other eye. This is creating the top of the head. Then draw a second curved line side of one eye to the other side of the eye creating a U shape.

- The next step is to create the shell. Start by drawing a small line out from the side of the ladybug's head and then create a rainbow shape line around the head and then back in on the other side of the face.
- The next step is to draw small legs coming out of the bottom portion of the shell that we drew in the previous step. First pair of legs on one side and the second on the other side.
- The next step is to draw on the spots on the shell and the antennas. First, draw a straight line in the middle of the shell from the top of the head to the top of the arch of the shell. Then draw small circles on each side of the shell to mark the ladybug spots. Draw the antennas out the top of the head with a small circle on the end of each of the antennas.
- The last step in drawing a simple ladybug is to add eyes and a small smile. You can create the eyes with small circles inside the larger eyes. Make the smile in a half-smile or simple u in the middle of the face.
- Last, but certainly not least, color in your sweet simple ladybug. We like going over our drawings with a black marker to make my drawing stand out. Then we start coloring. We of course with the bright red colored ladybug with tiny black spots, but you color yours in with your own creativity.
Video
CONNECT WITH MADE WITH HAPPY!
Be sure to follow me on social media, so you never miss a post!
Facebook | Twitter | Youtube | Pinterest | Instagram
Find and shop my favorite products in my Amazon storefront here!
How To Draw a Ladybug
PIN IT TO YOUR DIY BOARD ON PINTEREST!
FOLLOW MADE WITH HAPPY ON PINTEREST FOR ALL THINGS HAPPY!