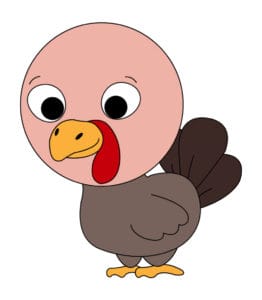
How to Draw Turkey
Learn how to draw turkey with a free printable step-by-step drawing tutorial. Having some easy turkey how to draw fun for kids of all ages.
Equipment
- Drawing Pencils
Ingredients
Instructions
- The orientation of the paper isn't something you need to worry about for this drawing tutorial. It can be positioned in the vertical position which means the long edge of your paper should be running up and down. Horizontal means the long edge is at the top and bottom of the paper. You choose whatever position you feel comfortable with.

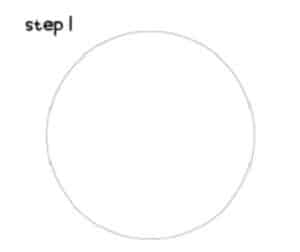
- Start with drawing a circle for the head of your turkey.
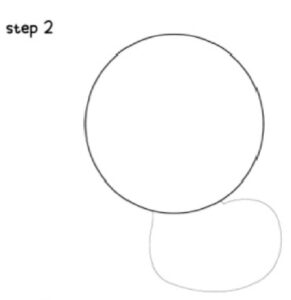
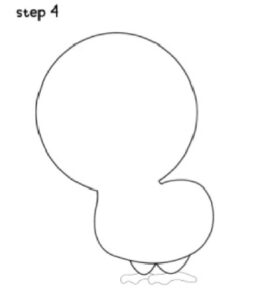
- Start by adding a small oval shape off the bottom of the turkey head. This oval shape will be the body of the turkey. We're creating a simple turkey facing the left side, so the body would be offset to the right off the base of the neck.
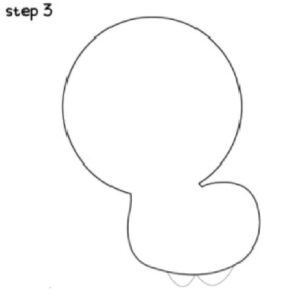
- The next step is to add small triangles at the bottom of the turkey's body as the turkey legs.
- The next step is to draw each of the turkey feet. The bottoms look like a simple w-shaped line.
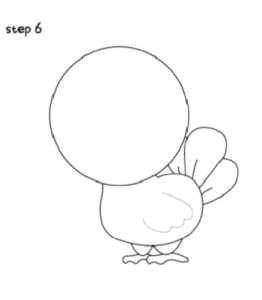
- Draw on the turkey tail feather off the side of the body. Create a feather with a curved line in a flower petal shape. Draw small straight lines in the middle of the feather.

- Next, draw on a small wing with wing feathers on the side of the turkey's body and halfway between the turkey’s chest and tail feathers.
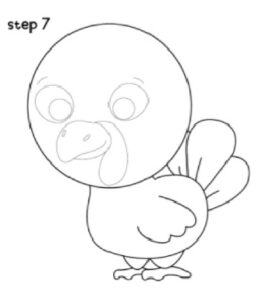
- The first part of drawing a turkey face is to draw a turkey’s eye. It starts with a small circle and an even smaller circle inside of it. Then draw a small curved line for the shape of the beak. Lastly, draw on the snood, the red thing that hangs off the turkey's forehead.
- Once you have all the details drawn the way you want, outline the turkey with a pen or marker.
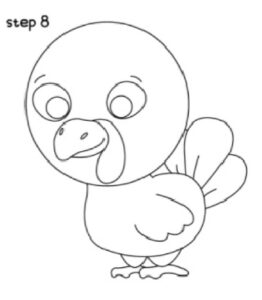
- The last step is to color in your turkey. Use bright colors and different colors for the tail than the body!