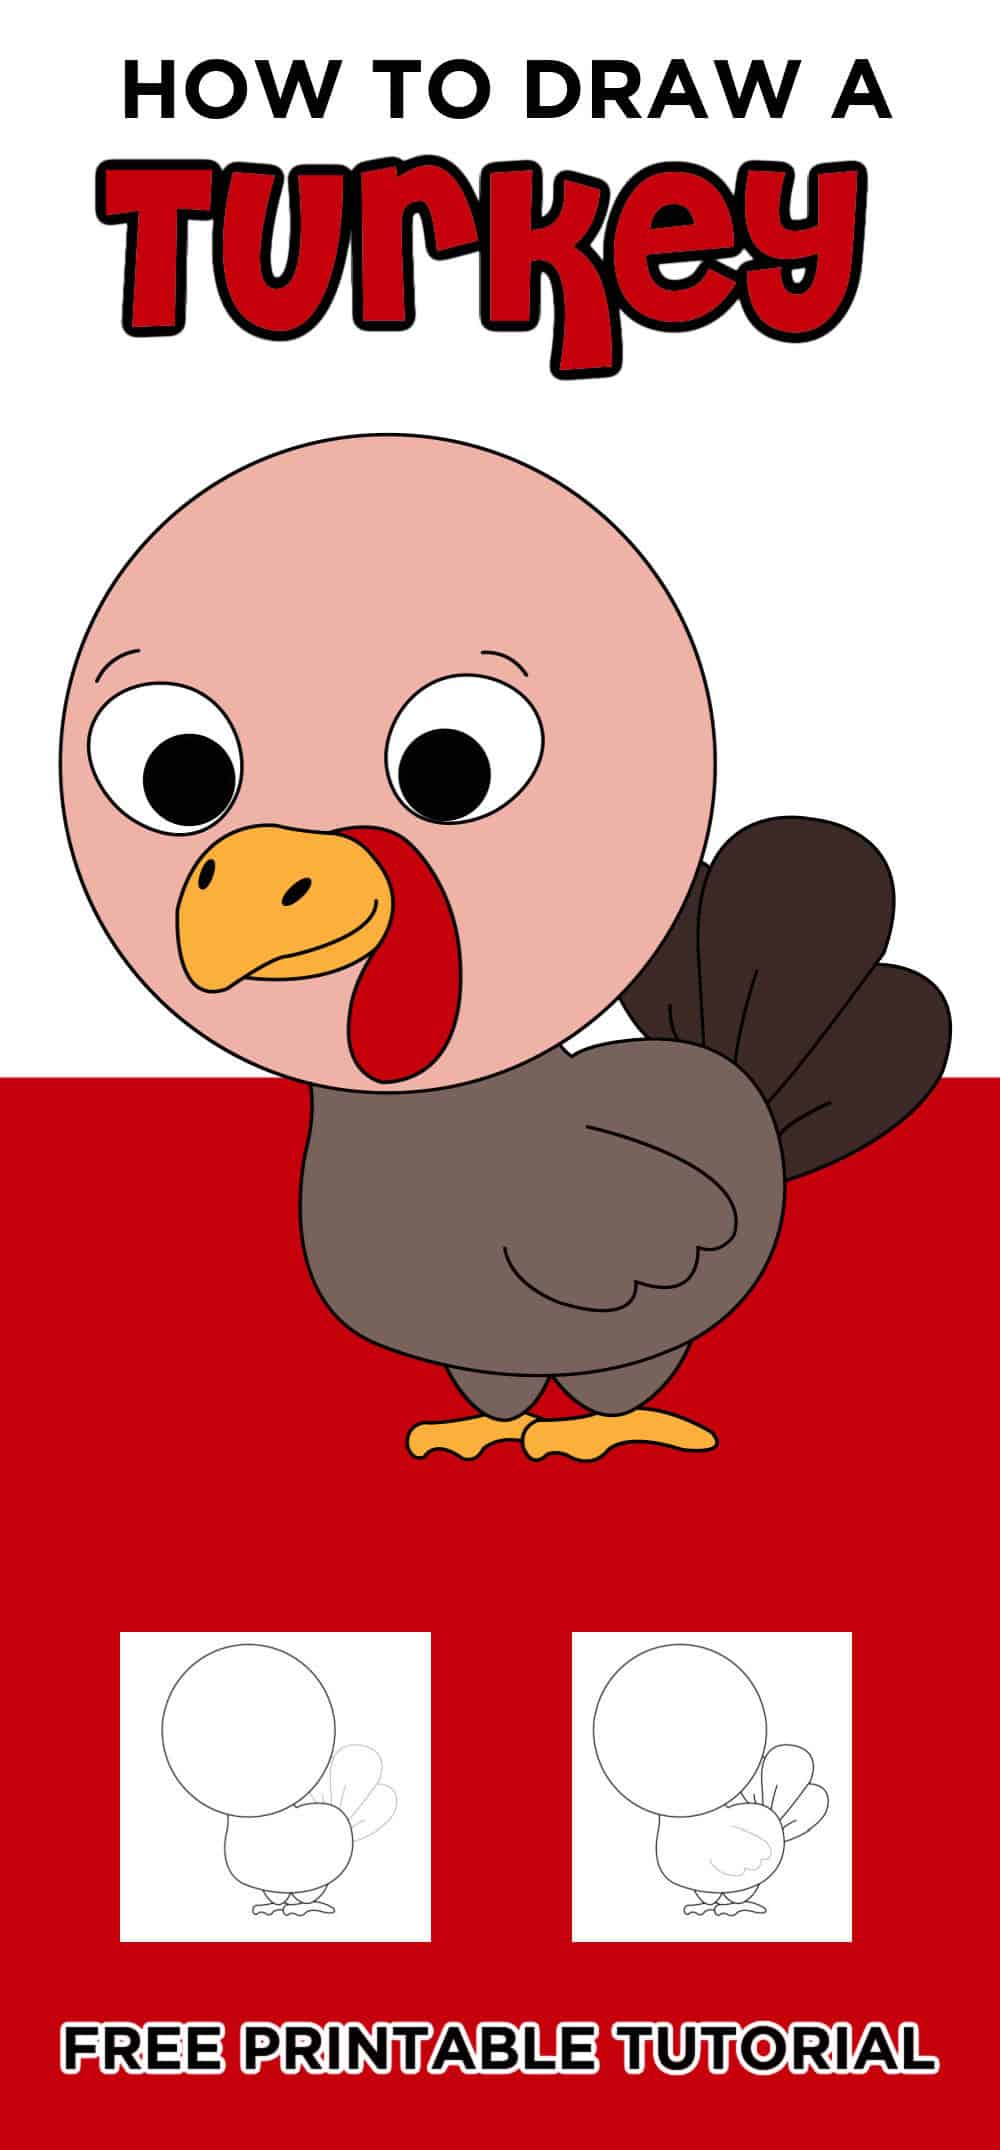
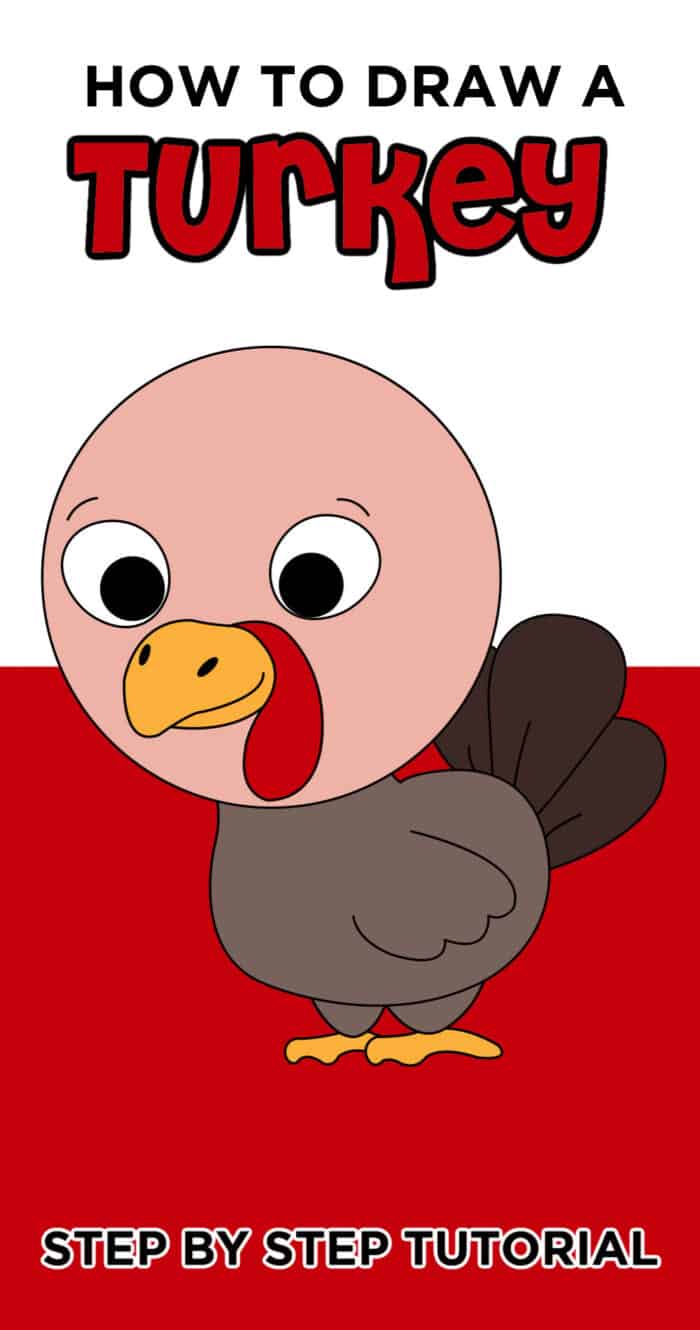
Learn how to draw a turkey with a free printable step-by-step drawing tutorial. Having some easy turkey how-to draw fun for kids of all ages.
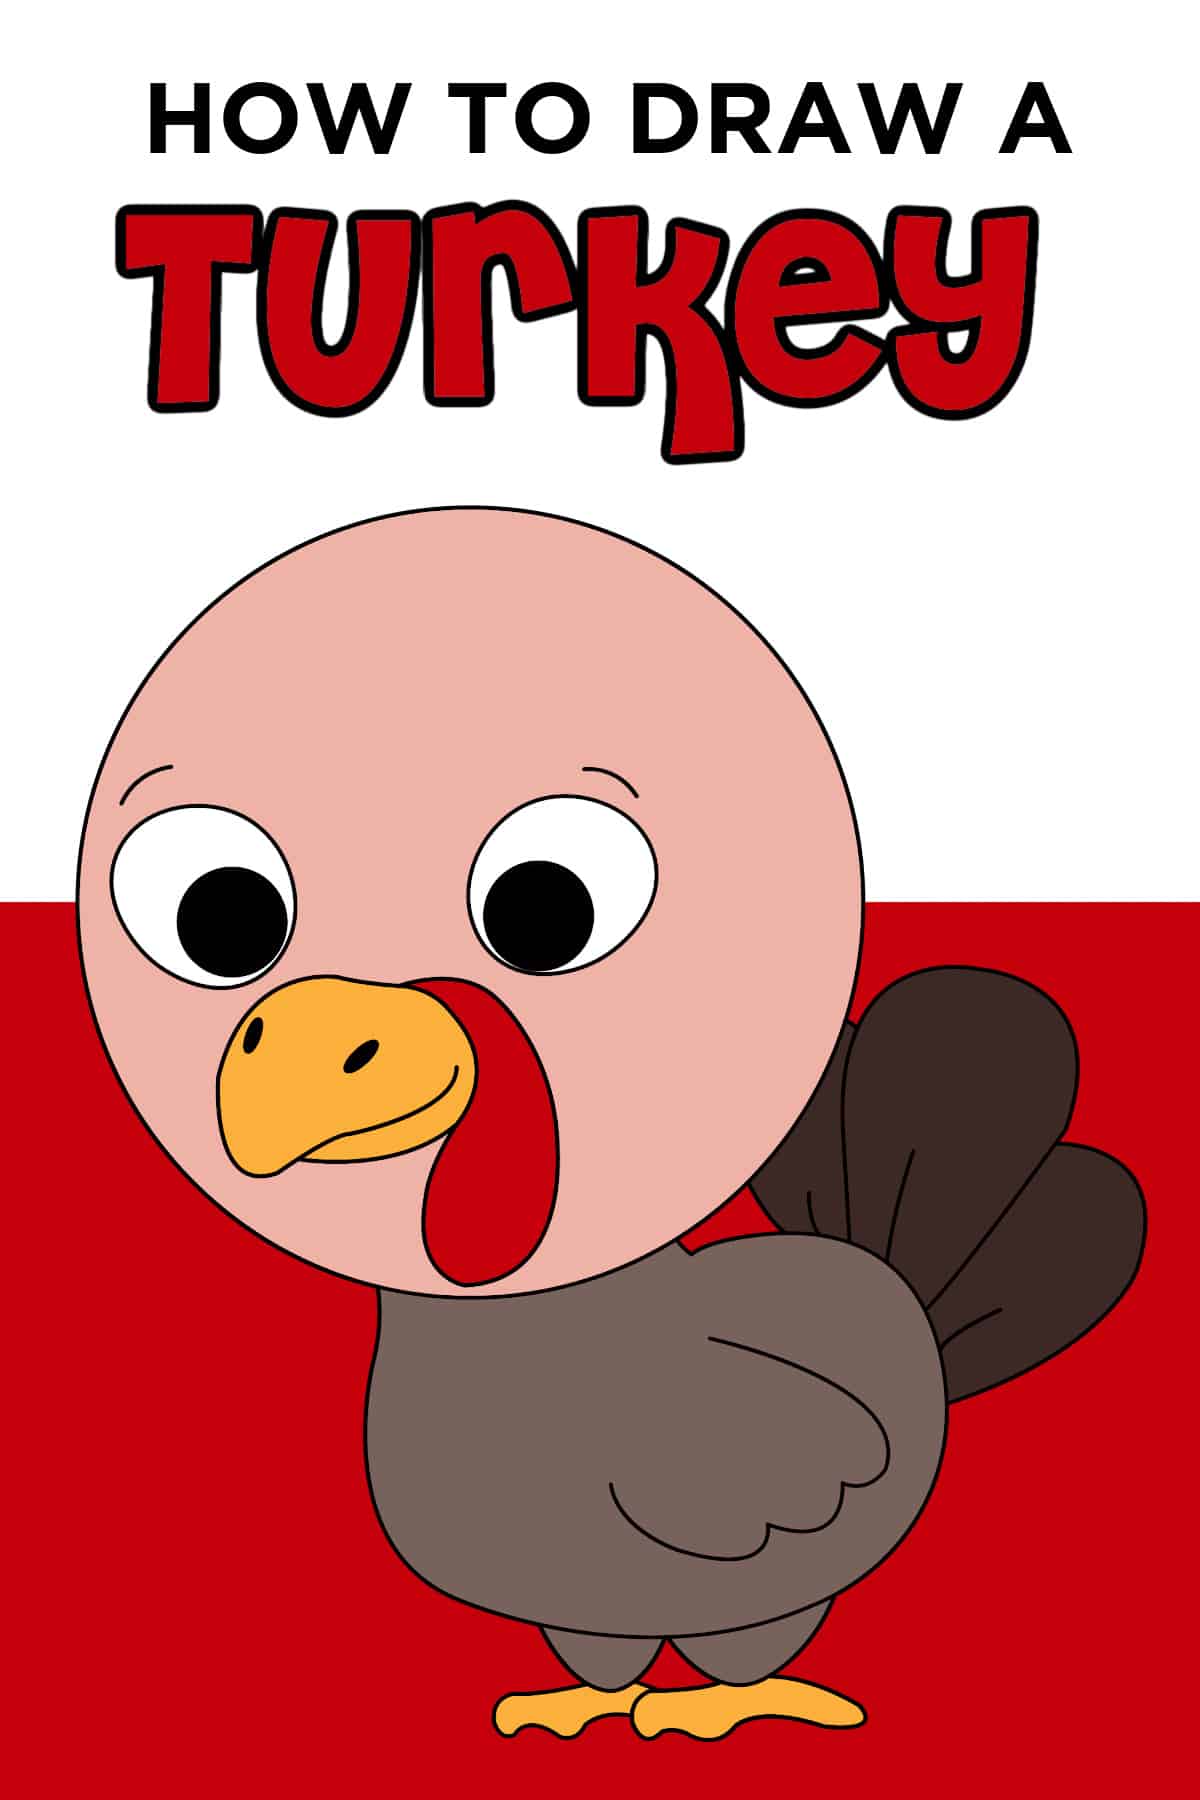
This How to Draw Turkey tutorial is so fun for the kids to learn the easy step-by-step lesson on how to make their own cute turkey drawing.
Turkeys are sweet animals that are most associated with Thanksgiving. Using basic shapes and easy steps to create your own turkey. This cute cartoon turkey tutorial is so sure kids of all ages will love it!
Want to save this project?
Enter your email below, and then we'll send it straight to your inbox. Plus get awesome new projects from us each week.
Thanksgiving Turkey Facts
When thinking about Thanksgiving and November in general, the most popular character, other than the pilgrims and Native Americans, is the turkey.
This magnificent bird is iconic of the holiday also called Turkey Day! Although, a Fun Thanksgiving Fact, is that the wild turkey is native to North America but was NOT part of the first Thanksgiving table.
Another fun Thanksgiving turkey fact is that Benjamin Franklin wished that the national bird was not a bald eagle but rather a turkey. He pushed for change but it never happened.
If you like this How To Draw For Kids, then don't miss our Drawing Animals Tutorial Bundle which includes 14 different printable step-by-step drawing guides.
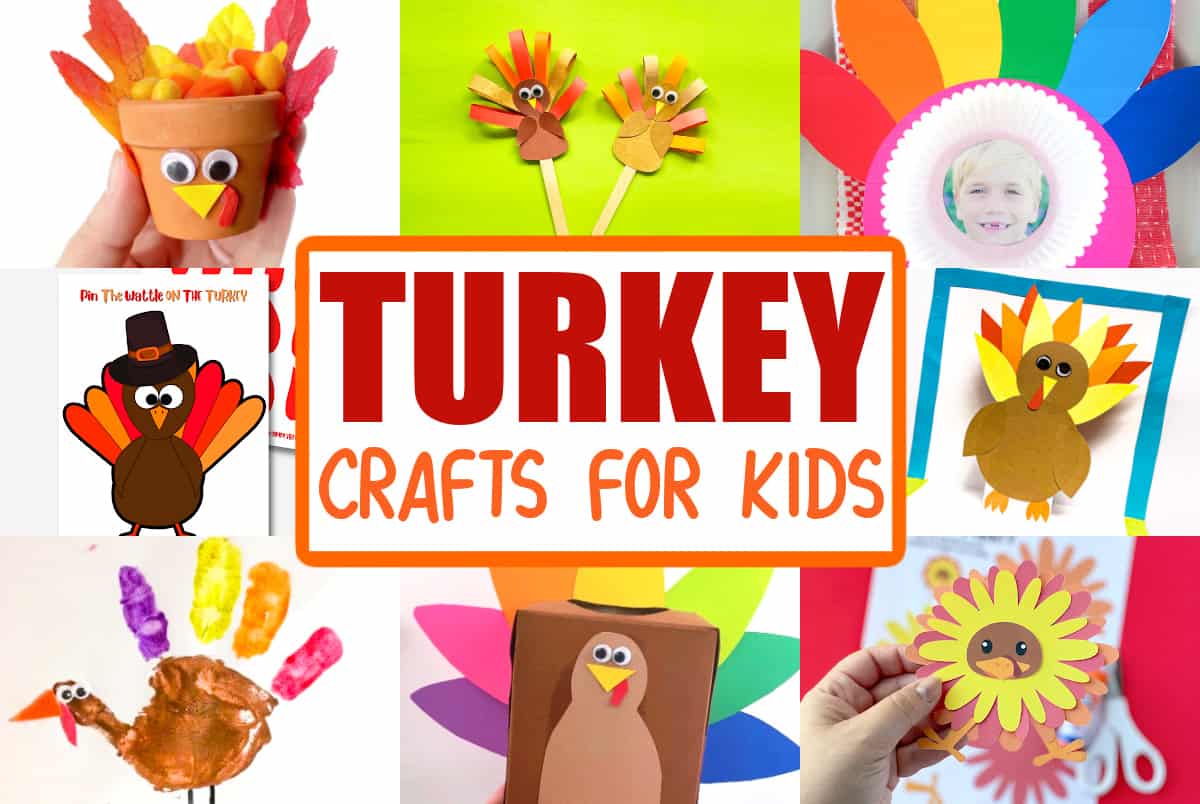
Check out These Other Popular Turkey Crafts!
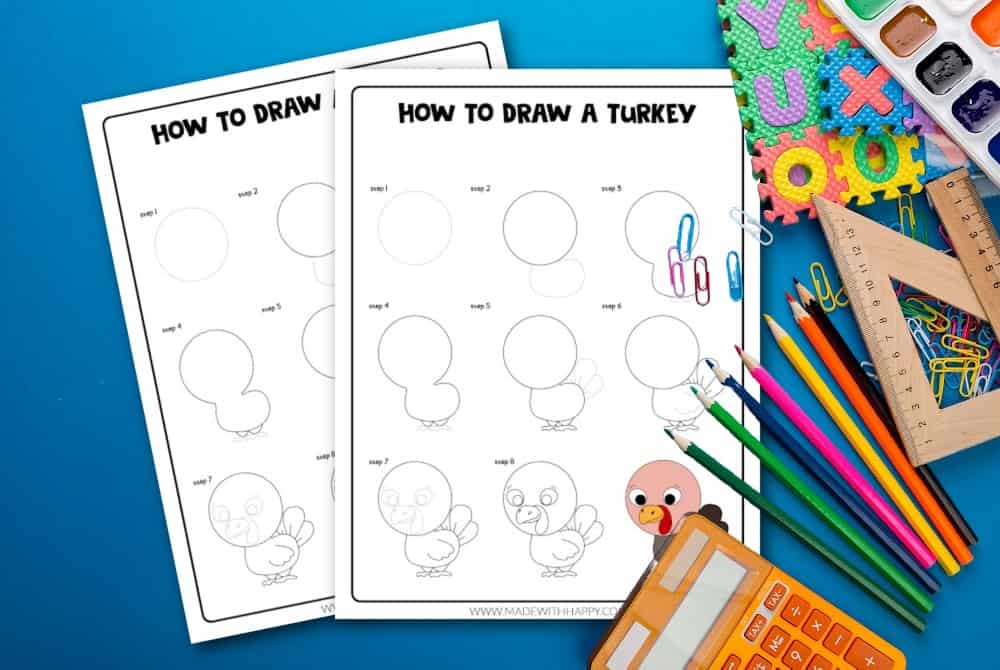
Easy Turkey Drawing
Learning to draw certain characters and animals is always fun for drawers of any age. We love breaking down each of the drawings into step-by-step instructions and simple shapes, like our How to Draw a Cube. I also think the printable drawing guide helps make these Easy Drawings come to life.
If you love drawing tutorials as much as we do, then you will not want to miss some of our other fun drawing lessons.
Before you start drawing, we also want to ensure you have the right tools. Here are the drawing paper, and drawing pencils we like to use.
Now onto the Easy Turkey Drawing and this November Drawing!!
Do Not Miss Our Full How to Draw Animals For Kids and Animal Crafts
How to Draw a Turkey Step-by-Step Tutorial
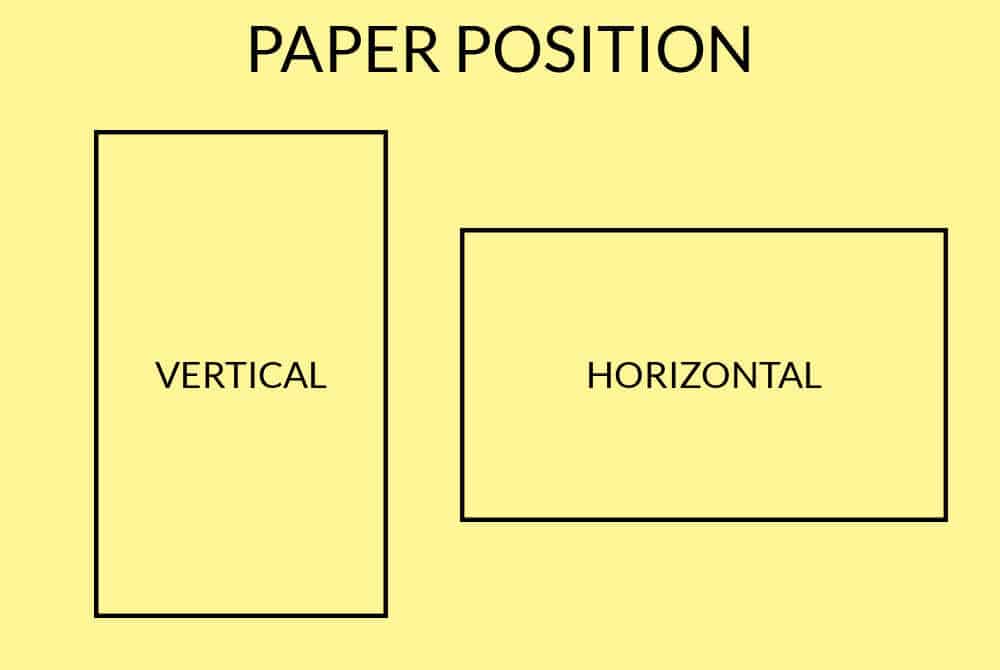
The orientation of the paper isn't something you need to worry about for this drawing tutorial. It can be positioned in the vertical position which means the long edge of your paper should be running up and down. Horizontal means the long edge is at the top and bottom of the paper. You choose whatever position you feel comfortable with.
Print the Turkey simple tutorial at the bottom of the post and follow along.
Turkey’s Head
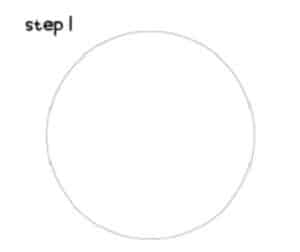
Start with drawing a circle for the head of your turkey.
Turkey’s Body
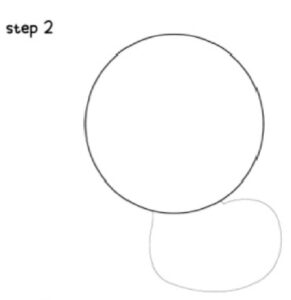
Start by adding a small oval shape off the bottom of the turkey head. This oval shape will be the body of the turkey. We're creating a simple turkey facing the left side, so the body would be offset to the right off the base of the neck.
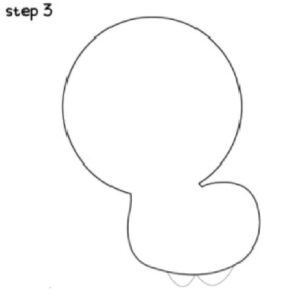
The next step is to add small triangles at the bottom of the turkey's body as the turkey legs.
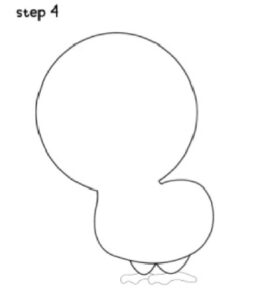
The next step is to draw each of the turkey feet. The bottoms look like a simple W-shaped line.
Turkey's Tail Feathers

Draw on the turkey tail feather off the side of the body. Create a feather with a curved line in a flower petal shape. Draw small lines - straight lines in the middle of the feather.
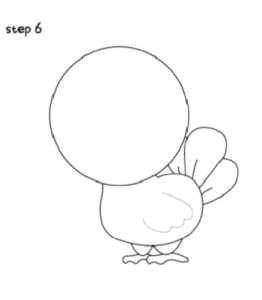
Next, draw on a small wing with wing feathers on the side of the turkey's body and halfway between the turkey’s chest and tail feathers.
Turkey’s Face
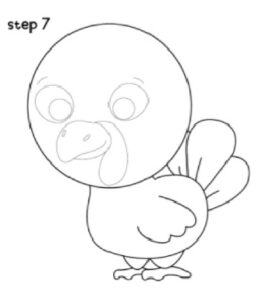
The first part of drawing a turkey face is to draw a turkey’s eye. It starts with a small circle and an even smaller circle inside of it. Then draw a small curved line for the shape of the beak. Lastly, draw on the snood, the red thing that hangs off the turkey's forehead.
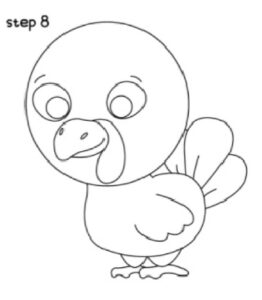
Once you have all the details the way you want, outline the turkey with a pen or marker.
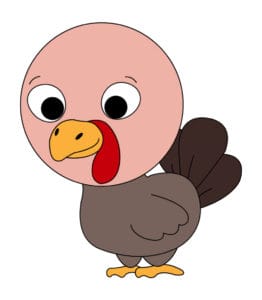
The last step is to color in your turkey. Use bright colors and different colors for the tail than the body!
We highlighted this Thanksgiving Craft, Thanksgiving Printables, Thanksgiving Coloring Pages, and November Coloring Pages along with some other fun kid's crafts in our November Crafts along with our 101+ Easy Kids Craft.
You also do not want to miss our 101+ Printable Coloring Pages For Kids and 101+ Printables For Kids full of Crafts and Coloring Pages.
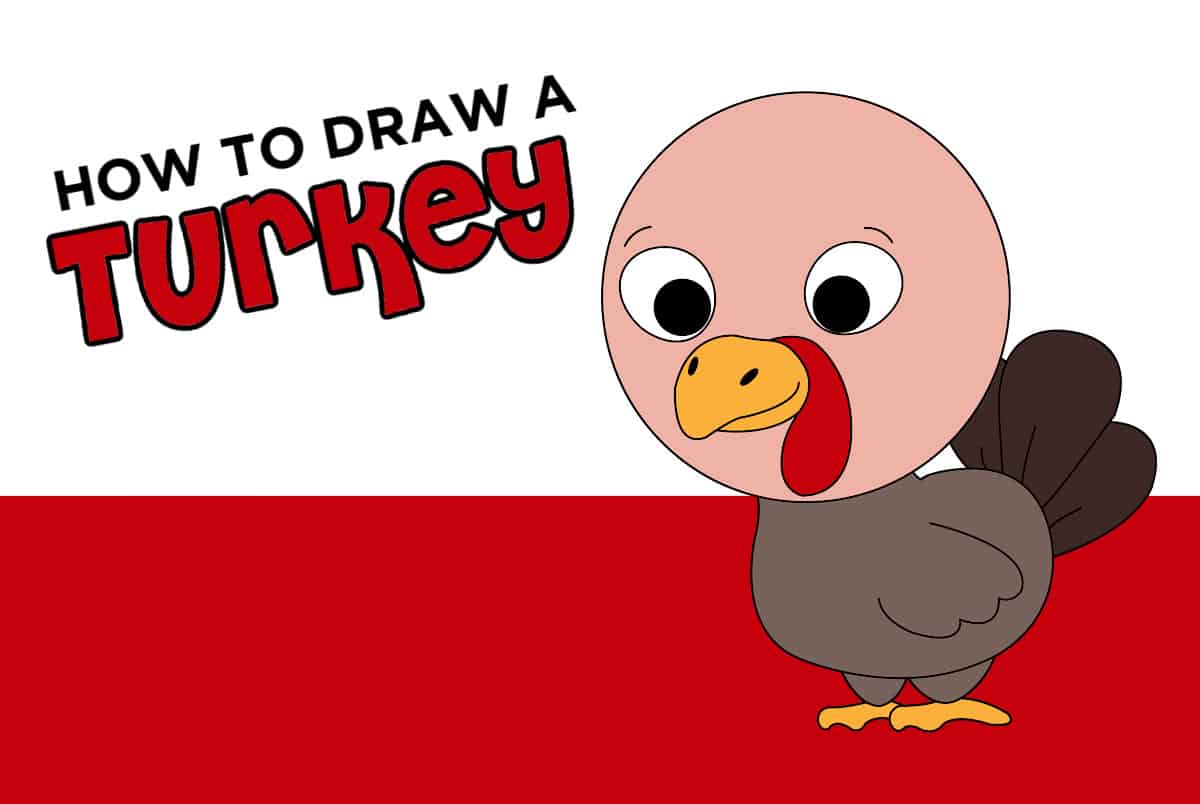
Download The Free Turkey Drawing Tutorial
Enter your name and email address in the form below. Once you hit enter, you will be taken directly to the drawing of a turkey free tutorial pdf file.
*For personal use only
Or you can purchase the full animal bundle
How to Draw Turkey
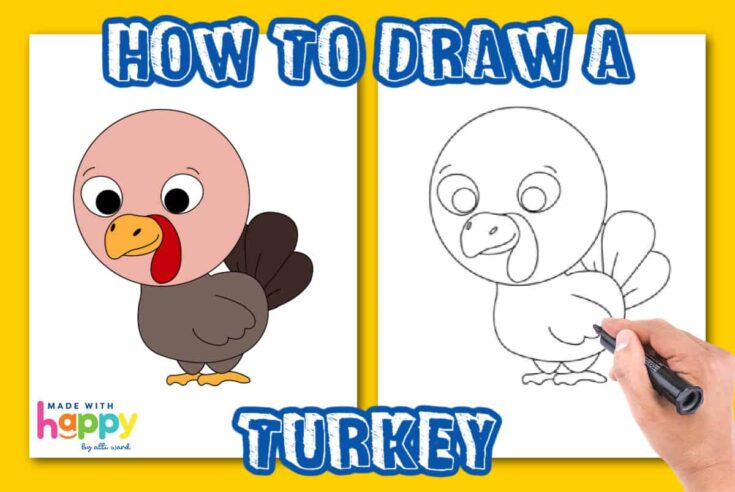
Learn how to draw turkey with a free printable step-by-step drawing tutorial. Having some easy turkey how to draw fun for kids of all ages.
Materials
Tools
- Drawing Pencils
Instructions
The orientation of the paper isn't something you need to worry about for this drawing tutorial. It can be positioned in the vertical position which means the long edge of your paper should be running up and down. Horizontal means the long edge is at the top and bottom of the paper. You choose whatever position you feel comfortable with.
Start with drawing a circle for the head of your turkey.
Start by adding a small oval shape off the bottom of the turkey head. This oval shape will be the body of the turkey. We're creating a simple turkey facing the left side, so the body would be offset to the right off the base of the neck.
The next step is to add small triangles at the bottom of the turkey's body as the turkey legs.
The next step is to draw each of the turkey feet. The bottoms look like a simple w-shaped line.
Draw on the turkey tail feather off the side of the body. Create a feather with a curved line in a flower petal shape. Draw small straight lines in the middle of the feather.
Next, draw on a small wing with wing feathers on the side of the turkey's body and halfway between the turkey’s chest and tail feathers.
The first part of drawing a turkey face is to draw a turkey’s eye. It starts with a small circle and an even smaller circle inside of it. Then draw a small curved line for the shape of the beak. Lastly, draw on the snood, the red thing that hangs off the turkey's forehead.
Once you have all the details drawn the way you want, outline the turkey with a pen or marker.
The last step is to color in your turkey. Use bright colors and different colors for the tail than the body!
CONNECT WITH MADE WITH HAPPY!
Be sure to follow me on social media, so you never miss a post!
Facebook | Twitter | Youtube | Pinterest | Instagram
Find and shop my favorite products in my Amazon storefront here!
How To Draw Turkey
PIN IT TO YOUR DIY BOARD ON PINTEREST!
FOLLOW MADE WITH HAPPY ON PINTEREST FOR ALL THINGS HAPPY!


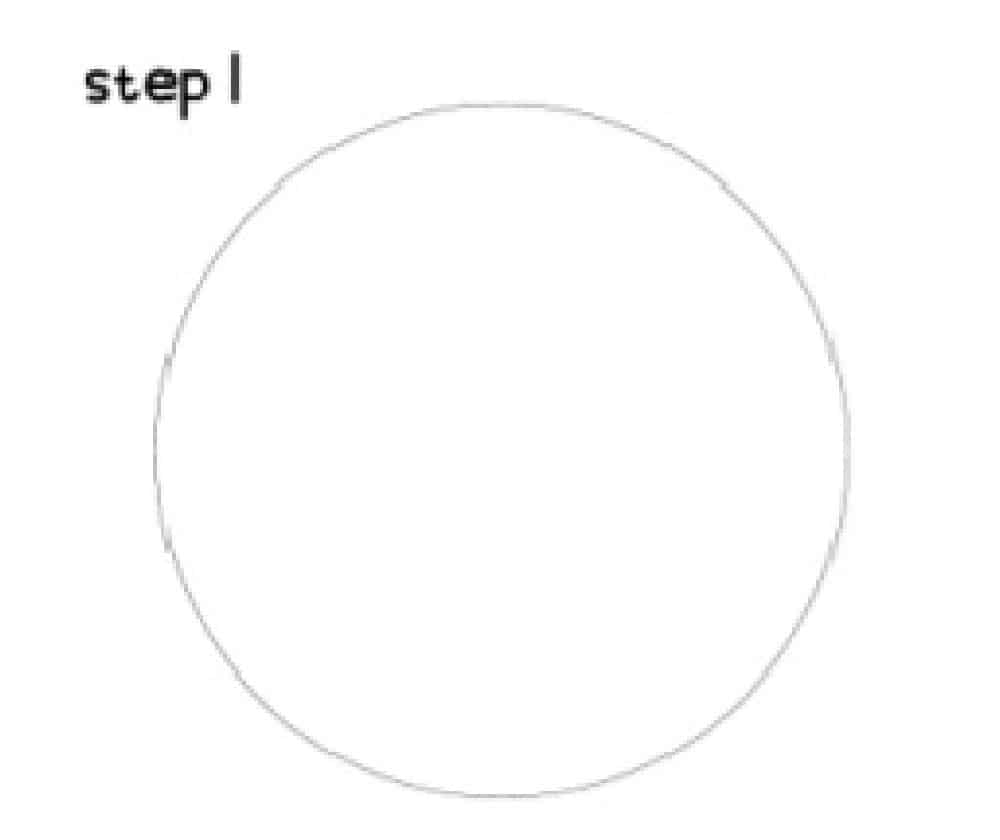 Start with drawing a circle for the head of your turkey.
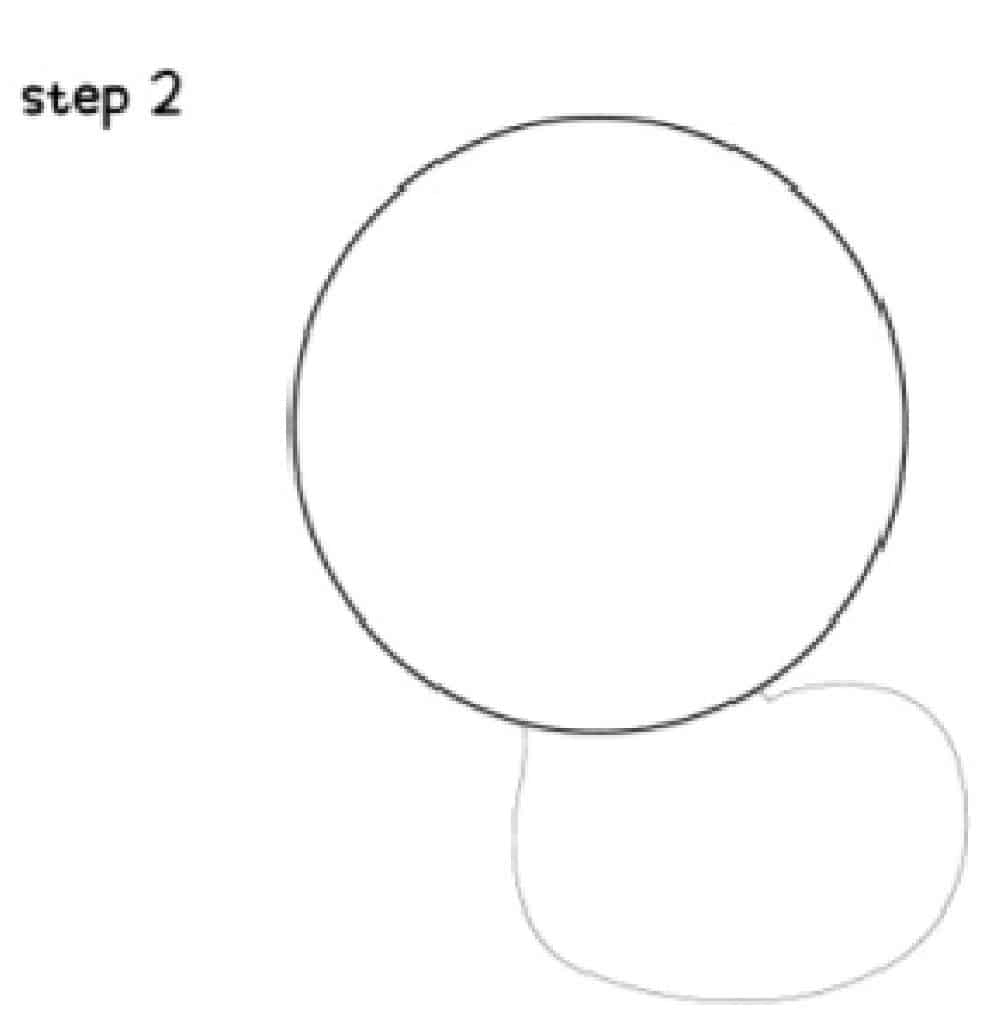 Start by adding a small oval shape off the bottom of the turkey head. This oval shape will be the body of the turkey. We're creating a simple turkey facing the left side, so the body would be offset to the right off the base of the neck.
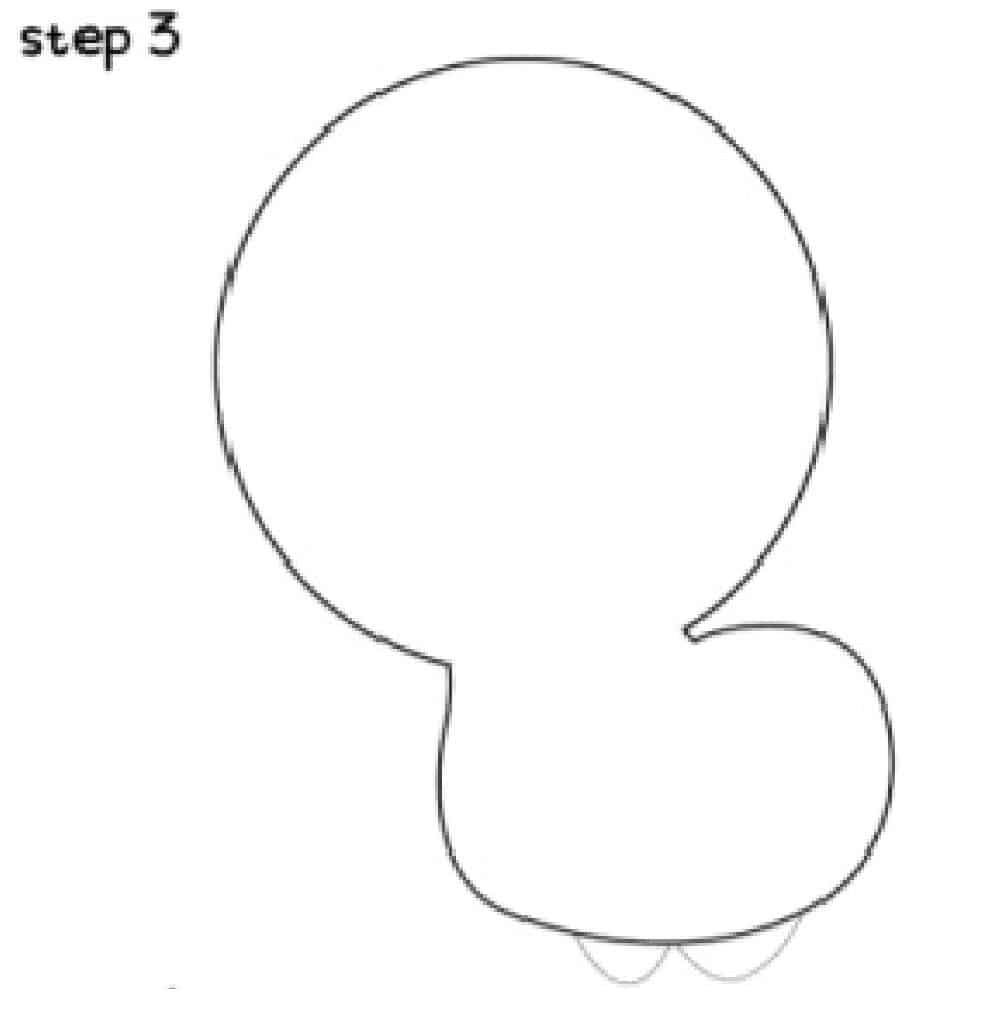 The next step is to add small triangles at the bottom of the turkey's body as the turkey legs.
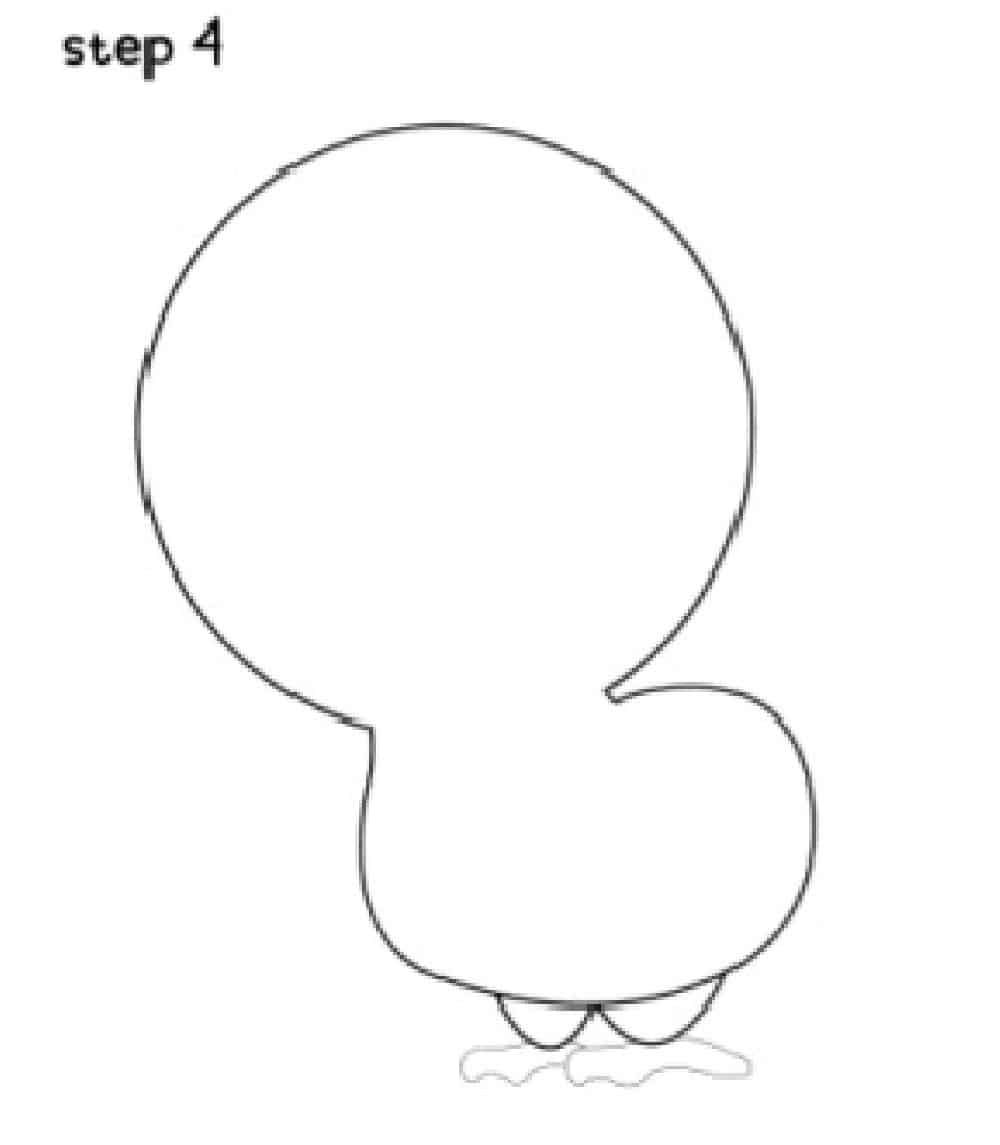 The next step is to draw each of the turkey feet. The bottoms look like a simple w-shaped line.
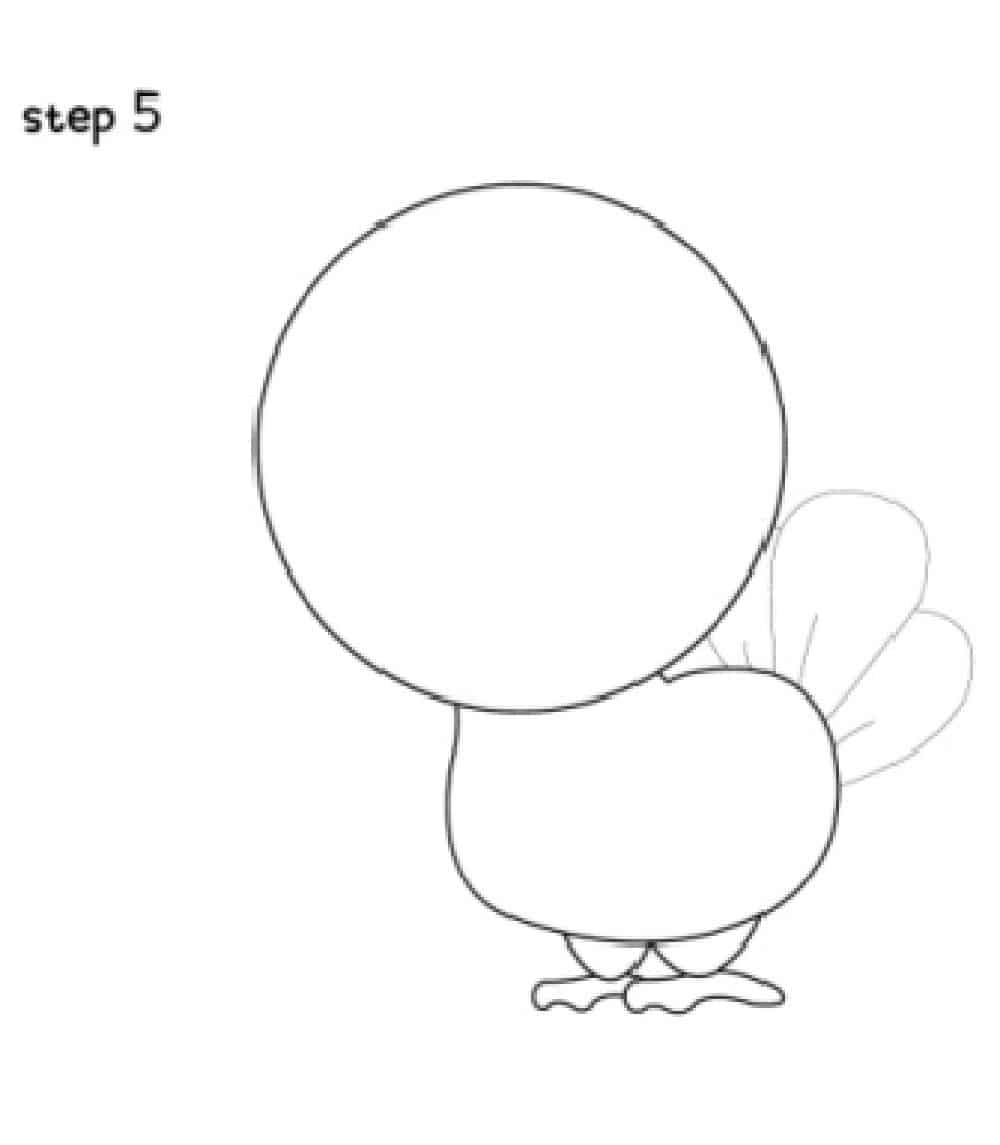 Draw on the turkey tail feather off the side of the body. Create a feather with a curved line in a flower petal shape. Draw small straight lines in the middle of the feather.
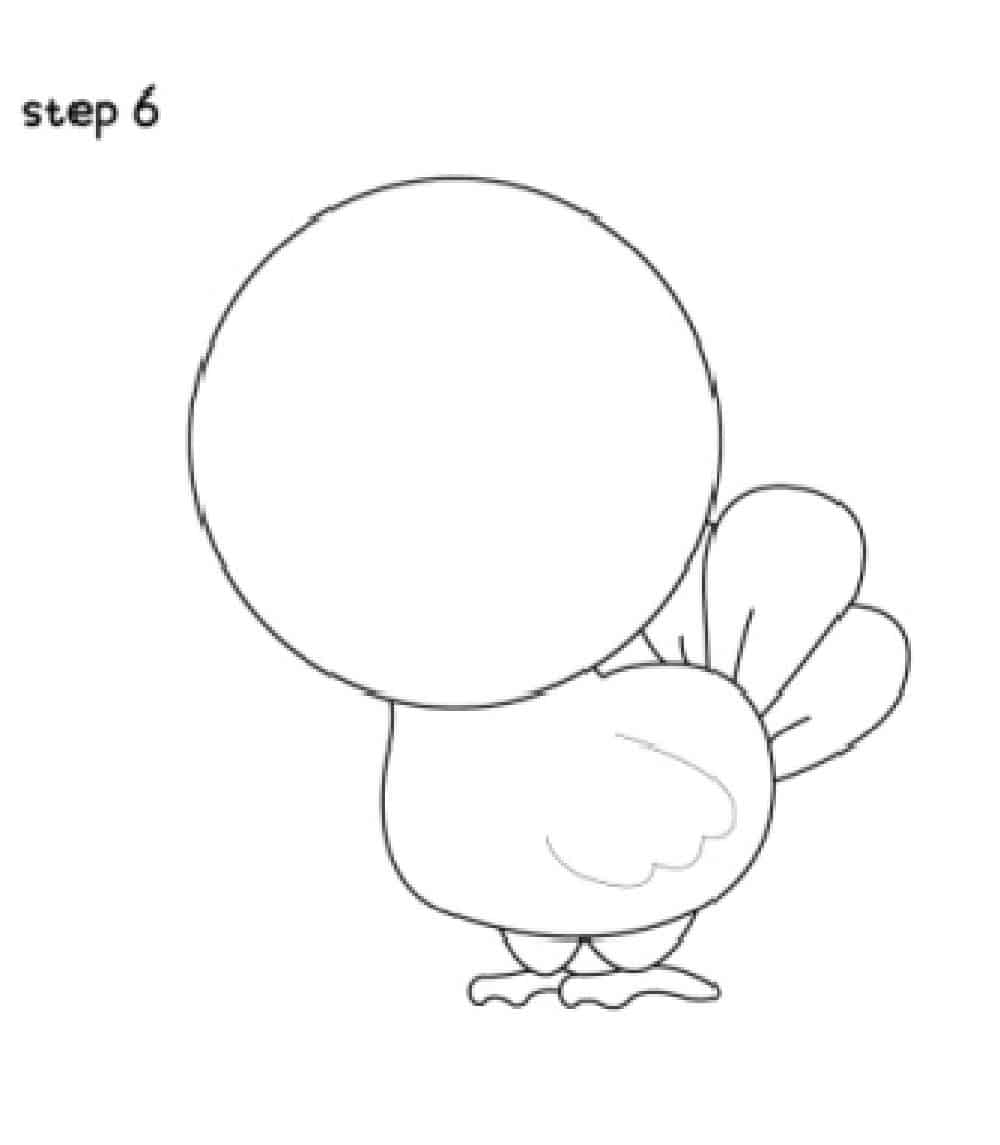 Next, draw on a small wing with wing feathers on the side of the turkey's body and halfway between the turkey’s chest and tail feathers.
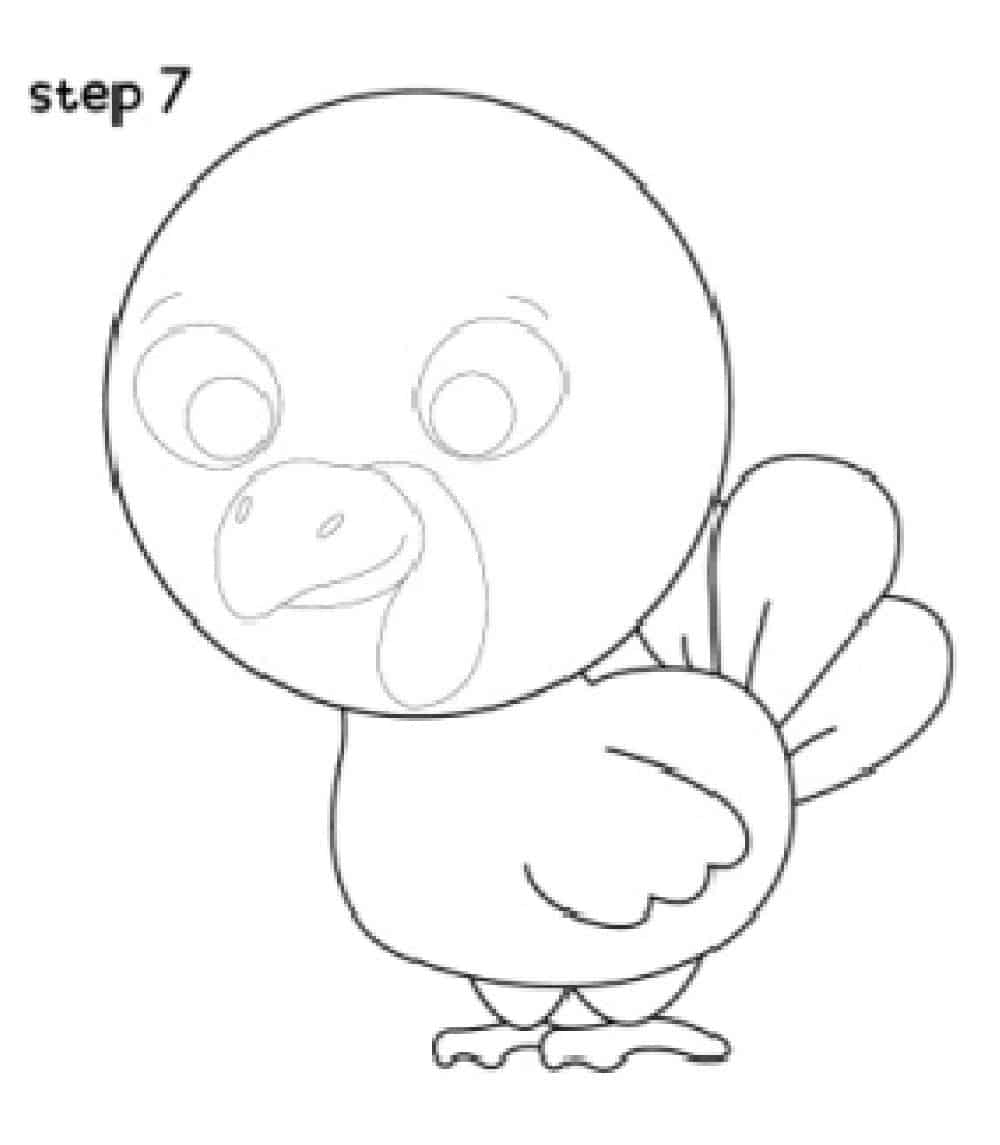 The first part of drawing a turkey face is to draw a turkey’s eye. It starts with a small circle and an even smaller circle inside of it. Then draw a small curved line for the shape of the beak. Lastly, draw on the snood, the red thing that hangs off the turkey's forehead.
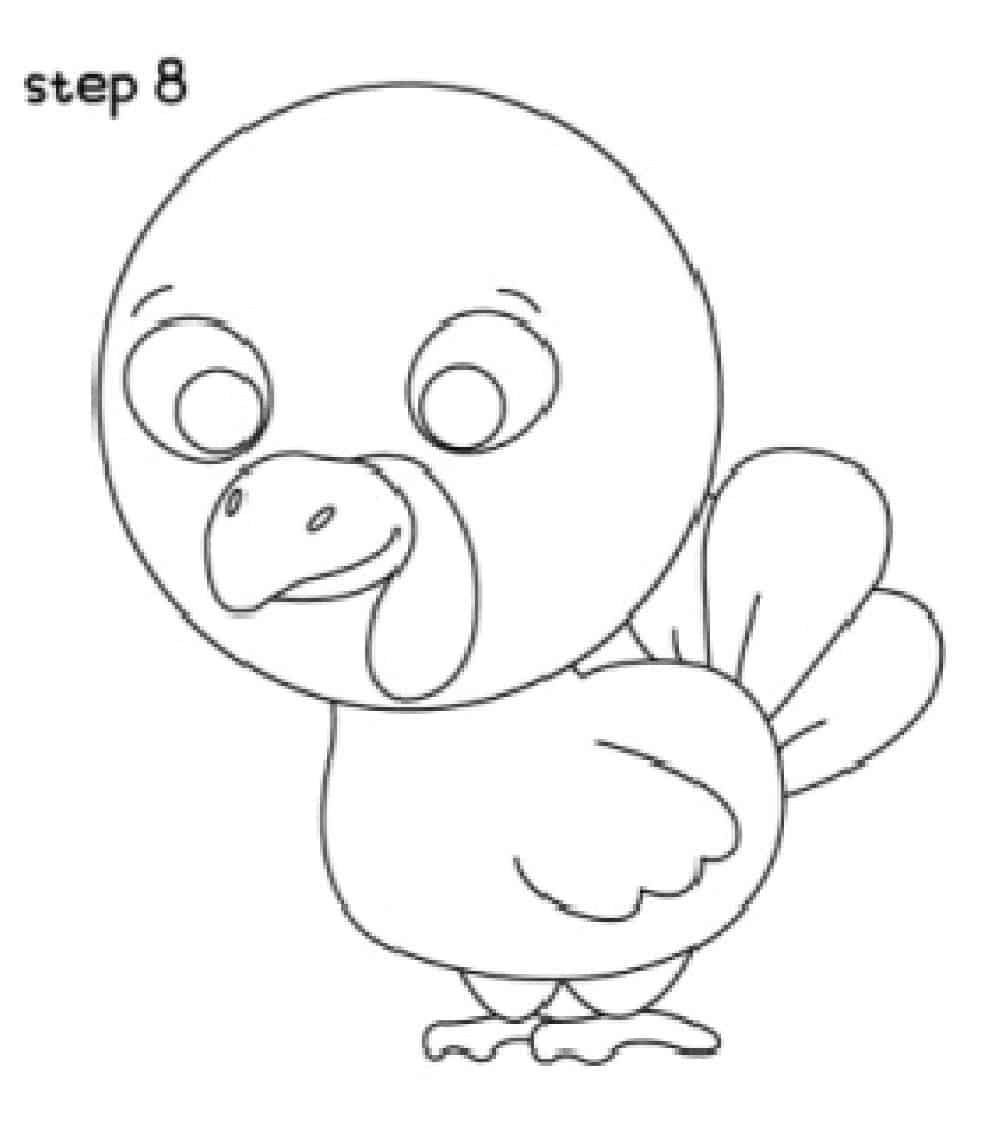 Once you have all the details drawn the way you want, outline the turkey with a pen or marker.
 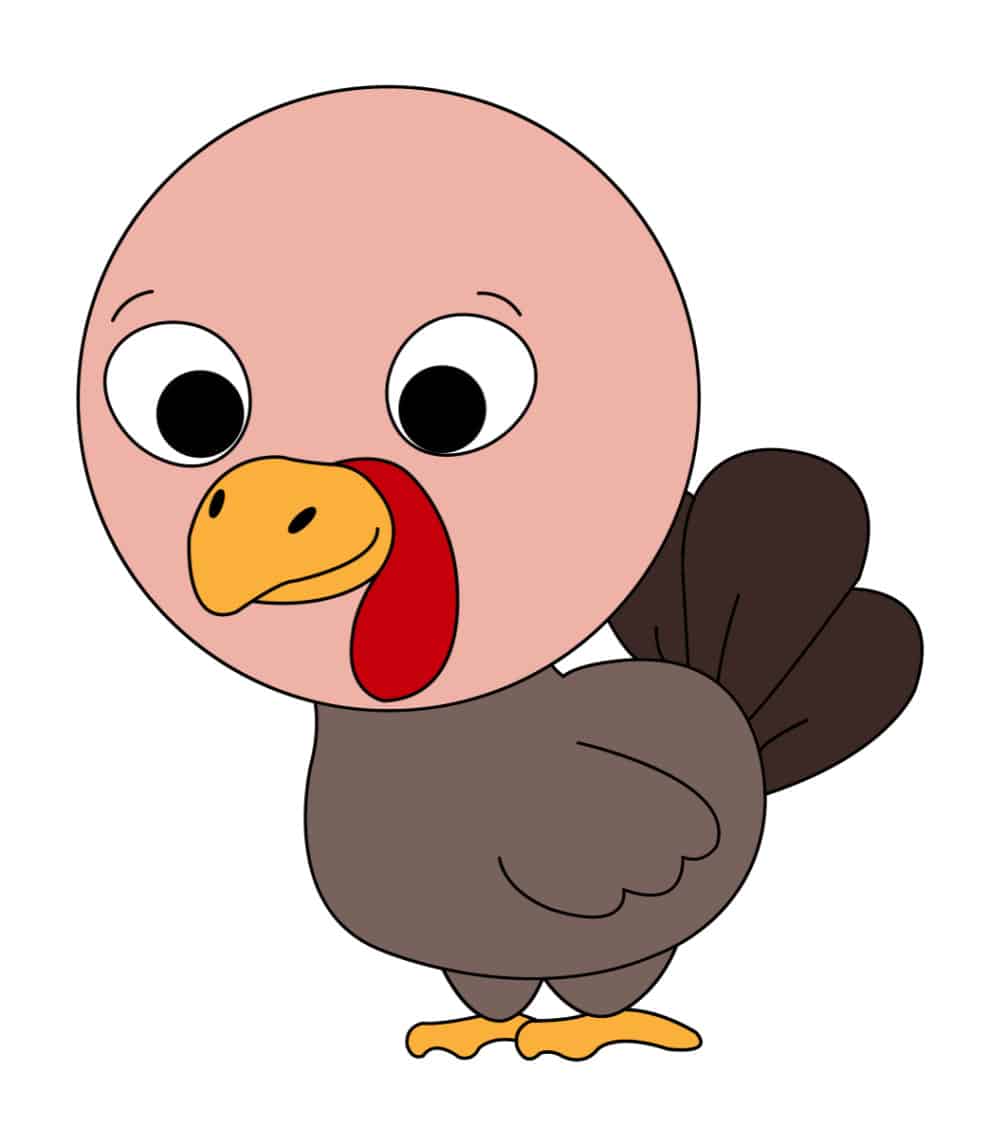 The last step is to color in your turkey. Use bright colors and different colors for the tail than the body!