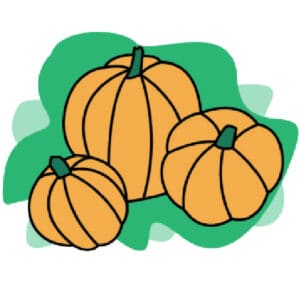
Pumpkin Drawing
Learn the art of drawing a pumpkin with our step-by-step guide. Create your festive masterpieces with these easy instructions.
Equipment
- Drawing Pencils
Ingredients
Instructions
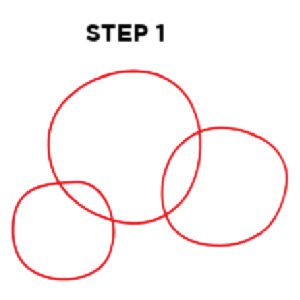
- The base shape of a circle. The first step is to draw one larger circle in the middle and two others overlapping the middle one on either side.
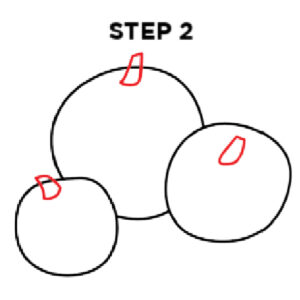
- The next step is to draw small stems on the top of the pumpkin. Small curved lines drawing the basic shape of a stem.
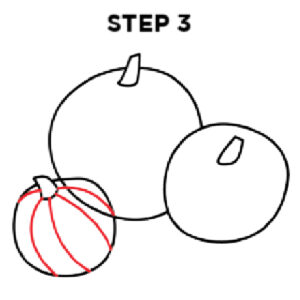
- Next, draw some simple texture lines from the stem to the bottom of the pumpkin starting on the left side pumpkin.
- Next, draw the curved lines down the middle pumpkin.
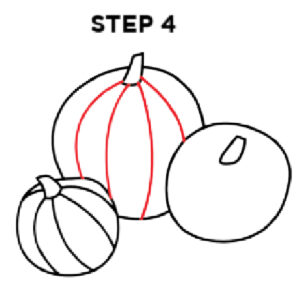
- Draw lines down the side of the pumpkin on the right side.
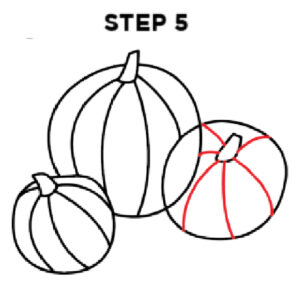
- The next step is to draw small curved lines from each of the vertical lines along the outside of the pumpkin. Erase the lines from the initial circle and then these new lines will become the new shape of the pumpkin.
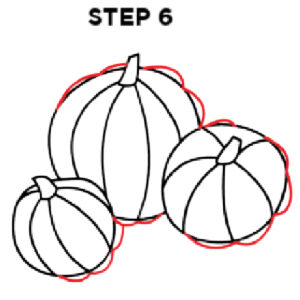
- The final step is to outline the pumpkins with a black pen on the final lines and erase any extra lines you had while sketching each of the pumpkins.
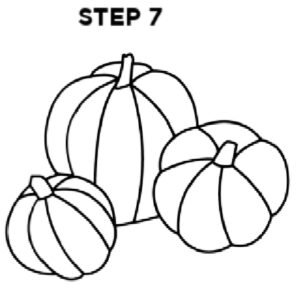
- The last step is to treat your new real pumpkin drawing project as a coloring page and color in your pumpkins with your favorite crayons, colored pencils, markers, or even watercolor paint.