
Scarecrow Paper Plate Craft
Craft a friendly paper plate scarecrow with this creative DIY project, perfect for adding a touch of autumn whimsy to your fall decorations.
Equipment
- Scissor
Ingredients
- Scarecrow Template bottom of this post
- Paper Plate
- Brown Construction Paper
- Orange Construction Paper
- Yellow yarn
- Marker
- Googly eyes
- Craft Glue
Instructions
- Start by printing out the scarecrow craft template from the bottom of the page. Print right onto your brown paper, otherwise print out on typical white paper, cut out the template, then trace onto the brown paper. Cut out your scarecrow hat from brown paper.
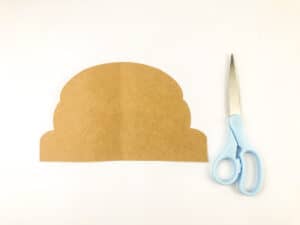
- Cut out approximately 10-20 strips of yellow yarn. The strips should be approximately an inch and half to two inches long.

- Glue the yarn strips to the bottom of the scarecrow hat with the longer strips towards the outside of the scarecrow's face.

- Glue the hat to the top of the paper plate.

- Next, glue the googly eyes to the paper plate right below the hair.

- Next, cut out a small triangle for the scarecrow's nose.

- Attach the scarecrow nose to the face right between the eyes.

- The last step is to use a black marker and draw on a big smile. The key is to add small marks along the smile to resemble stiches. Add a small curved line to the top of the scarecrow's silly hat along with stitches. Viola, you have a cute scarecrow craft!
