Want to save this project?
Enter your email below, and then we'll send it straight to your inbox. Plus get awesome new projects from us each week.
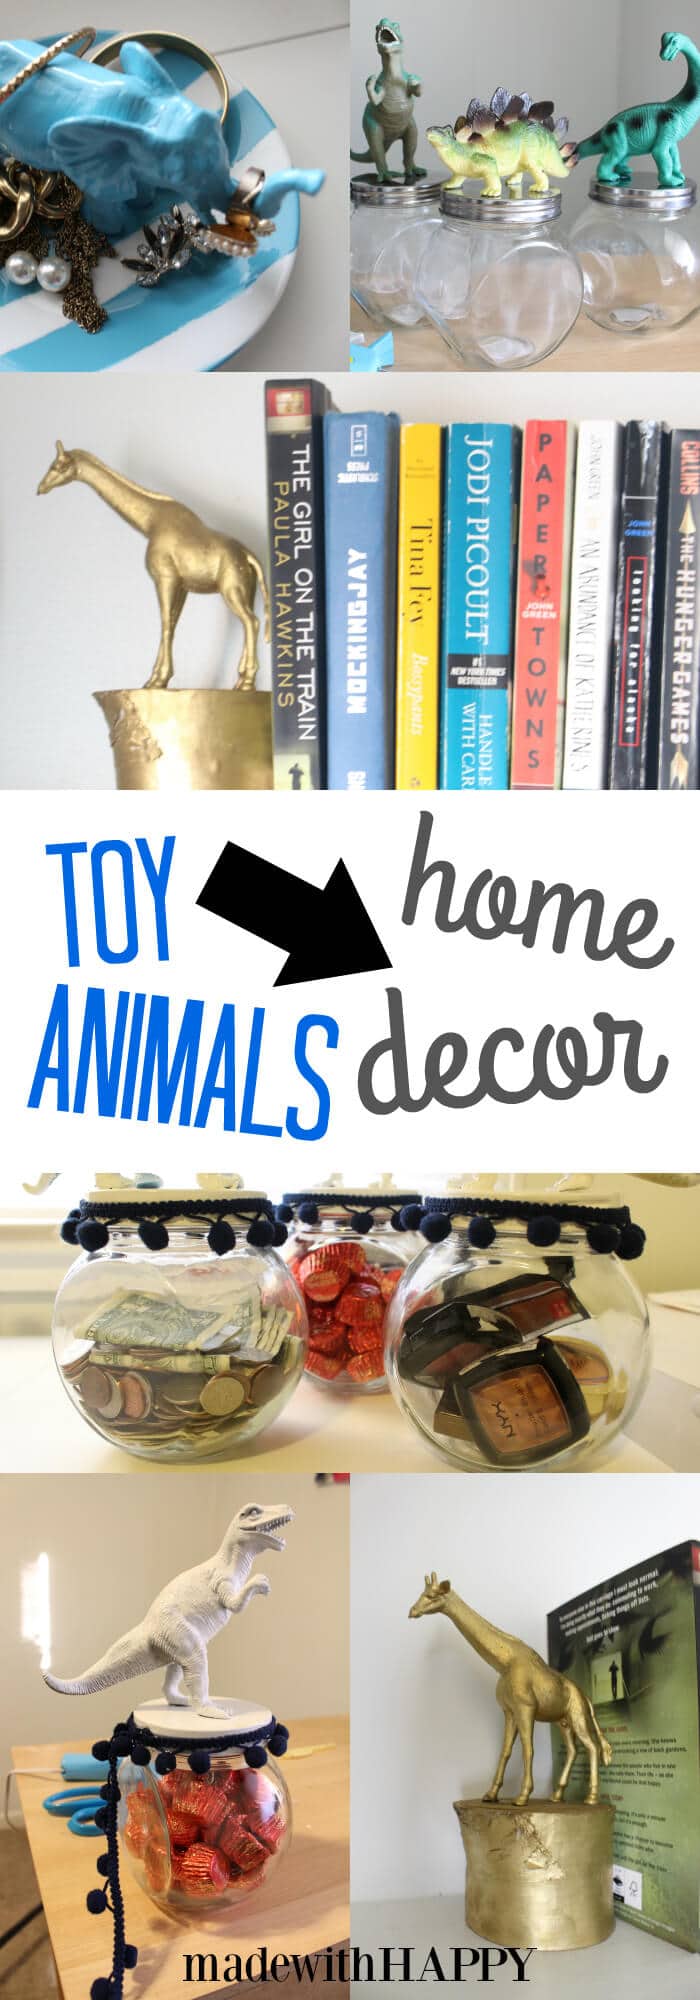
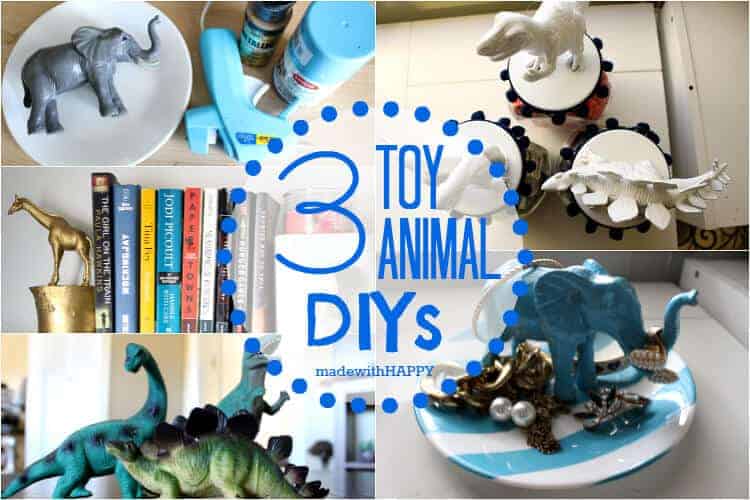
Since I'm obsessed with DIY home decor, I decided to create a few dollar store DIY's using toy animals. Each one of these took about 5 minutes (minus the waiting time for paint to dry). I thought these fun and bright pieces would be perfect for spring especially! Plus, if you've got old toy animals that your kids have outgrown, this DIY could possibly be done using things you already have! No shopping necessary!
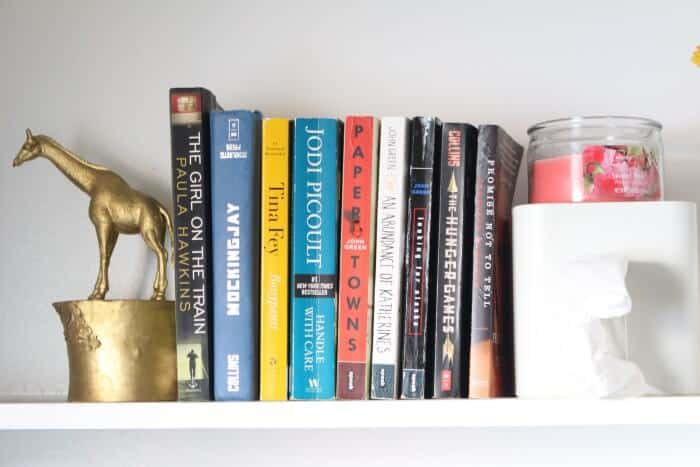
#1 - Giraffe Bookend
This first one was super easy and I actually made it last summer. I think I got the idea from something that I saw on Pinterest.
Supplies:
- wood block
- toy animal
- spray paint
- hot glue gun
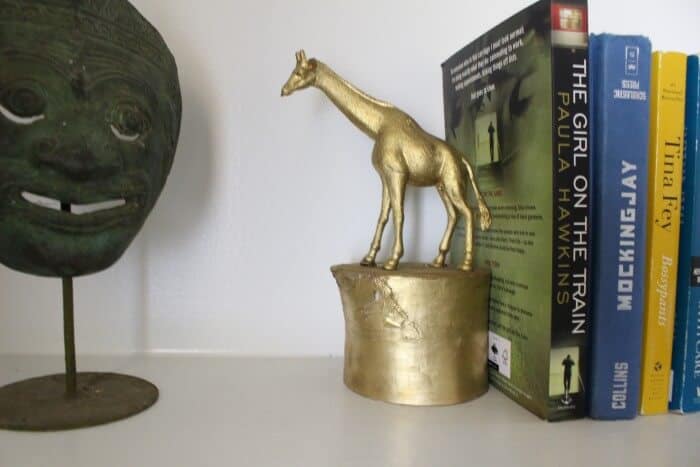
I found this toy giraffe at the dollar store and the little birch tree stump at Michael's. All I did was hot glue the giraffe to the stump and then I spray painted the entire thing gold! That's it! Super easy! Working with spray paint is so easy and I have an array of colors at home so I'm always prepared. Just make sure that you get a piece of wood that's heavy enough to hold your books up. This one was a pretty good size but I think if I added too many more books, it wouldn't hold up.
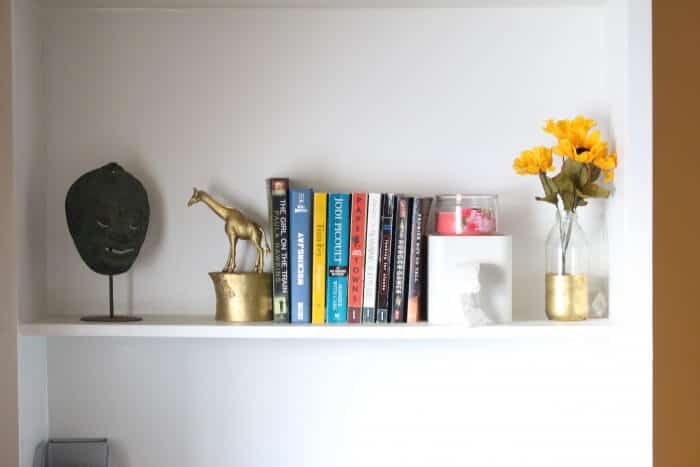
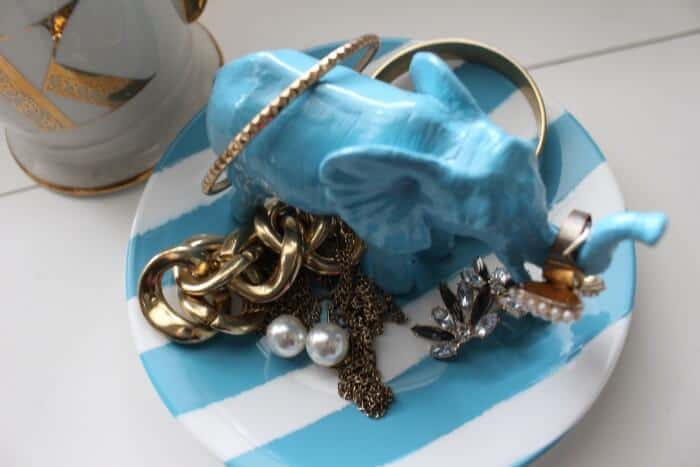
#2 - Elephant Jewelry Dish
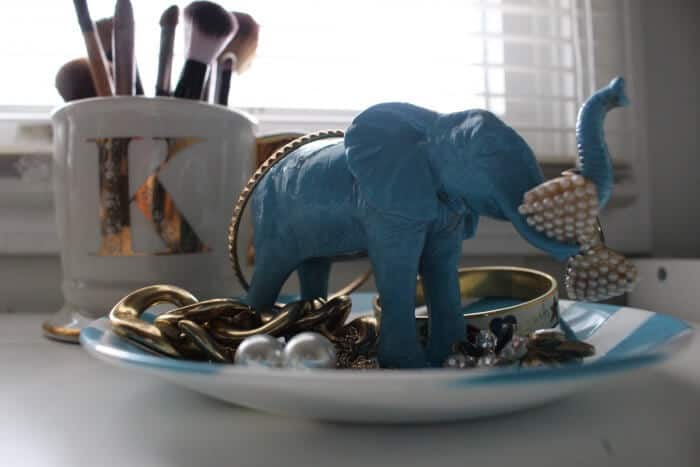
I've seen things like this all over Pinterest and also at stores like Anthropologie and Urban Outfitters. Of course those stores charge an arm and leg for them, so I decided to make my own.
Supplies:
- toy animal
- small dish
- spray paint
- hot glue gun
- tape (optional)
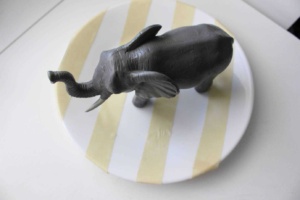
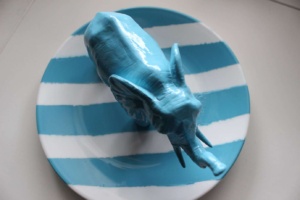
This one is ultimately done the same exact way as the first one. All I did was find a small dish at Walmart that looked to be about the right size (small enough so that it doesn't take up a lot of space but large enough for jewelry to fit around the elephant). I hot glued the elephant to the plate (lots of glue was needed for this one. The little guy just did not want to stick). Then I decided to add some stripes so I placed masking tape in a few spots in rows. I spray painted the entire thing with blue spray paint. I did this at night so that the paint could dry fully overnight before I removed the tape. Of course, there was some bleeding but I simply used nail polish remover and some q-tips to remove the unwanted blue that had spread into the white stripes. Then I just added some of my most used jewelry!
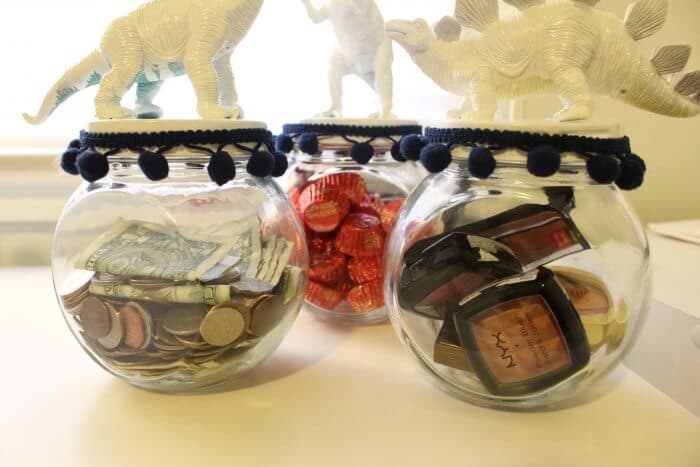
#3 - Dinosaur Jars

These guys gave me the hardest time out of all of these projects but they turned out super cute so I'm not complaining! I only had an issue because they have 4 feet and they aren't all level. I ended up gluing down two feet on the two dinosaurs that had four because it was impossible to get all four down without it popping off. I found these jars at The Dollar Tree and the animals at Target.
Supplies:
- toy animals
- jars
- spray paint
- hot glue gun
- ribbon (optional)
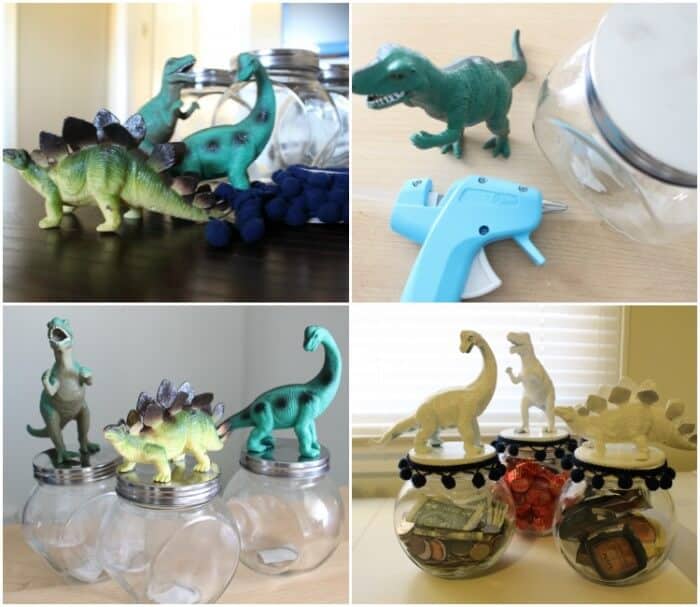
I couldn't decide what color to make these because originally I didn't know what I would be using them for. I played it safe with white, figuring that I could always change up what room they go in. Once I hot glued the dinosaurs to the lids and painted them white, I felt like they needed something more. They were too plain for me. So I found this pom pom trim that I had in a craft drawer and thought it was perfect! It still kept the overall look somewhat neutral, since it was a dark navy blue. I hot glued the trim around the lids. These jars could be used for anything you want! I used one as a piggy bank, one for candy, and the other for some blushes that I didn't have a spot for. I also think it'd be a good idea to use them for sugar or flour in the kitchen. In the bathroom, they could be used to hold cotton balls, q-tips, anything. I really liked how these turned out!