
• Skip to primary navigation
  • Skip to main content
  • Skip to primary sidebar
  • Skip to footer
Made with HAPPY
  • Crafts
  • Printables
  • Holidays
  • Fun Facts
  • Recipes
    • Email
    • Facebook
    • Instagram
    • Pinterest
    • Twitter
    • YouTube
menu icon
go to homepage
  • Crafts
  • Printables
  • Holidays
  • Fun Facts
  • Recipes
    • Email
    • Facebook
    • Instagram
    • Pinterest
    • Twitter
    • YouTube
  • search icon
    Homepage link
    • Crafts
    • Printables
    • Holidays
    • Fun Facts
    • Recipes
    • Email
    • Facebook
    • Instagram
    • Pinterest
    • Twitter
    • YouTube
  • ×
    Home » DIY » Home + Garden DIY

    Cute and Easy Necklace Holder

    This post and its photos may contain affiliate links. As an Amazon associate I earn from qualifying purchases. If you make a purchase through these links, I may receive a small commission at no extra cost to you!
    • Facebook
    • Yummly

    easy-inexpensive-necklace-holder-diy

    Want to save this project?

    Enter your email below, and then we'll send it straight to your inbox. Plus get awesome new projects from us each week.
    Save Recipe
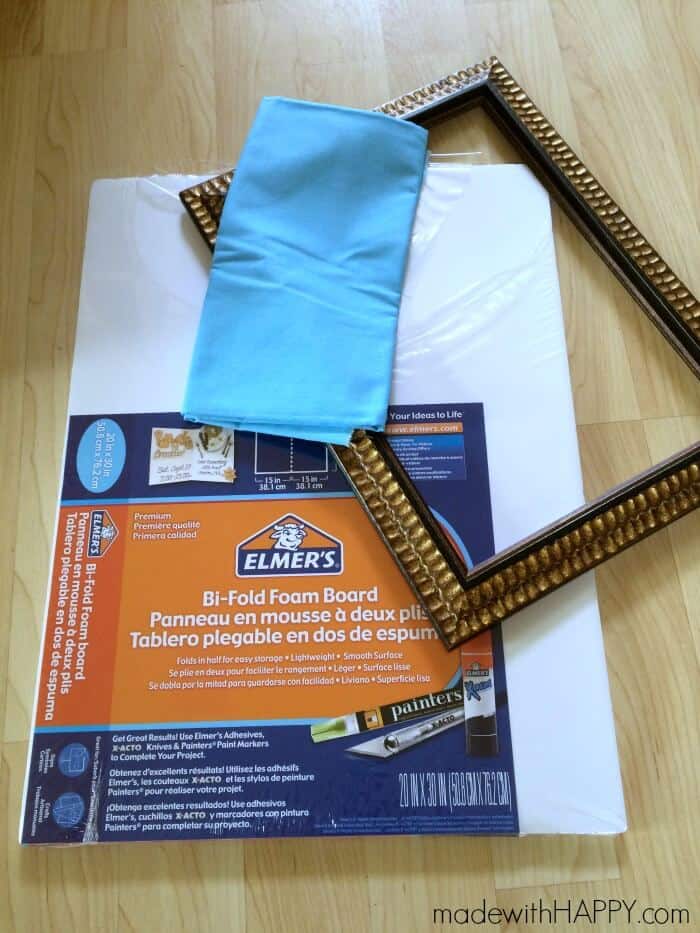
    Now that I have kids, I find wearing jewelry is a thing of the past. Several years ago my necklaces, bracelets and rings got shoved to the bottom drawer in the bathroom and forgotten. That is until my 2 year old recently became obsessed with dressing up. She found my stash and within minutes everything was in a tangled mess. One afternoon my 4 year old and I tried to sort through the wreckage. We got it all organized and I found pieces I had totally forgotten about. Pieces I love. "These are so pretty mom, why don't you wear these?" my little boy asked. Well, that's when my mom suggested I put them somewhere where I could see them often and be reminded that they deserve to be worn. necklace-holder-supplies

    Supplies:

    • Open frame (no glass)
    • Elmer's foam board
    • Painters tape
    • Small piece of fabric
    • Straight pins

    I found the frame on the clearance rack for $8.00, the foam board was $6, and I had the fabric, tape and pins on hand.

    Directions:
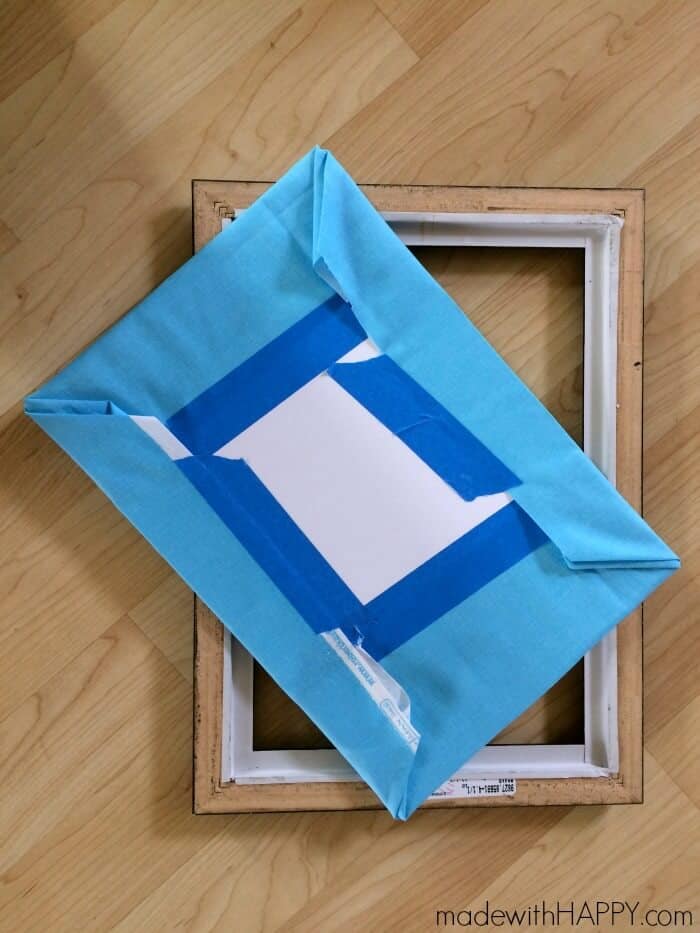
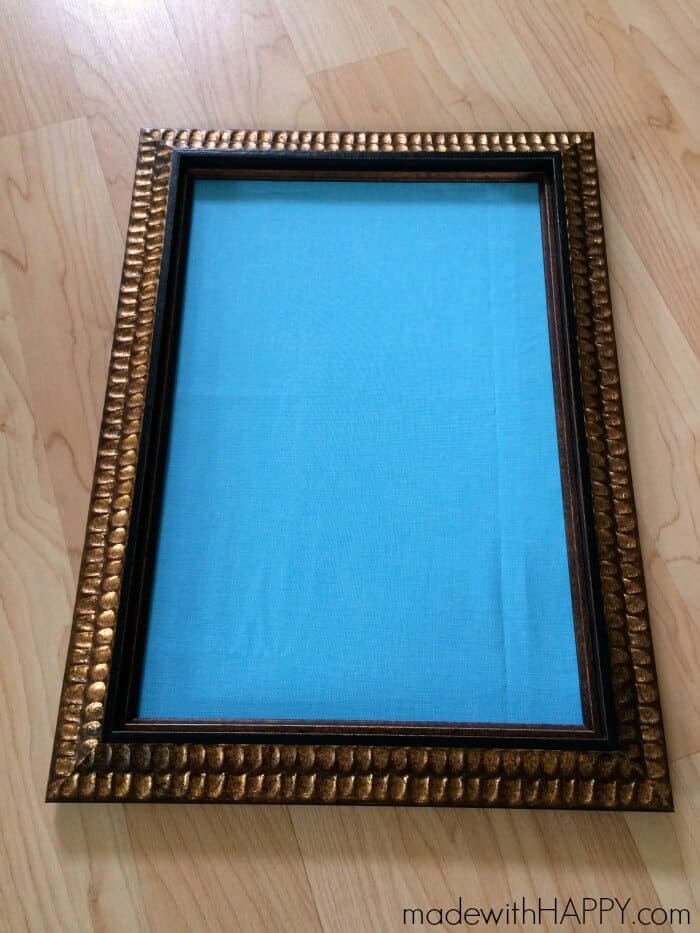
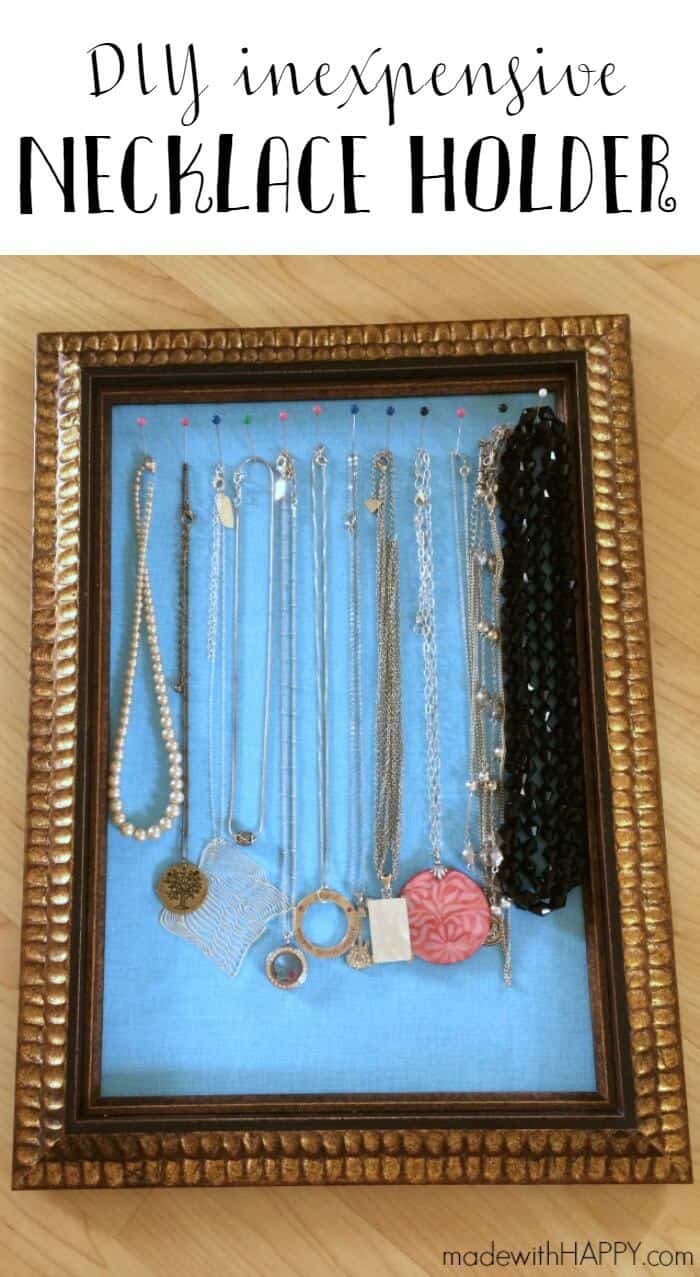
    necklace-holderI ironed the fabric and secured it around the foam board which i had measured and cut to fit tightly in the frame.necklace-holder-frameI added the pins at an angle (my son liked the ones with the colored heads) and ta-da! easy-inexpensive-necklace-holder-diyA perfect way to display my pretties! Quick, inexpensive DIY Necklace Holder that is perfect to display all your beauties!
    Like it? Pin it!DIY-Inexpensive-Necklace-Holder
    Happy DIYing!

    More Home + Garden DIY

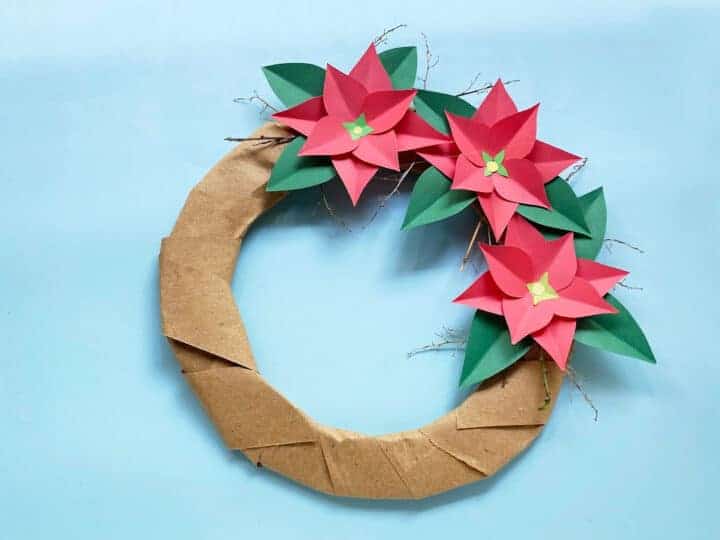
    • christmas paper wreath
      Paper Christmas Wreath
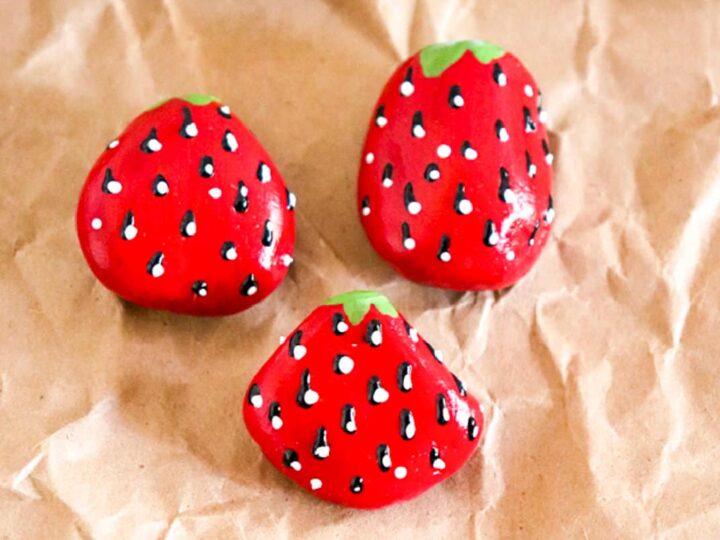
    • strawberry painting
      Strawberry Painted Rock
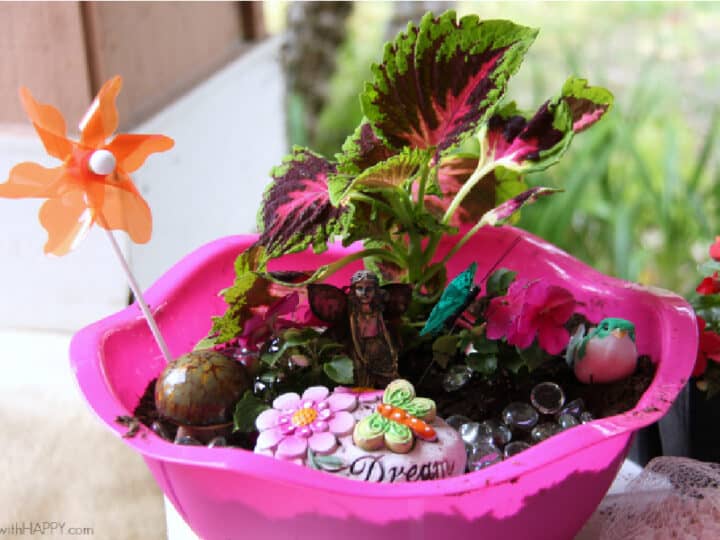
    • dollar tree fairy garden
      DIY Dollar Tree Fairy Garden
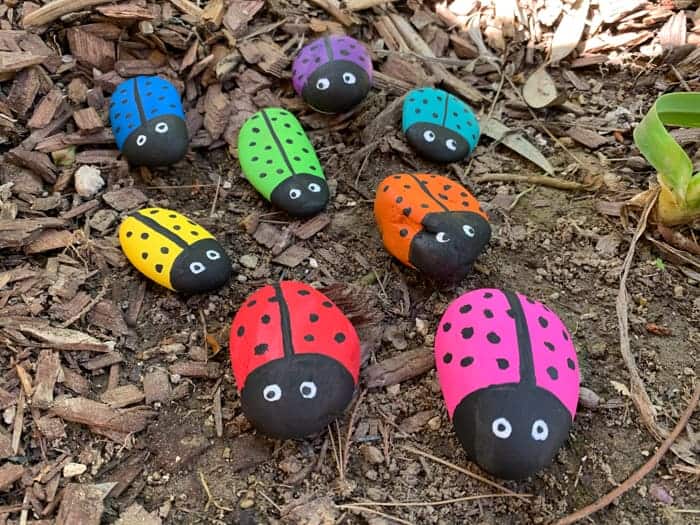
    • kids camping crafts
      Easy Ladybug Painted Rocks
    • Facebook
    • Yummly

    About Alli

    Discover a world of creativity and joy with Alli Ward, the creative mind behind Made with Happy. From DIY crafts to delicious recipes, Alli brings happiness to every project!

    Primary Sidebar

    Welcome Friends!

    alli ward

    Hi, I'm Alli Ward, the Maker behind Made with Happy. I'm a color-obsessed creative mom of two sharing easy crafts, printables, and home DIY projects that the whole family will love! 

    More about me →

    Check Out Our

    MWH Shop Sidebar

    Web Stories

    Trending Post

    popsicle stick dragon puppet

    Dragon Puppet

    Footer

    Footer

    ↑ back to top

    About

    • About
    • Disclosures & Privacy Policy
    • Accessibility Policy

    Newsletter

    • Sign Up! for emails and updates

    Contact

    • Contact

    We are a participant in the Amazon Services LLC Associates Program, an affiliate advertising program designed to provide a means for us to earn fees by linking to Amazon.com and affiliated site