
Want to save this project?
Enter your email below, and then we'll send it straight to your inbox. Plus get awesome new projects from us each week.
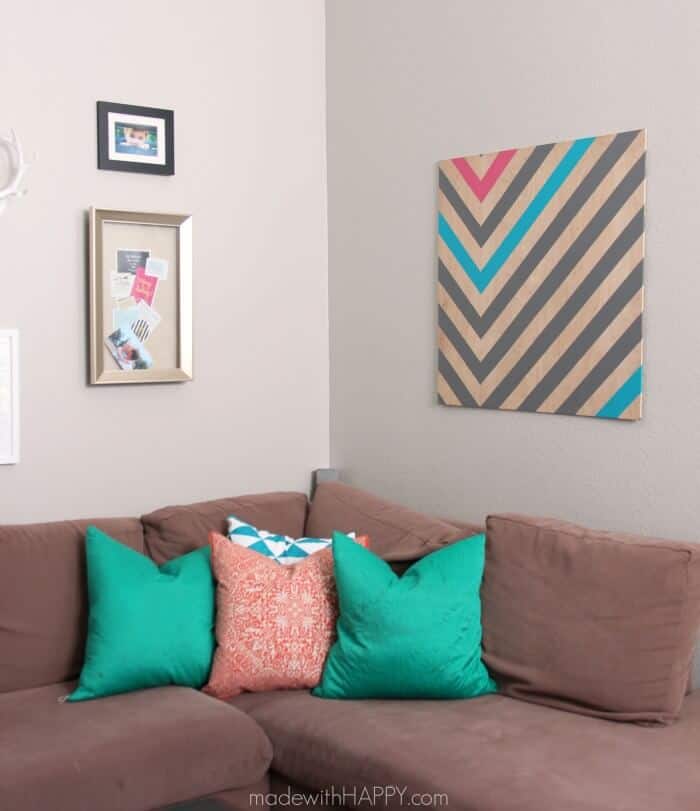
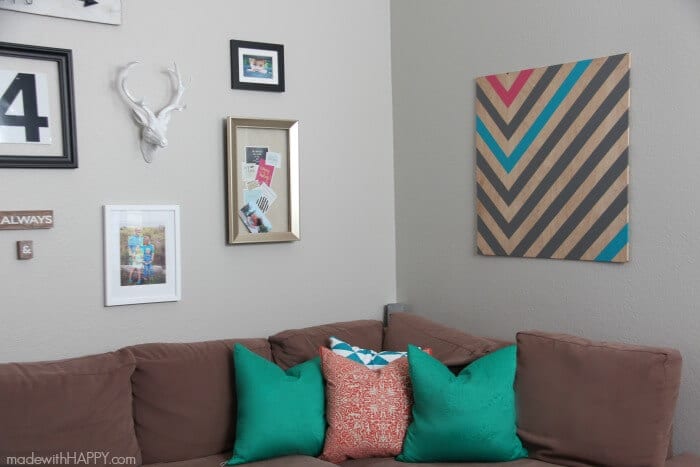
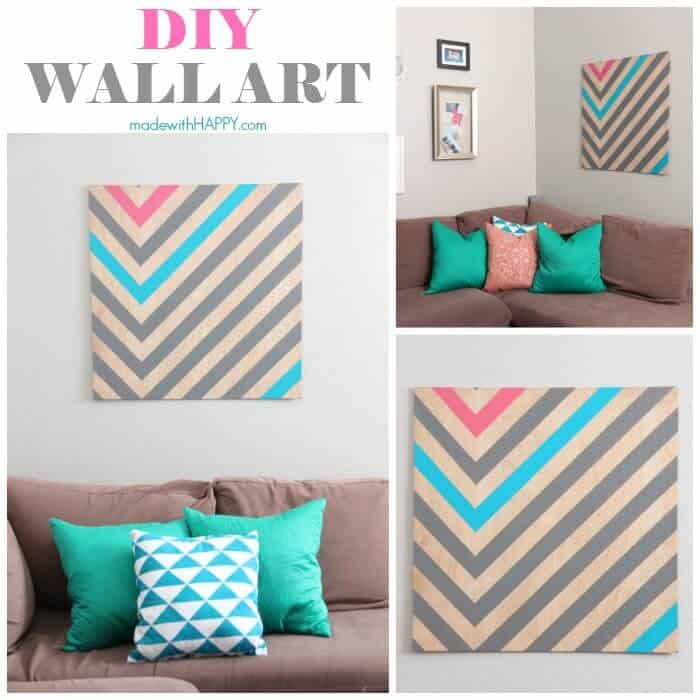
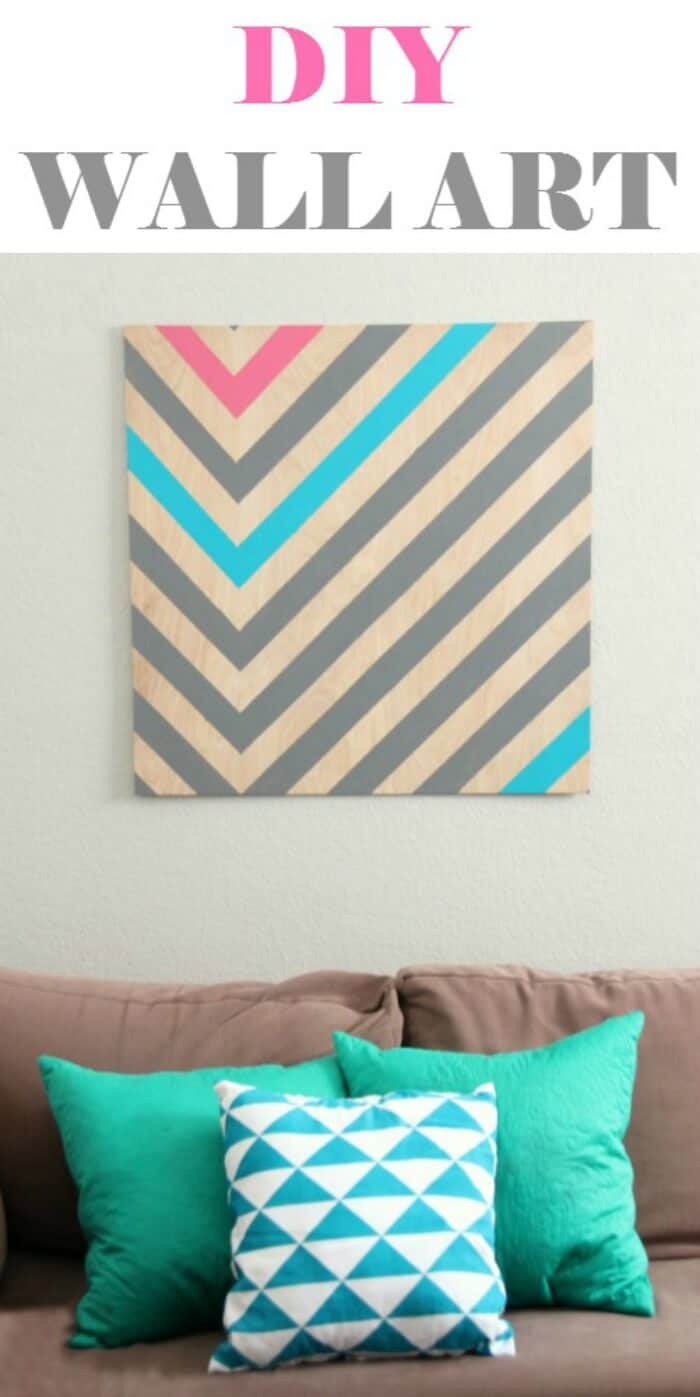
We're so excited to share this DIY Wall Art project with you. Over the past year, we've been working on redecorating our living room. Over the past 9 years it has grown outdated and needed a face-lift. While I'm not ready to share with you the entire room there is one section that has turned out so cute and it was so easy to do, that I had to share.
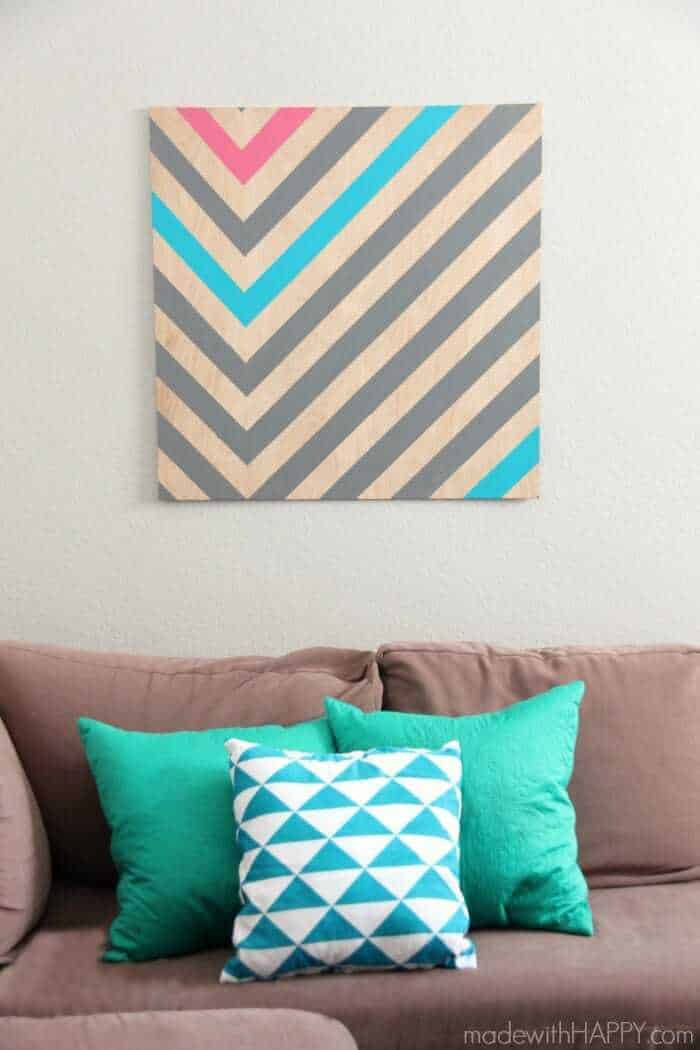
We had a large wall that was in need of a large piece of art work. As a young family, purchasing a large piece of art work for that space, really is not realistic. So after thinking about it and thinking about the space I created this DIY Wall Art and it cost me less than $20 and looks great!
Here's how I did it!
Supplies:
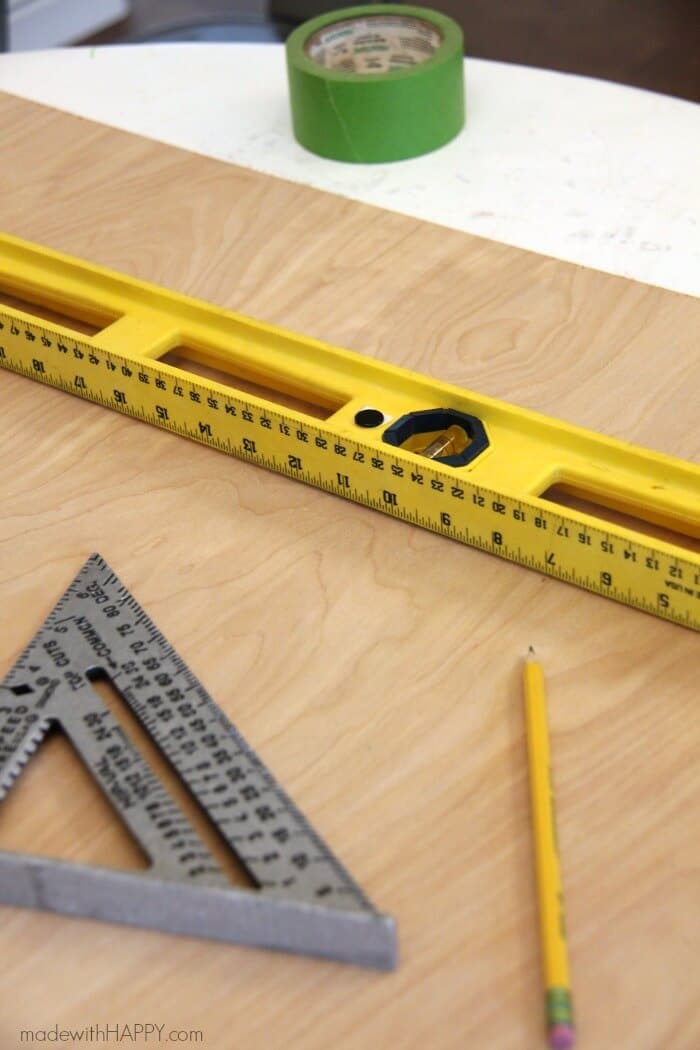
- Plywood - I purchased this one at Home Depot ($9)
- Long Ruler
- Painters Tape
- Pencil
- Paint - You can use acrylic paints like this or I grabbed a few paint samples based on my wall color here
- Paint Brush
- Rafter Square (optional)
- Frame Hanging Kit or Large Command Strips (I used these)
Directions:
Let's first talk about the size of the art. I personally think, the bigger the better. Don't be afraid of large wall pieces. In our case we have a window outline and the art on the adjoining wall to take into consideration otherwise, I think I would have liked to go a bit more vertical with the wood piece.
Once you have the size you want, head out to the hardware store. 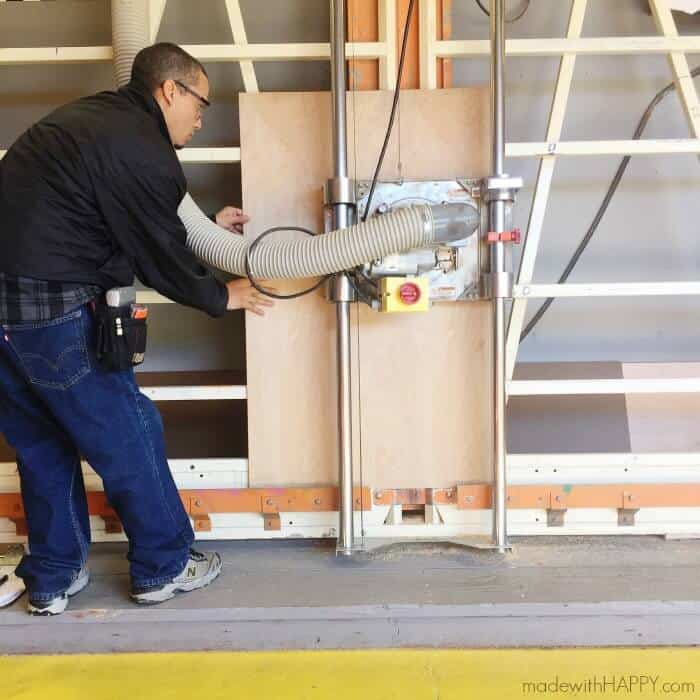 In most cases, they have a large saw and can cut it to whatever size you want.
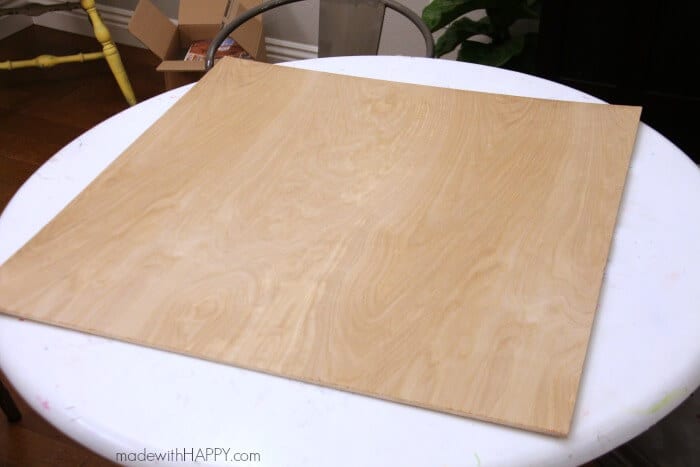 Next once you get it home, it time to figure out spacing and sizing of your tape. I was using the 2 inch wide painters tape and wanted to keep the lines consistent.
 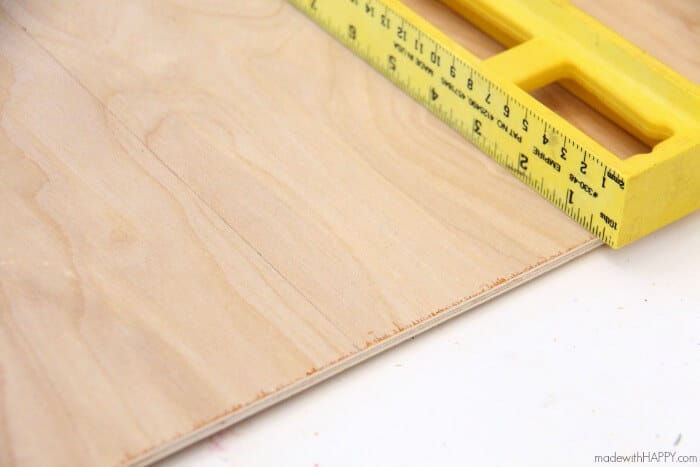 The first step to creating this piece is to determine where you want your V or right angle. I decided on one quarter of the length of the wood. Using a pencil, draw a straight line from end to end up the wood piece making this your anchor line.
Next, I wanted a 90 degree angle and so I used rafter square, but you could easily use a book or piece of cardboard or anything with a right angle or any angle for that matter. Starting at the bottom point of the line, draw a line marking the angle you want going each direction. 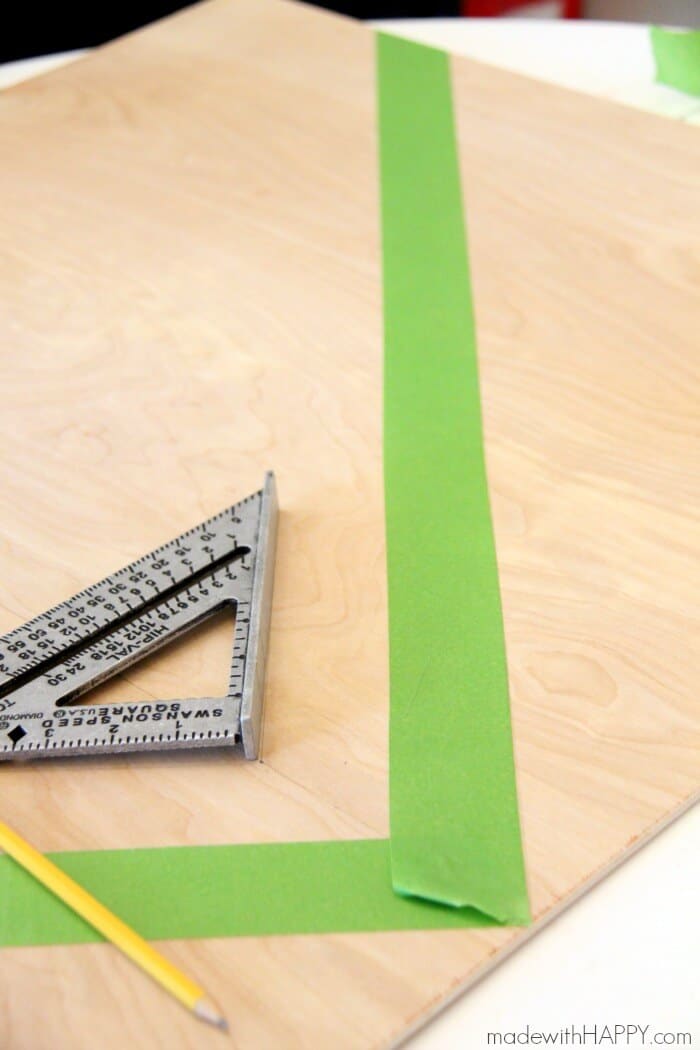 Once you have both lines drawn, using the painters tape, place the tape on your piece of wood making sure your tape edge follows the lines you just drew. From here, I then measured 2 inches from the top of the tape to the anchor line as well as each sides of the wood piece. Then draw the lines and lay the tape as you did previously.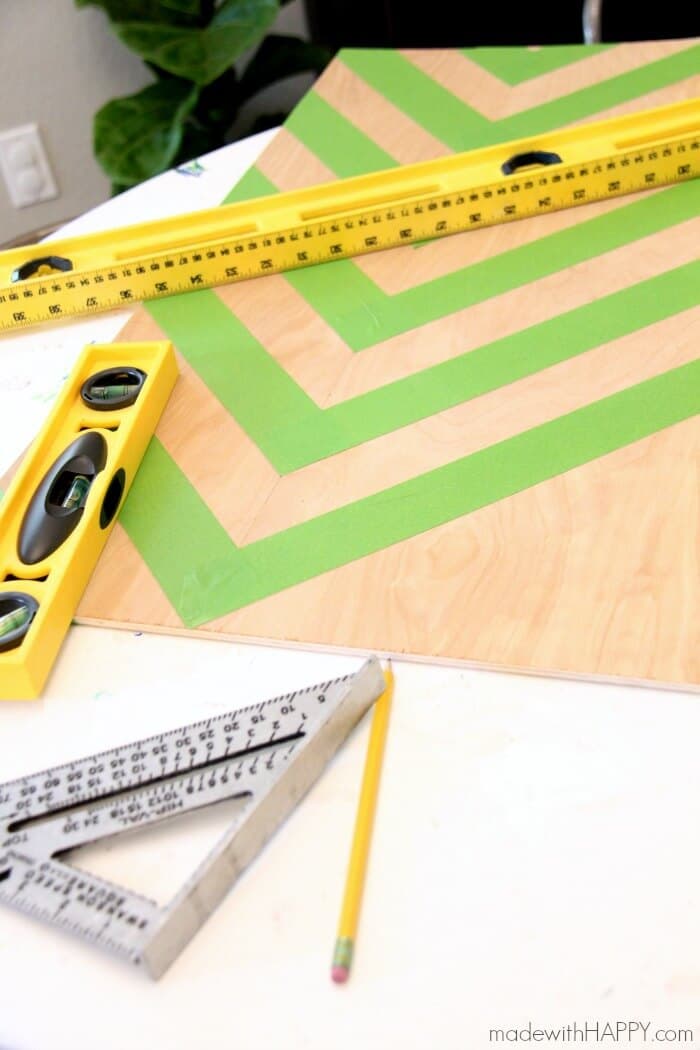
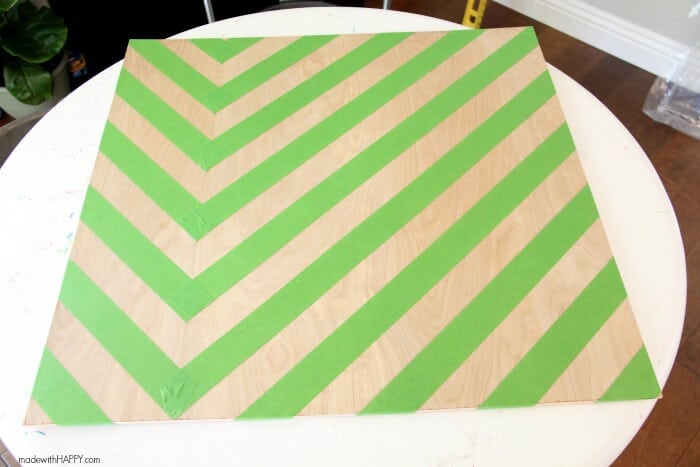 Once you are finished, your art piece should look similar to this.
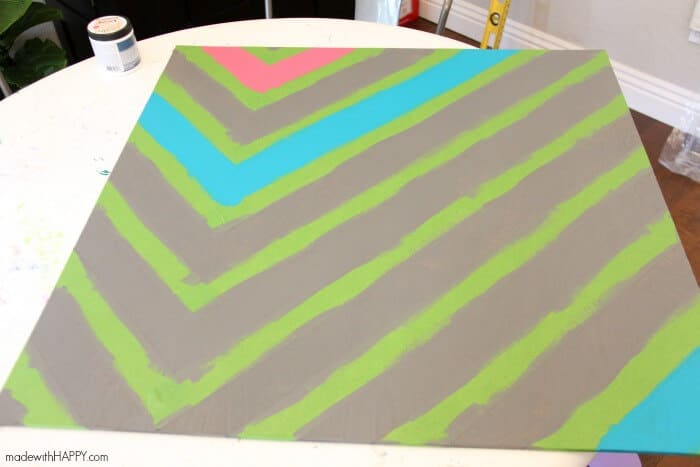 Then its just a matter of applying your paint. I love the pops of color, but you could easily run a pattern or paint every line different if you are so inclined. Oooh, rainbows!!!
You may need a few coats of paint. Let it dry completely before pulling off the paint.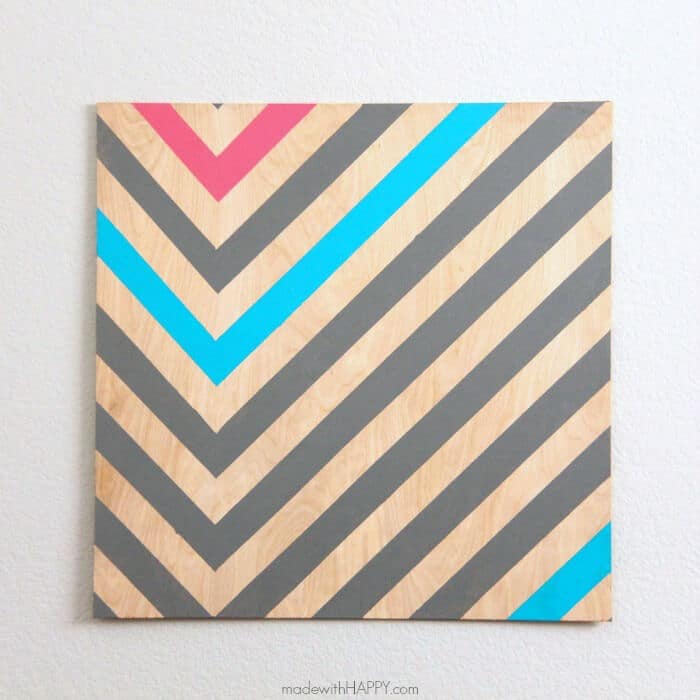 Viola, you have yourself a gorgeous piece of art!
Because the plywood is not very thick, it actually only weighed a few pounds which allowed me to use command strips to hang it. If you decide on a heaver piece of wood, you will need to get a frame hanging kit and add it to the back of the piece.