There is something magical about icebox cakes. They only use a few ingredients, and there is no baking involved which of course what makes them so magical. Simple and Tasty, my two favorite things!
Want to save this project?
Enter your email below, and then we'll send it straight to your inbox. Plus get awesome new projects from us each week.
Icebox cakes have been around since the 50's. Traditional icebox cakes were made with waffers and cream and layered together and then placed in the icebox (refrigerator) over night. There are a ton of different ways to make these and if you remember, I shared with you my Easter Icebox Cake, where I combined my love of color and my lack of baking skills. 🙂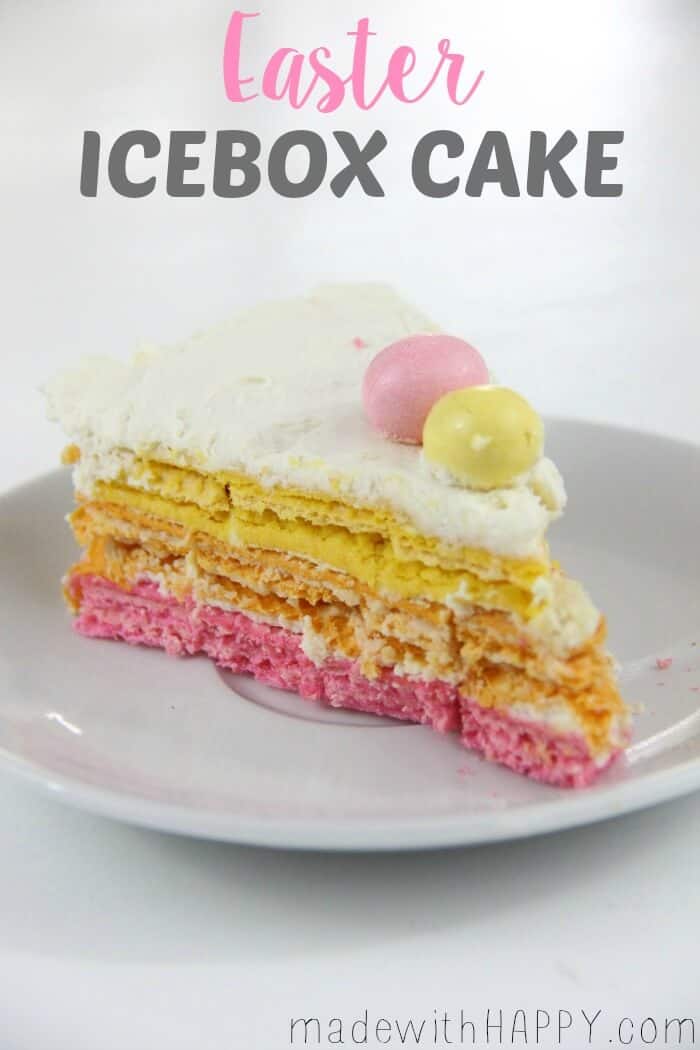
I've been testing out different varieties of icebox cakes... all out of research you guys!!! 🙂 While I've come up with some pretty good ones, the kids have been asking me to make one out of Oreos.
Challenge Accepted!
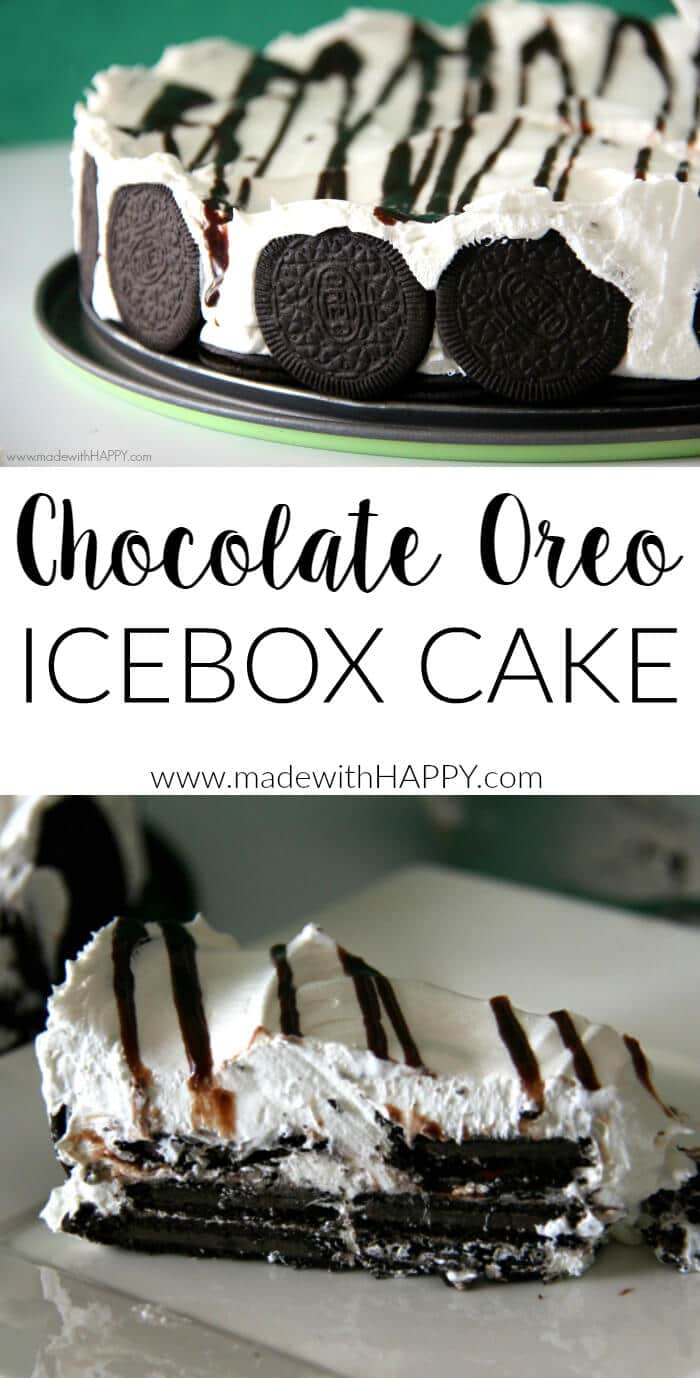
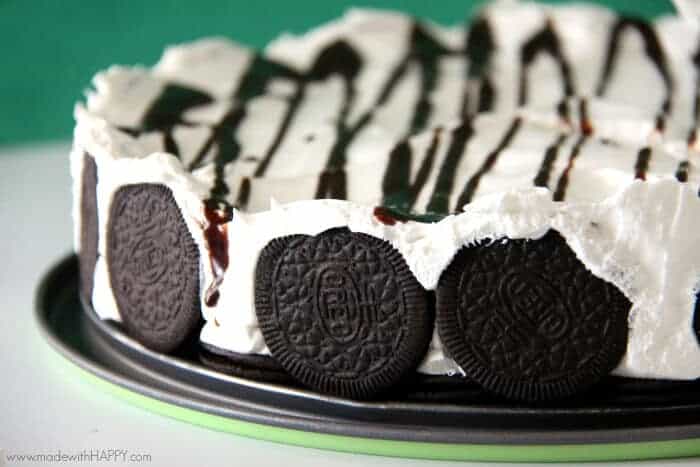
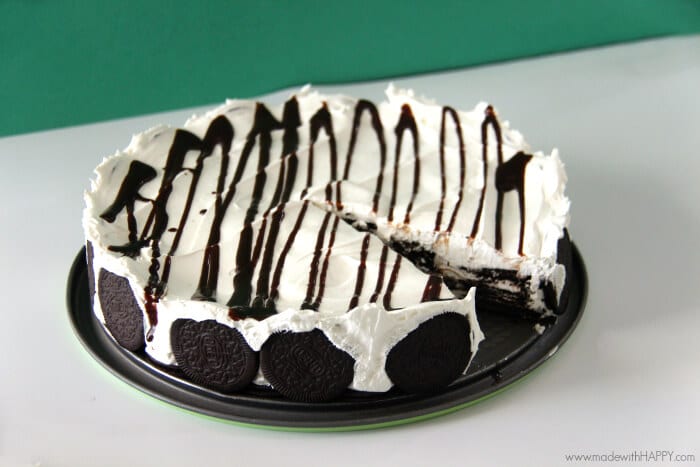
The initial challenge I had with making one out of Oreos, was width of the cookies. With the filling and the two cookie sides, a regular Oreo would work, but you would just need to dip each one in milk before layering to soften it up. It was not till I was walking through the cookie aisle when I came across the Chocolate Thin Oreos, did the light go off! THINS!!! Those would work awesome in an icebox cake!
So here is how I made it... So simple, you will be making them tonight!
Ingredients:
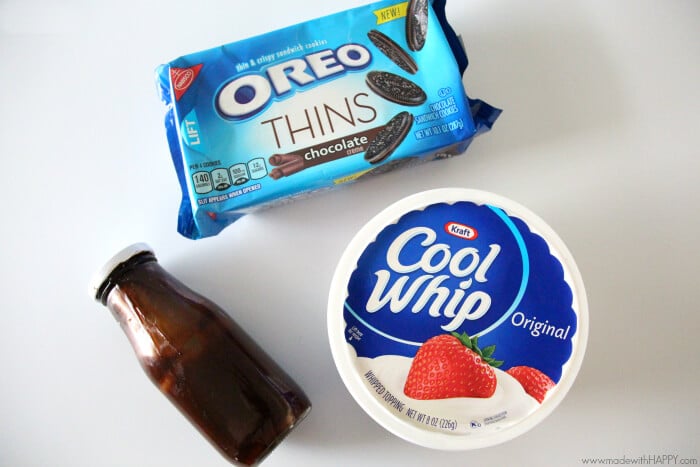
- 1-2 Packages of chocolate thin Oreos. You can get away with using one, but the more Oreos the better right???
- 1 Carton of Cool Whip or 8 oz of your favorite whipped topping. Again, the larger option gives you some room to splurge and we're making a cake, so why not!
- Chocolate Syrup
Boom! That is it my friends!!!
Directions:
Simply layer the bottom and the sides with the Oreos fitting as many in a single layer as you can. Then cover with a layer of whipped cream. Drizzle the chocolate syrup over the whipped cream and then onto another layer of cookies, whipped cream and chocolate syrup. Make your way up to the top of the dish, or till you run out of cookies and whipped cream. Then into the refridgerator for 8 hours or overnight letting all the chocolate cookie yumminess soak up the creamy goodness.
Then it is ready to serve!
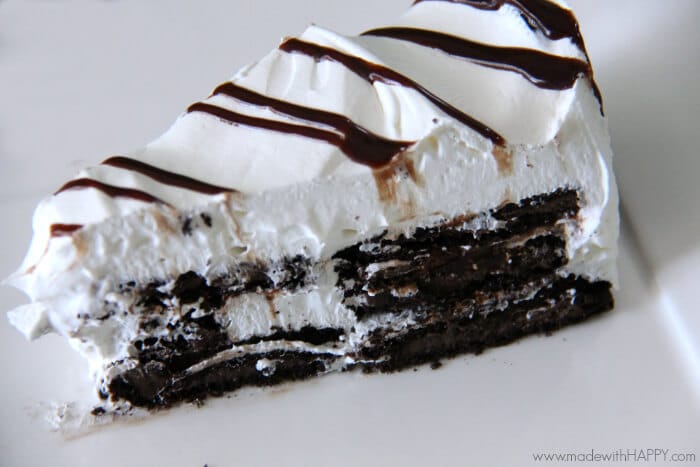
It is so good you guys! My kids have asked me multiple times to make it again, and that's saying something seeing as cakes aren't really my jam.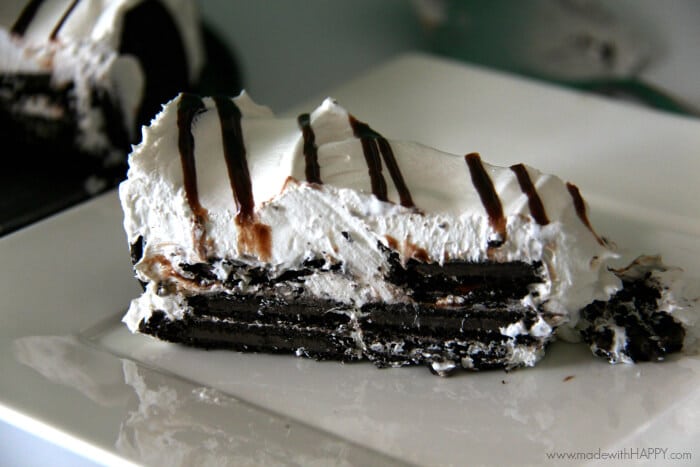
 Quick, simple and only a few ingredients... definitely my kind of cake!!!
Happy NON-BAKING!!!