While putting the finishing touches on our laundry room, I was looking around trying to figure out what was missing.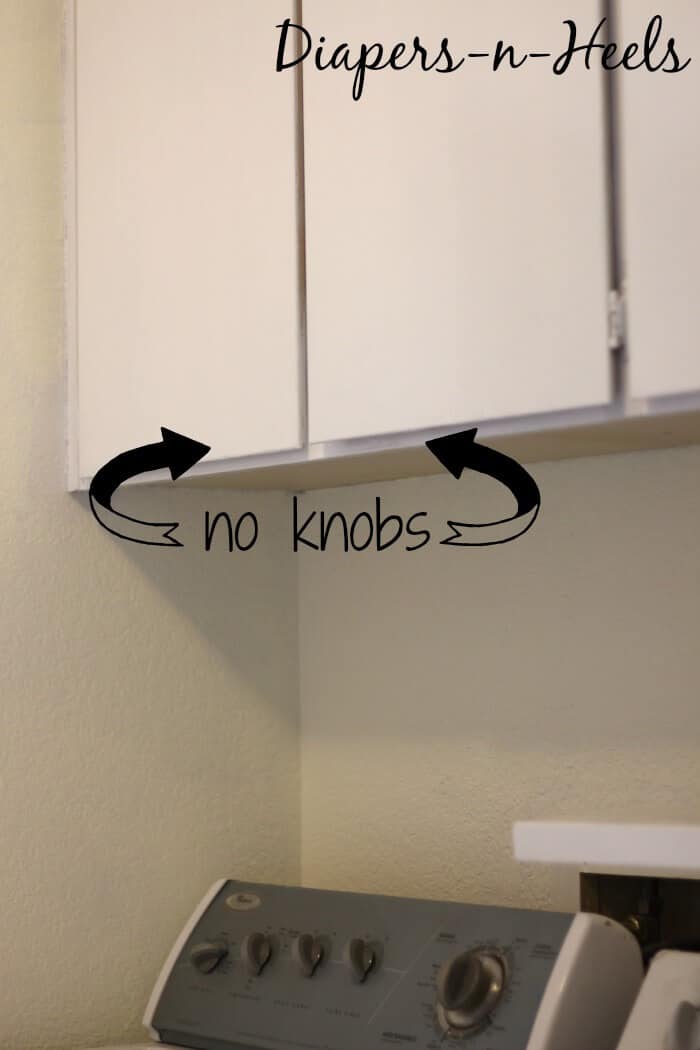
Want to save this project?
Enter your email below, and then we'll send it straight to your inbox. Plus get awesome new projects from us each week.
I went with a simple modern pull handle. Got them home and opened them up and realized that it was just the handle and screws, no drilling guide. Being crazy like that, I figured I'd show the quick and easy way to make your own drill guide to make sprucing up any cabinets easy peezy.
Here how you do it!
Make your own drill guide
Supplies
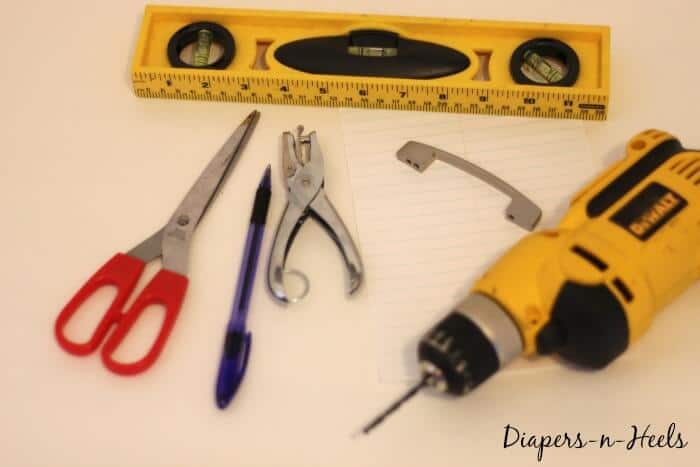
- Scissors
- A piece of paper
- pencil or pen
- hole punch (optional)
- level
- drill
Directions
- First things first, you're going to want to hold the handle up tot he cabinets to get an idea of where on the cabinets you'd like them to be located. I went with roughly an inch from the bottom, and an inch in from the opening side.
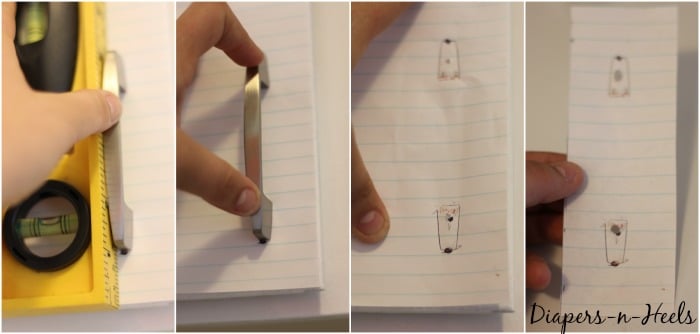
- Place your piece of paper so that its lined up with the corner of your cabinet.
- Hold up your handle making sure its level.
- Using your pen or pencil outline the handle on the piece of paper.
- Once you have the outline, still holding the handle to the paper, flip over the paper and with your pen locate the holes in the handle and make it.
- At this point, you can use the hole punch to create the hole or just poke your pen/pencil through to create the hole.
- Lastly, cut the other side of the paper measuring the same distance from the handle. This will allow you to use the guide for both cabinets doors (left and right)
Now that you have your guide, you are ready to drill. Make sure your drill bit is slightly bigger than your screw to make sure it can fit through. And if you're anything like me and have a blonde moment, make sure the drill is going the right way. Sometimes... 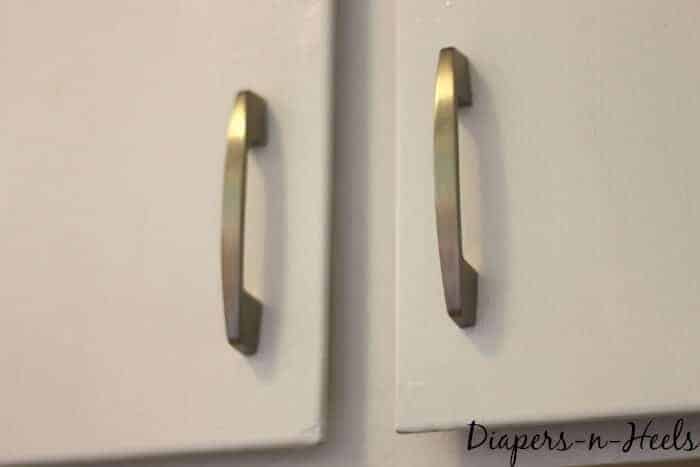 Viola you have yourself some evenly spaced cabinet pulls.
Happy DIY-ing!!!