

Embark on your flower arranging journey! Learn the basics of creating stunning bouquets with our beginner-friendly tips and tricks.
Hello and Happy Friday! Its the second day of Spring and we're loving it. I don't know about your family, but we start to get a little giddy-up in our step in Spring. Finally starting to warm up and the days are getting longer and flowers are starting to bloom. Ahhhh... I love Spring. Okay, you got me. I'm a lover of all seasons, but Spring in particular because of the flowers. How much do you love flowers?
Want to save this project?
Enter your email below, and then we'll send it straight to your inbox. Plus get awesome new projects from us each week.
I'd say I have mild obsession with flowers. I may or may not mark in my calendar each year when the local flower fields open. Yeah... that kind of obsessed 🙂
One of my dearest friends shares in my obsession and actually took a few classes/courses on flower arranging. Cool right? Well she was kind enough to come and show DNH Girl and me (and now you) some of the tips and tricks she learned from of the professionals.

First step is to buy/pick flowers you like. Nobody is going to enjoy a bouquet if they are full of flowers that don't make you happy

Layout each of the flowers and prepare them for processing - fancy flower term for preparing to be arranged 🙂 P.S. Can you see how happy these flowers make DNH Girl?

Processing - We're told this is the game changer from a store bought bouquet to looking like a pro florist. Processing involves a few steps.
- De-leave the flowers. The rule of thumb is to remove all the leaves below the vase line. You may want to remove even more, but it will all depend on each flower and the look you're going for. We started by taking most of the leaves off
- When thinking about the bouquet, you can generally look to having the taller flowers in the back of the bouquet and then shorter, more hanging types towards the front

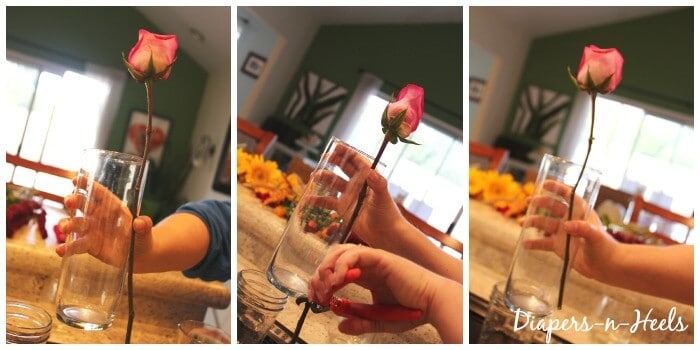
- Trimming the flowers. You want to measure the flower as to how high you want the flower sticking out of the vase before trimming. You can always trim more if needed, but you can't put length back on after you've cut it, so don't go too short.

- You want to place the flowers into the bouquet at an angle. You don't want to put them into the bouquet up and down.
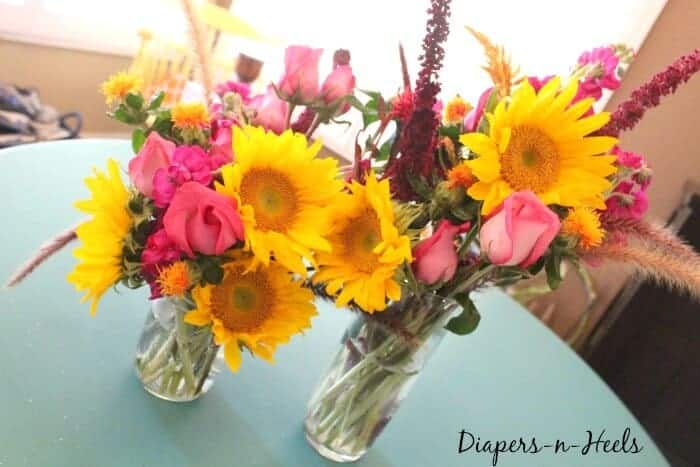
- Bunch and group like flowers and colors together. It will help in the overall look of the finished product.
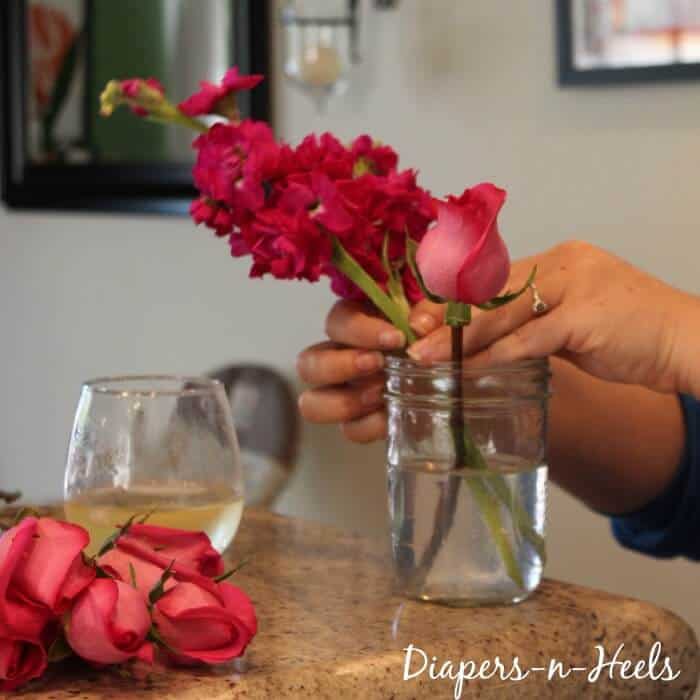
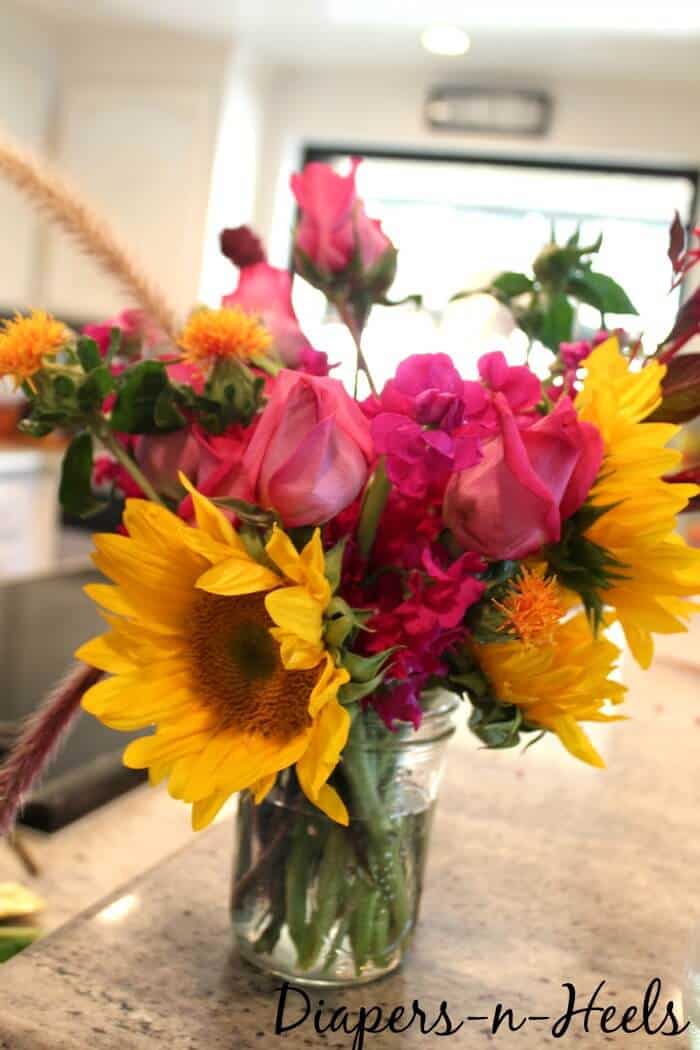
We didn't talk much about vases, but remember you can make so many things into vases. We went with a traditional vase we had as well as a fun mason jar we had left over from our pickling adventure (more on that soon).
Lastly make sure you fill the arrangement. If you're arrangement is looking kind of sparse, then you may want to try a smaller vase. Something where your flowers will fill it up. Or go into your own garden and pick some more items for the bouquet. We ended up grabbing some of our cat tail (feather looking numbers) and adding them to our bouquets. Fill em up.Most importantly. Have fun with it! You'll be making flower arrangements like a pro in no time!


