Each trip we take as a family, I find myself crossing my fingers and toes that there is at least one great picture of the whole family.

Want to save this project?
Enter your email below, and then we'll send it straight to your inbox. Plus get awesome new projects from us each week.
Many times the pictures, although captures the family, isn't centered or the lighting is off and so you end up at the end of the trip sad that you did not end up with the display worthy picture you wanted for the house. That is until I discovered Photoshop Elements 15. There is so much you can do in Photoshop Elements to improve your picture, I am in absolute awww. The software assists in
- Enhancing the color of your photos
- Adjust the brightness and contrast
- It allows for touch ups on blemishes or spots within the photos
- Make sure your photos are level
- My favorite is Smart Fix which auto adjust all the different lighting and brightness elements above to correct the picture on its own.
By making all these fixes to the pictures, I'm now able to get my pictures display worthy which brings me to my latest project.
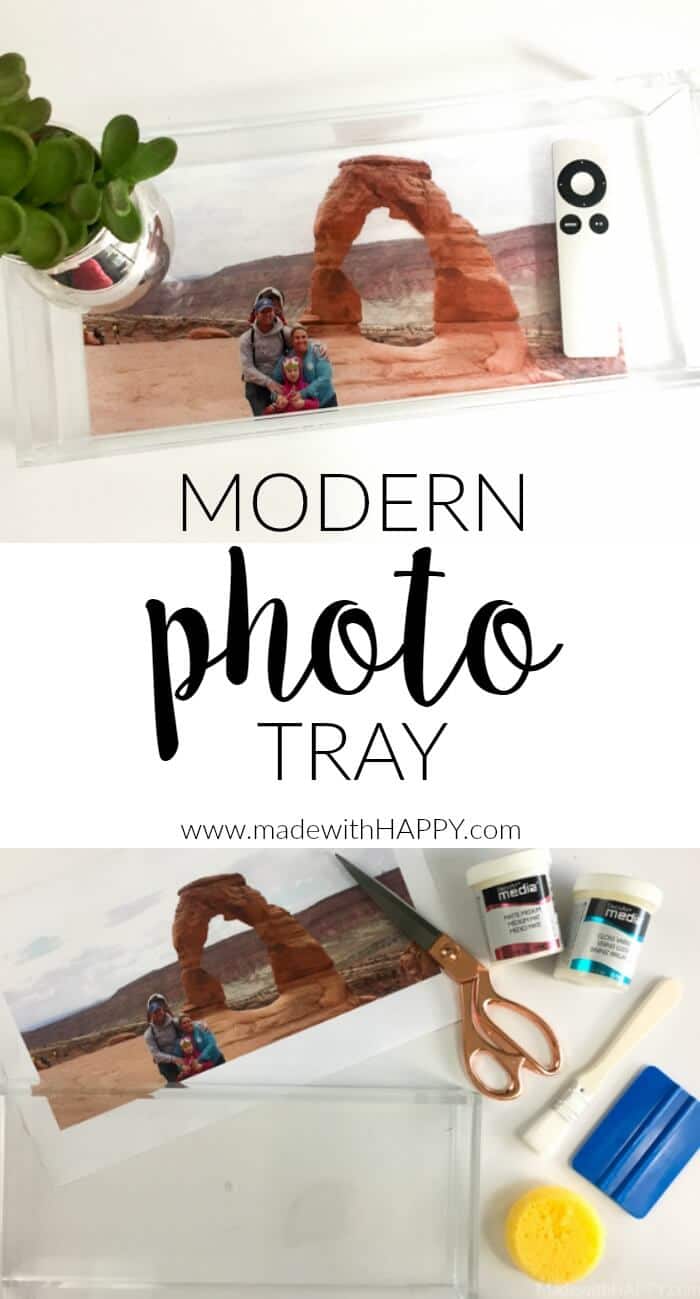
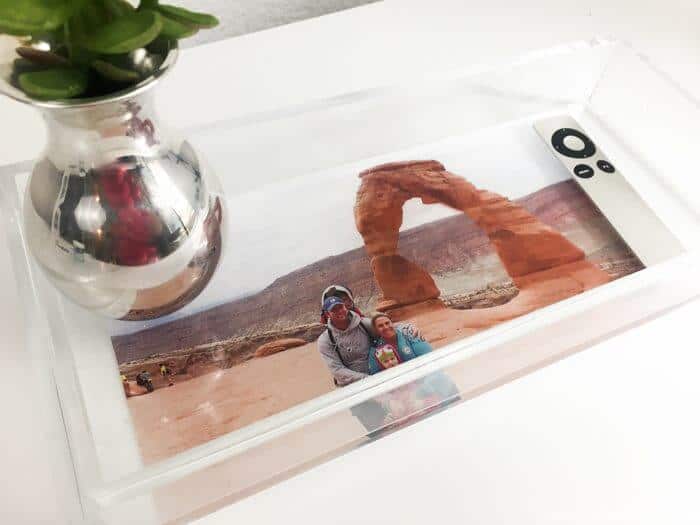
Modern DIY Photo Tray
After editing my picture in Adobe Photoshop Elements, I was able to create this great photo tray that now sits on my coffee table where I'm able to see it every single day.
Here's how you make it.
Supplies:
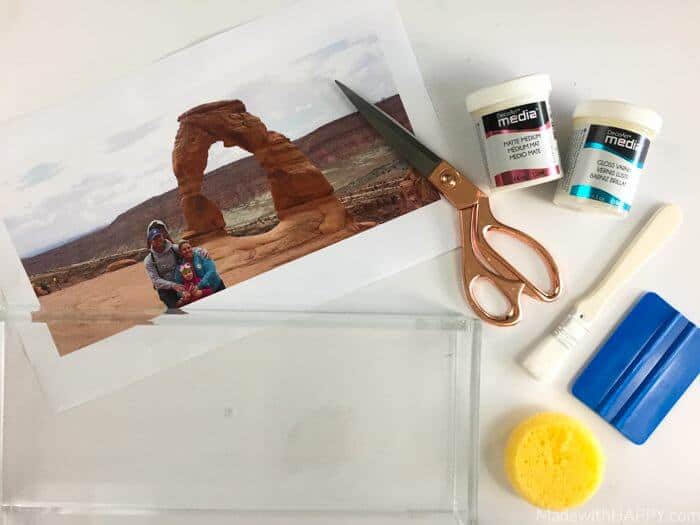
- Photoshop Elements 15
- Acrylic Tray
- Matte Medium
- Gloss Varnish
- Paint Brush
- Scissors
- Sponge
- Squeegee
Directions:
Start by downloading Photoshop Elements 15
Next, pull up your favorite picture within Photoshop Elements and make the appropriate adjustments. Brighten, touch up, and add text to your picture even.
Once you have your picture of how you like it, make the image the size of the bottom of the tray. My tray was 14" x 6.25". By selecting the crop tool in the toolbar on the left-hand side, you can crop it to the size of your tray. You may want to wait to add your text till after you have the final sizing in place. Save your file as a PDF.
Print your picture. If your tray is a larger size than your printer's capacity, you can easily have it printed at your local print shop for less than a dollar.
Use the scissors to cut out the image. Then with the paintbrush, apply a thin layer of matte medium over the entire picture with an even coat. Also, apply a thin layer of the medium matte over the bottom of the tray. Allow both to dry completely which should take about 30 minutes.
Next, with the tray upside down, apply a generous amount of matte medium over the bottom of the tray, making sure the coat is even. Then immediately after, place the printed picture, and image down onto the bottom of the tray. Use the squeegee to smooth out any bubbles. Let dry completely, 2+ hours or overnight.
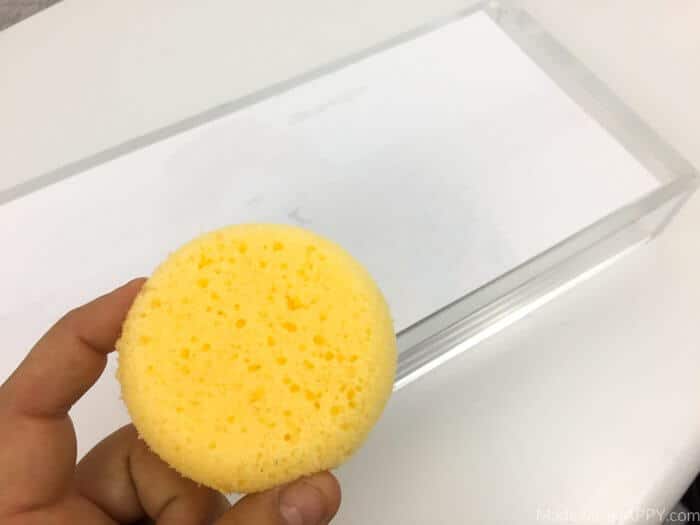
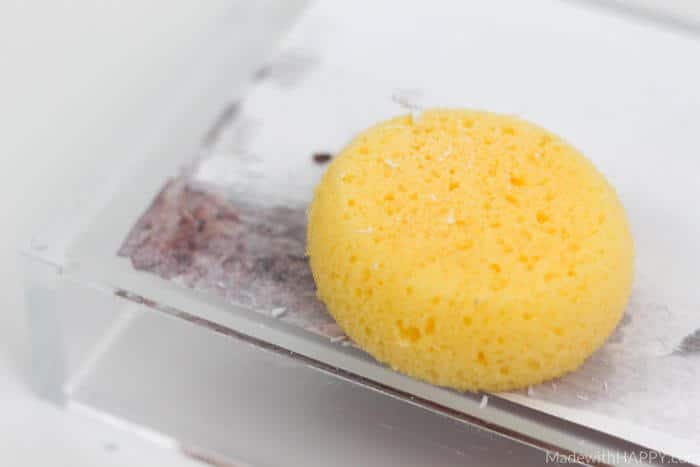
Once its completely dry, wet the sponge and rub the back of the picture using a circular motion, removing all the paper.
After the paper is all removed, try to dry again completely.
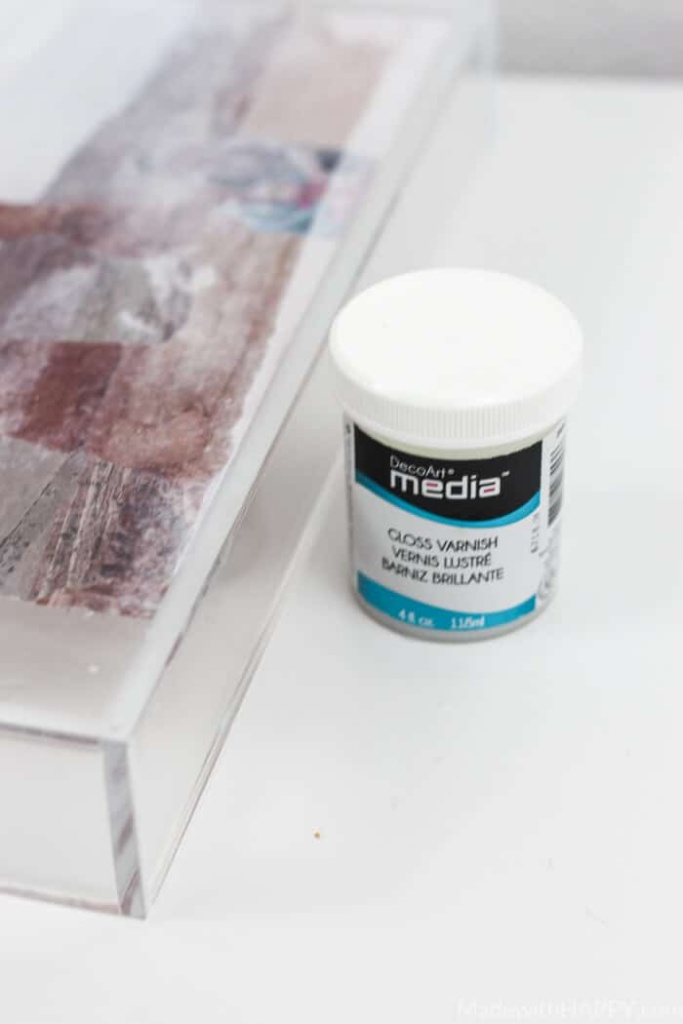
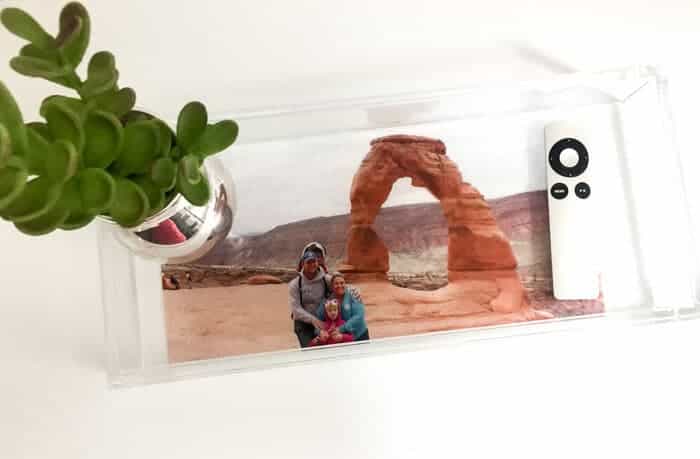
In order to prevent the image from getting scratched, then apply a thin layer of gloss varnish over the dried image. Once it's dry, it is ready for use! It's such a great way to showcase those beautiful family photos. I love the clean lines of the acrylic tray. They also make fabulous gifts too!
Let me know if you make yourself one too as we love to see how everyone else's turned out.
HAPPY CRAFTING!