• Skip to primary navigation
  • Skip to main content
  • Skip to primary sidebar
Made with HAPPY
  • Crafts
  • Printables
  • Holidays
  • Fun Facts
  • Recipes
    • Email
    • Facebook
    • Instagram
    • Pinterest
    • Twitter
    • YouTube
menu icon
go to homepage
  • Crafts
  • Printables
  • Holidays
  • Fun Facts
  • Recipes
    • Email
    • Facebook
    • Instagram
    • Pinterest
    • Twitter
    • YouTube
  • search icon
    Homepage link
    • Crafts
    • Printables
    • Holidays
    • Fun Facts
    • Recipes
    • Email
    • Facebook
    • Instagram
    • Pinterest
    • Twitter
    • YouTube
  • ×
    Home » DIY » Home + Garden DIY

    Simple Wall Art

    This post and its photos may contain affiliate links. As an Amazon associate I earn from qualifying purchases. If you make a purchase through these links, I may receive a small commission at no extra cost to you!
    • Facebook
    • Yummly

    Over the last couple of months we've been working to spruce up MWH Girl's room. One of the things she wanted was some fun bright pieces for the wall. We've been hitting up the local consignment stores for some fun cheap frames. We even found a giant S that we're still trying to decide on the color and texture on. Always fun to find one off items.

    simple-wall-art

    Want to save this project?

    Enter your email below, and then we'll send it straight to your inbox. Plus get awesome new projects from us each week.

    Save Recipe
    wall-collage
    yarn-art
    yarn-twist
    simple-wall-yarn-art
    yarn-wall-art
    wall-collage-girlie

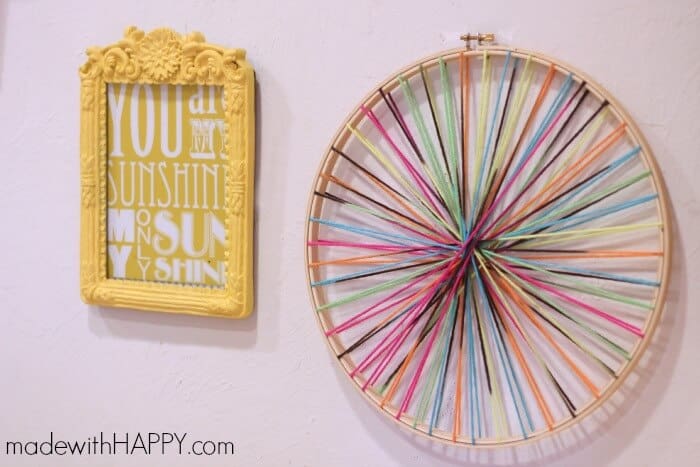
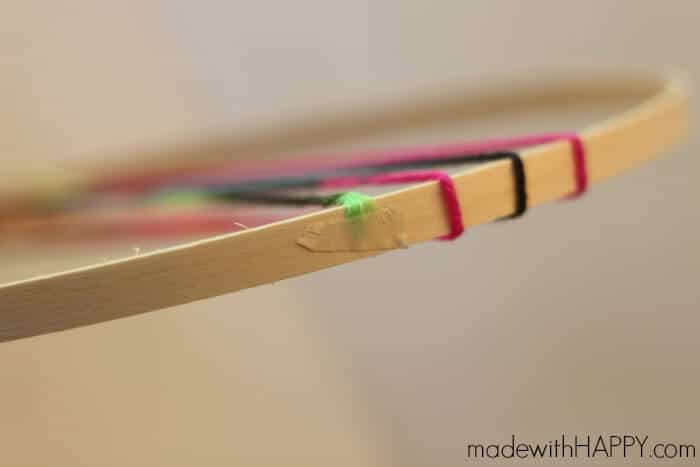
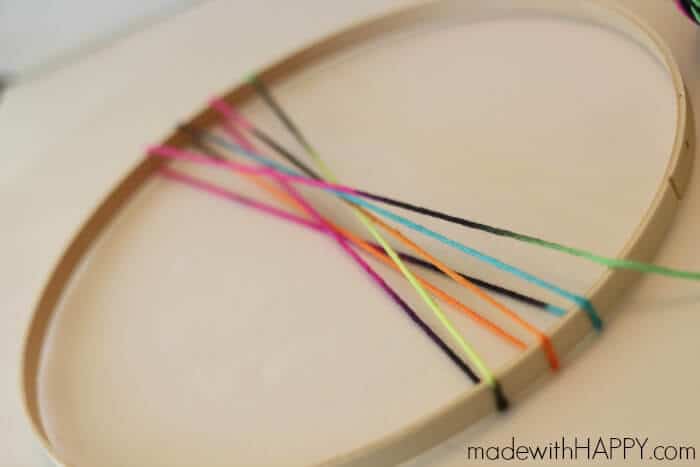
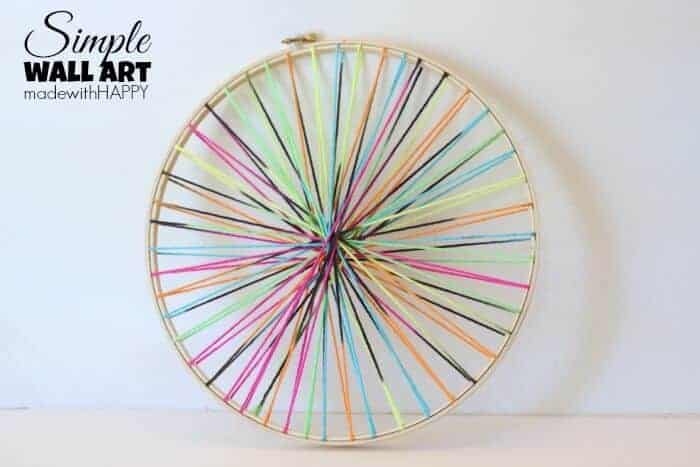
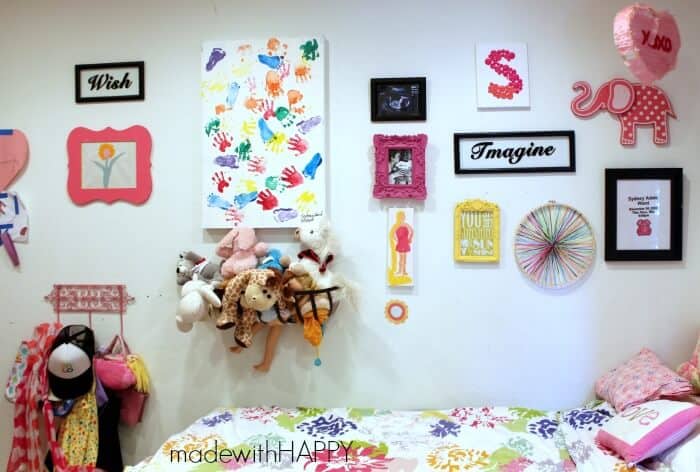
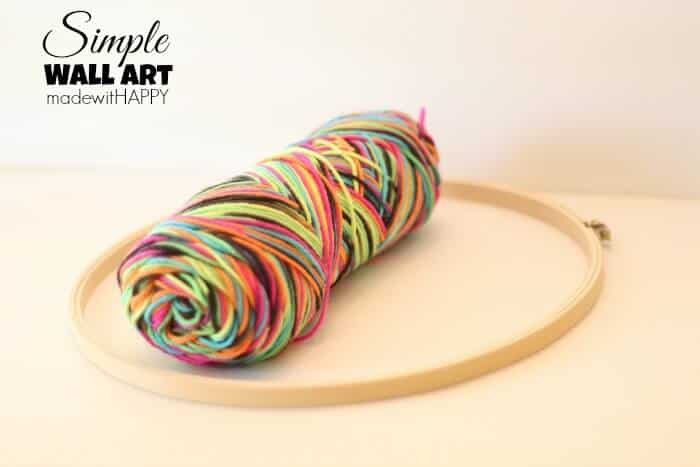
    While I was at my weekly Michael's visit a few days ago, I was browsing through the clearance area and came across some super cheap embroidery rings. I picked them up thinking about another project, when I also came across a super colorful roll of yarn. Ding, ding, ding...Yes, something great for MWH Girl's Wall! Simple and beautiful and all kinds of Made with HAPPY.Its simple, colorful and really inexpensive.Starting with just a piece of tape and the end of the yarn on the inside ring of the embroidery ring.  Then wrap around, moving a half an inch to the side making sure each string goes directly across the ring, crossing over the middle. The yarn will eventually make it back to your starting point and you can use the same piece of tape to hold the other end of the yarn in place. Place the outside ring on top and tighten. Viola, you have yourself a Simple, Colorful, Inexpensive piece of wall art that will brighten up any room.Adds a great little piece to the already colorful room.

    More Home + Garden DIY

    • christmas paper wreath
      Paper Christmas Wreath
    • strawberry painting
      Strawberry Painted Rock
    • dollar tree fairy garden
      DIY Dollar Tree Fairy Garden
    • kids camping crafts
      Easy Ladybug Painted Rocks
    • Facebook
    • Yummly

    About Alli

    Discover a world of creativity and joy with Alli Ward, the creative mind behind Made with Happy. From DIY crafts to delicious recipes, Alli brings happiness to every project!

    Primary Sidebar

    Welcome Friends!

    alli ward

    Hi, I'm Alli Ward, the Maker behind Made with Happy. I'm a color-obsessed creative mom of two sharing easy crafts, printables, and home DIY projects that the whole family will love! 

    More about me →

    Check Out Our

    MWH Shop Sidebar

    Web Stories

    Trending Post

    popsicle stick dragon puppet

    Dragon Puppet

    Footer

    ↑ back to top

    About

    • About
    • Disclosures & Privacy Policy
    • Accessibility Policy

    Newsletter

    • Sign Up! for emails and updates

    Contact

    • Contact

    We are a participant in the Amazon Services LLC Associates Program, an affiliate advertising program designed to provide a means for us to earn fees by linking to Amazon.com and affiliated site