Today we're having some more fun with shims and the Silhouette. I've been looking for some fun splashes of color around the house and well we all know I'm in love with Gold and Glitter and so I came up with the
Gold Glitter California
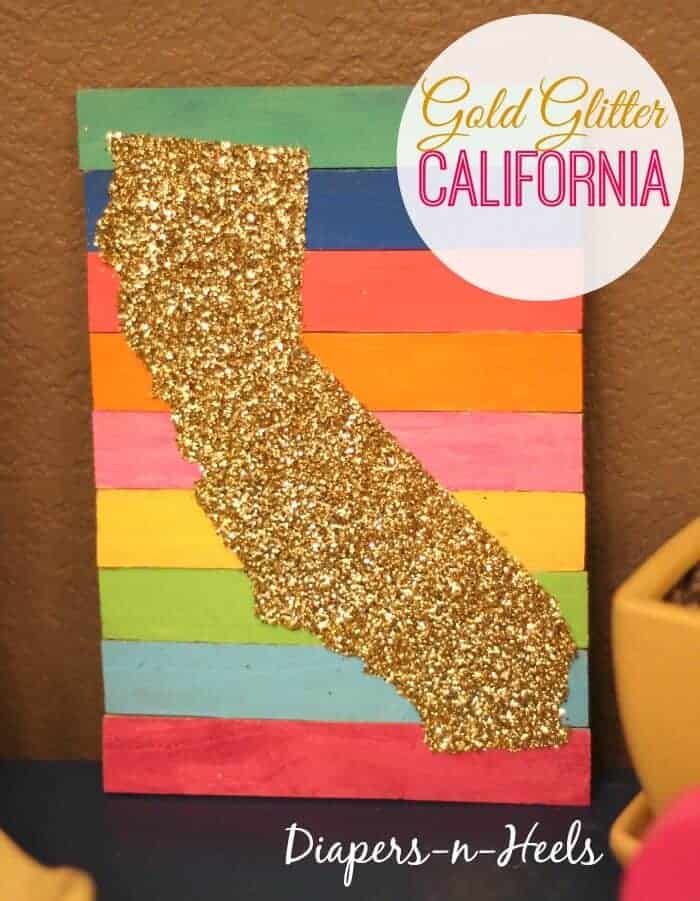
I'm so in love with it! Here's how we made it.
Supplies
- Gold Glitter
- Glue (White and Wood)
- Vinyl California Stencil
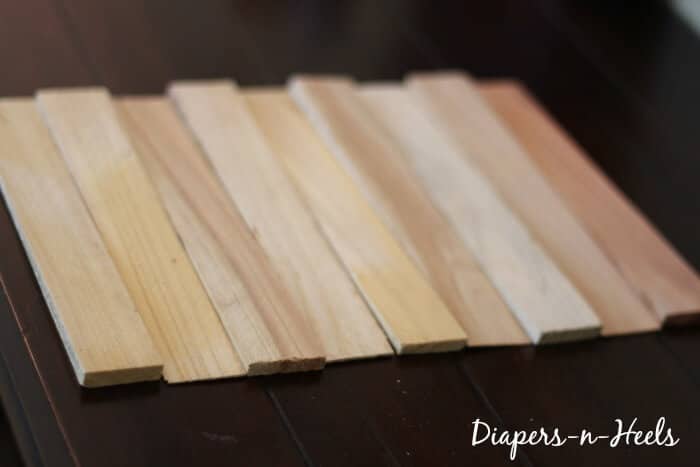
- Shims ( I used 9 short and two longer shims) - Home Depot only had two sizes
Directions
Want to save this project?
Enter your email below, and then we'll send it straight to your inbox. Plus get awesome new projects from us each week.
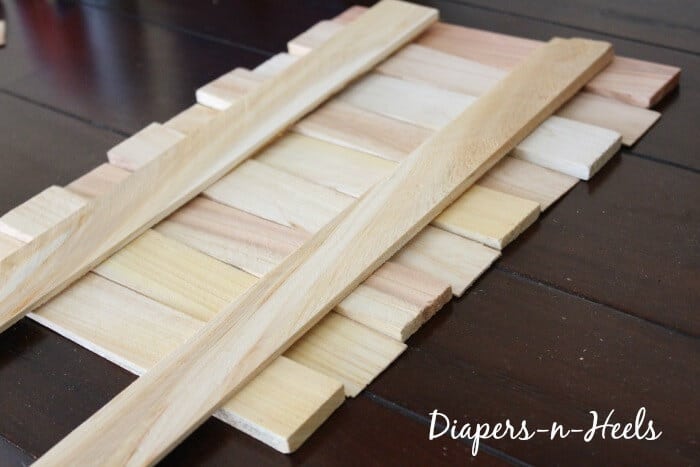
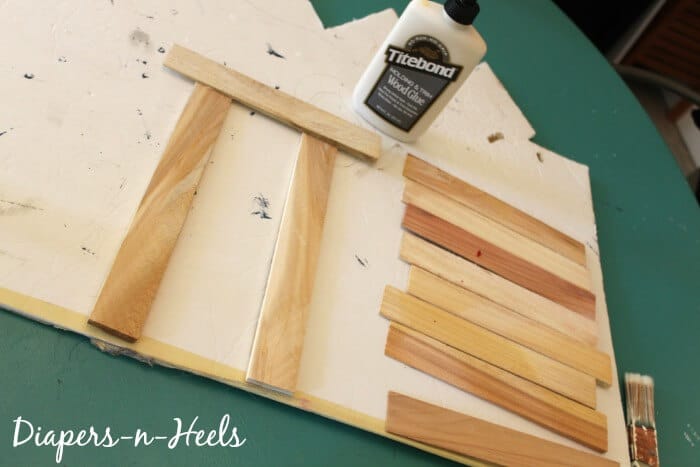
Layout your small shims to determine the size. The nine shims I used ended up being 8 inches by 11.5. Close to a piece of paper.I then placed the longer shims to measure where we need to cut them. Shims are not very thick and I used a simple crafting hand saw to cut the ends off.Once the longer ones are cut, line them up on a working surface and start to glue the smaller shims to them using the wood glue.
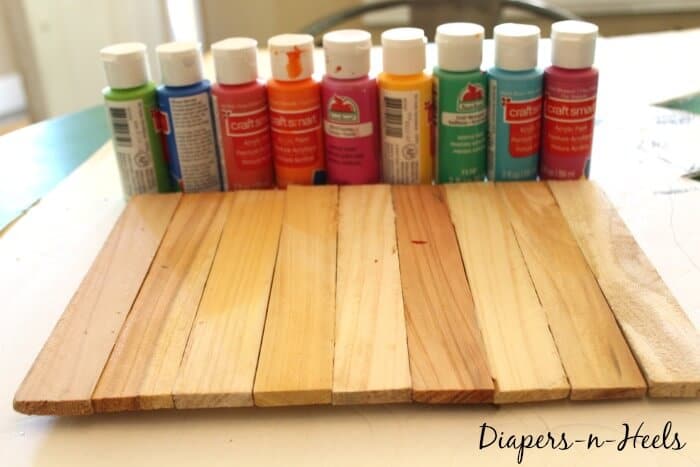
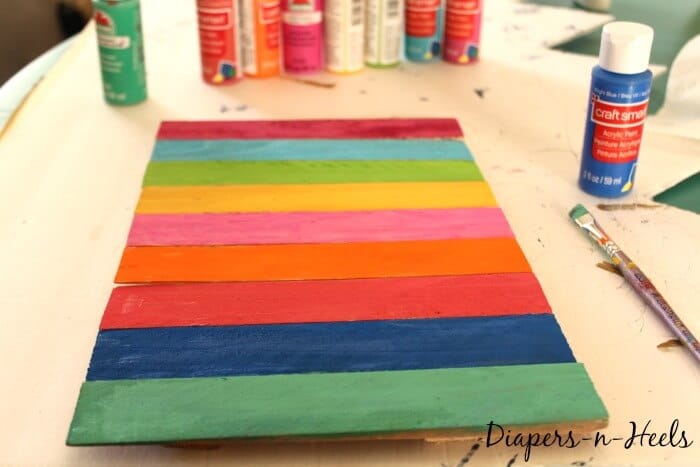
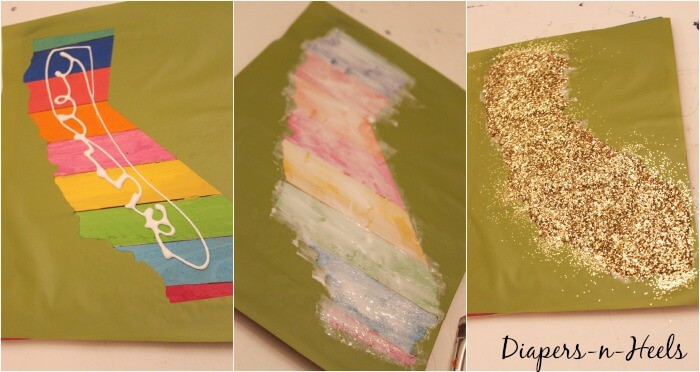

While the glue dries, you can work on creating the California Stencil. May be obvious, but make sure the stencil fits the size of your shim canvas.Next its time to paint. I think it would look great also stained, but we were looking for some color. Once your surface is dried, time to add the stencil.Make sure you have the edges sealed down and then add a good amount of white glue. Then GLITTER AWAY!!! YAY!!!! I heart glitter so!!! Don't hold back on the glitter. Once its dried, poor the excess glitter onto a piece of paper and then you can even add some spray glue to make sure you are full covered. Don't be afraid of adding too much! Pour off excess. If you're worried about the glitter falling off around the house, you can even add some hair spray to it and it will stick.You have yourself a fun conversation piece. Okay, who wants to make one for their house? What state are you going to make?


