These DIY garden stakes are made from simple supplies and make for a fun Spring craft idea just in time for your Spring garden.
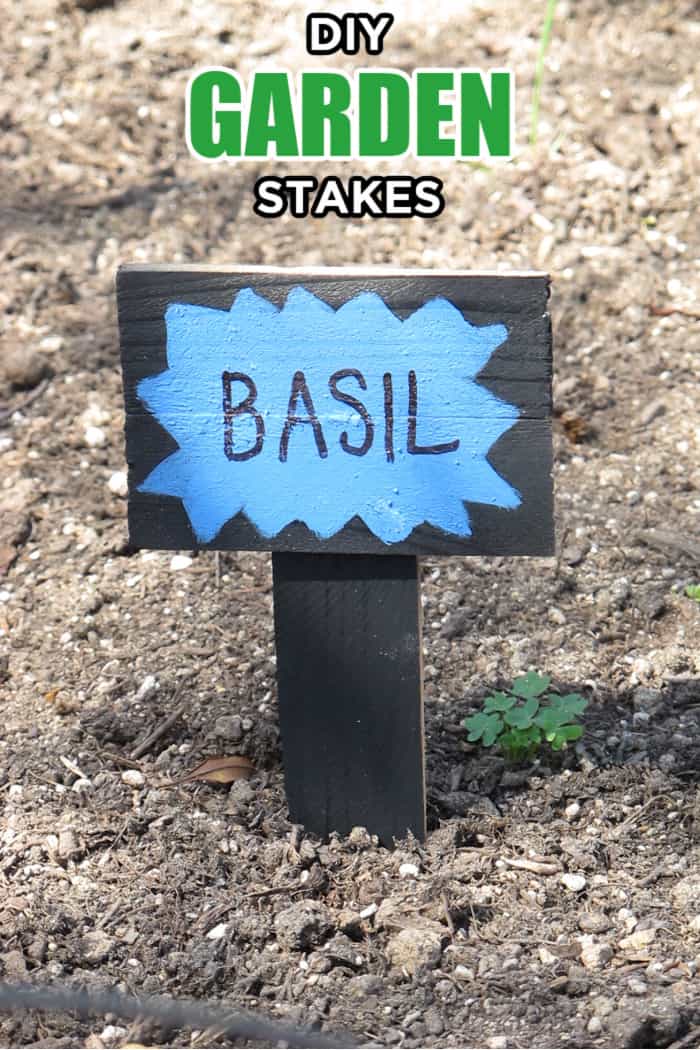
It should be no surprise that with the number of times I've talked about starting a garden that I decided that before I actually plant the vegetables, I needed to make sure the garden had its proper garden bling,decor, pizzazz!!!
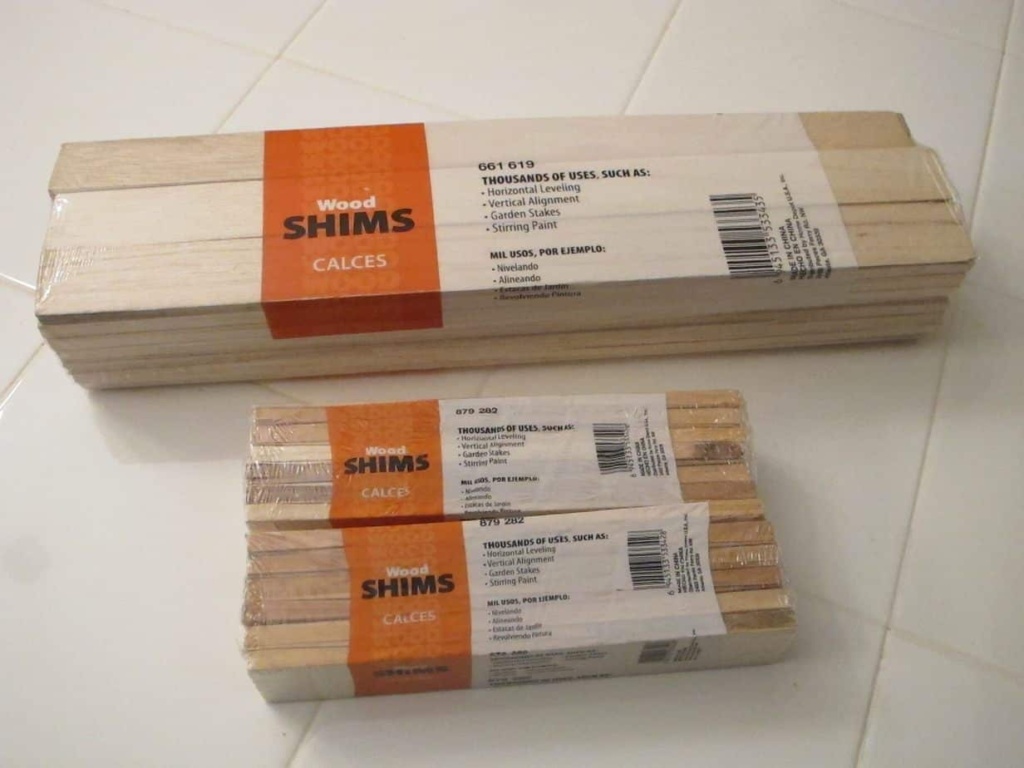
I've been suffering from a love affair lately with shims.
Kind of sad, I know... but it's definitely due to the fact that you get a ton of them in a pack for just a dollar or two. LOVE THAT! The possibilities are endless!!! I may make a bird house next... you never know! In any case, our latest endeavor into craftland was to make plant stakes to identify which herb or vegetable is planted where with my beloved shims! Genius Right???
Want to save this project?
Enter your email below, and then we'll send it straight to your inbox. Plus get awesome new projects from us each week.
Okay, maybe not genius, but fun nonetheless. In order to make it that much more fun and colorful because well everything needs to be colorful in the world of Made with Happy.
We thought how fun would it be to paint the stakes in all different colors of chalkboard paint and when we move from one crop to the next, you can just erase the chalk and add the new name!!! AWESOME!!! Plus, if you bring paint, the kids will come!
What you Need for DIY Plant Stakes
For the Stakes
- Package of Longer Shims and package of shorter shims
- Wood Glue
- Small saw (either a hand saw or Mider Saw if you have one handy) --- Optional
For the Chalkboard Paint
- Non-Sanded Grout
- Acrylic Paint
How to Make DIY Garden Stakes
This project is super easy to bring together. We created a few with the longer stakes and a few with the shorter steaks
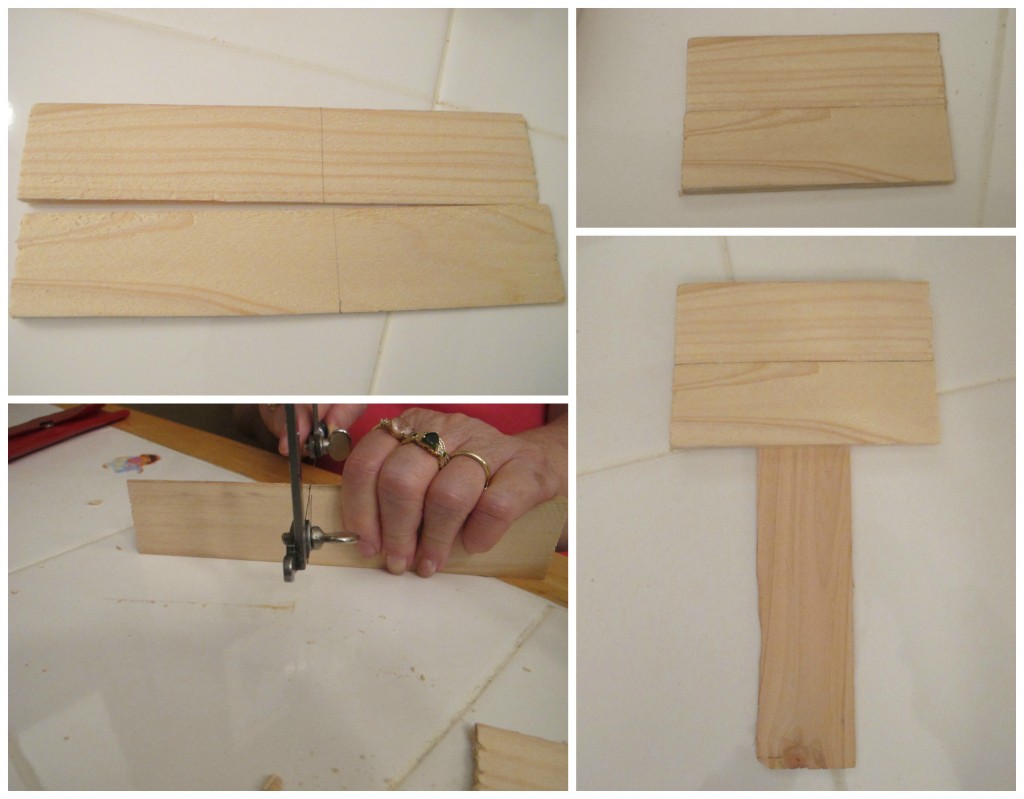
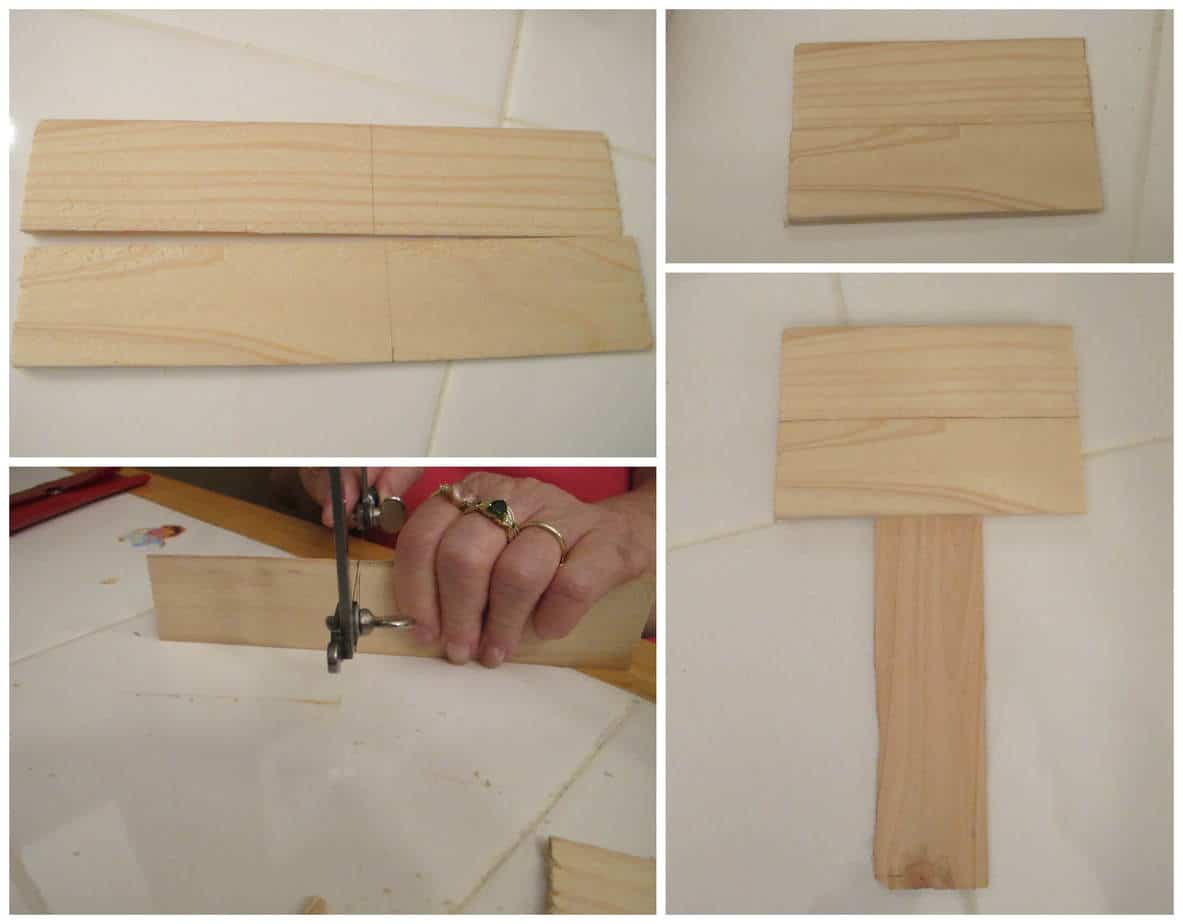
First, we measured about 3 inches and drew a line across two of the shims. Then using a saw, cut the pieces of wood down to 3 inches. You actually don't even need to cut them if you'd don't feel like it. I just wanted them a bit shorter, but if you're just looking for something fun and funky, keep them the size they are. P.S. My mom was the one doing the cutting of the wood while I admired her handy work and the Dora sticker!
Second once you have the pieces the size you want, its a matter of a couple drops of wood glue on the newly cut pieces gluing them to a full size shim piece.
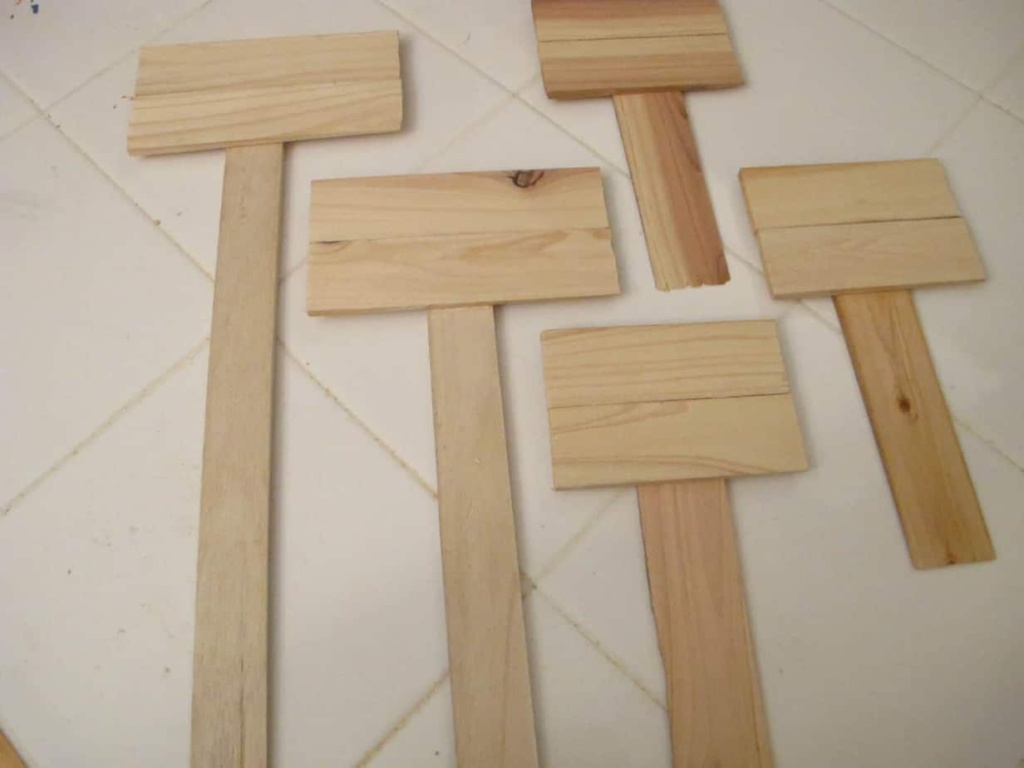
Continue to make them all different sizes and let them dry for about an hour.
Then its time to paint! We thought it would be fun to have black chalkboard steaks with pops of color so go wild with your imagination on this part!
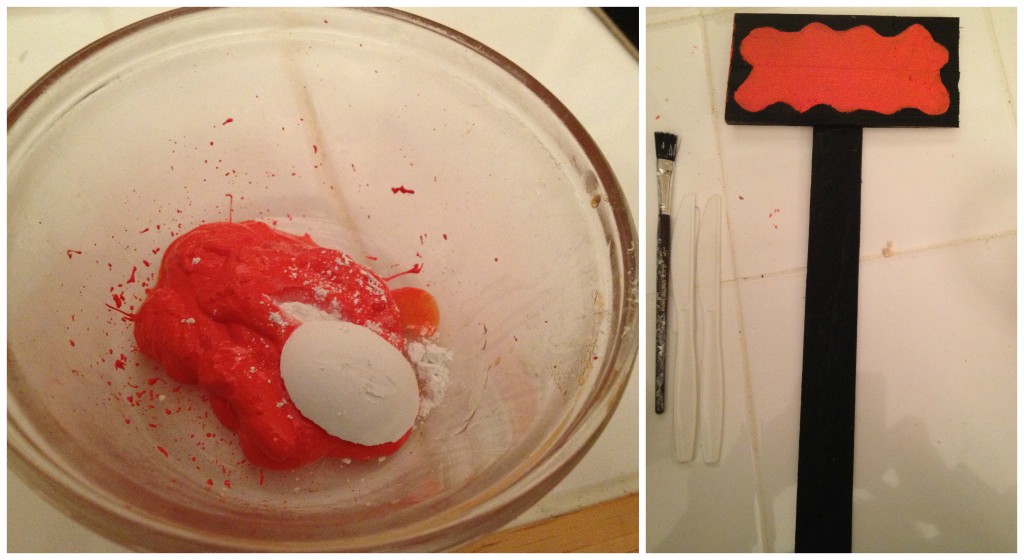
How to make any color chalkboard paint. Seems super complicated, but its actually really simple. 1 part Non-Sanded Grout and 8 parts paint. So for each of the colors we went with a teaspoon of grout and ½ cup of paint and then mix till you don't have any sand clumps left.
I then used my brand new chalk markers (black) to write the names on each!
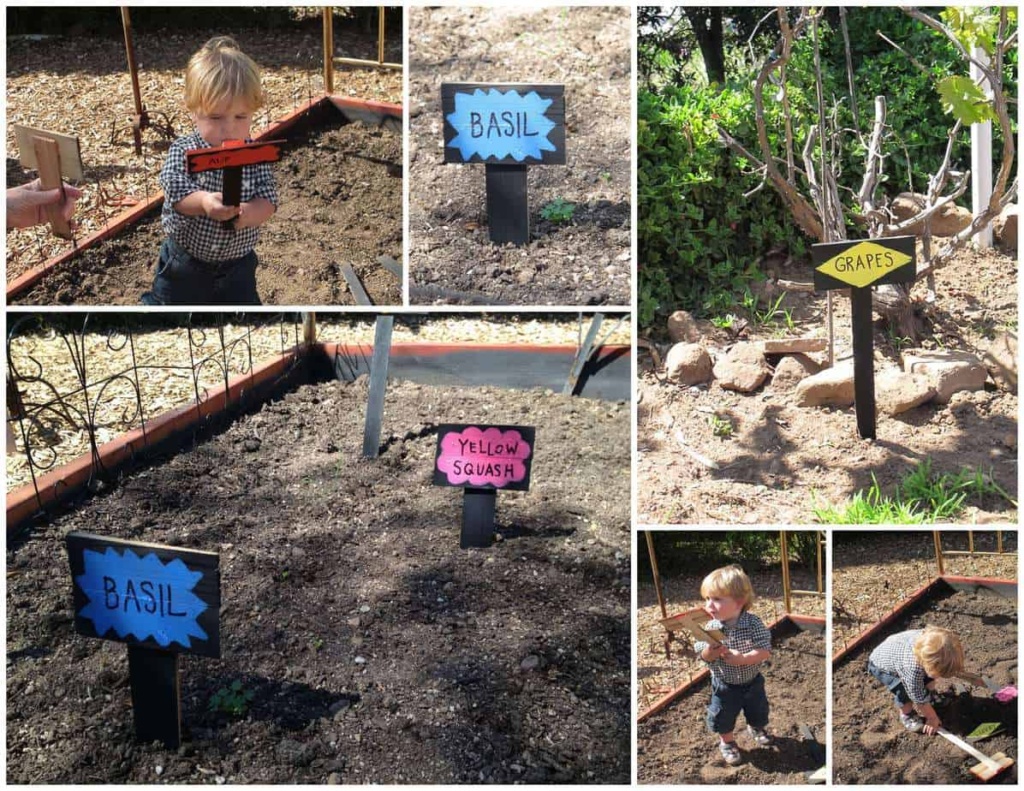
Super cute, super fun and the little kids love to help place them in the garden for you.
Some other DIY Garden Ideas you might enjoy!
- HOW TO MAKE A FAIRY GARDEN
- ADVENTURES IN GARDENING
- BRIGHT COLORED HERB GARDEN
- SIMPLE GARDEN BOX
- FRAMED VERTICAL GARDEN DIY
- DIY STRING GARDEN
- FUNNY FACE SEEDLINGS
- GARDENING FOR DUMMIES
- KEEPING A HAPPY LAWN DURING THE DROUGHT
Other Outdoor Projects You Might Enjoy
- DIY OUTDOOR STORAGE TABLE
- HOW TO MAKE OUTDOOR EASEL
- DIY POOL HEATERS
- MADE WITH HAPPY DOG HOUSE
- ORANGE BIRD FEEDER
- MADE WITH HAPPY TREEHOUSE
- RAINBOW VERTICAL GARDEN
DIY Garden Stakes
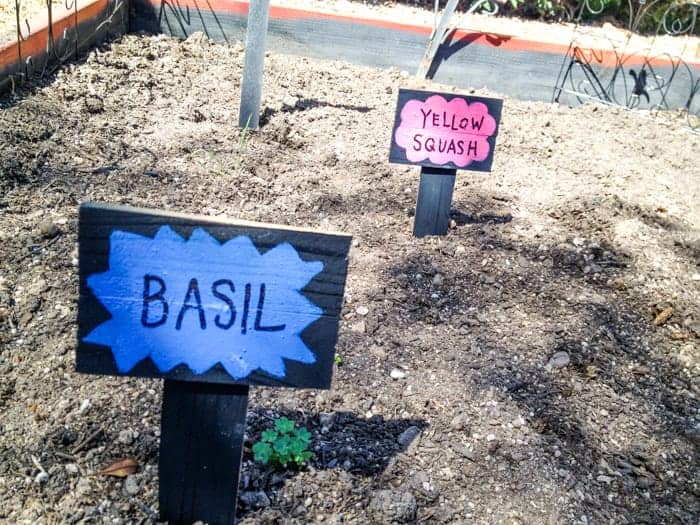
These DIY garden stakes are made from simple supplies and make for a fun Spring craft idea just in time for your Spring garden.
Materials
Stakes
- Package of Longer Shims
- Package of Shorter Shims
- Wood Glue
- Small saw (either a hand saw or Miter Saw if you have one handy) — Optional
Chalkboard Paint
- Non-Sanded Grout
- Acrylic Paint
- Chalk Pen
Tools
- Stick or Dowel to Mix
Instructions
Measure 3 inches and draw a line across two of the shims. Use a saw, cut the pieces of wood down to 3 inches. You don’t even need to cut them if you’d don’t feel like it.
Use a few drops of wood glue to glue the the shims together. Let them dry for a hour.
Now time to paint! Paint the stakes whatever color you'd like. To make the color chalkboard paint is 1 part Non-Sanded Grout and 8 parts paint. Use a teaspoon of grout and ½ cup of paint and mix until there are no sand clumps left.
Use chalk markers (black) to write the names on each. Super cute, super fun!


 Measure 3 inches and draw a line across two of the shims. Use a saw, cut the pieces of wood down to 3 inches. You don’t even need to cut them if you’d don’t feel like it.
 Use a few drops of wood glue to glue the the shims together. Let them dry for a hour.
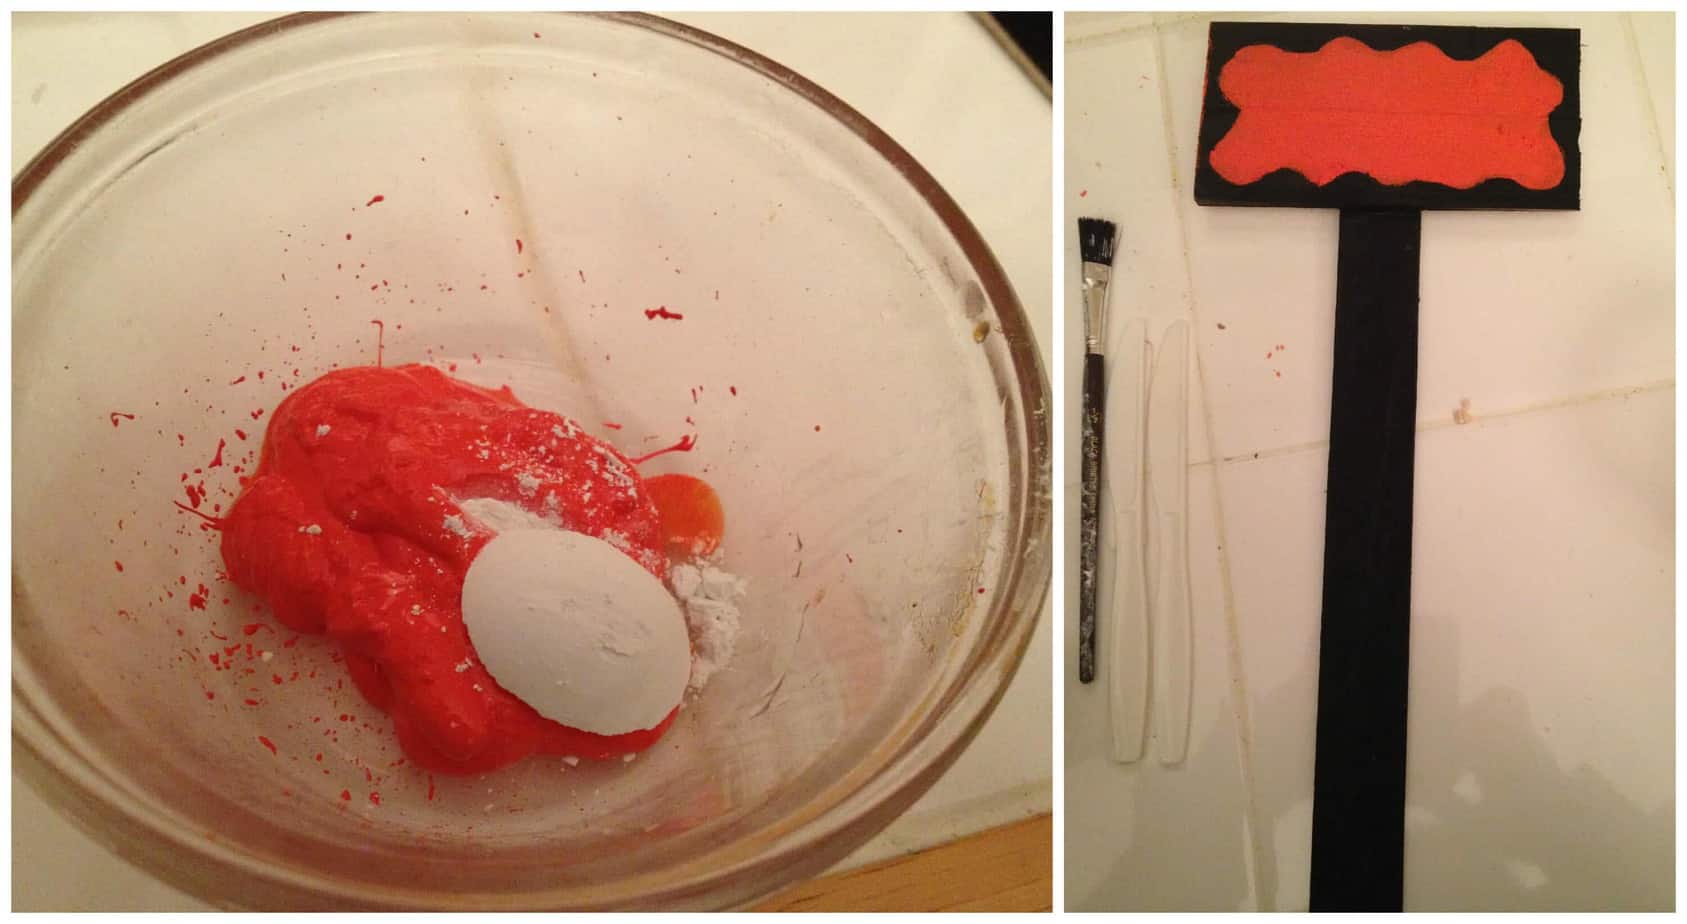 Now time to paint! Paint the stakes whatever color you'd like. To make the color chalkboard paint is 1 part Non-Sanded Grout and 8 parts paint. Use a teaspoon of grout and ½ cup of paint and mix until there are no sand clumps left.