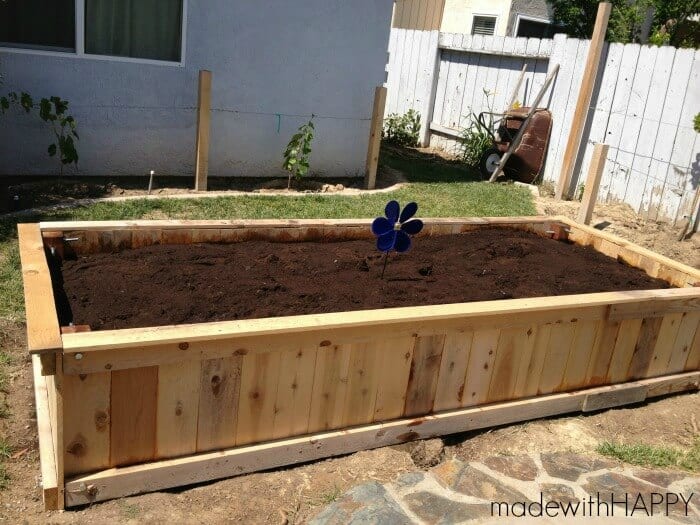
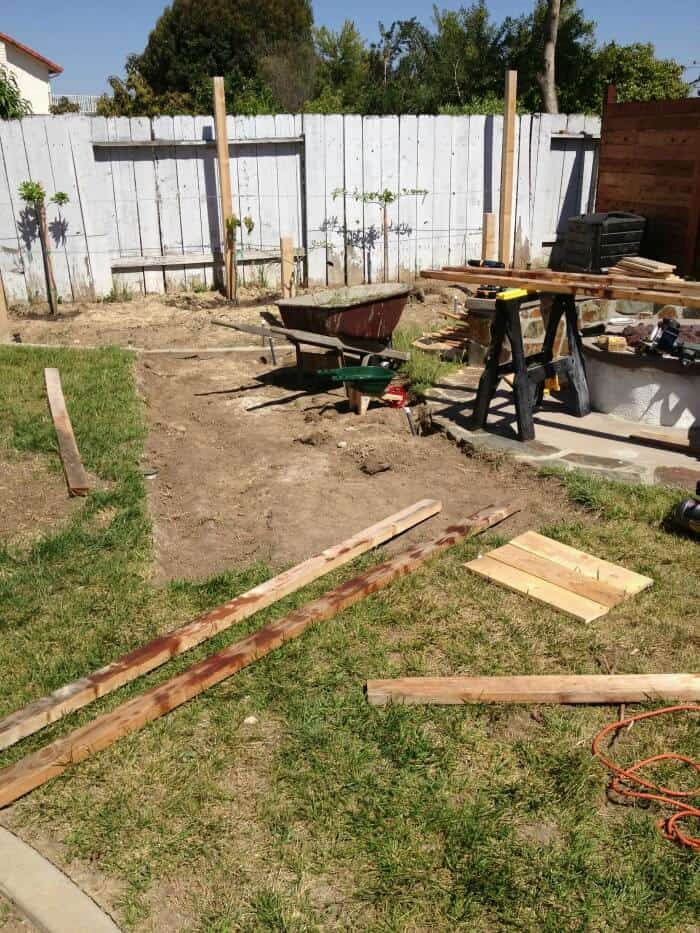
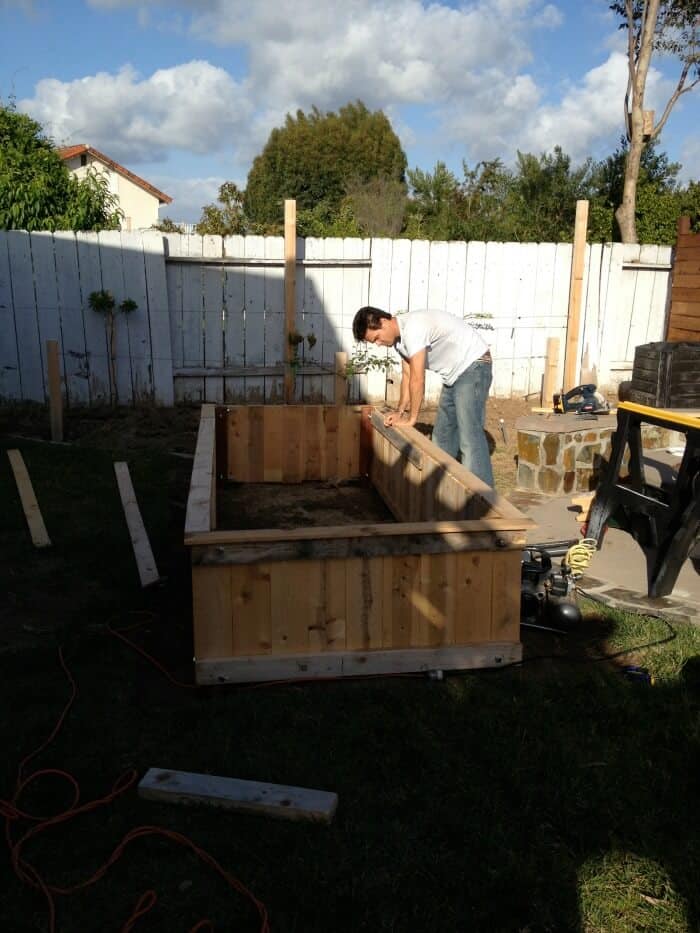
Want a backyard garden, but not sure where to start? We started with You Tube. Here my husband found several videos on how to make your own planter box. After watching many, he found this one (How to Build a Raised Garden Bed) and got started. Since we were on a budget and like to reduce, reuse, and recycle, we used untreated cedar wood we had salvaged from a neighbor’s failed fence project. We made our planter box a bit taller (so I wouldn't have to bend over as much).
Want to save this project?
Enter your email below, and then we'll send it straight to your inbox. Plus get awesome new projects from us each week.
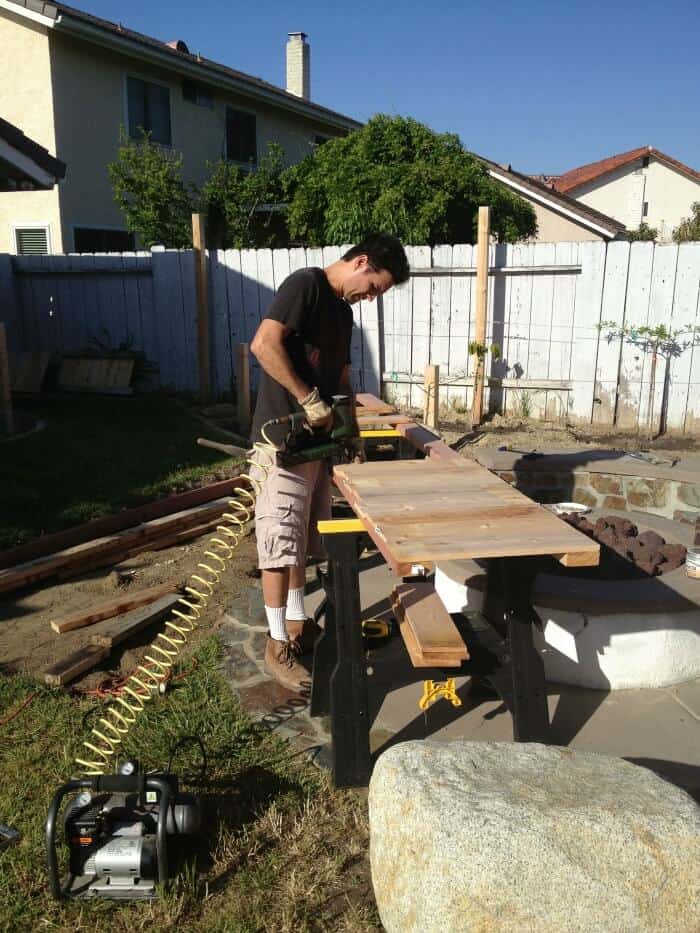 Lovin' the nail gun!
  It's almost done!
 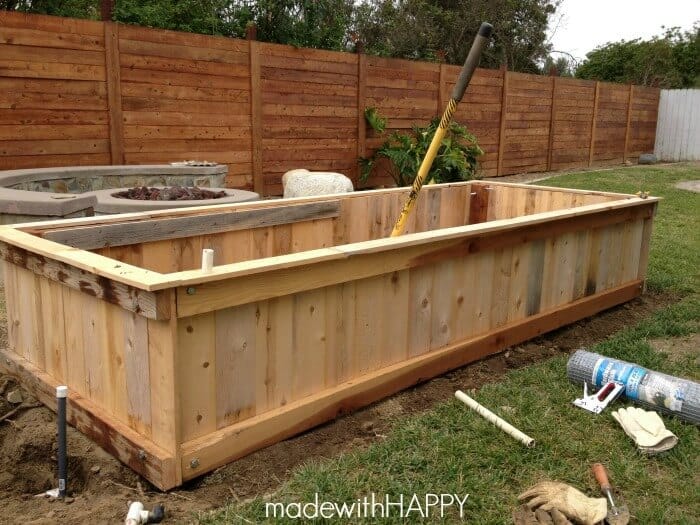 Ta Da!
After it was finished my husband went to the local dump and got a truck load of high quality (small particle) compost. We felt good doing it because it’s part of their yard waste recycling program! And it was only $20! If your garden bed is small, and you don’t need much dirt, most waste management programs will give you 2 trash cans full for free.
Notice the sad looking grape vines in the background?
Next we had to make a plan. What were we going to grow? We started with the Farmers Almanac Guide to Square Foot Gardening. It’s an alternative to the traditional rows that we were used to seeing. This allows for more plants in a smaller space. This website is very informative and best of all…it’s free!
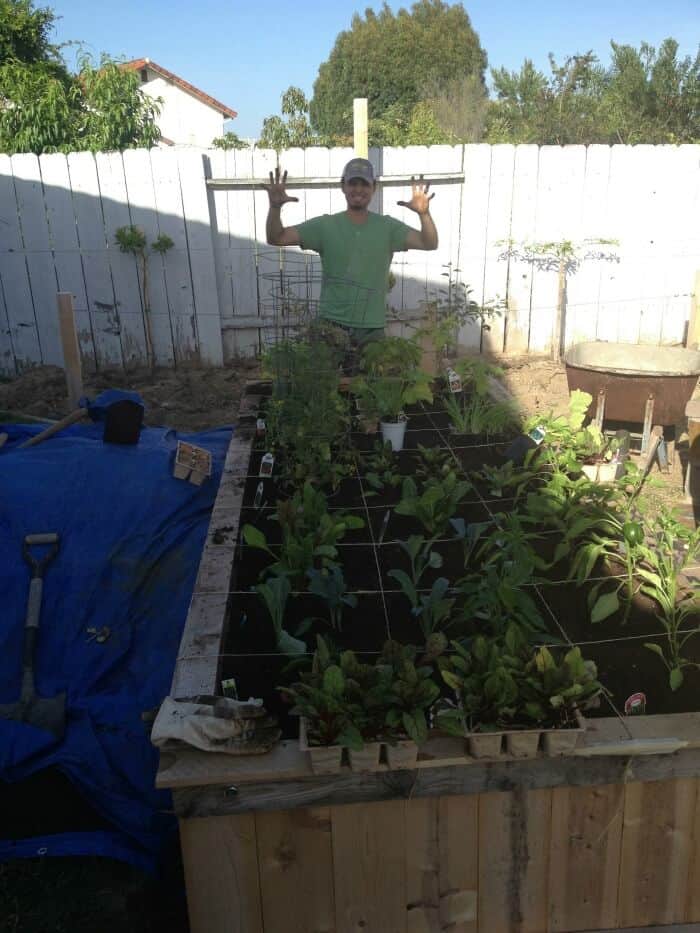
The best part? Shopping!! The kids loved this too. We are lucky and live in Southern California where there seems to be a garden shop on every corner. We opted for a variety of organic starter plants and seedlings. Everything from beets, to kale, to chard, to tomatoes, to pole beans, to bell peppers, to jalapeños, and of course green and red onions galore. You can also order organic starters online at The Cook’s Garden.
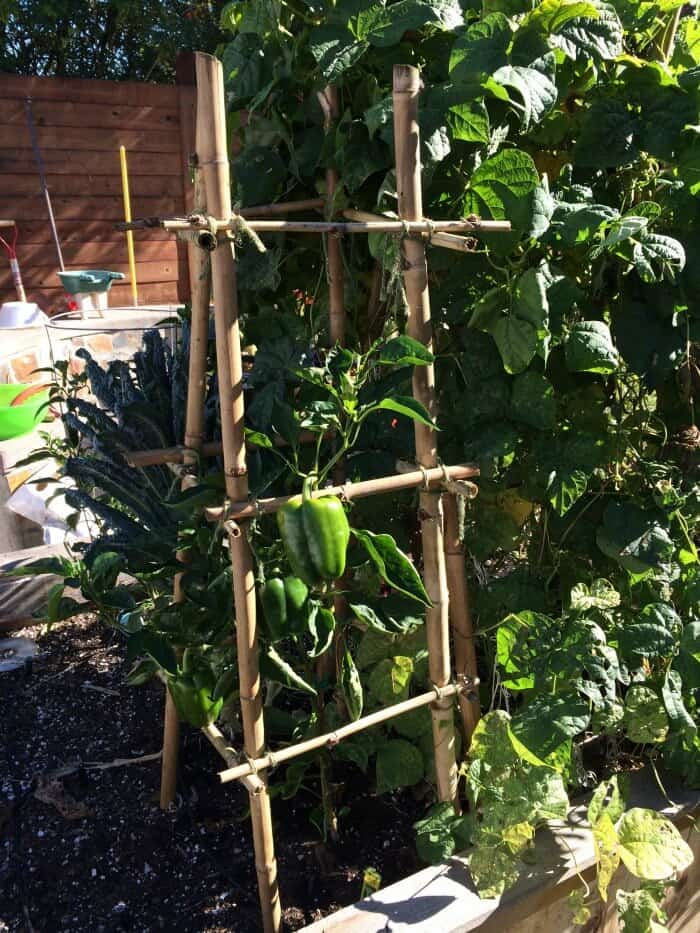
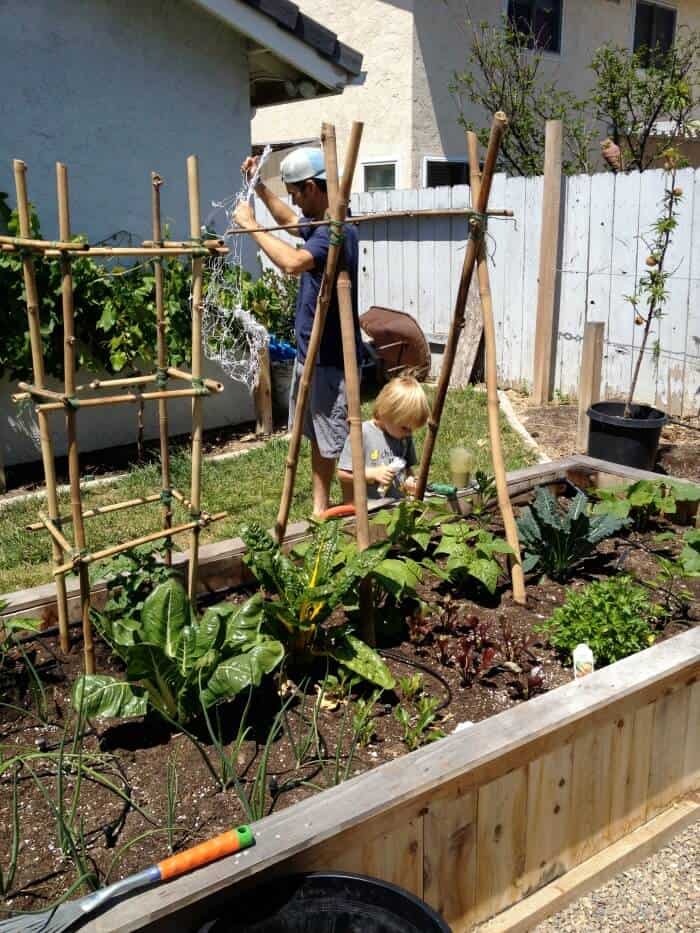
As the tomatoes and beans grew, we realized we needed cages to hold up their lanky arms. My husband had some old bamboo on the side of the house and decided to make his own cages instead of buying the store bought metal ones. They turned out so cool, and were free! Check out this you tube video on how to make your own too.
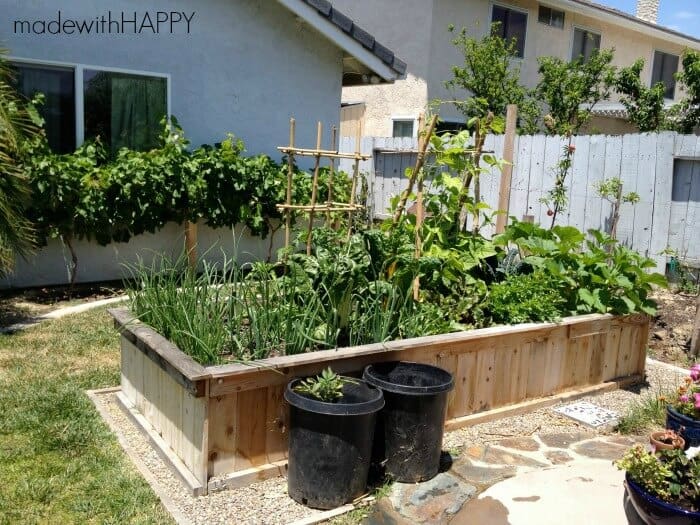
The kids and I go out back every day to check on things. We prune, harvest, water, and of course feed the worms. These little crawlers are providing us with the most incredible liquid gold fertilizer. And the kids love feeding them all their left over fruit and veggies.
The peppers decided they needed a cage too!
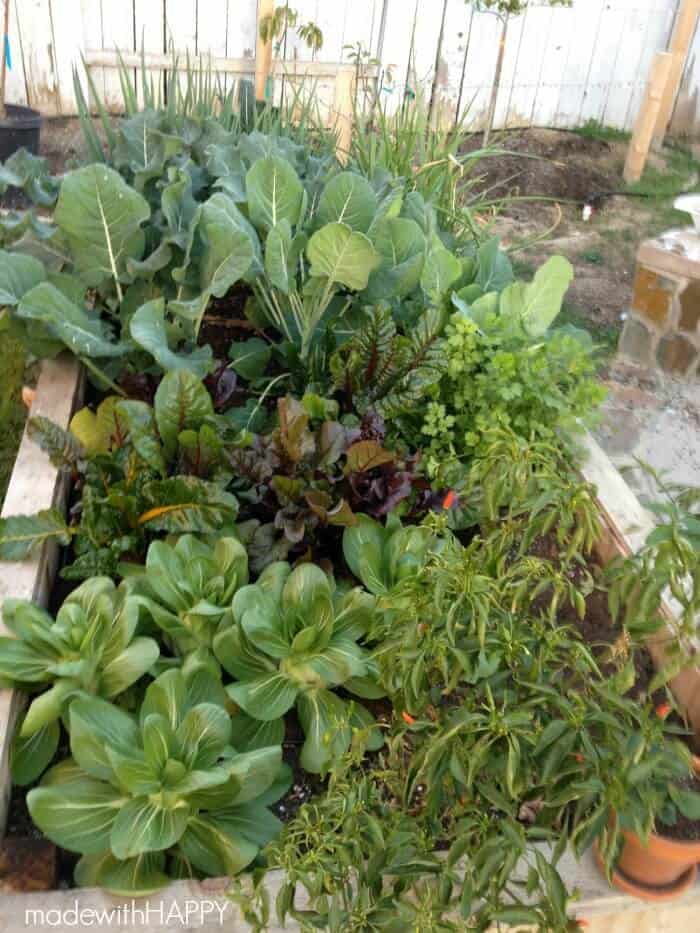
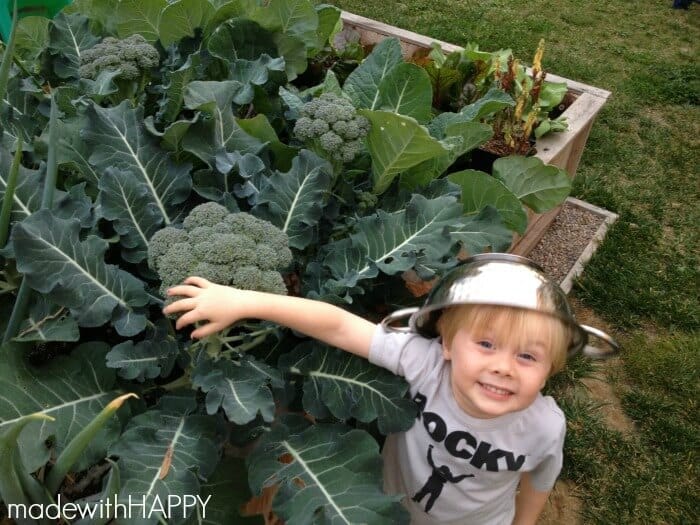
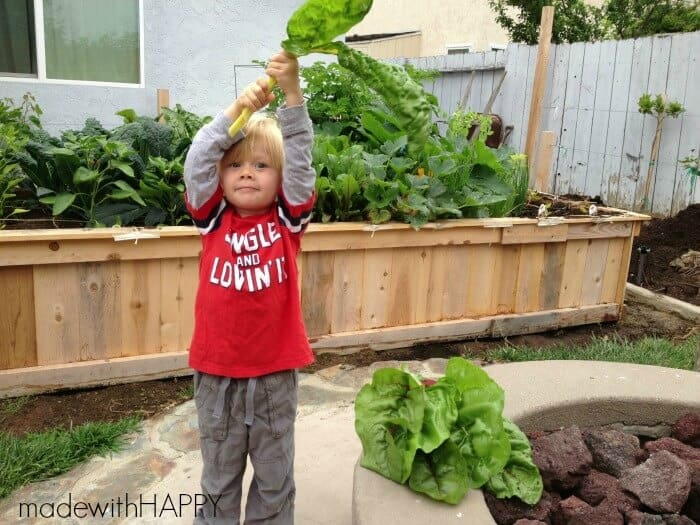
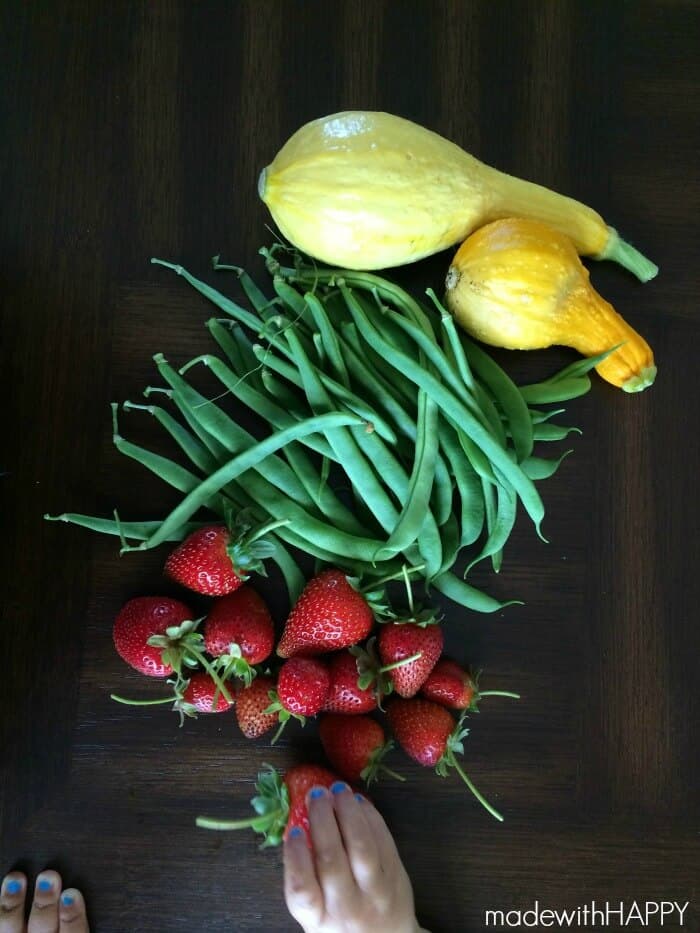
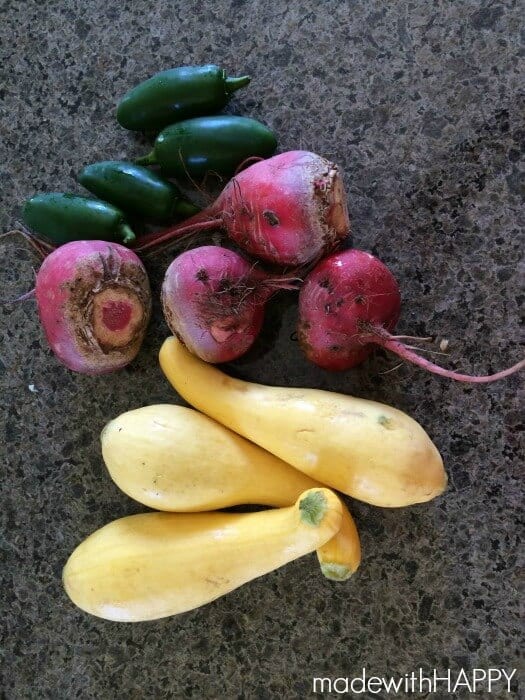
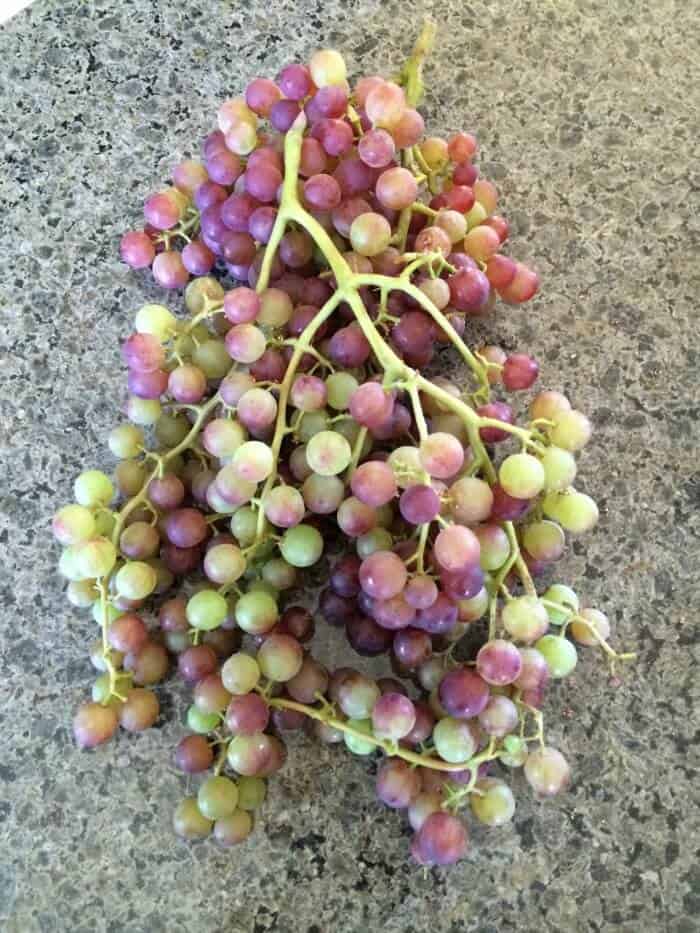
Our garden is exploding now. Since we have what seems like a 5 month summer, we get to reap the benefits of all those yummy summer veggies for months to come. Here are some pictures of other fruit and veggies we’ve harvested from our yard. Now I can’t wait for our fruit trees to start producing. Happy gardening!
Some other DIY Garden Ideas you might enjoy!
- HOW TO MAKE A FAIRY GARDEN
- BRIGHT COLORED HERB GARDEN
- SIMPLE GARDEN BOX
- FRAMED VERTICAL GARDEN DIY
- DIY STRING GARDEN
- FUNNY FACE SEEDLINGS
- GARDENING FOR DUMMIES
- CHALKBOARD PLANT STAKES {DIY}
- KEEPING A HAPPY LAWN DURING THE DROUGHT


