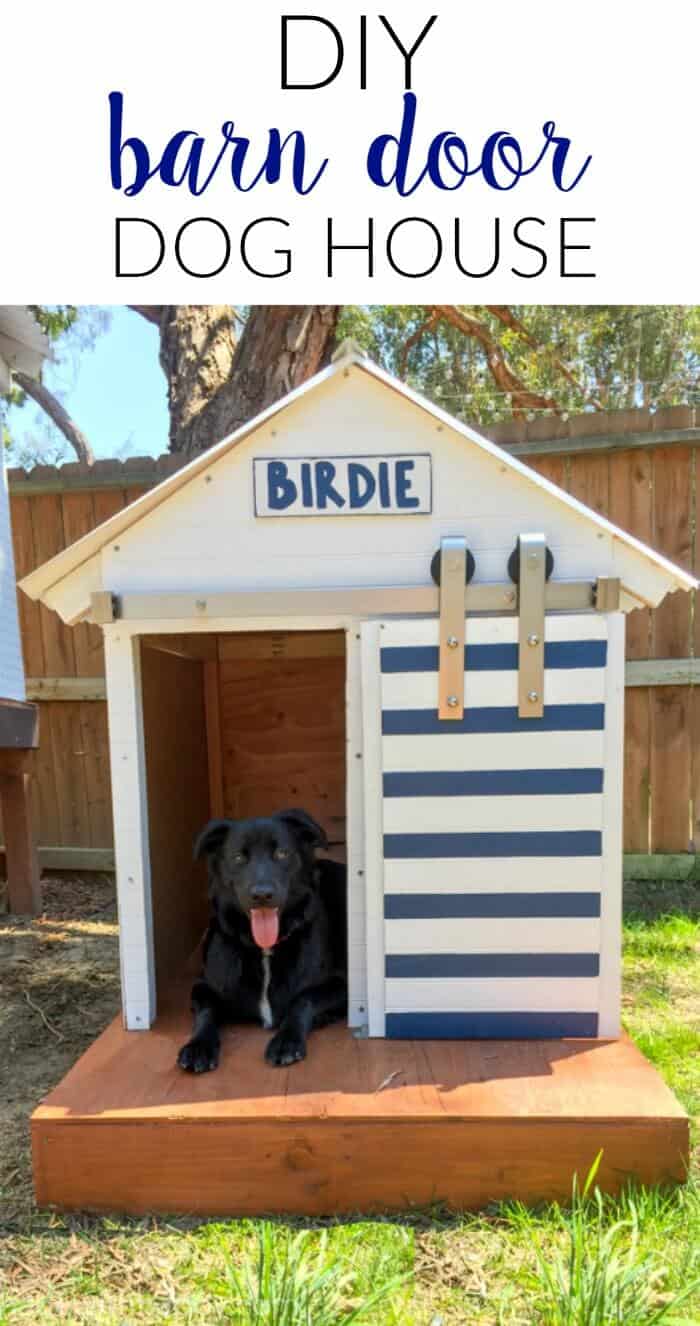
Build your pet the cutest DIY Dog house with a door using our free plans! You are going to have one happy pooch!
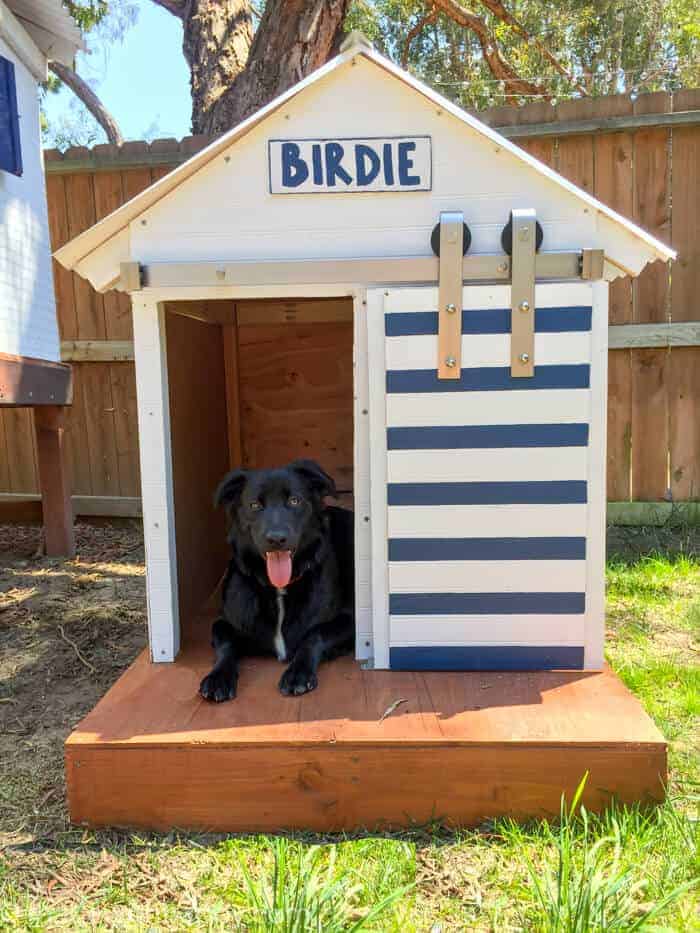
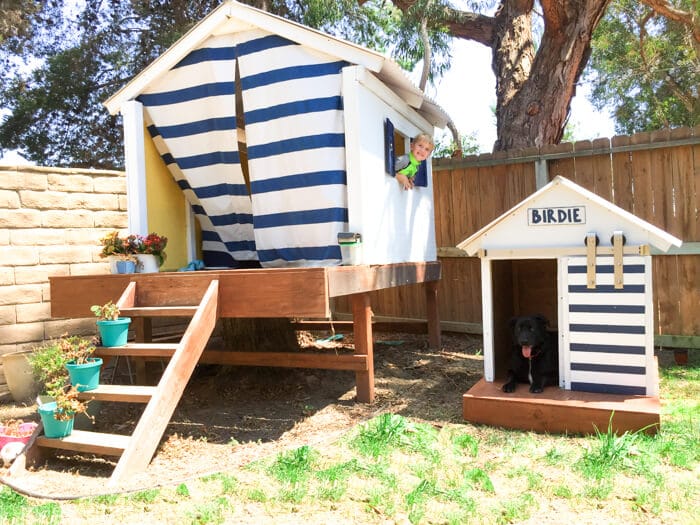
This DIY Dog House with a Door is a sweet dog house design that your furry friend is sure to love!
Don't miss some of our other posts about our sweet dog including Tips To a Happy Dog, Family Vacation: Made with Happy Dog Edition, and Made with Happy Doggy Dinner.
DIY Dog House
Want to save this project?
Enter your email below, and then we'll send it straight to your inbox. Plus get awesome new projects from us each week.
We absolutely adore our puppy and were more than happy to build her a basic dog house for when she's outside! There are many different ways to build a dog house.
One of the most important aspects to take into consideration when building your own dog house is your dog breed size. If it's a small animal, the frame of the dog house you will need will be smaller. If it's a medium-sized dog, like our birdie girl, then you can go with something similar to what we have below.
Backyard Projects
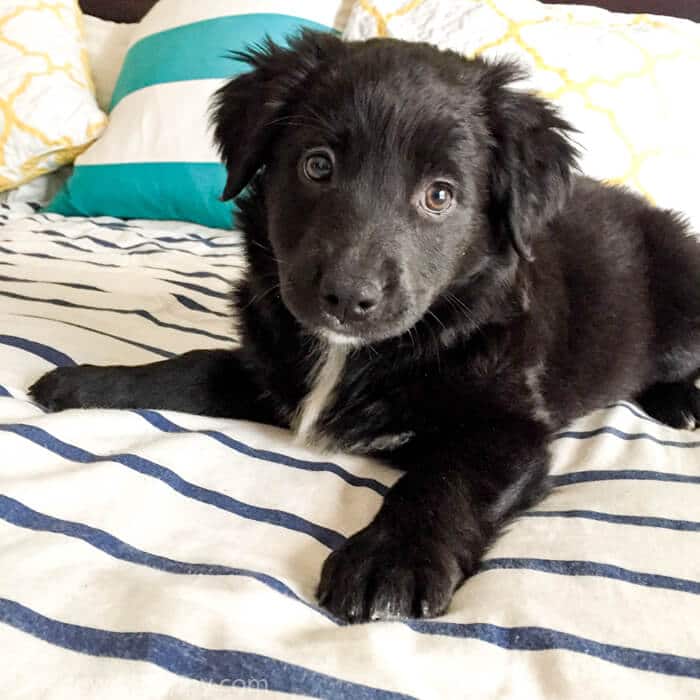
If you follow us on social media, then you might have realized our family grew late last year with the addition of our sweet Birdie Rainbow Sparkle Star Ward.
She is our sweet lab/collie mix that has totally stolen our hearts.
Fast forward 6 months and now that the weather is warmer, the family is spending more time in the backyard, and Birdie appears to have grown into her full-size 60-70lbs) and we decided it was time to create a space all her own.
We created this fun barn door-style dog house with a similar look to our Made with HAPPY Treehouse.
If you're looking to create your own Made with HAPPY Dog House, you are in luck. We've laid out the step-by-step instructions below.
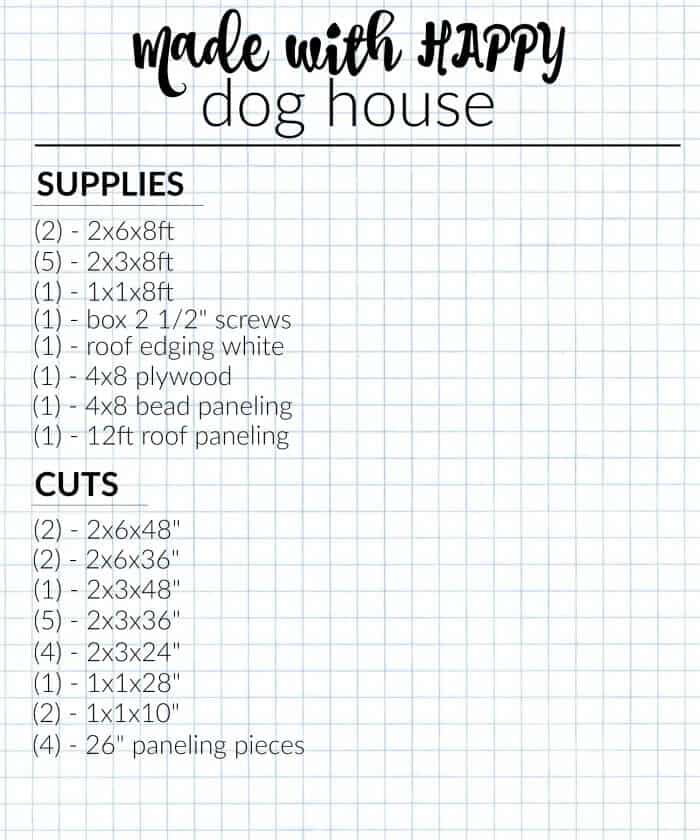
Supplies For Outdoor Dog House
Lumber
- 2x6x8ft (2)
- 2x3x8ft (5)
- 1x1x8ft (1)
- 4ftx8ft plywood (1)
- 4ftx8ft bead panel (1)
Other
- (1) - Box of 2 ½ screws
- (1) - Roof edging white - 36"
- (2) - 12ft PVC Roof Paneling
- Barndoor Sliding Door Hardware
- Paint
- Stain
- Wood Glue
Tools Needed:
- Drill
- Skill saw
- Jigsaw
- Miter saw
- Metal Grinder
- Screw driver
- Paint Brush
- Stain Brush or cloth
Cuts
- (2) - 2x6x48" - base sides
- (2) - 2x6x36" - base front/back
- (1) - 2x3x48" - base middle support
- (4) - 2x3x36" - house posts
- (2) - 2x3x30" - frame sides
- (2) - 2x3x28" - frame front/back
- (6) - 2x3x24" - roof supports
- (1) - 1x1x36" - top roof beam
- (1) - 1x1x28" - front panel support
- (2) - 1x1x10" - roof support front/back
- (4) - 26" roof paneling
- (1) - 36" roof edging
How To Make a Dog House

When starting any design project like this, we find it best to draw up our idea first in order to get it on paper. This allows you to get an idea of the look and then start with dimensions.
Building the Base of the Dog House
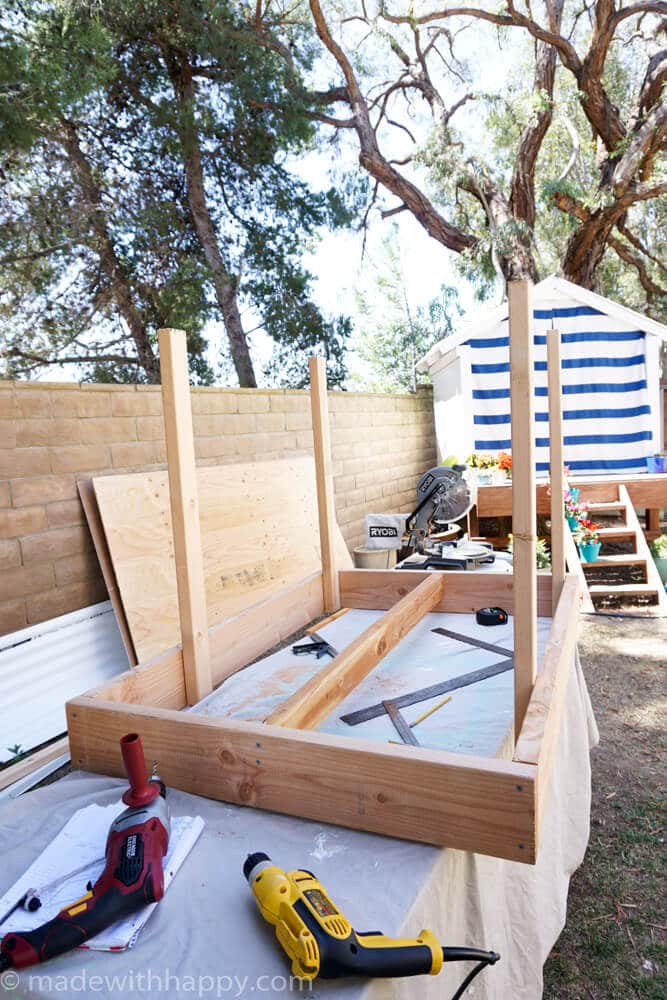
Our first step is to create the base. We used the 2x6 for the outside box of the base with one 2x3 piece running long ways through the middle of the base to reinforce the floor.
Note: Reminder to always drill your holes before adding screws to make sure there isn't any splitting in the wood.
We then attached the four-post (2x3x36) pieces to the inside of the base to create the framework for the dog house.
We took a different approach to the floor for the dog house than the treehouse, we went with plywood. Knowing that we wouldn't have a ton of weight on the floor and it's not a large surface area, plywood is a great option.
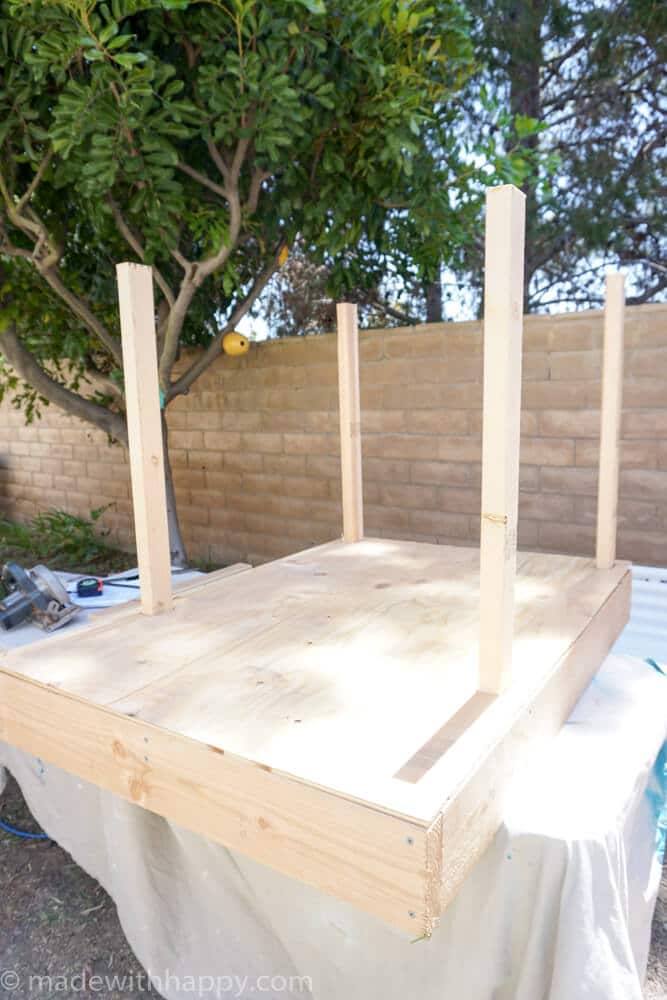
We placed the plywood under our base to draw out where we need to cut the posts as well as the width and length of the floor. Then using a jigsaw, we cut out the rectangles of the posts and then slipped them over the top of the base.
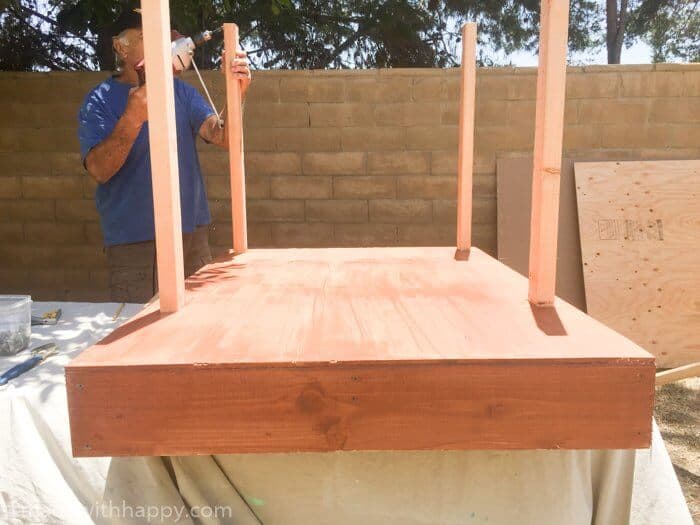
It's at this point that I recommend staining your base and floor. Once you start framing, it becomes more difficult.
Framing the Roof of Dog House
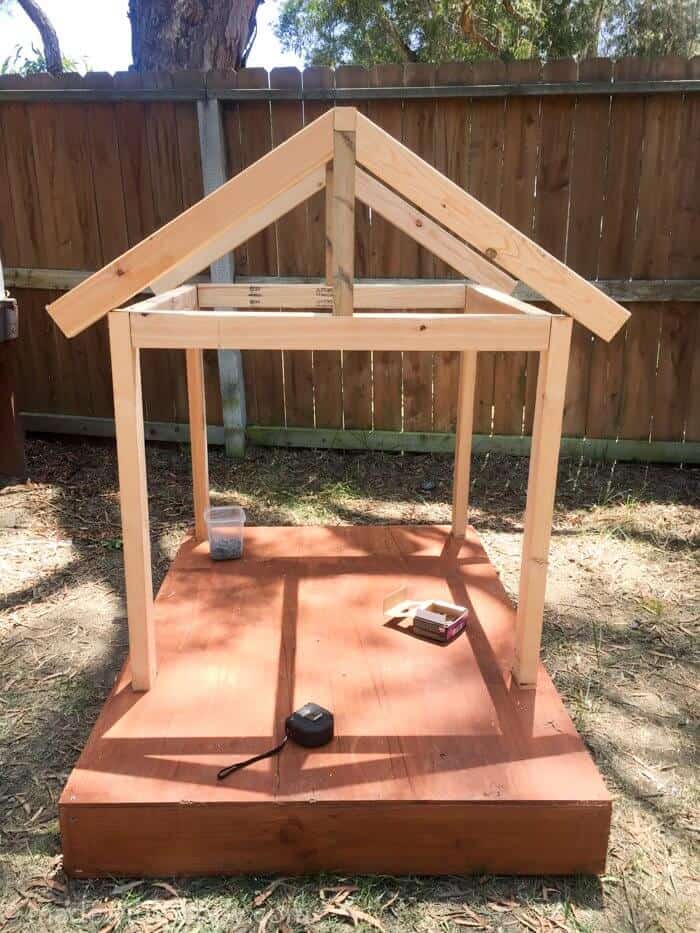
Next, we added the roof framing of the house. Before cutting the (2) - 2x3x30" and (2) - 2x3x28" - I would measure to be more precise. These are the four pieces that create the square of the frame below the roofline. We then added the 1x1x10 on the front and back to hold up the top beam support.

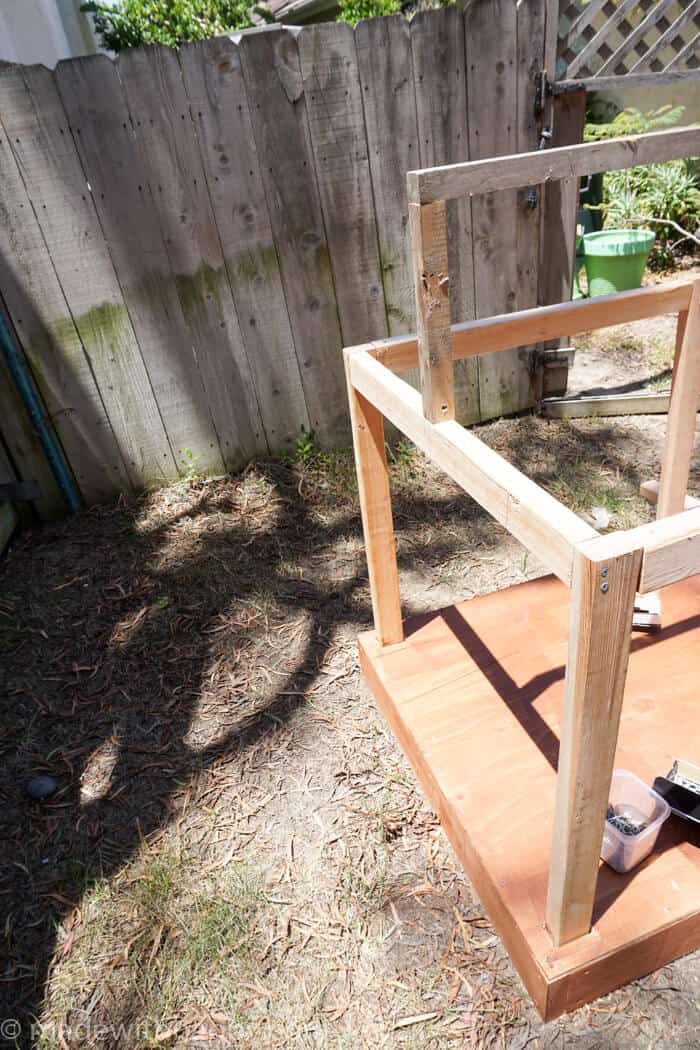
We then added the 1x1x28 piece in the front to add support to the front panel as we will have added weight with the barn door.
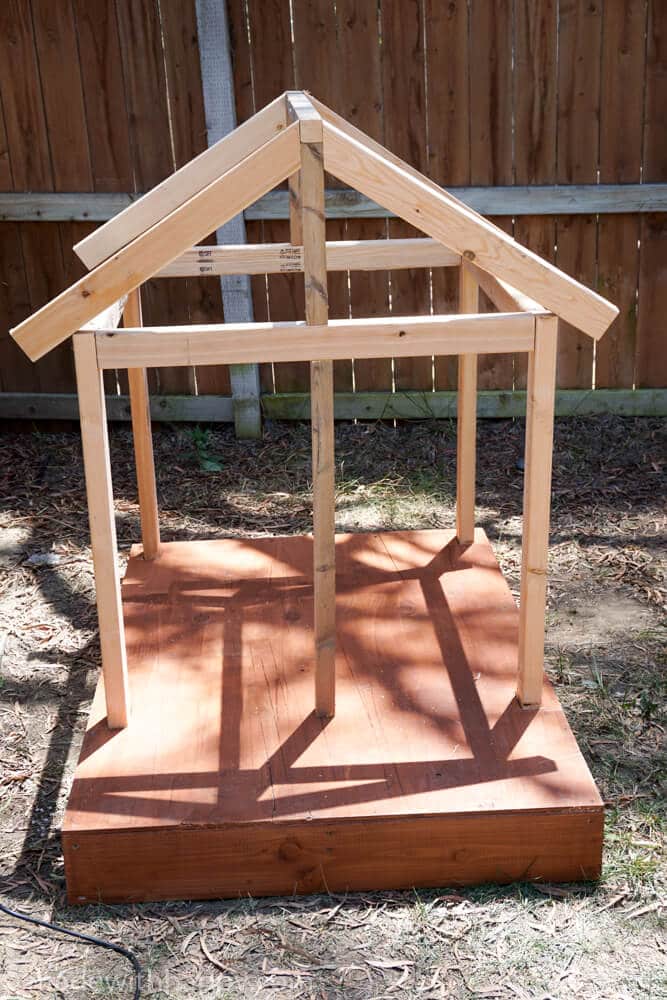
For the roof frame, rather than trying to determine the pitch through geometry, we held up the piece of 2x3 piece of wood next to the 1x1 and drew a line. This gave us a more precise pitch and then using the miter saw we were able to cut all six roof pieces at the same angle.
Building Walls of Dog House
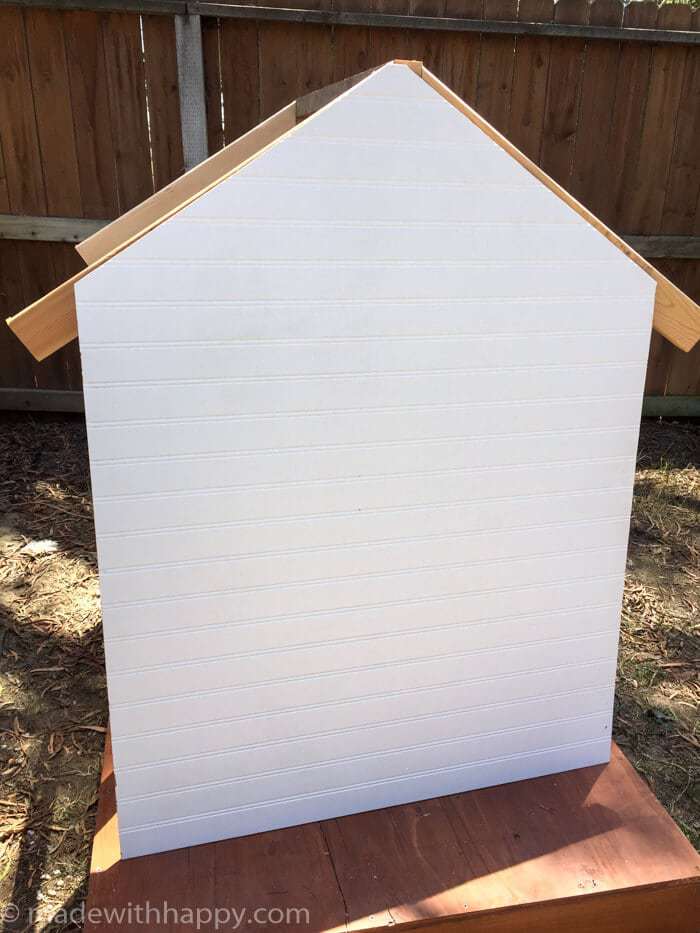
We then added the paneling to the front and sides. The easiest way to cut the front and back panels is to hold the panel up to the frame and using a pencil trace the outside of your dog house frame.
This will give you a more exact measurement. Note, you will want to cut the front and sides out of the paneling first. We used the remainder of the plywood for the back panel.
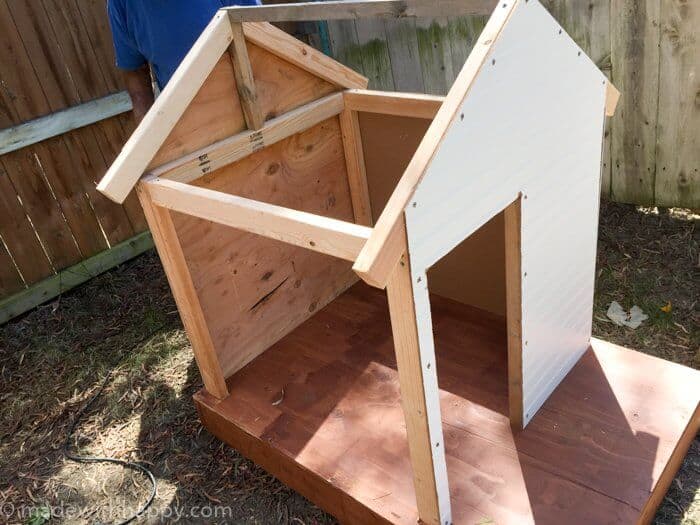
Before attaching the front panel, cut the door opening. We once again used the pencil and drew the opening from the inside making sure we were on the inside of the framework. We found that jigsaw was the best saw to cut this opening. Attach paneling.
Attaching the Roof
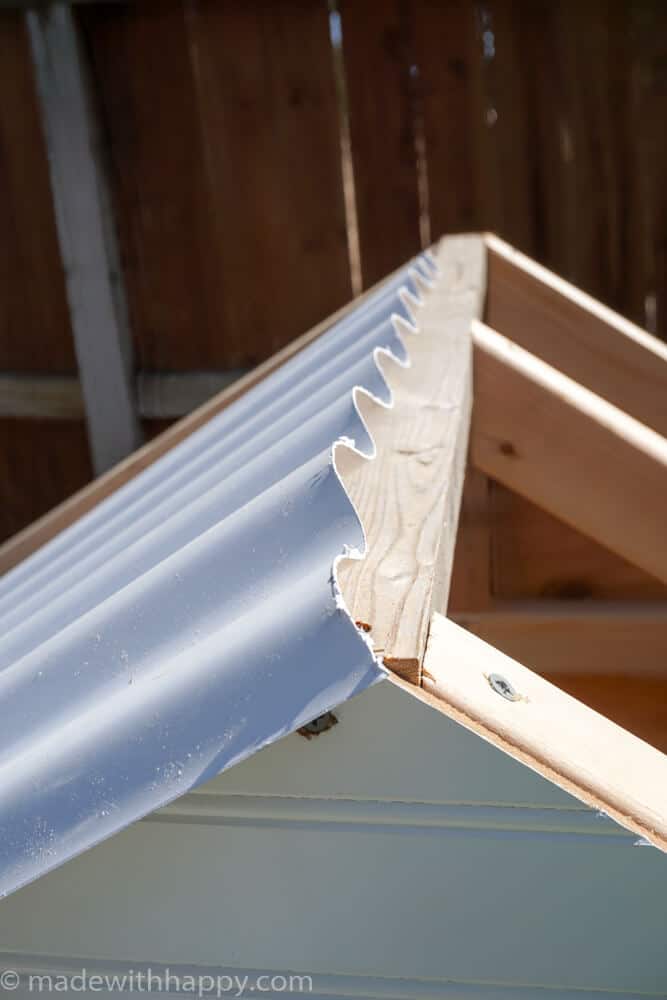
Next is the roof paneling. We cut the paneling into four pieces 26" each. Lined up the tops with the middle of the top beam and screwed it in at a side angle.
The two pieces on each side overlap slightly in the middle. Secure roofing to all three roof framing pieces on each side.
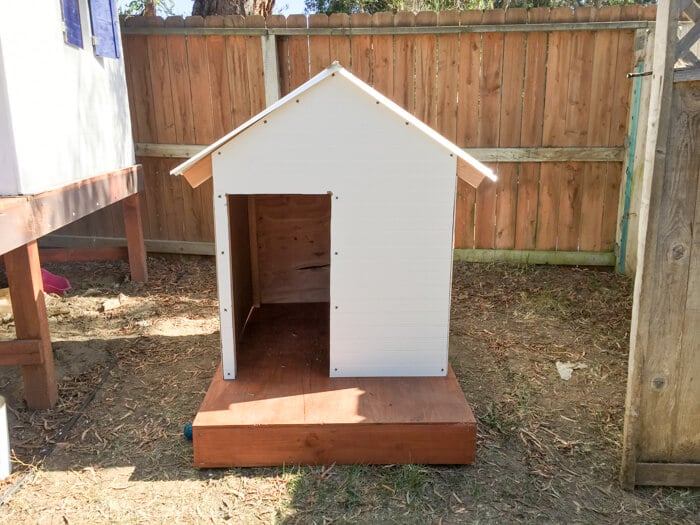
We then cut the roof edging to cover the top of the roof at 36" and screwed it into the top.
Next, we painted the back panel and the roof beams white as well as the remaining piece of plywood.
Building Barn Door
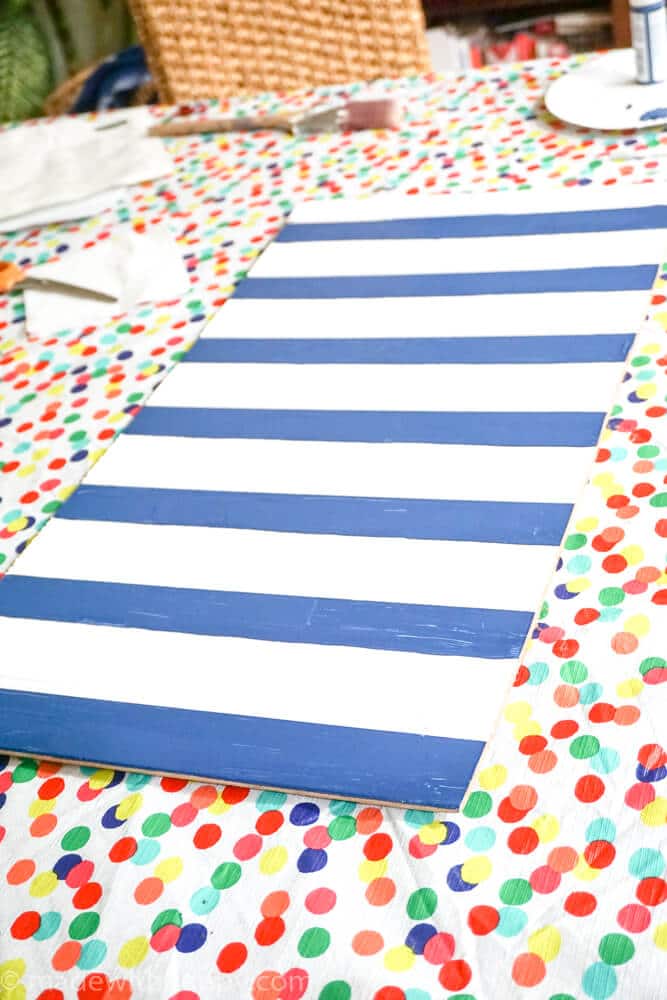
We painted the cutout piece of bead paneling navy and white stripes following the bead paneling lines.
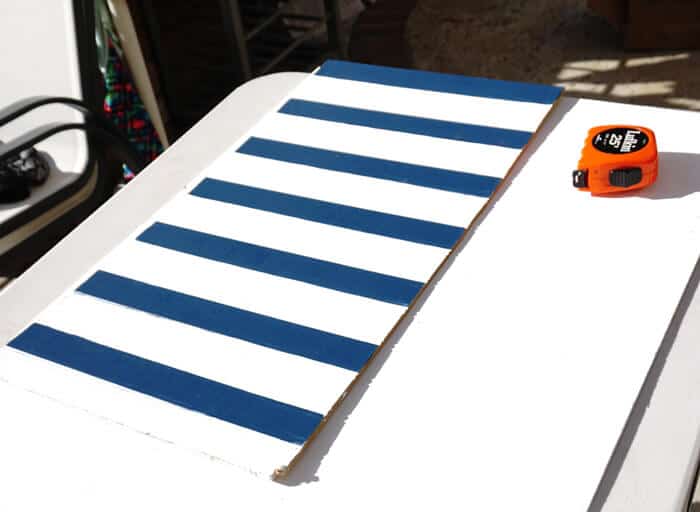
Once they had all dried, we cut the plywood with approximately an inch on each side of the striped bead paneling door piece.
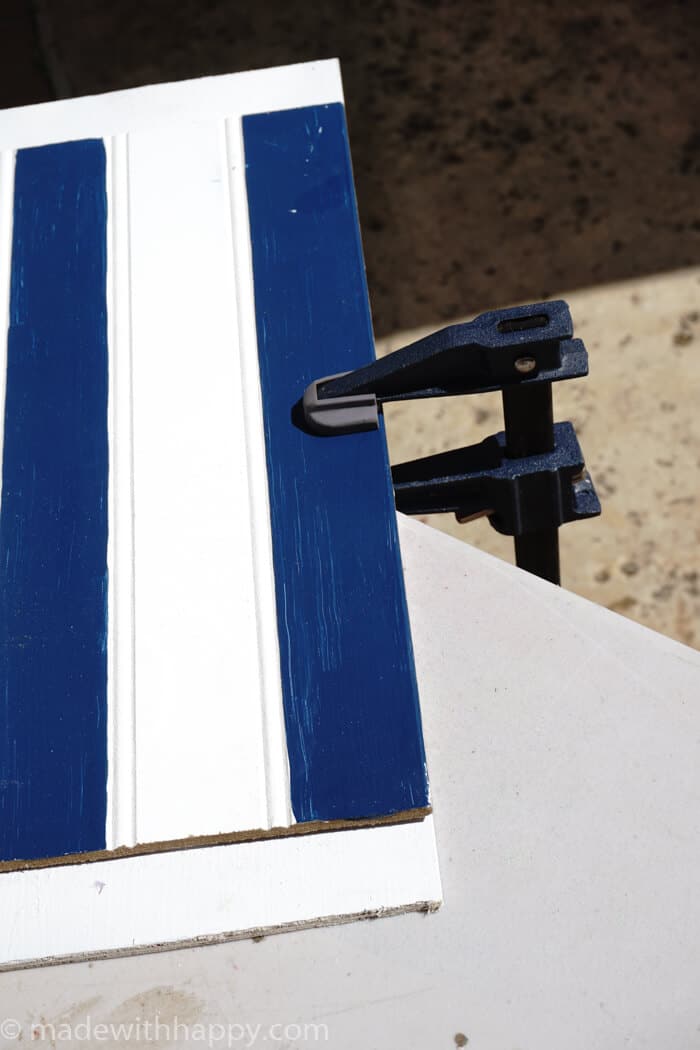
We then applied wood glue to the back of the striped door piece and attached to the door backing.
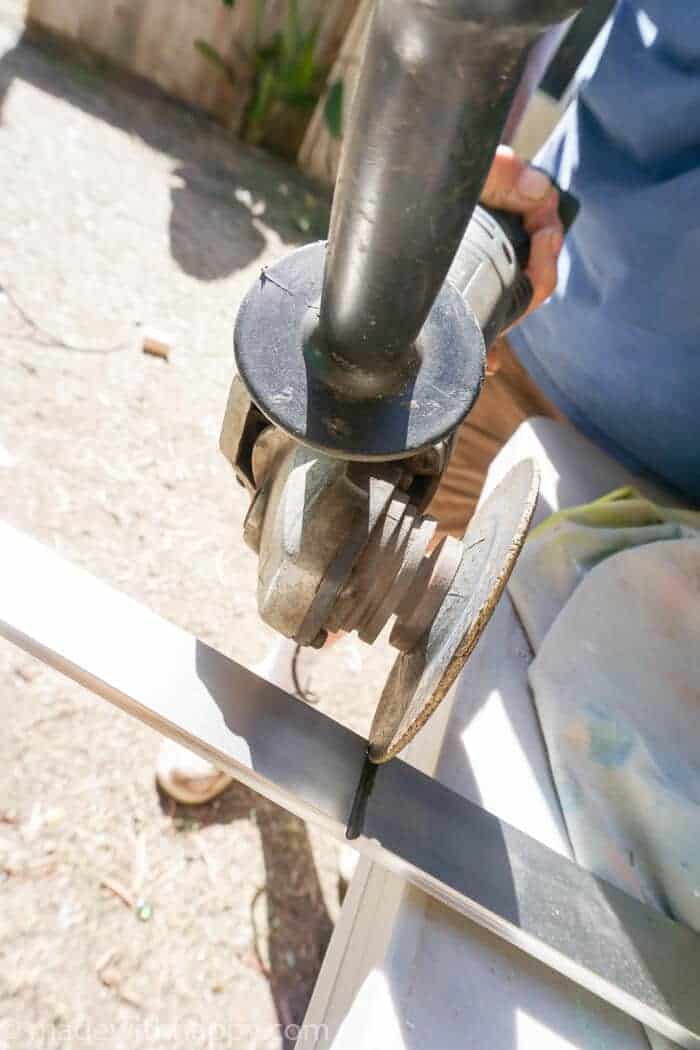
While we waiting for the door to dry, we started the installation of the sliding door hardware. It is so nice and very sturdy. We used the metal grinder to cut the door hardware down to size. We cut it at right in half at 36".
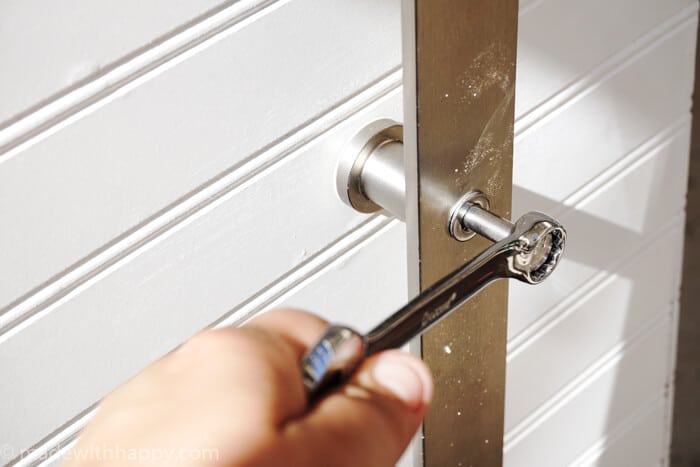
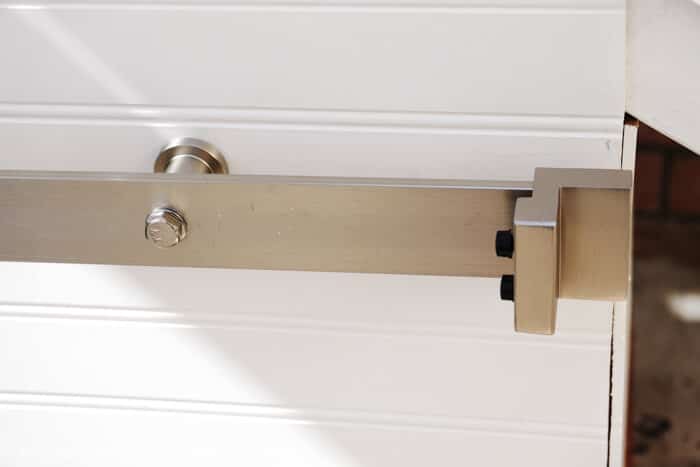
The next step was to install the hardware as instructed.
The instructions were easily adaptable to the smaller door. The only difference was we reversed the screws that hold the door to the sliders so that the screws stuck out slightly as the door is not as thick as traditional doors.
Dog's Name on Dog House
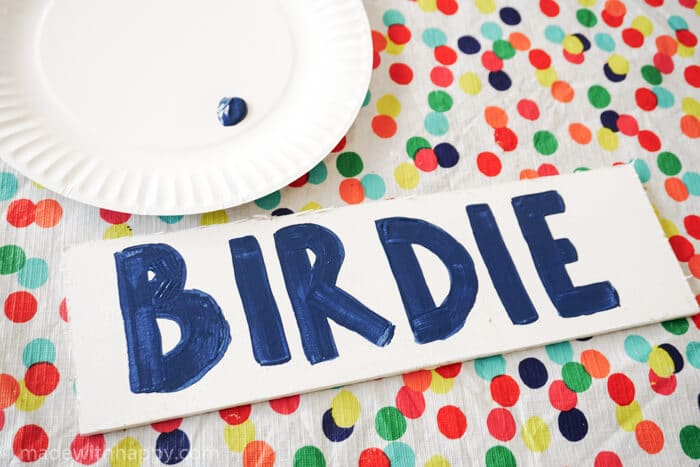
We then cut out a small piece from the remaining paneling and painted in BIRDIE's name. We then used wood glue to attach it to the dog house.
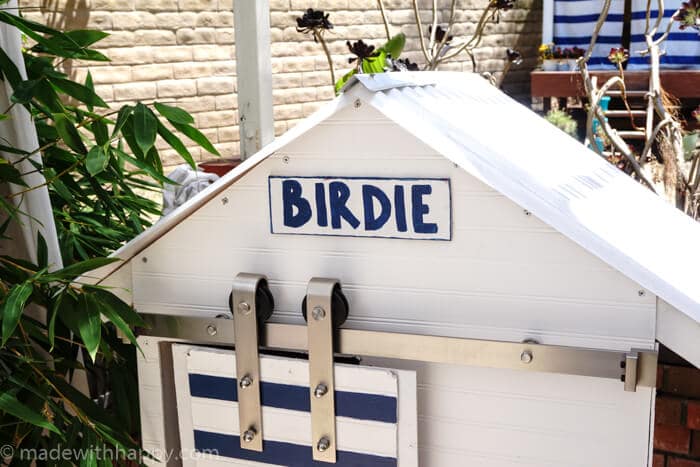
The last small piece to be added was the floor guide. We went with the double door guide to hold the door in place. And that my friends are it!
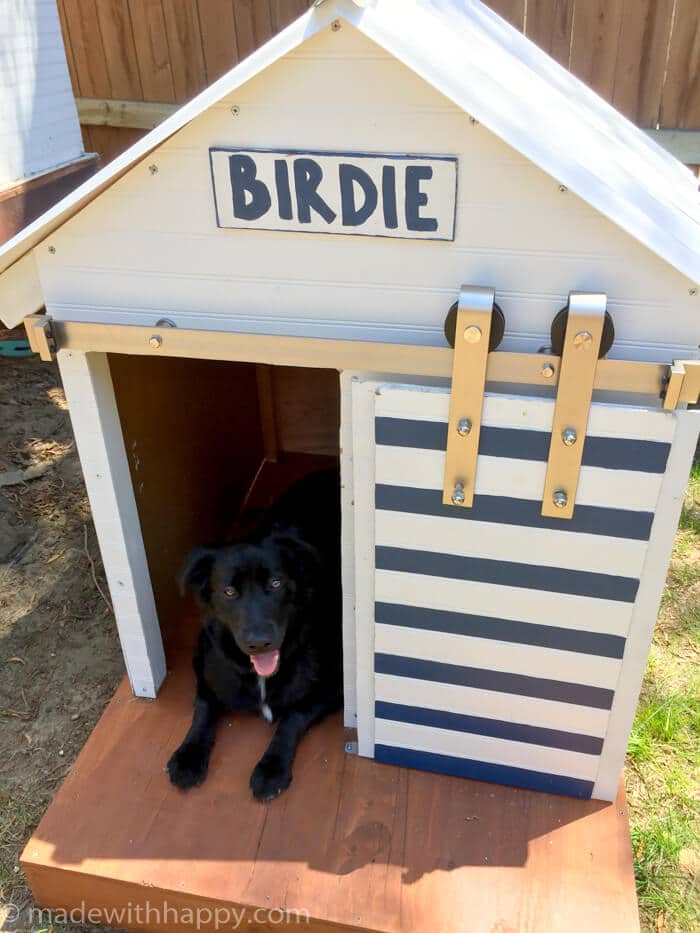
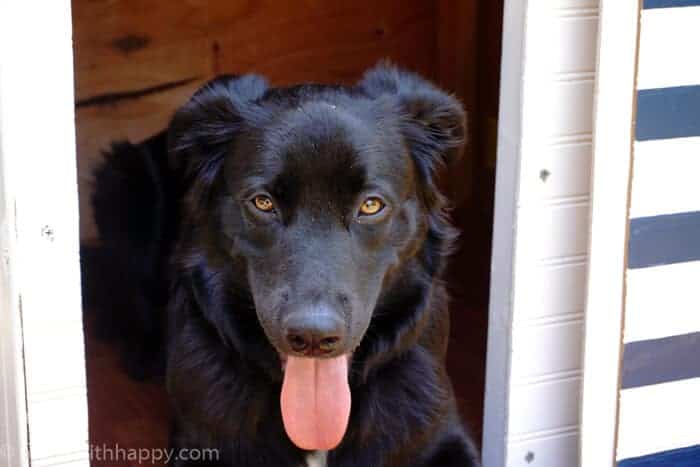
We have one HAPPY pup and one great way to kick off the Great Outdoors this Summer with this simple dog house DIY Project!
Let us know if you build your dog our wooden dog house! We love seeing our plans out in the wild.
Happy DIY Dog House Building!
This post was originally sponsored by National Hardware.
Other Fun DIY Backyard Projects
- DIY Pool Heaters
- How to Build a Lazy Susan
- How to Make Outdoor Easel
- Rainbow Vertical Garden
- How to Make Twig Pencils
CONNECT WITH MADE WITH HAPPY!
Be sure to follow me on social media, so you never miss a post!
Facebook | Twitter | Youtube | Pinterest | Instagram
Find and shop my favorite products in my Amazon storefront here!
DIY DOG HOUSE
PIN IT TO YOUR DIY BOARD ON PINTEREST!
FOLLOW MADE WITH HAPPY ON PINTEREST FOR ALL THINGS HAPPY!
