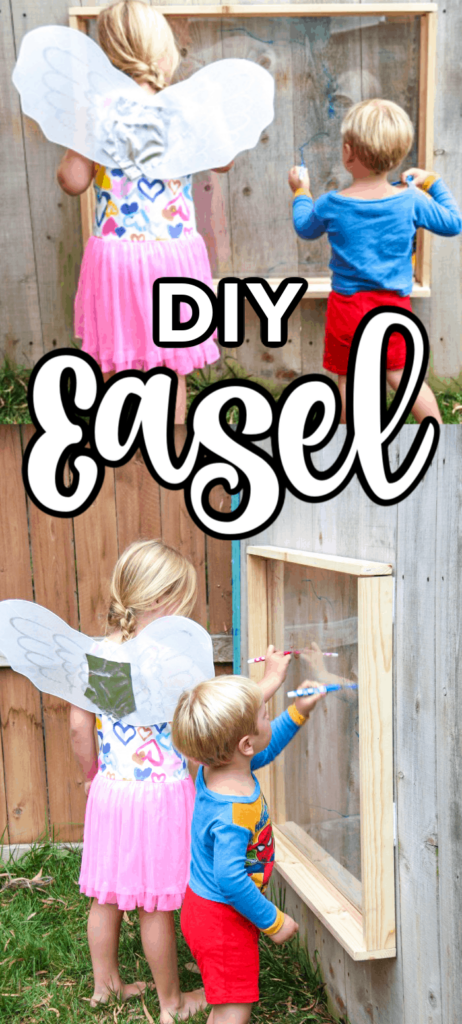
Making an outdoor DIY easel is such a great activity to do when the weather has finally made the switch to summer - you won't regret it!
Want to save this project?
Enter your email below, and then we'll send it straight to your inbox. Plus get awesome new projects from us each week.
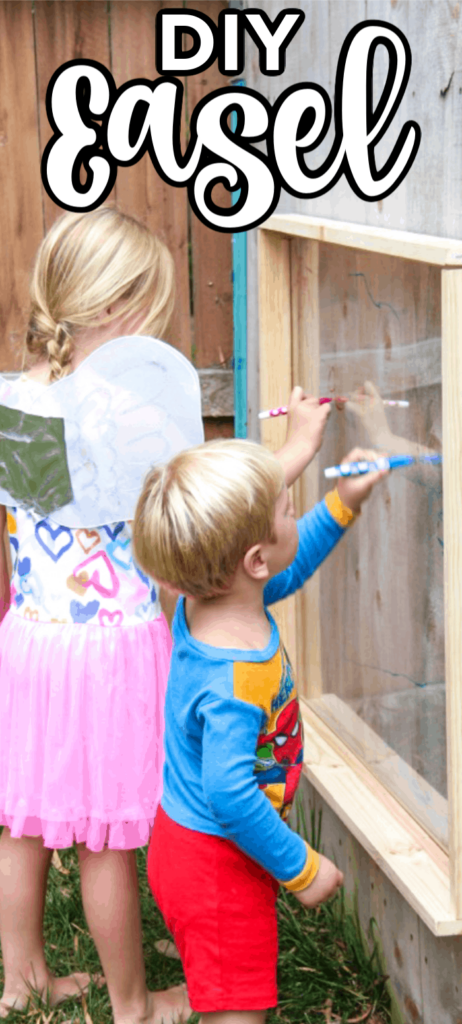
Summer in the backyard has been made so much more fun with this outdoor easel.
We highlighted this Summer DIY along with some other fun Home DIY Projects in our Outdoor DIY Projects.
Outdoor DIYs
AHHH SUMMER! I LOVE SUMMER! I love everything about Summer...wait, with the exception of the humidity and frizzy hair 🙂
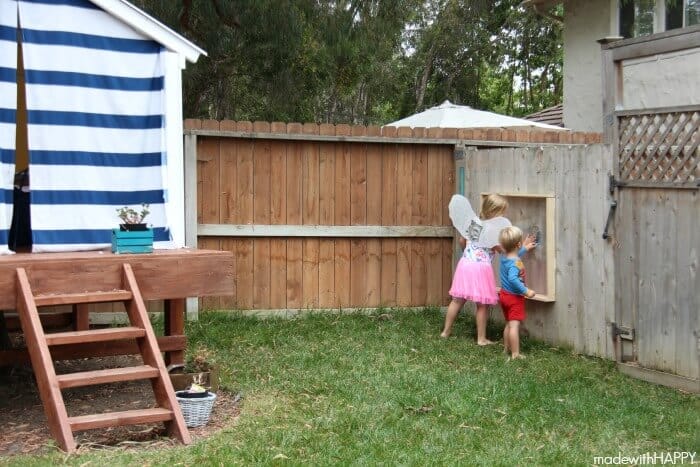
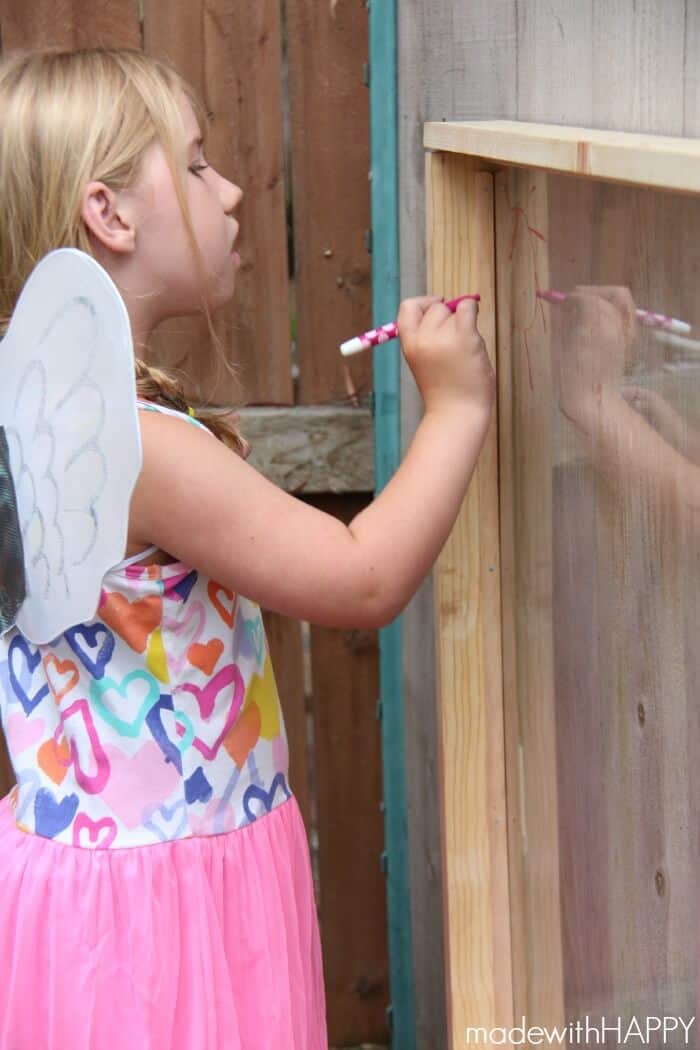
We've been spending most our days outside as I'm hoping all you are. The beach, the park, and most definitely our backyard. Swimming, reading, coloring, singing, dancing, climbing, and exploring. All more fun in the sun (in my opinion) 🙂
In any case, recently we were hanging out in the treehouse when Made with HAPPY Girl asked if we could hang up paper on the walls of the treehouse for her to color. Which of course then got my juices flowing in setting up an area for her and her brother to color or paint or whatever they want in the backyard that doesn't involve hanging paper.
Outdoor Easel
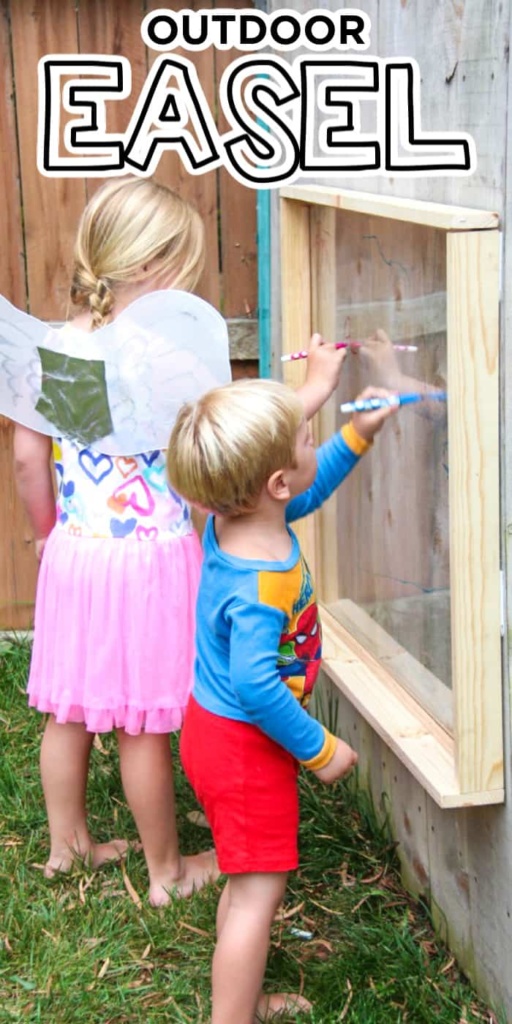
This was a super fun project that doesn't take a whole lot of time and the kids are having an absolute blast with! Here's how to do it!
What You Need For A DIY Easel
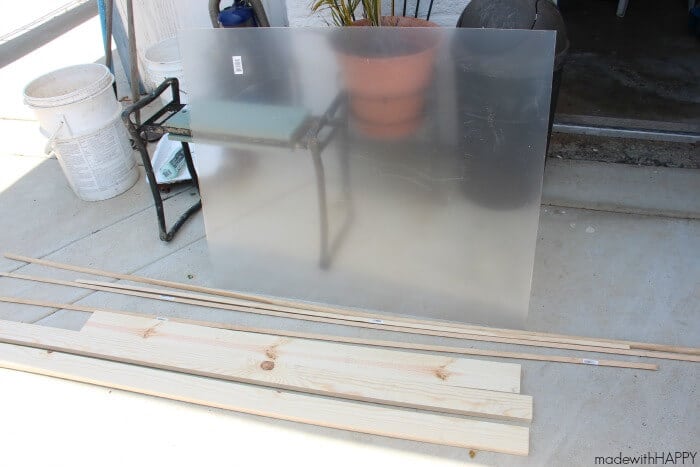
- 30" x 36" Piece of Plexiglass
- 8.5 feet of 1 x 3 lumber
- 2.5 feet of 1 x 4 lumber
- 11.5 feet of ½ inch quarter round molding
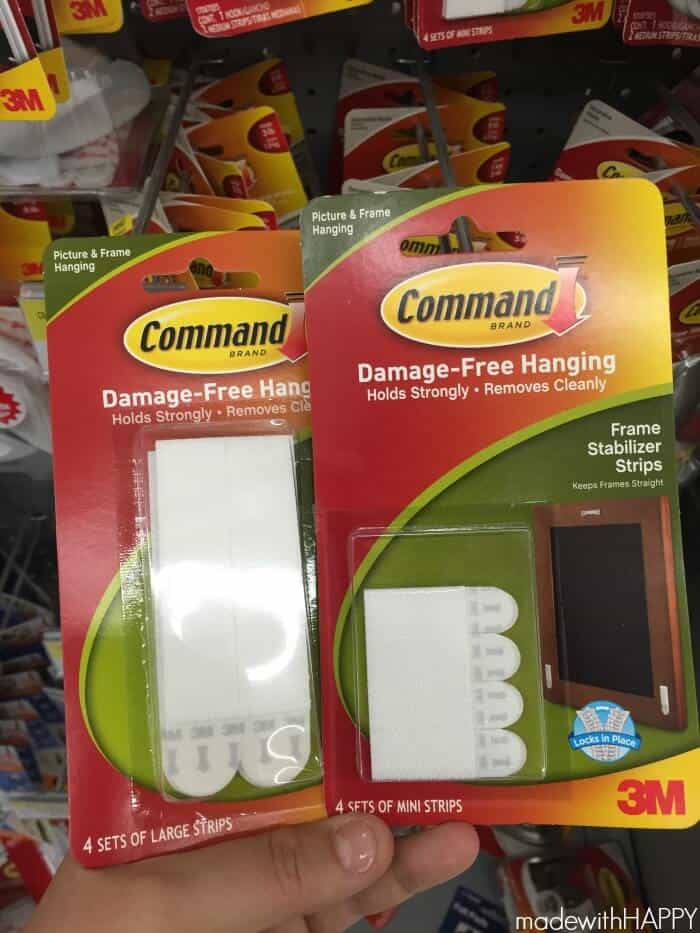
- 4 large Command™ Strips
- 2 mini Command™ Strips
- Small finishing nails
- 1 inch outdoor nails
- spacer (optional)
- Saw
- Hammer
- Drill
- Screwdriver
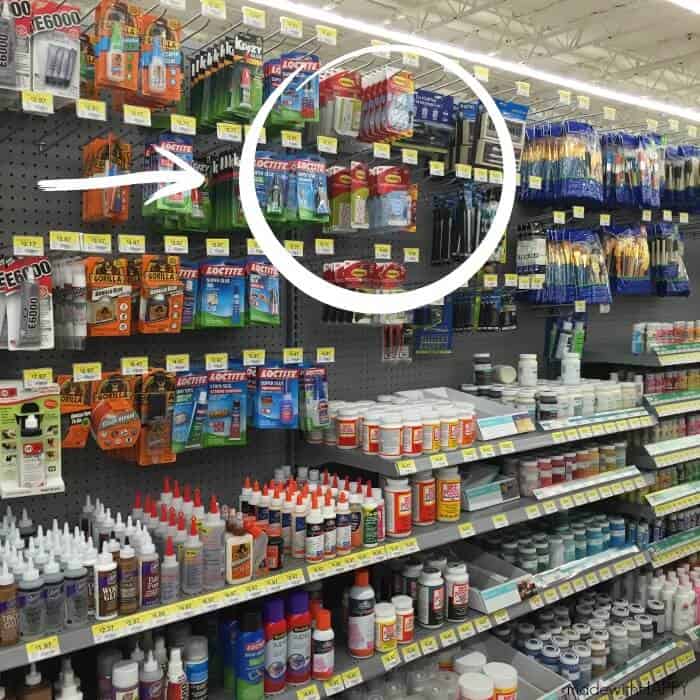
You can find these command strips at your art supply store or home depot - hardware store.
How to Make an Easel
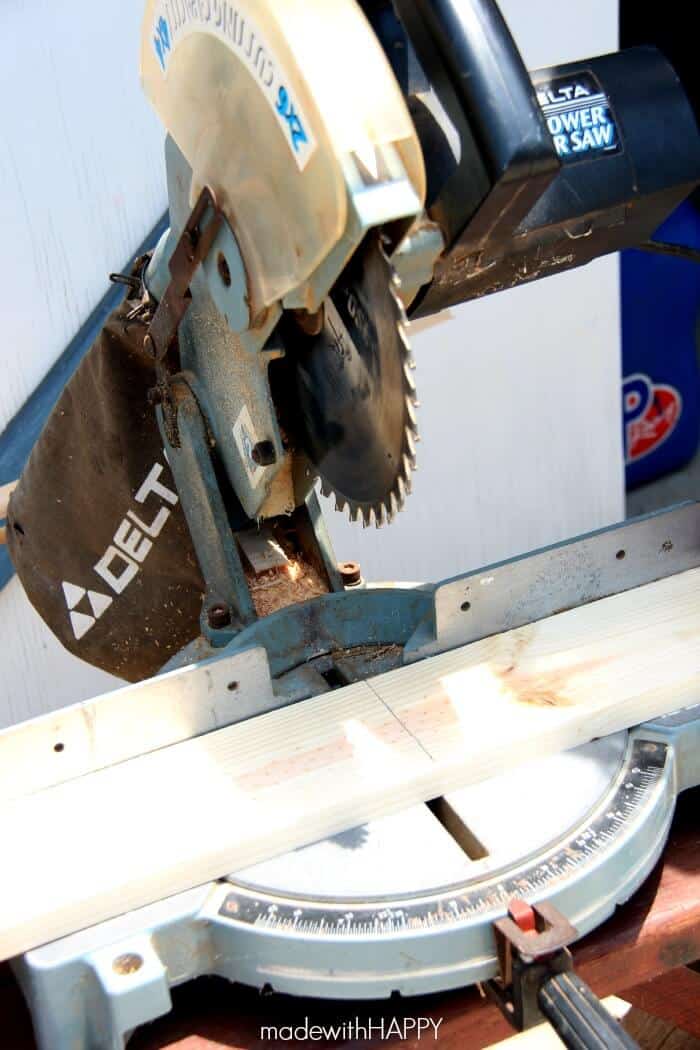
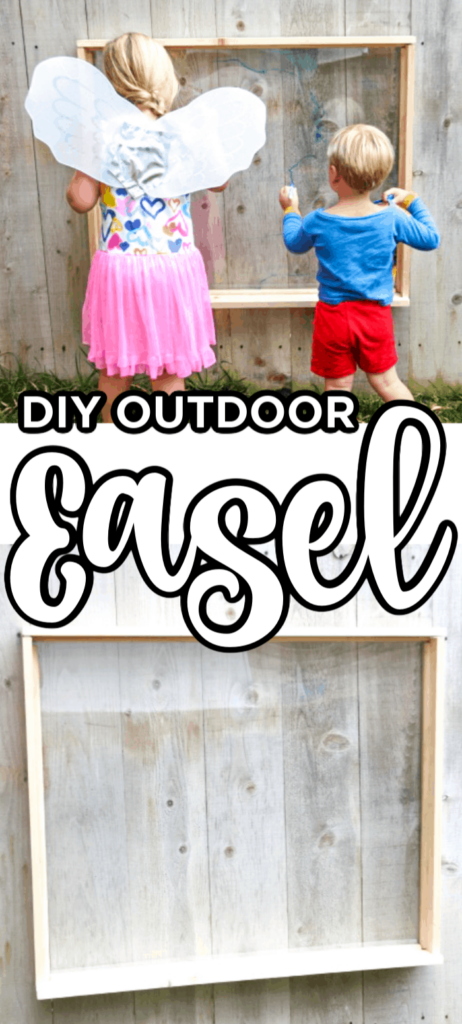
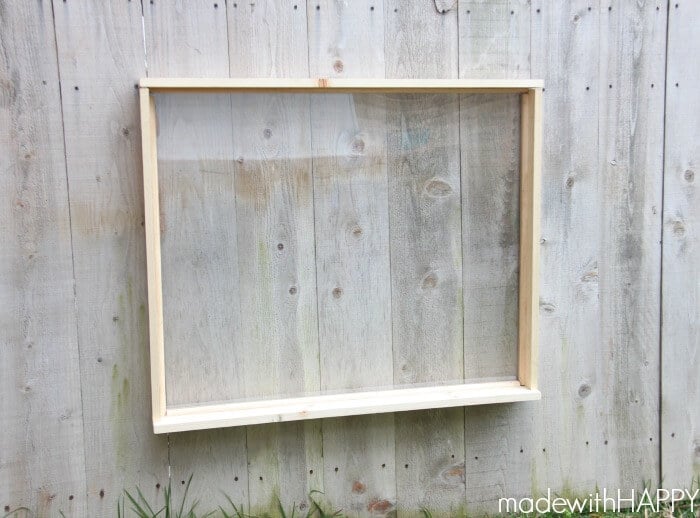
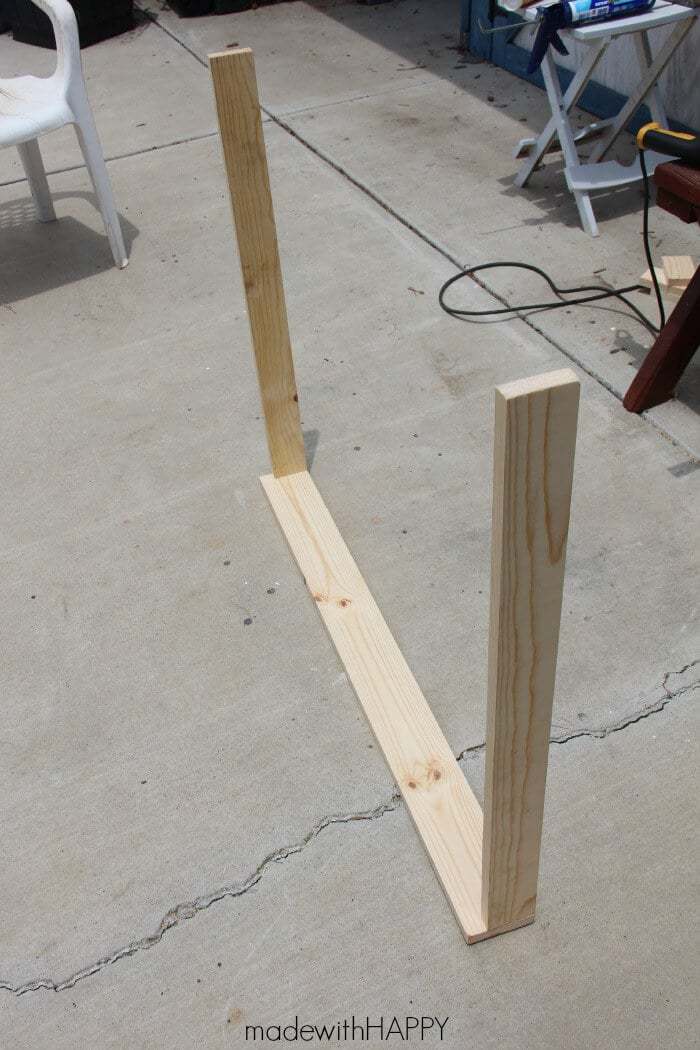
We first started by measuring and cutting all our wood to size for our outdoor easel. Try for straight cuts on this project to keep it simple. Used 1 x 3-inch wood for the top and the two sides and then used the larger 1 x 4 piece of wood for the bottom, which gave the kids a little more room to set down their pens or paintbrush.
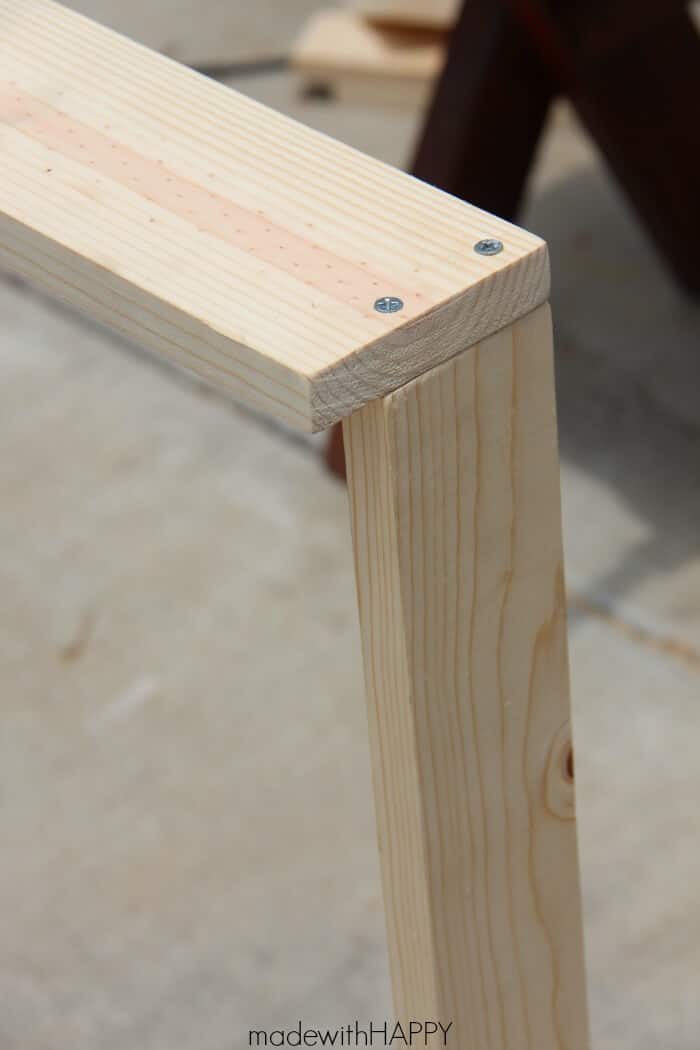
The first to attach is by the bottom to the sides. We lined both sides up with the back of the bottom piece of wood. Do not attach the top piece.
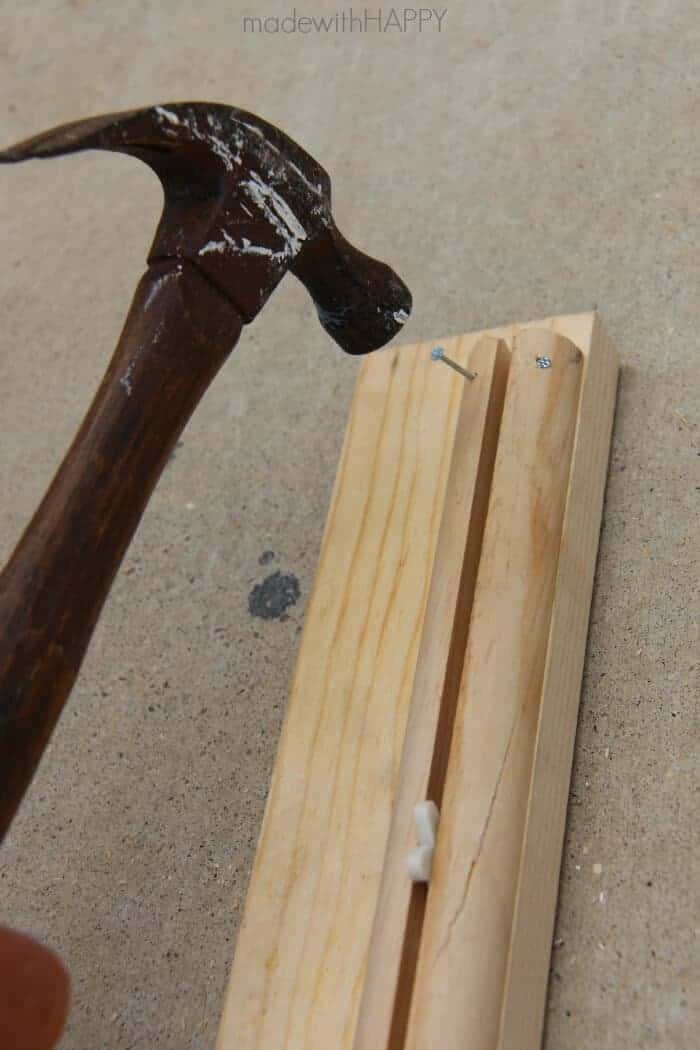
Next we attached the quarter-round molding to the inside of the frame using small finishing nails.
We used the spacer as a guide to making sure there was enough space for the Plexiglas on the outdoor easel. The trickiest part of the whole project is to make sure to leave room for the rounds on the sides once the frame is put together.
We attempted to cut the rounds at a 45-degree angel to make the frame pretty inside, but they came out kind of wonky, so plan B, straight cut.
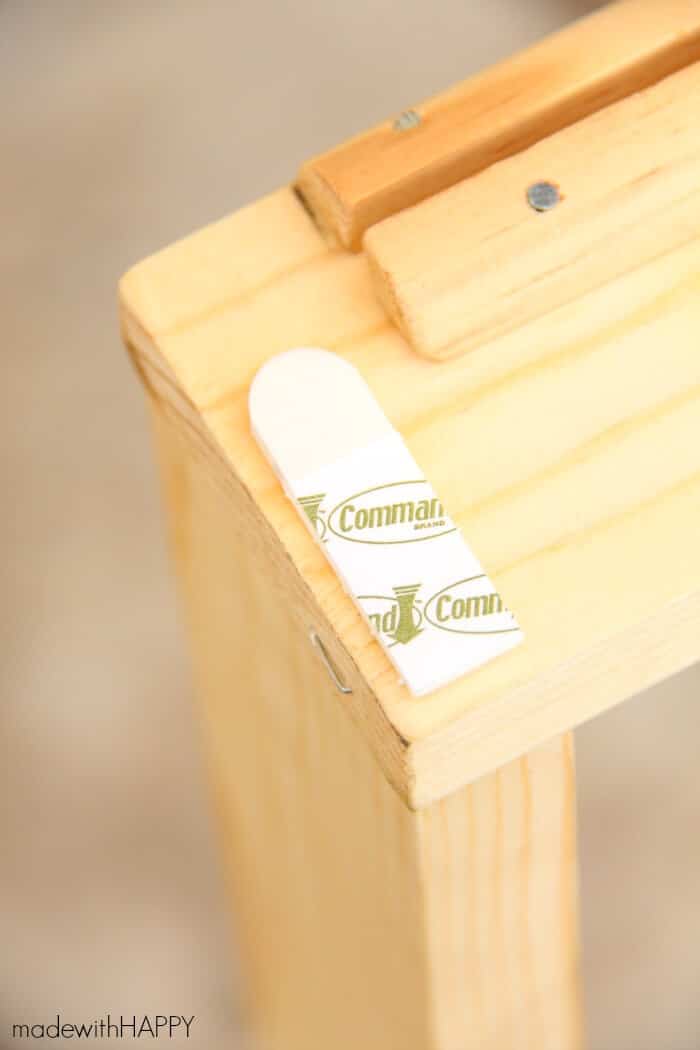
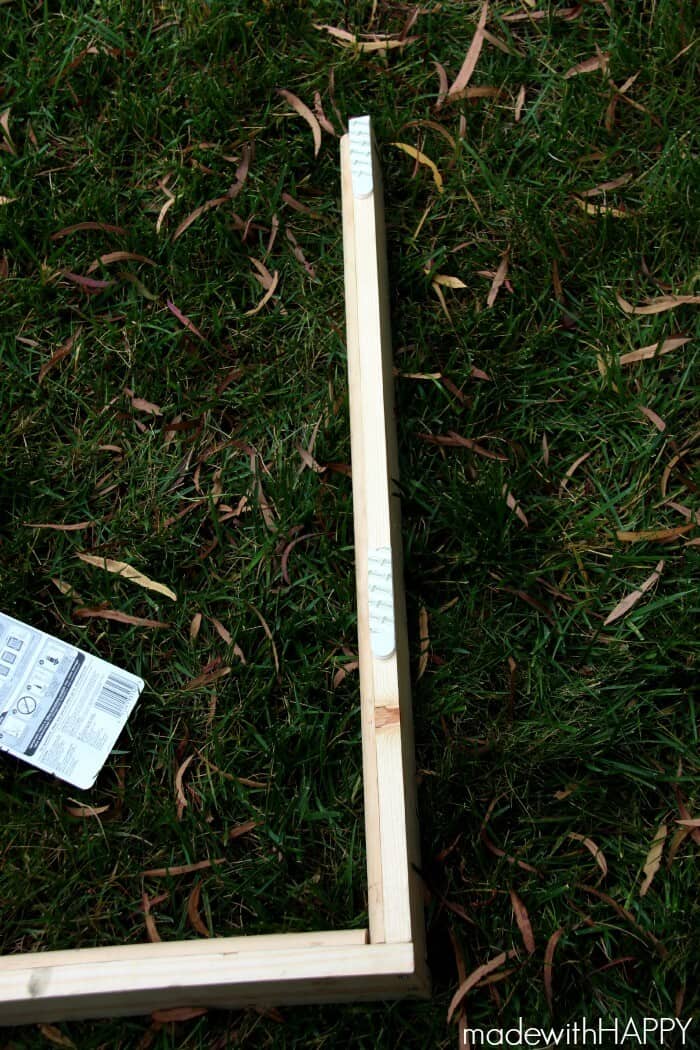
We will not be attaching the top with screws, but rather the mini command strips. This would allow us to remove the top and slide the Plexiglas out and hose it off if needed.

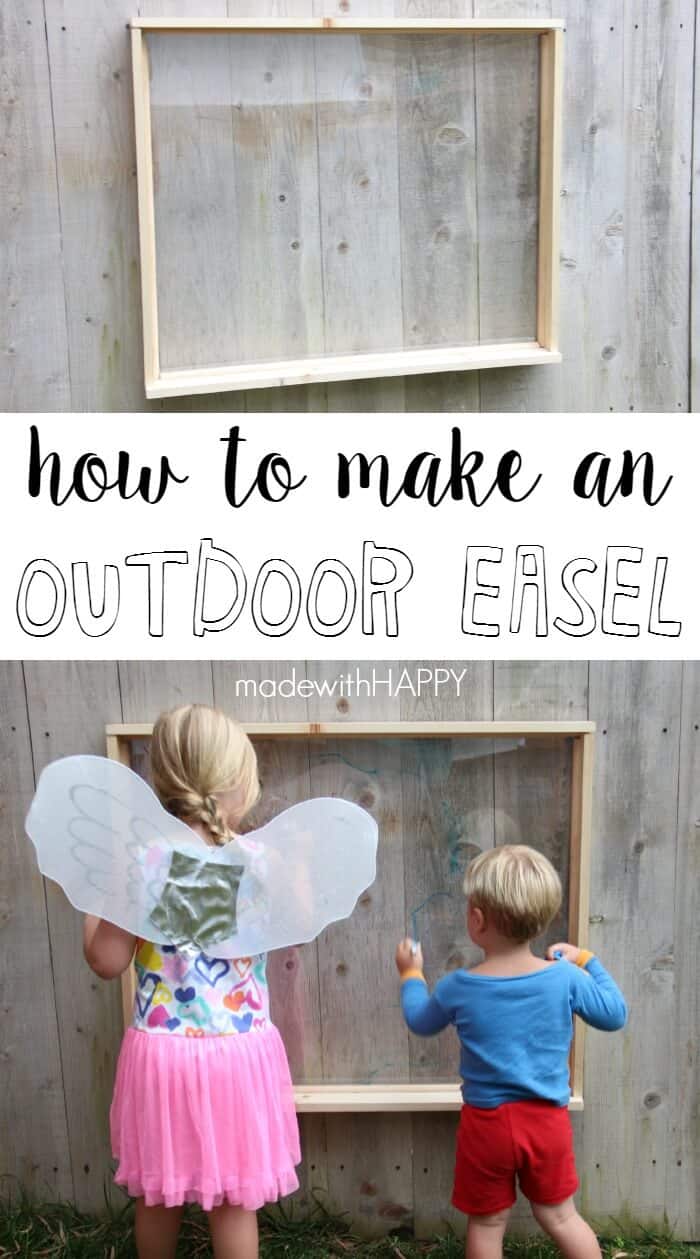
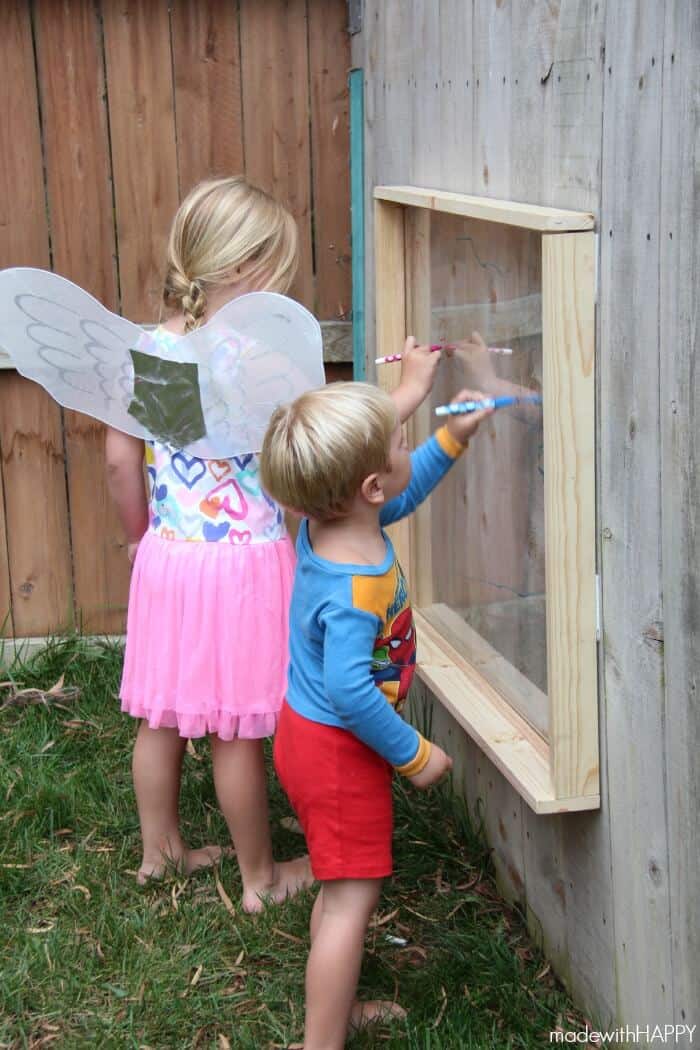
Lastly, attach the large Command™ Strips to the back of the frame and attach the frame to the fence. Make sure the frame is in place before adding the Plexiglas. We love the Command™ Brand strips because they hold on strongly and hang without damage to the fence. I puffy heart that!
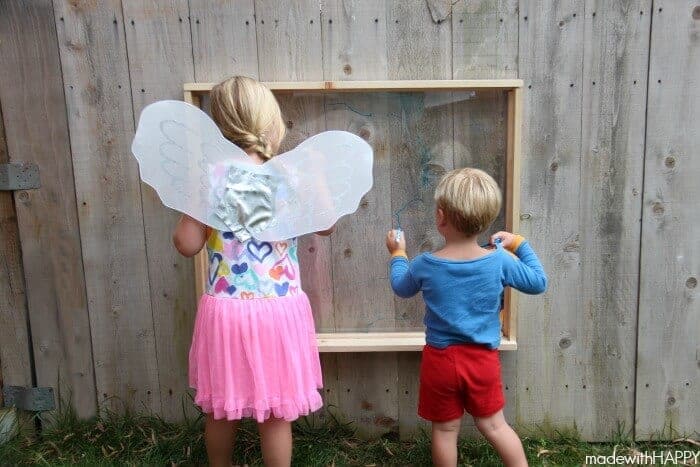
Viola! You have the BESTEST SUMMER EVER outdoor easel.

Other DIY Projects You Might Enjoy:
- DIY HERB GARDEN - This is a beautifully colorful take on your herb garden. It can be located indoors or outdoors and just what you have been looking for at your home.
- MADE WITH HAPPY TREEHOUSE - The most popular DIY project on Made with HAPPY is our Treehouse/Playhouse. It shares all the steps needed to create a fun and functional space for kids in your background.
- RAINBOW VERTICAL GARDEN This will brighten up any space that needs a little help.
- MODERN PICTURE DISPLAY - A simple way to display those pictures in a fun and natural way.
- MADE WITH HAPPY DOG HOUSE - If you enjoy the beauty of our treehouse, then you will love our dog house that has a barn door!
- MODERN PLANT STAND Another great DIY project that only cost a few dollars.
- MODERN FIREPLACE MAKEOVER - A bigger DIY project, but definitely worth the sweat equity. If you are looking to update your fireplace, then head over to this post.
- Rainbow Popsicle Shelf - This is a great DIY project for all ages. Simple supplies of craft sticks and glue and you have yourself a fun shelf!
- DIY CHARGING STATION - This is the best organization project for those of us with all the cords. It's clean and sleek and easy to make.
- HOW TO MAKE TWIG PENCILS - These are such fun projects. Take twigs from your yard and turn them into pencils.

DIY Easel
Equipment
- Drill
- Hammer
- Saw
- Screwdriver
Ingredients
- 30 " x 36" Piece of Plexiglass
- 8.5 feet of 1 x 3 lumber
- 2.5 feet of 1 x 4 lumber
- 11.5 feet of ½ inch quarter round molding
- 4 large Command™ Strips
- 2 mini Command™ Strips
- Small finishing nails
- 1 inch outdoor nails
- spacer optional
- Paint optional
- Dry Erase Markers
Instructions
- We first started by measuring and cutting all our wood to size for our outdoor easel. Try for straight cuts on this project to keep it simple. Used 1 x 3-inch wood for the top and the two sides and then used the larger 1 x 4 piece of wood for the bottom, which gave the kids a little more room to set down their pens or paintbrush.

- The first to attach is by the bottom to the sides. We lined both sides up with the back of the bottom piece of wood. Do not attach the top piece.
- Next, we attached the quarter-round molding to the inside of the frame using small finishing nails.
- We used the spacer as a guide to making sure there was enough space for the Plexiglas on the outdoor easel. The trickiest part of the whole project is to make sure to leave room for the rounds on the sides once the frame is put together. We attempted to cut the rounds at a 45-degree angle to make the frame pretty inside, but they came out kind of wonky, so plan B, straight cut.
- We will not be attaching the top with screws, but rather the mini command strips. This would allow us to remove the top and slide the Plexiglas out and hose it off if needed.
- Lastly, attach the large Command™ Strips to the back of the frame and attach the frame to the fence. Make sure the frame is in place before adding the Plexiglas. We love the Command™ Brand strips because they hold on strongly and hang without damage to the fence. I puffy heart that!


CONNECT WITH MADE WITH HAPPY!
Be sure to follow me on social media, so you never miss a post!
Facebook | Twitter | Youtube | Pinterest | Instagram
Find and shop my favorite products on my Amazon storefront here!
DIY EASEL
PIN IT TO YOUR FAVORITE BOARD ON PINTEREST!
FOLLOW MADEWITHHAPPY ON PINTEREST FOR ALL THINGS HAPPY!