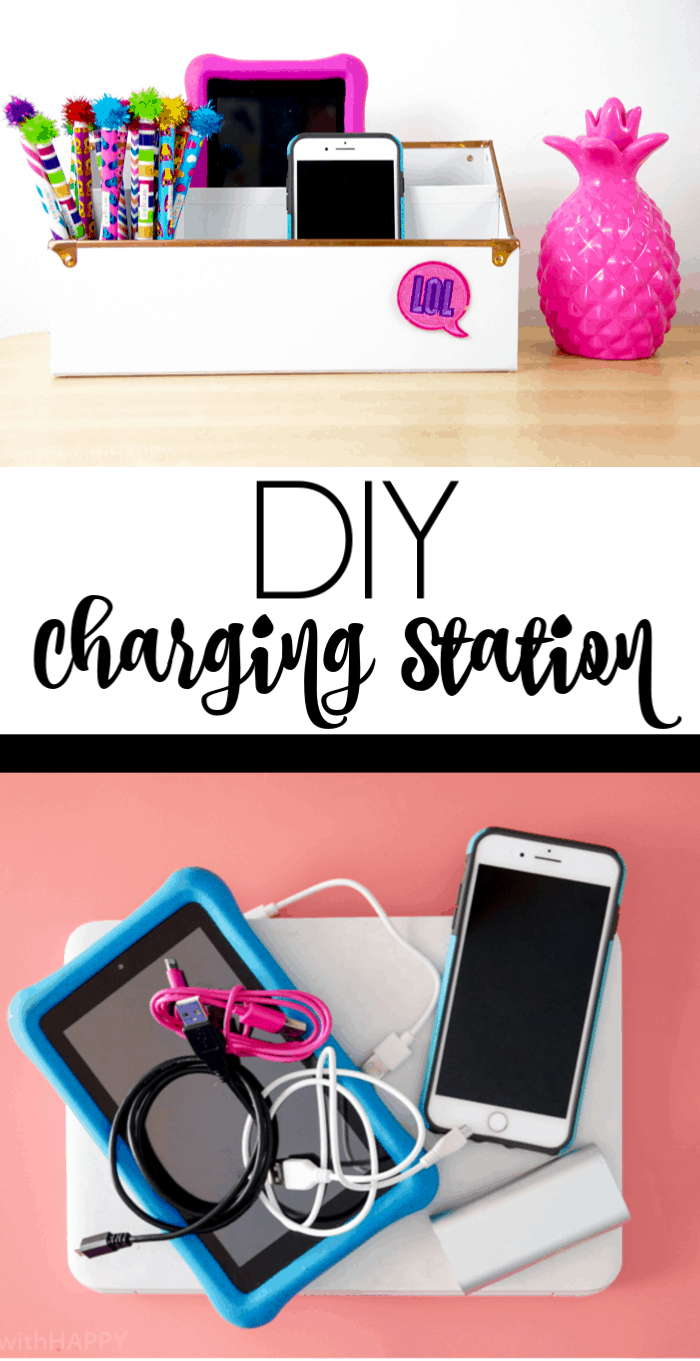
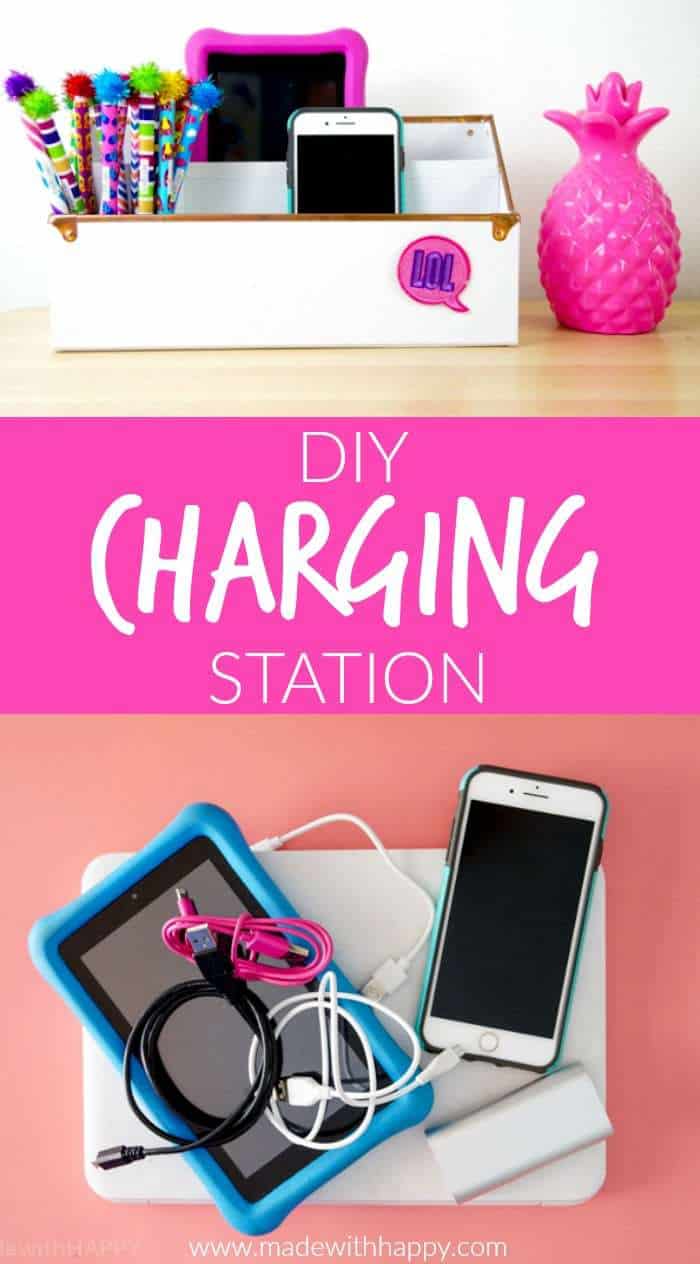
Make your own DIY Charging Station just in time for back to school.
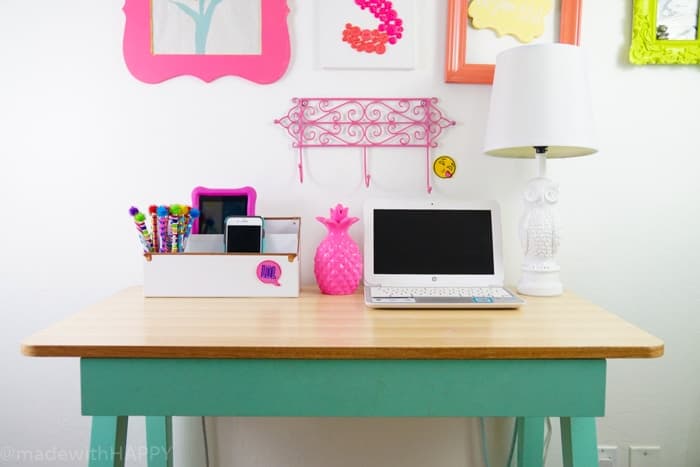
It is Back to School season and dorms everywhere are starting to fill in. Kids and teen desks are being cleared off and getting ready for a new school season. We love the idea starting out the new year with a cleaned off desk.
A fresh start at a fresh new year of school. Full of potential. Getting organized before school starts is not always the top of the list, but helping your kids get organized with their clothes, school supplies and their rooms helps in setting the precedence for the whole school year.
This is a great back to school craft DIY that will get everyone ready to tackle the year ahead.

Want to save this project?
Enter your email below, and then we'll send it straight to your inbox. Plus get awesome new projects from us each week.
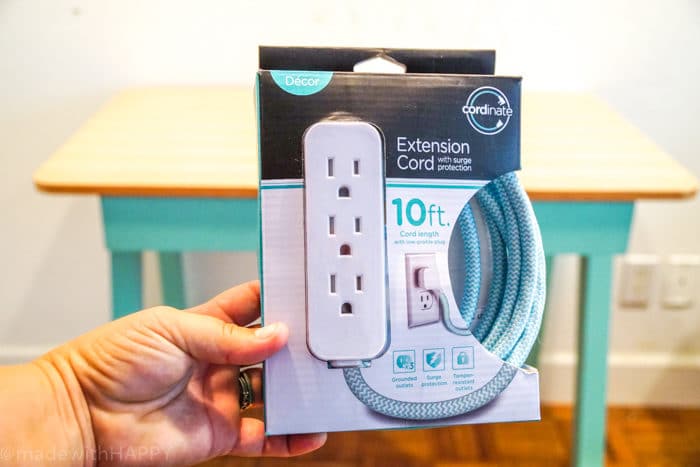
One of the most disorganized things about the desks at our house are all the cords for all the different lights, computers and electronics.
It seriously drives me bonkers. Plus, what is up with the old school ugly colored extension cords that don't match any of the fun and bright colored rooms the kids have these days? Well, I'm happy to report that Jasco has got us all covered with their Cordinate Décor Extensions Cords
We got a fabulous mint colored cord that fits in perfectly with our bright mint colored desk. LOVE!!! It is absolutely perfect for our DIY Charging Station that organizes all our electronics in a clean modern way.
Keep your kitchen counters clean and organized while turning a shoe box, or decorative box into a family charging station.
DIY CHARGING STATION
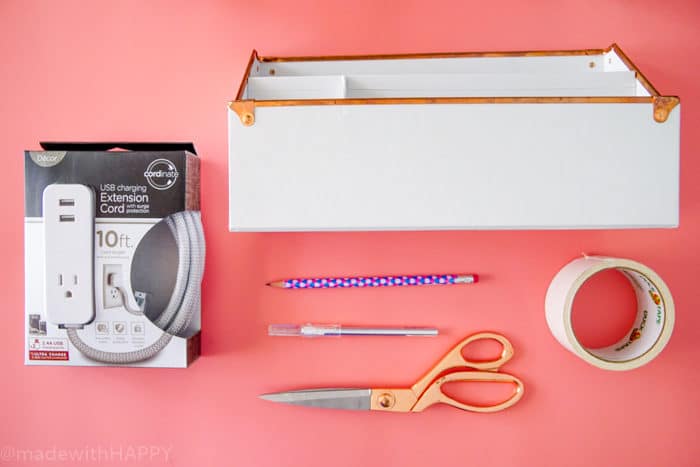
Supplies:
- Jasco Cordinate Décor Extension Cords
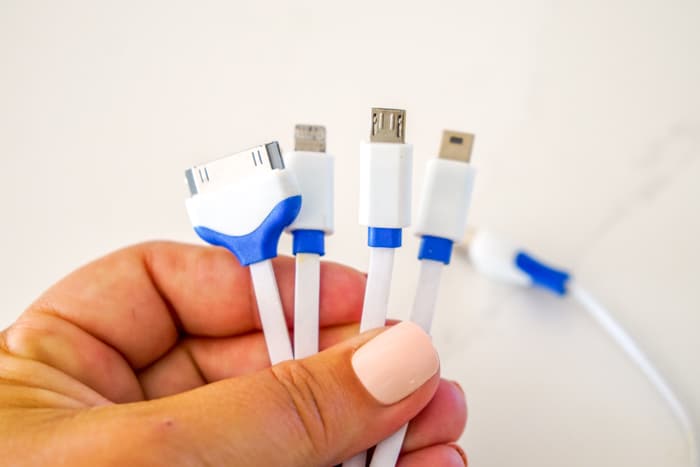
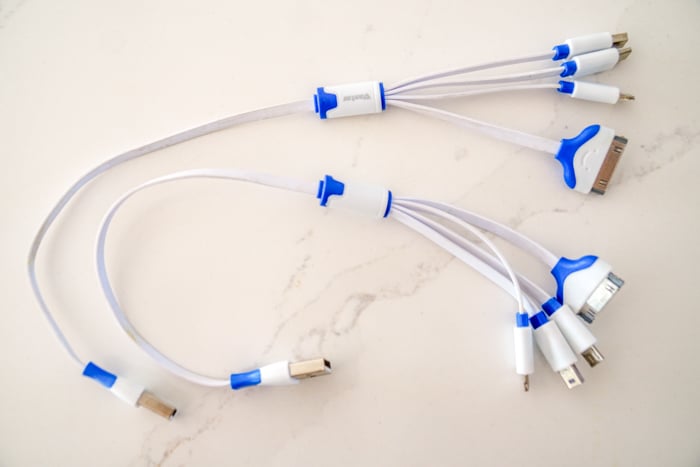
- Multiple USB Charging Cable Adapter Connector
- Cardboard Desk Organizer
- Pencil
- X-acto knife
- Scissors
- Tape
Directions:
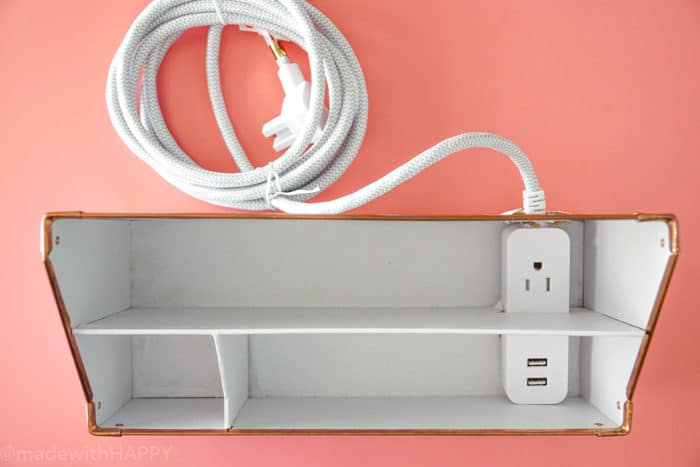
Turn your desk organizer on its back.
Place the end of the charging bar at the bottom corner of the organizer.
Using the pencil, outline the rectangle of the end of the charging bar leaving the bottom.
Then using the x-acto cut the lines on each side and the top creating a flap.
Make sure your charging bar can fit into the rectangle and then do the same thing for the second piece of cardboard in the organizer.
Once you have both flaps cut, you can push your power strip into the organizer. Then with the pencil create a small square at the top of the outside flap and cut it out using the x-acto.
This will allow the cord to poke out of the back of the organizer. Using the tape, cut two pieces of tape.
Tape either side of the outside flap back to the organizer so that your charging bar is in place.
What I love about the Jasco Cordinate Décor Extension Cords for this project is that it has two USB ports in the front and an outlet in the back for those items that may not use a USB port. I also love that the cord is 10 ft. long, so you can have your charging station anywhere without worrying about where the outlet is located.
I created this Charging station in white, but you could create yours in any of your favorite colors. . That's the beauty of Cordinate is that they have so many great colors to coordinate with. Grey, mint, pink, navy, gold and more. I'll take one if every color!!!!

CHARGING STATION ORGANIZATION
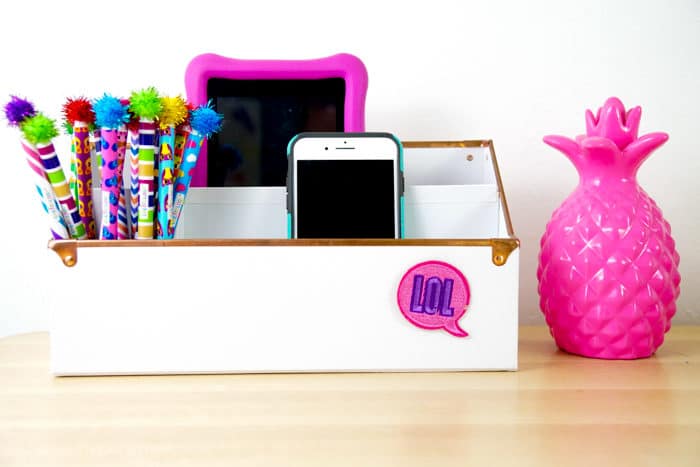
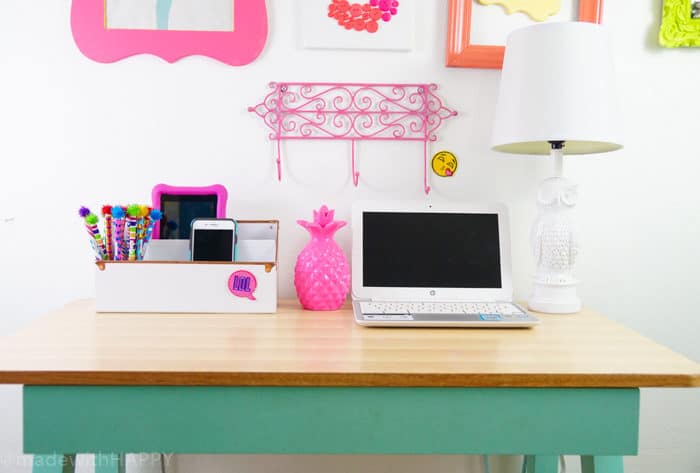
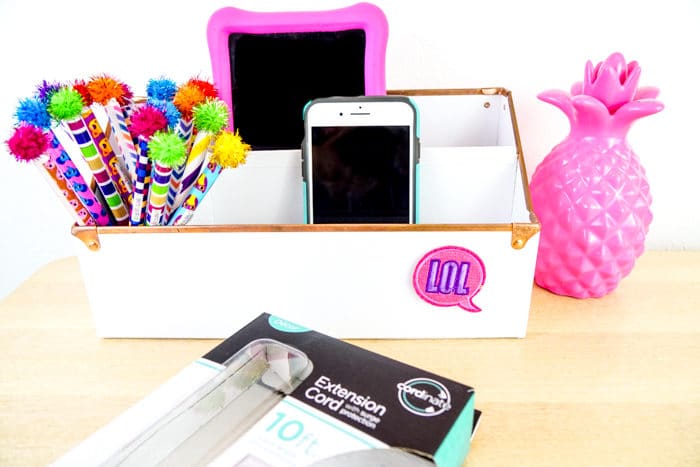
Then charge away my friends! Setup your newly cleaned desk with your DIY Charging Station your computer and you are ready for the first day!
HAPPY BACK TO SCHOOL
OTHER FAMILY ORGANIZATION IDEAS YOU MIGHT ENJOY
- PRINTABLE MAGNETIC WEEKLY PLANNER
- FAMILY CALENDARS + {GIVEAWAY} #GETITDONE
- SUMMER ORGANIZATION
- MAKE A LIST
- FREE PRINTABLE 2015 DESK CALENDAR
- MADE WITH HAPPY WORK-N-PLAY
- 10 WAYS TO UPDATE YOUR HOME FOR SPRING
Other HAPPY DIYs You Might Be Interested In
- MODERN PLANT STAND
- HOW TO BUILD A LAZY SUSAN
- MADE WITH HAPPY TREEHOUSE PLAYHOUSE
- EASY DIY YARN WALL HANG
Grab The Back to School Bundle
DIY Charging Station
PIN IT TO YOUR CRAFTY BOARD ON PINTEREST!
FOLLOW MADEWITHHAPPY ON PINTEREST FOR ALL THINGS HAPPY!
