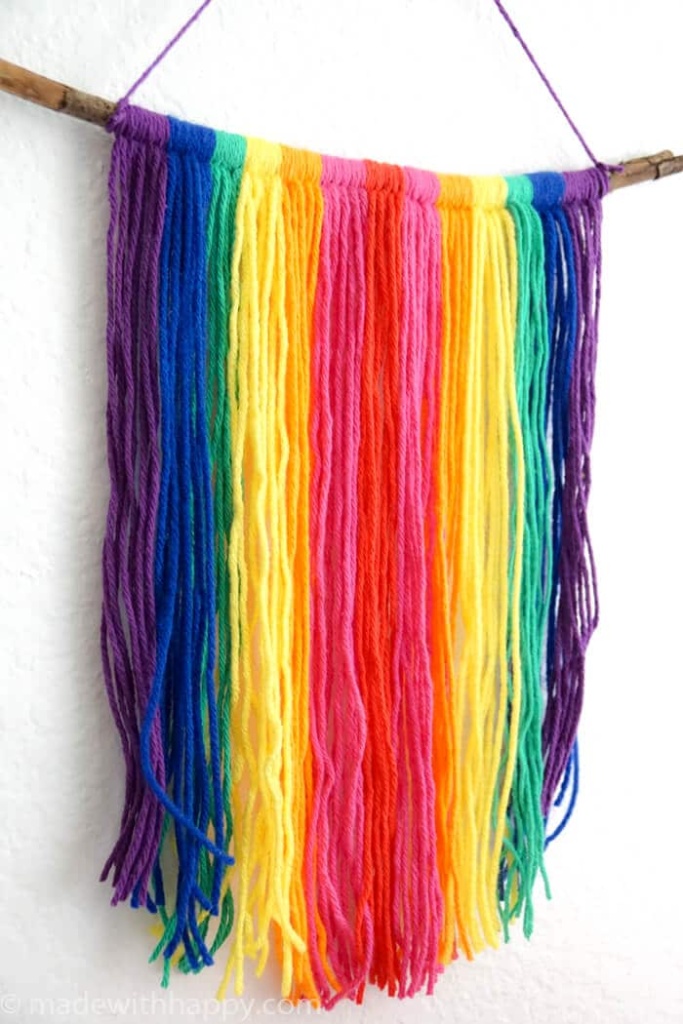
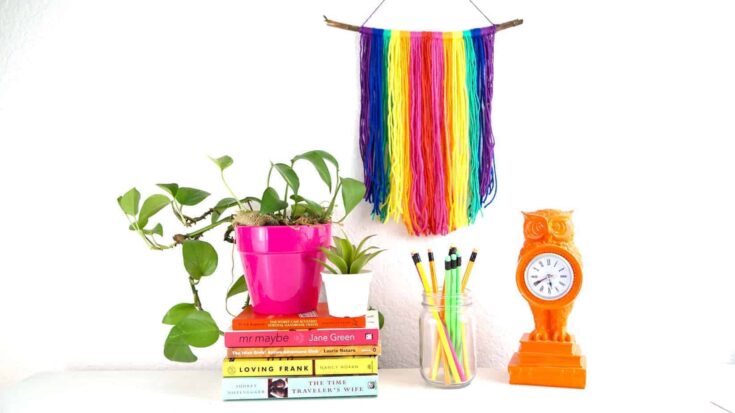
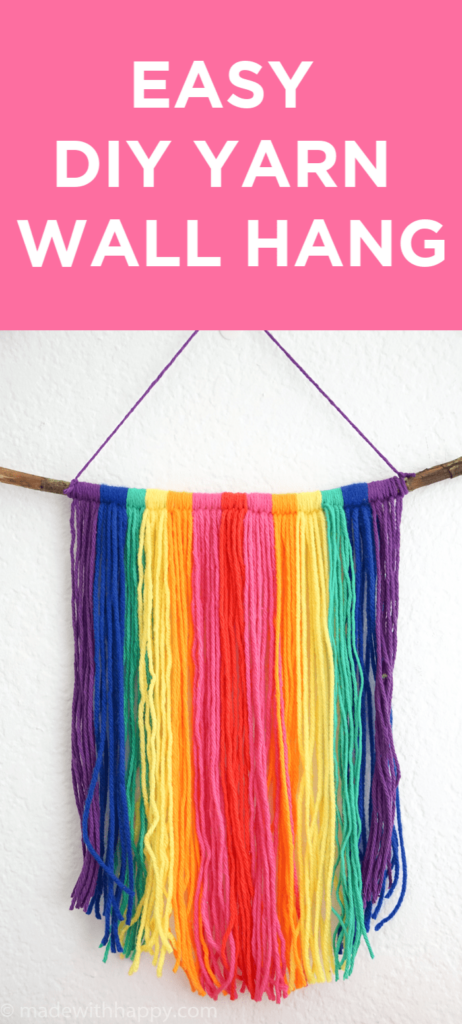
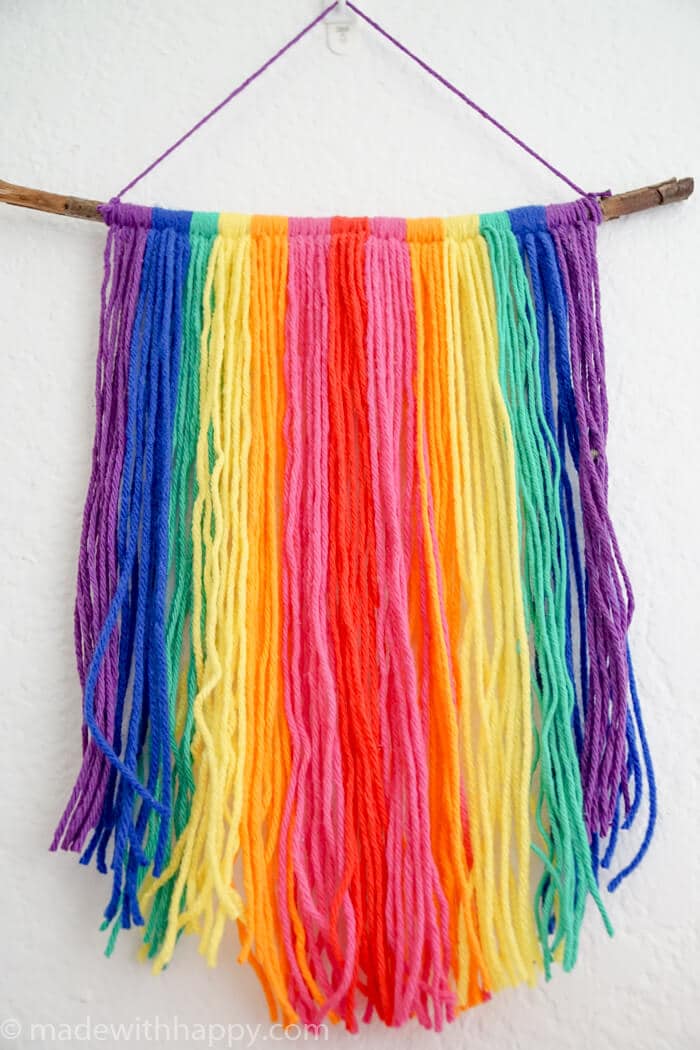
These Rainbow DIY Yarn Wall Hang Tapestries are full of color and all the rage these days.
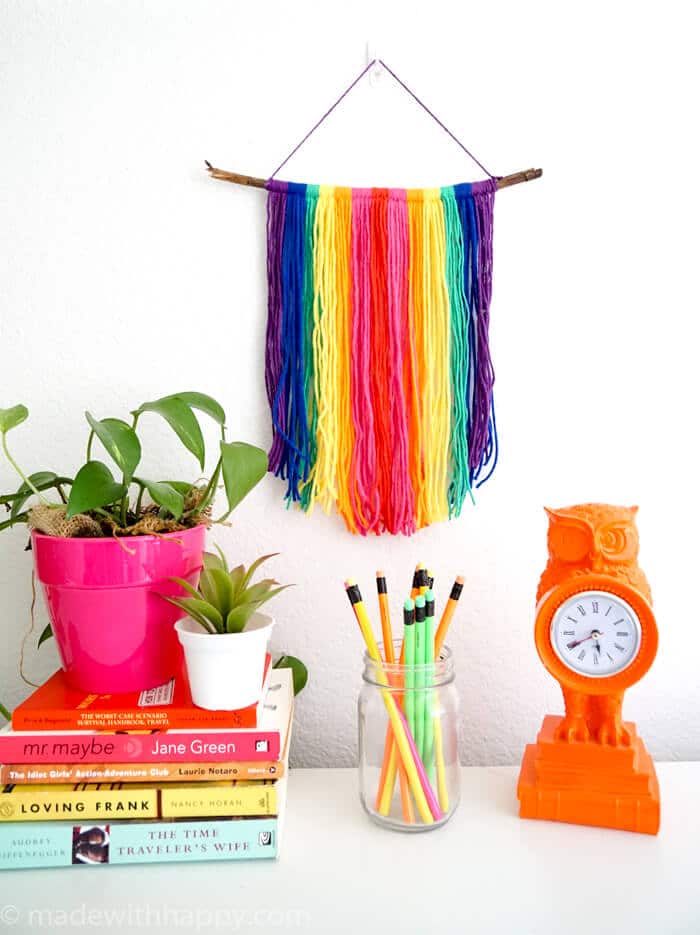
We are having so much fun making this easy DIY yarn wall hangs. I have been really into weaving, woven wall hangings, macrame wall hanging, and wall tapestries lately. If you are too, I have some great tutorials coming up for you.
For those that might be feeling like macrame is a bit too complicated for them in the beginning I put together this super simple DIY project that will ease you into knots.
Do not miss our 15+ CRAFTS AND ACTIVITIES FOR BORED KIDS and 15+ Rainbow Crafts for Kids for other fun crafts like this one!
All the wall hangs and weaves I have been seeing lately have been lacking one important element... COLOR! I am crazy for color and cannot get enough of it. I also have a secret addiction to yarn lately, and so this is a great way to use some of those awesome colored skeins of yarn hanging around.
Want to save this project?
Enter your email below, and then we'll send it straight to your inbox. Plus get awesome new projects from us each week.
What you Need to Make a Stylish Wall Hang
There are many ways to create a DIY wall hang. I love this easy DIY project because it you do not need a weaving loom or any special tools.
I love the look of driftwood or natural sticks, but you can also use a dowel in the case that you don't have any sticks laying around outside like I do.
The same goes for the types of yarn. There are many different styles of yarn that can add texture and feel to your wall hang. The one things I learned with this simple wall hang, is that you will want to make sure all the colors you are using are the same texture. It can get tricky getting them to lay evenly if they are different sizes and textures.
Last, when deciding what colors you want for your yarn wall hanging is to take a look at your home design. Is your house monochromatic and so you will want to stick to simple whites, beiges, and blush tones. If you house is more like mine, then grab all the colors you can! You are making this your own beautiful mess!
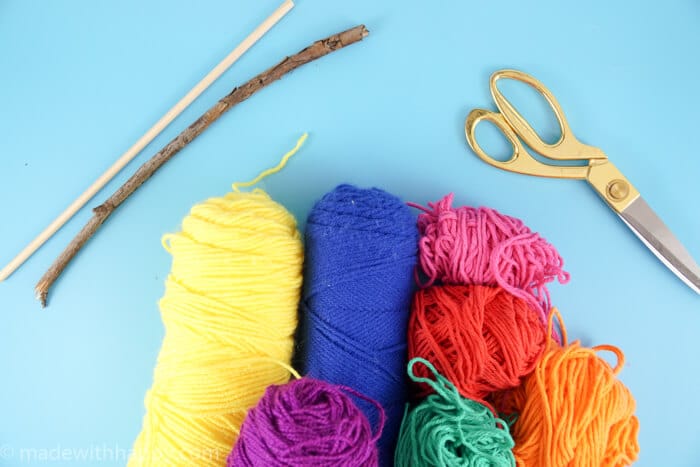
Supplies used for this Simple Yarn Craft
- Wooden Dowel or Stick
- Colored Yarn
- Scissors
- Wall Hooks (optional)
DIY Yarn Wall Hang Tapestry Directions
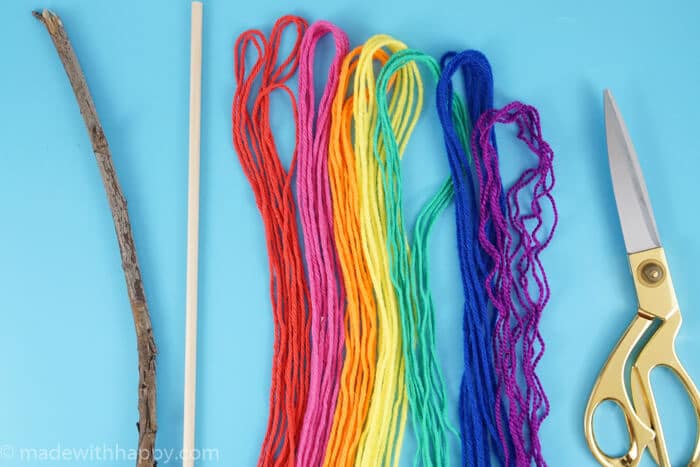
- Cut your yarn into approximately 2 feet pieces. I cut 5 red, and then 10 pink, 10 orange, 10 yellow, 10 turquoise, 10 blue and 10 purple.
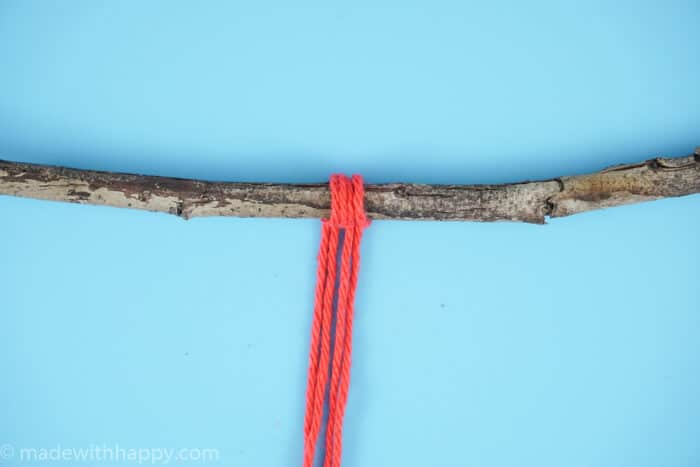
- Starting in the middle of your stick, create a simple larks head knot with the red yarn. A larks head knot is where you take your piece of yarn and fold it in half.
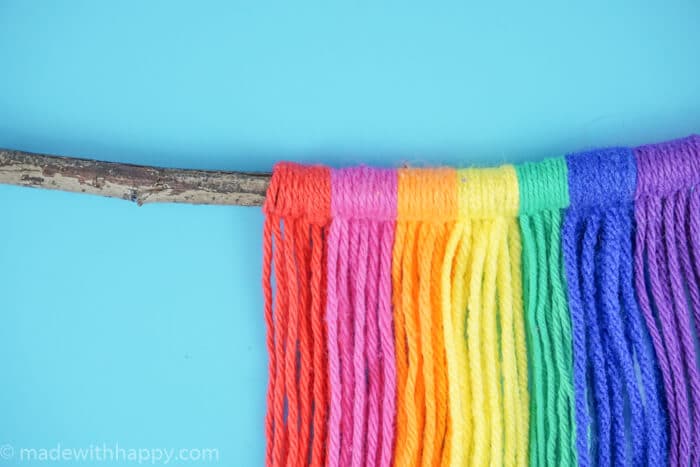
- Wrap the loop end of the folded yarn around the stick and pull the two legs of the folded yarn through the loop.
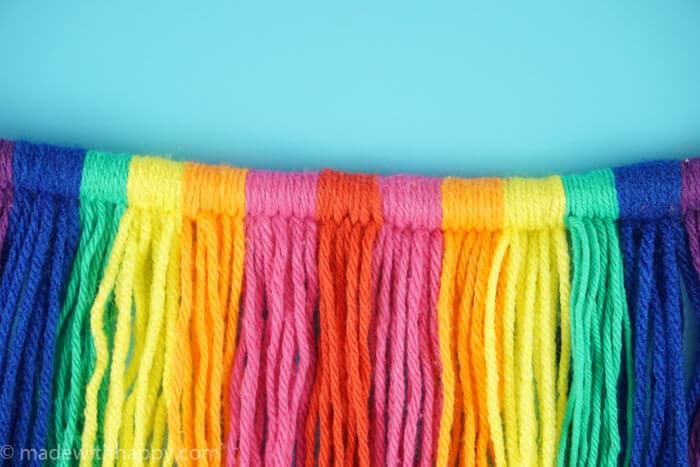
- Continue with each color down the stick till you get to the end.
- Once you have both sides complete, then cut one last piece of yarn in the outside color. My outside color was purple, so I cut a piece of yarn in purple approximately a foot long.
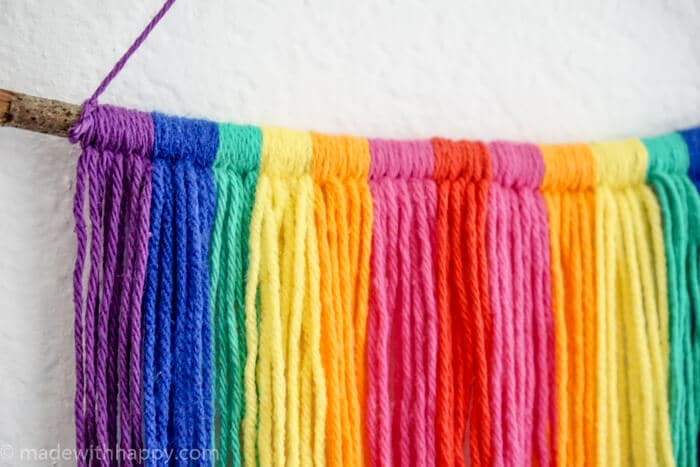
- Tie each end of the purple piece of yarn in a double knot on each end of the wall hang.
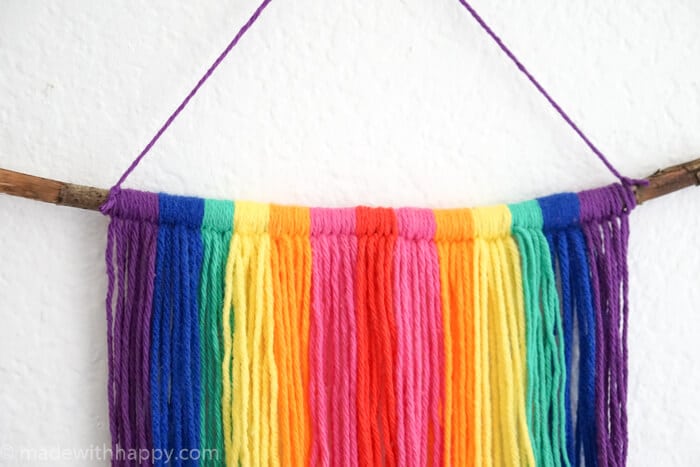
- From here, you will need to cut the ends of the wall hang. You can cut the bottom into a number of shapes. V shapes, off centered v's, or the simple rounded bottom that I did for this to resemble a rainbow.
- The easiest way to cut this the most precise is to mount your hook on you wall and hang your wall hang in place. Comb out all the pieces of yarn and then trim the bottom.
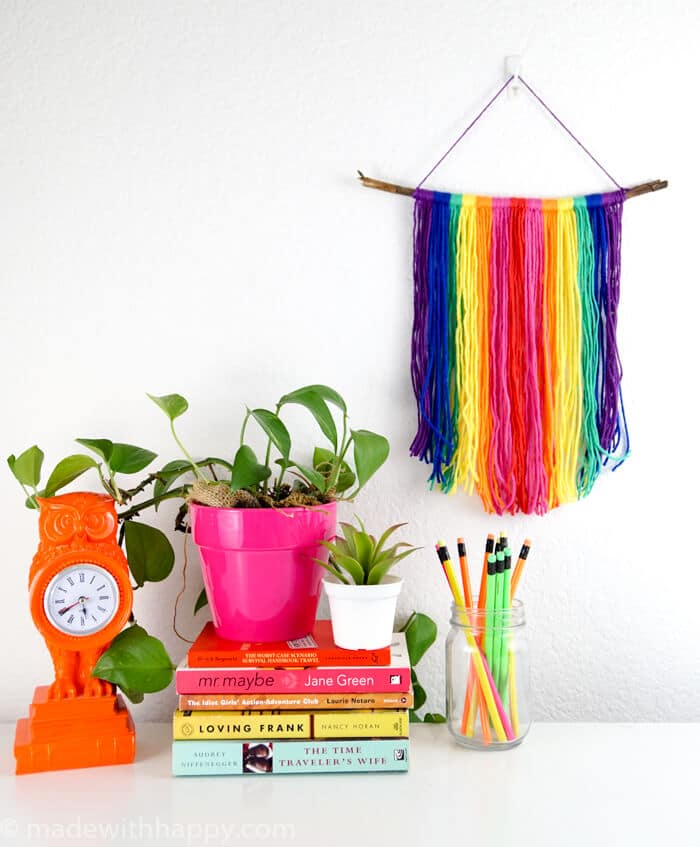
These are great for dorm rooms, offices and basically anywhere in the house you want to add some color. You can even add pom poms to the hanging string or tassels.
HAPPY MACRAME-ING!
Other Yarn Crafts You Might Enjoy
- MINI YARN SNOWHATS
- YARN EARTH KIDS ACTIVITY
- MODERN CHRISTMAS WREATH
- SIMPLE YARN WALL ART
- HOOP STRING EASTER CROSS
- HOW TO MAKE NO-SEW ROPE BOWL
Easy DIY Yarn Wall Hang
Materials
Instructions
Cut your yarn into approximately 2 feet pieces. I cut 5 red, and then 10 pink, 10 orange, 10 yellow, 10 turquoise, 10 blue, and 10 purple.
Starting in the middle of your stick, create a simple larks head knot with the red yarn. A larks head knot is where you take your piece of yarn and fold it in half.
Wrap the loop end of the folded yarn around the stick and pull the two legs of the folded yarn through the loop.
Continue with each color down the stick till you get to the end. Once you have both sides complete, then cut one last piece of yarn in the outside color. My outside color was purple, so I cut a piece of yarn in purple approximately a foot long.
Tie each end of the purple piece of yarn in a double knot on each end of the wall hanging.
From here, you will need to cut the ends of the wall hanging. You can cut the bottom into a number of shapes. V shapes, off-centered v's, or the simple rounded bottom that I did for this to resemble a rainbow.
The easiest way to cut this the most precise is to mount your hook on your wall and hang your wall hang in place. Comb out all the pieces of yarn and then trim the bottom.
Easy DIY Yarn Wall Hang

Materials
Instructions
Cut your yarn into approximately 2 feet pieces. I cut 5 red, and then 10 pink, 10 orange, 10 yellow, 10 turquoise, 10 blue, and 10 purple.
Starting in the middle of your stick, create a simple larks head knot with the red yarn. A larks head knot is where you take your piece of yarn and fold it in half.
Wrap the loop end of the folded yarn around the stick and pull the two legs of the folded yarn through the loop.
Continue with each color down the stick till you get to the end. Once you have both sides complete, then cut one last piece of yarn in the outside color. My outside color was purple, so I cut a piece of yarn in purple approximately a foot long.
Tie each end of the purple piece of yarn in a double knot on each end of the wall hanging.
From here, you will need to cut the ends of the wall hanging. You can cut the bottom into a number of shapes. V shapes, off-centered v's, or the simple rounded bottom that I did for this to resemble a rainbow.
The easiest way to cut this the most precise is to mount your hook on your wall and hang your wall hang in place. Comb out all the pieces of yarn and then trim the bottom.
CONNECT WITH MADE WITH HAPPY!
Be sure to follow me on social media, so you never miss a post!
Facebook | Twitter | Youtube | Pinterest | Instagram
Find and shop my favorite products in my Amazon storefront here!
DIY YARN WALL HANG
PIN IT TO YOUR CRAFT BOARD ON PINTEREST!
FOLLOW MADEWITHHAPPY ON PINTEREST FOR ALL THINGS HAPPY!


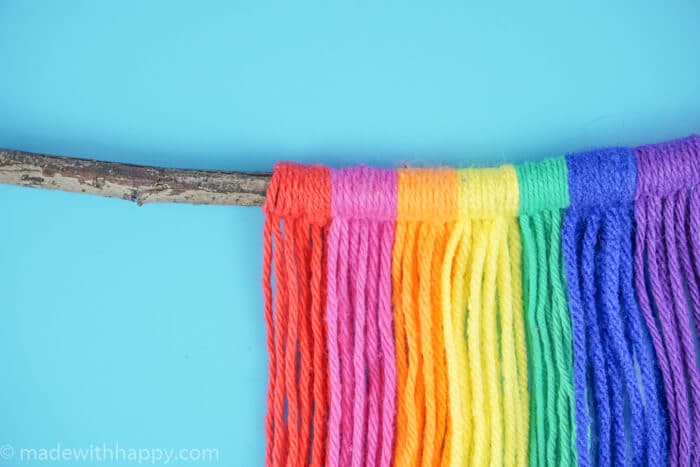 Wrap the loop end of the folded yarn around the stick and pull the two legs of the folded yarn through the loop.
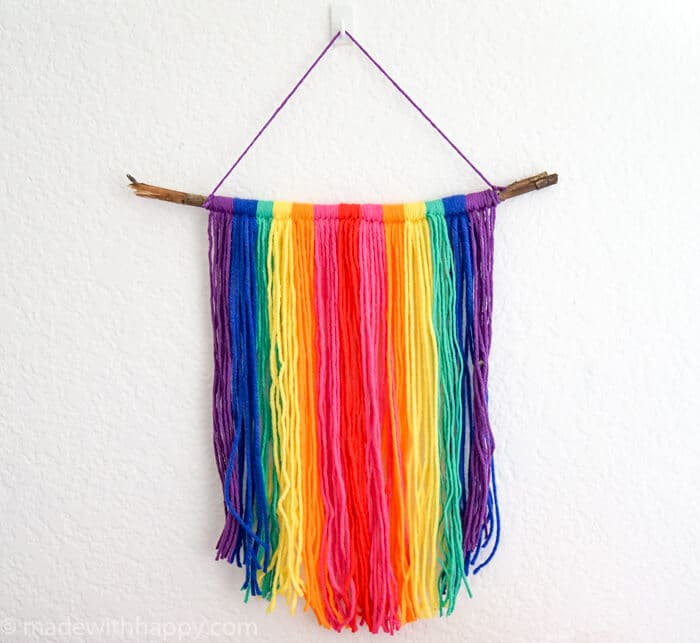 The easiest way to cut this the most precise is to mount your hook on your wall and hang your wall hang in place. Comb out all the pieces of yarn and then trim the bottom.