We are sharing step by step instructions on how to make a DIY tassel. They are great as a graduation tassel, tassel earrings or embellishment.
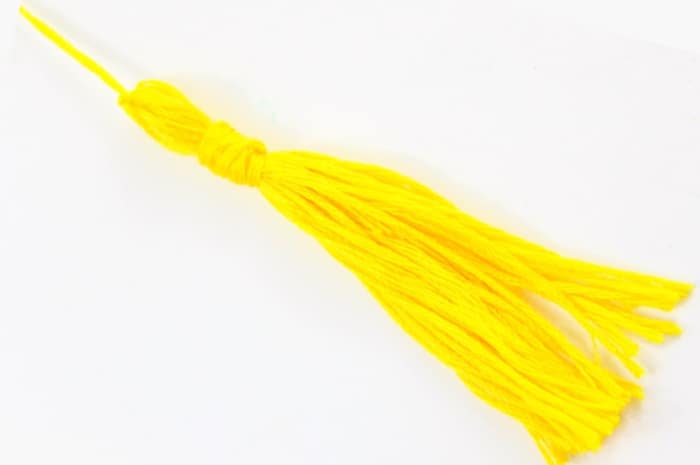
This sweet DIY Tassel is sure to spice up any project and make it that much HAPPIER!
We are always a big fan of simple craft projects like this tassel. If you like this project then you will not want to miss our other popular craft projects including Popsicle Stick Bird Feeder, Picture Flower Craft, Wine Cork Ornaments, and Mini Rainbow Piñatas.
We highlighted this Spring Craft and some other fun kid's crafts in our May Crafts and June Crafts as well as our Craft Ideas for kids.
You also do not want to miss our 101+ Printable Coloring Pages For Kids and 101+ Printables For Kids full of Crafts and Coloring Pages.
Graduation Tassel

Want to save this project?
Enter your email below, and then we'll send it straight to your inbox. Plus get awesome new projects from us each week.
We initially made this DIY tassel in order to add it to our Free Printable Graduation Card.
It is graduation season and so making a graduation tassel was on my mind when we made this fun card. Graduation is such a fun time for a graduate and their loved ones and why not make something special for them to celebrate?
Don't miss our Graduation Cap Drawing Tutorial.
Tassels
We're excited to share our step-by-step process for making a tassel. We are sharing how to make it out of embroidery thread, but this could also work the same for a yarn tassel.
Supplies For DIY Tassel
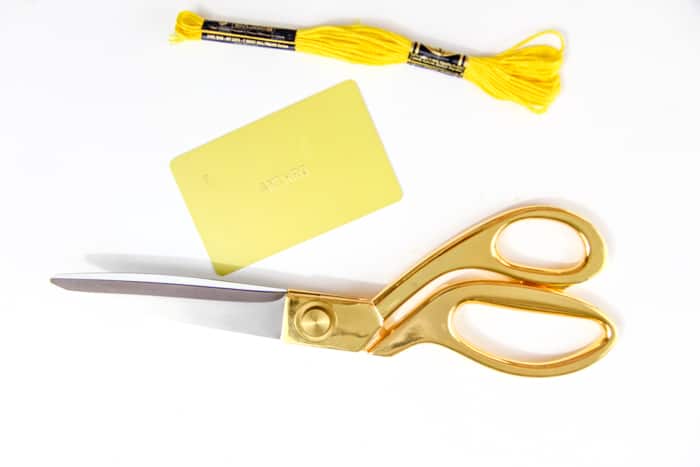
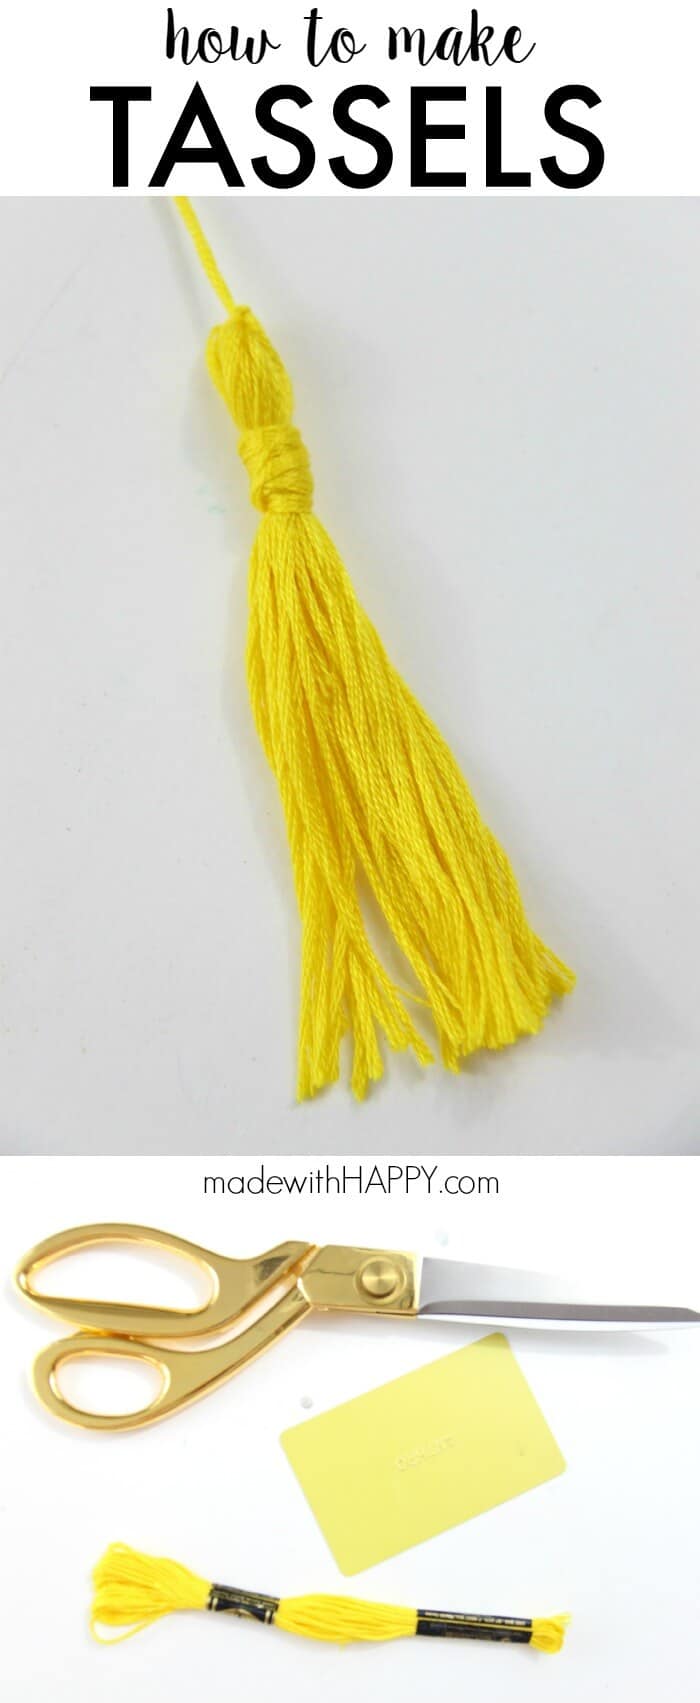
- Embroidery Floss
- Scissors
- Card or Piece of Cardboard
How To Make A Tassel
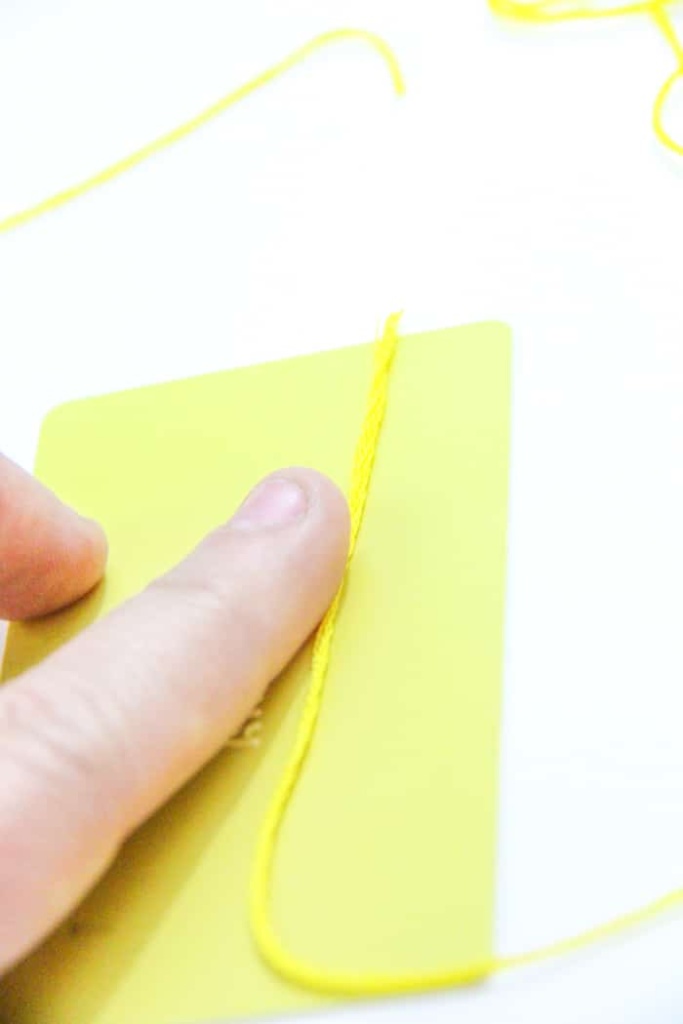
Start by taking the end piece of thread and holding it onto your card or cardboard.
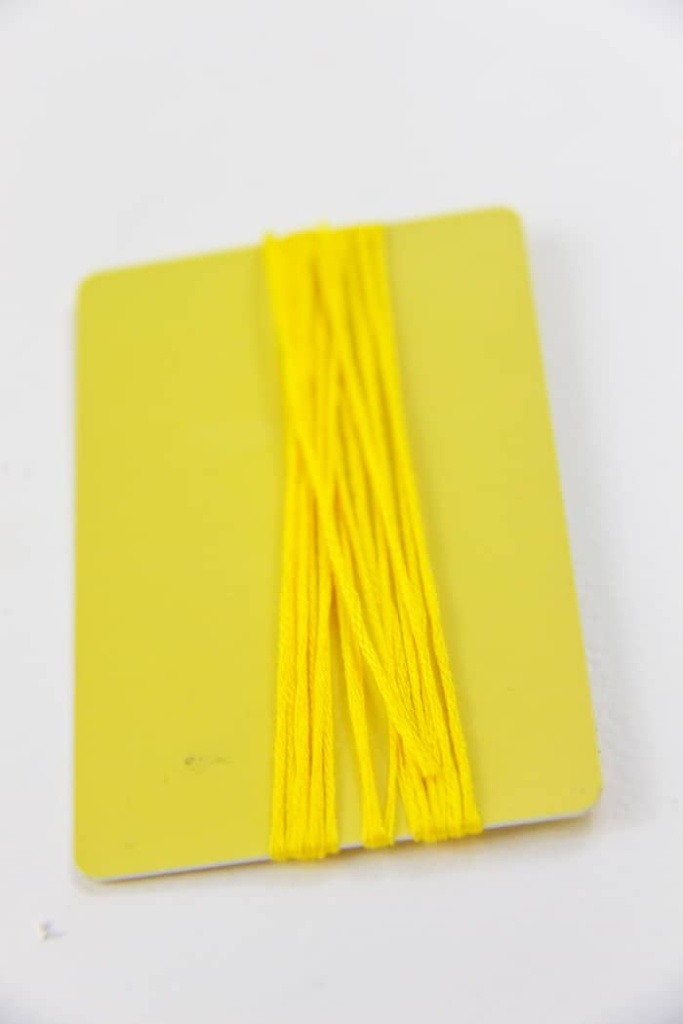
Continue wrapping the thread until you it is as thick as you want the tassel to be. For a graduation tassel, we wrapped it about 15-20 times.
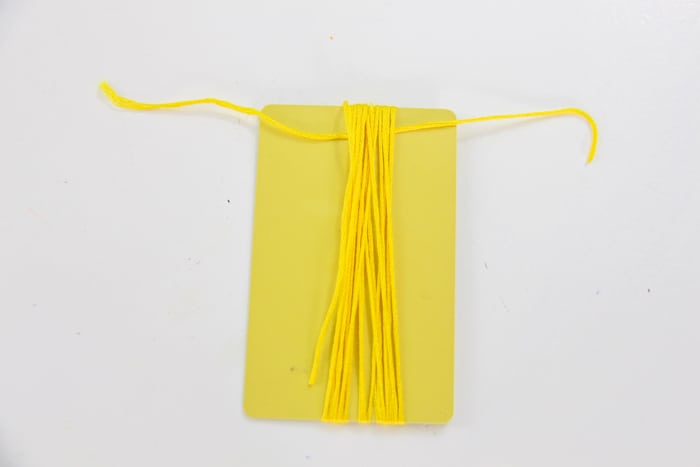
Cut a piece of thread about 2 inches and tie in a knot a the top of the tassel.
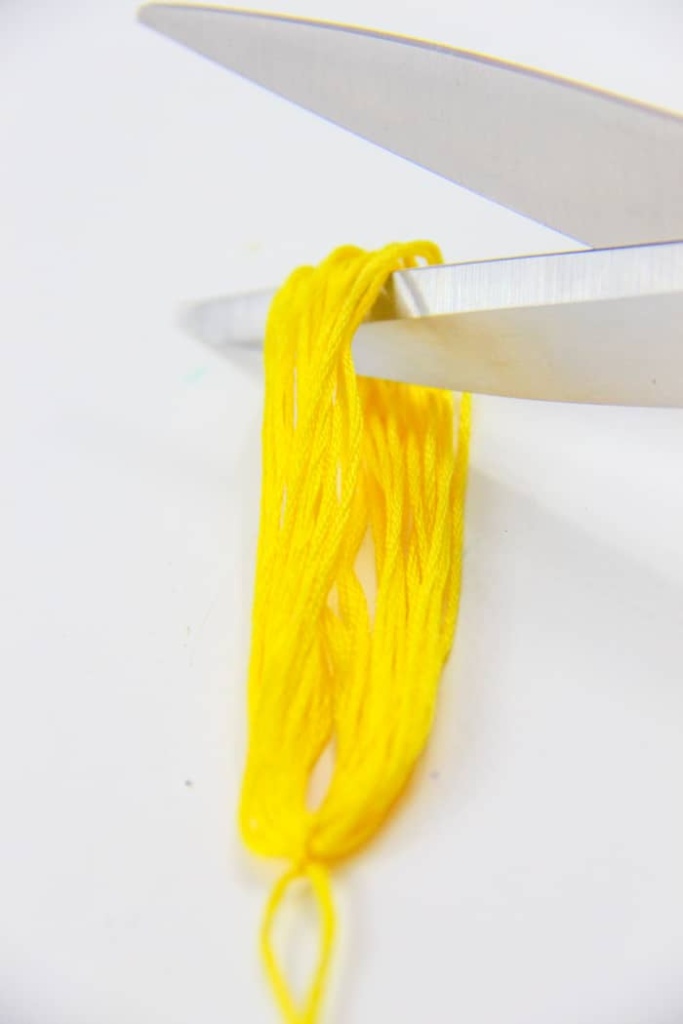
Slip the wrapped thread off the card. Then using a scissor, cut the end of the loop of the wrapped thread.
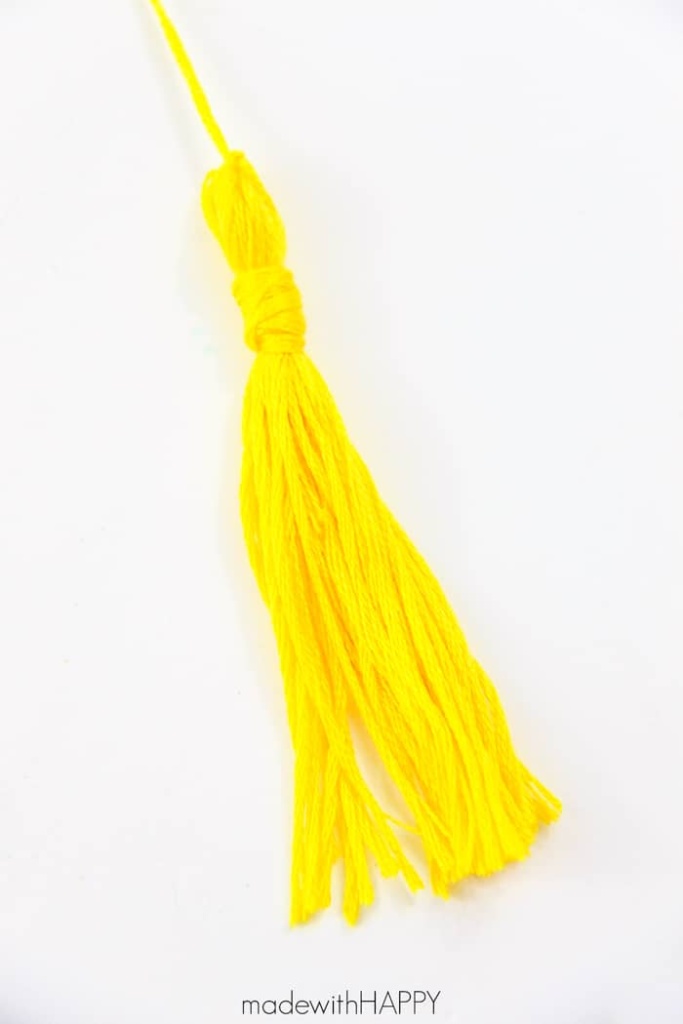
Then using another piece of thread, wrap around the head of the tassel ten to fifteen times and then tie it in a knot to secure. Cut off the excess thread.
HAPPY CRAFTING!
Other DIY Projects with Tassels
- HANGING TASSEL GARLAND {DIY}
- RAINBOW DIY TASSEL GARLAND TUTORIAL
- DIY TASSEL EARRINGS
- DIY SANDALS
- PUNS BOOKMARKS
- CHINESE NEW YEAR GOOD LUCK ORNAMENTS
How to Make a DIY Tassel

We are sharing step by step instructions on how to make a DIY tassel. They are great as a graduation tassel, tassel earrings or embellishment.
Materials
- Embroidery Floss
- Card or Piece of Cardboard
Tools
Instructions
Start by taking the end piece of thread and hold it onto your card or cardboard.
Continue wrapping the thread until you it is as thick as you want the tassel to be. For a graduation tassel, we wrapped it about 15-20 times.
Cut a piece of thread about 2 inches and tie in a knot a the top of the tassel.
Slip the wrapped thread off the card. Then using a scissor, cut the end of the loop of the wrapped thread.
Then using another piece of thread, wrap around the head of the tassel ten to fifteen times and then tie it in a knot to secure. Cut off the excess thread.
CONNECT WITH MADE WITH HAPPY!
Be sure to follow me on social media, so you never miss a post!
Facebook | Twitter | Youtube | Pinterest | Instagram
Find and shop my favorite products in my Amazon storefront here!
DIY TASSEL
PIN IT TO YOUR DIY BOARD ON PINTEREST!
FOLLOW MADE WITH HAPPY ON PINTEREST FOR ALL THINGS HAPPY!


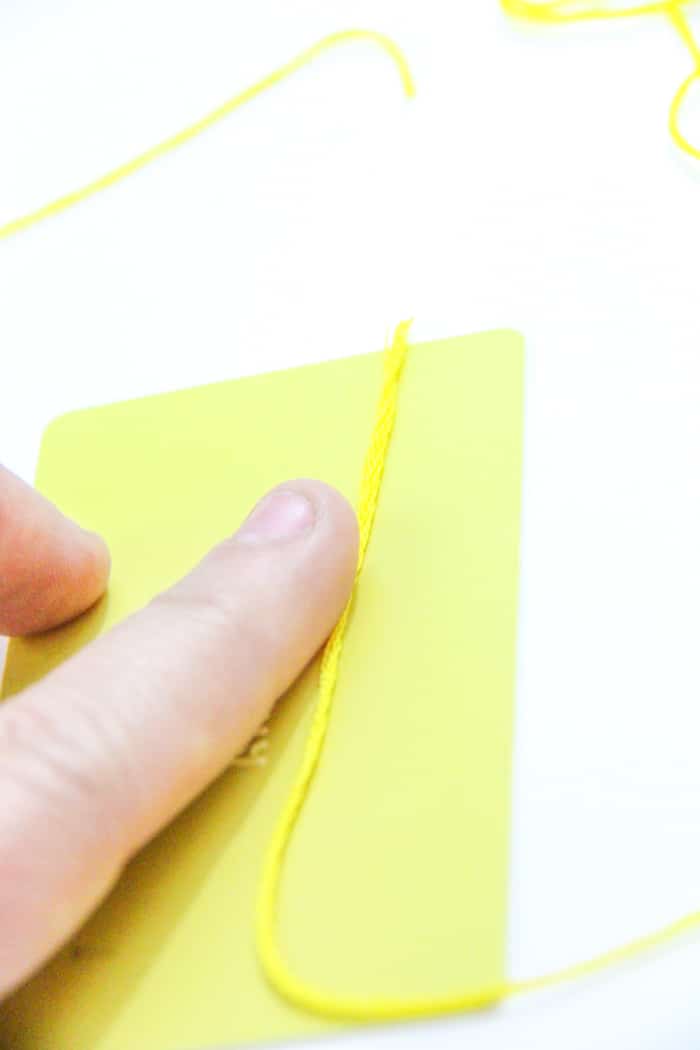 Start by taking the end piece of thread and hold it onto your card or cardboard.
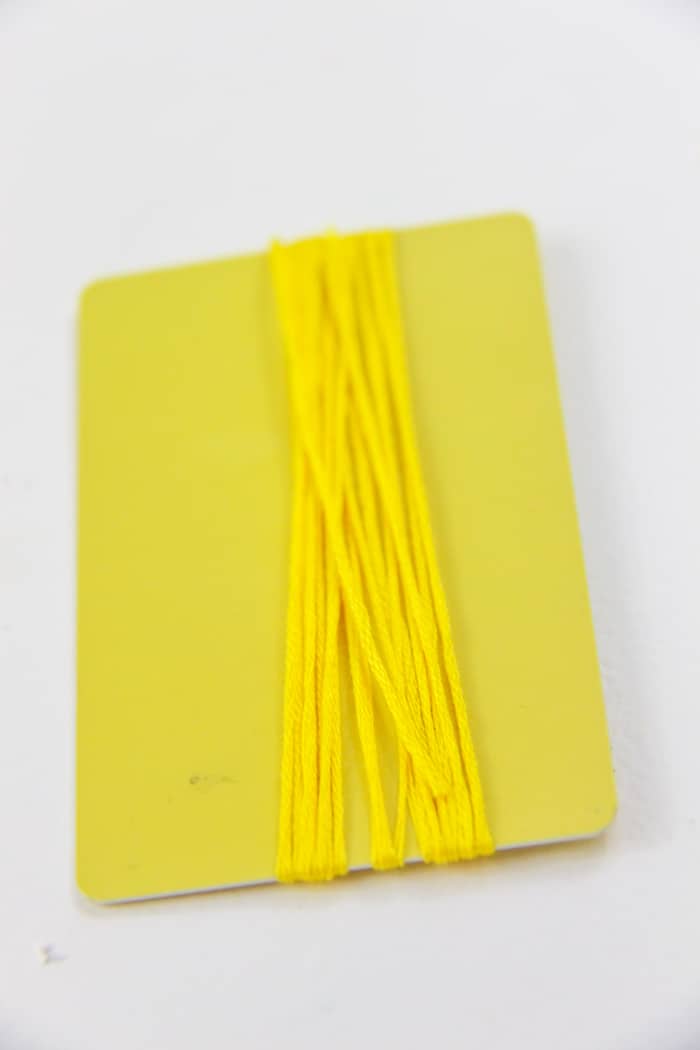 Continue wrapping the thread until you it is as thick as you want the tassel to be. For a graduation tassel, we wrapped it about 15-20 times.
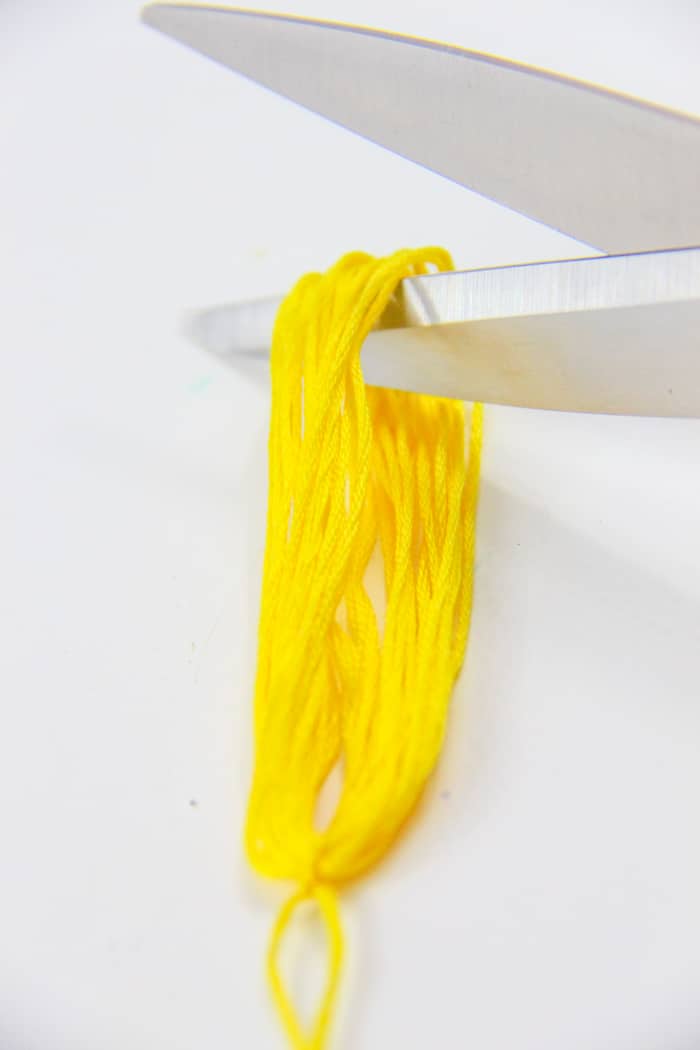 Slip the wrapped thread off the card. Then using a scissor, cut the end of the loop of the wrapped thread.
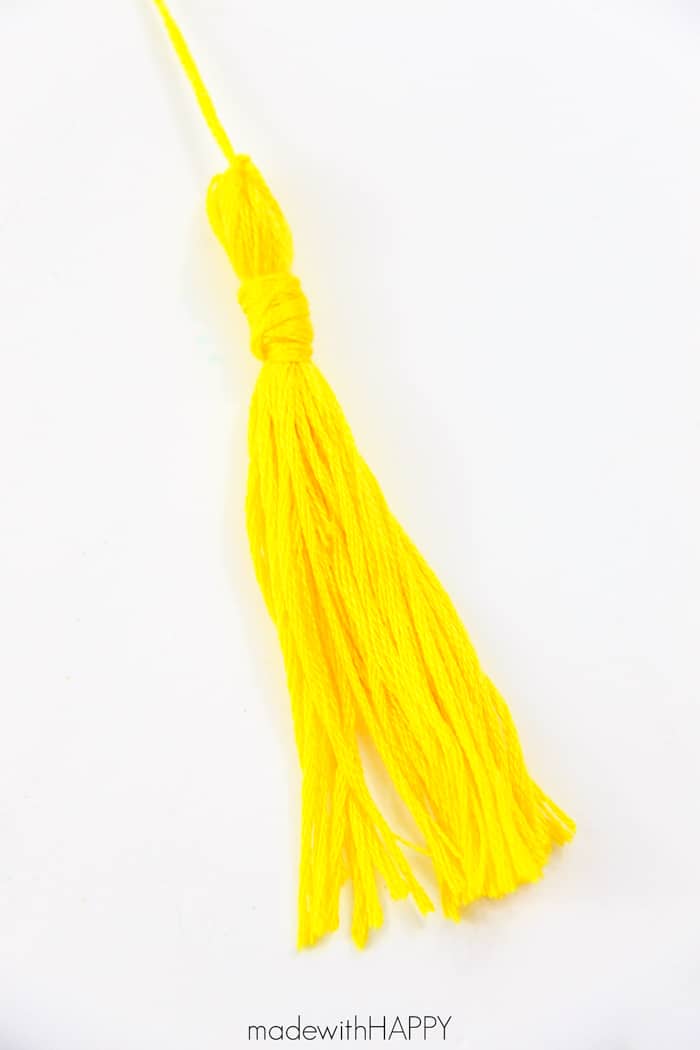 Then using another piece of thread, wrap around the head of the tassel ten to fifteen times and then tie it in a knot to secure. Cut off the excess thread.