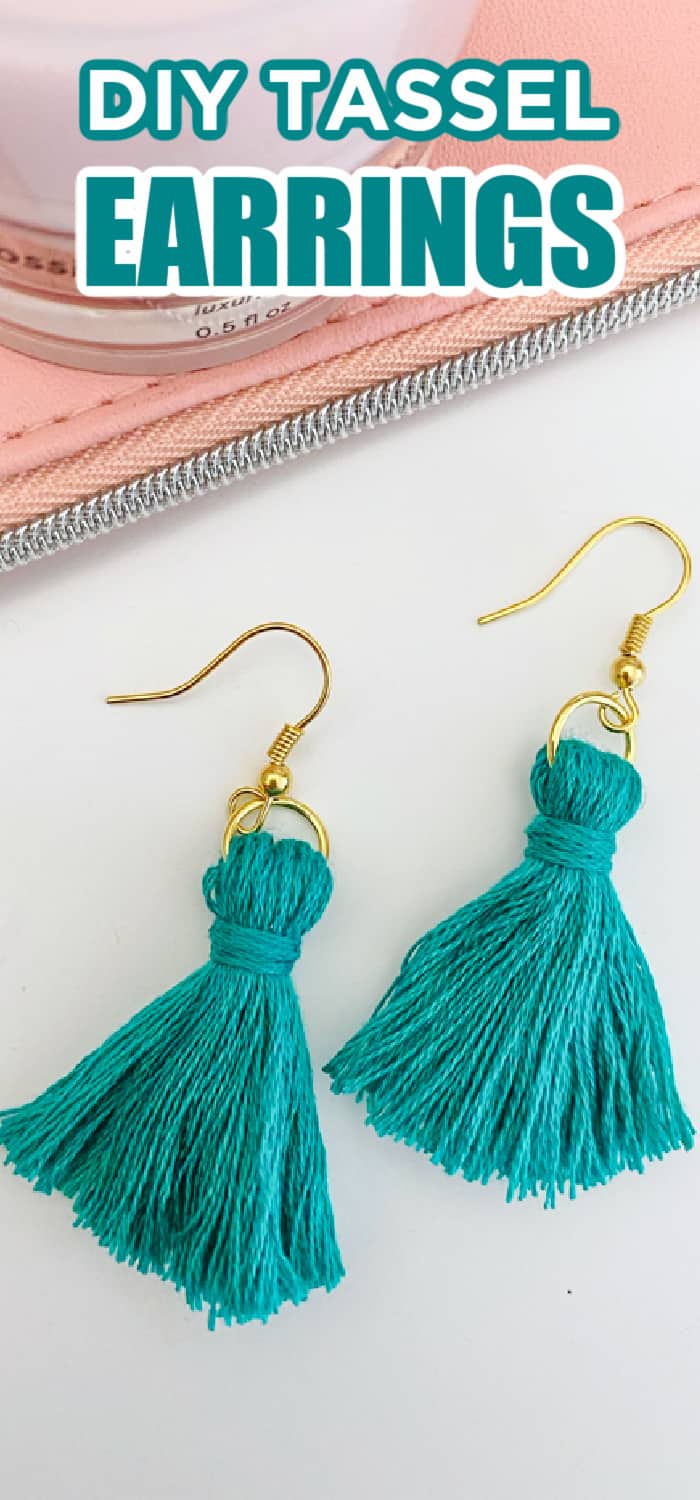
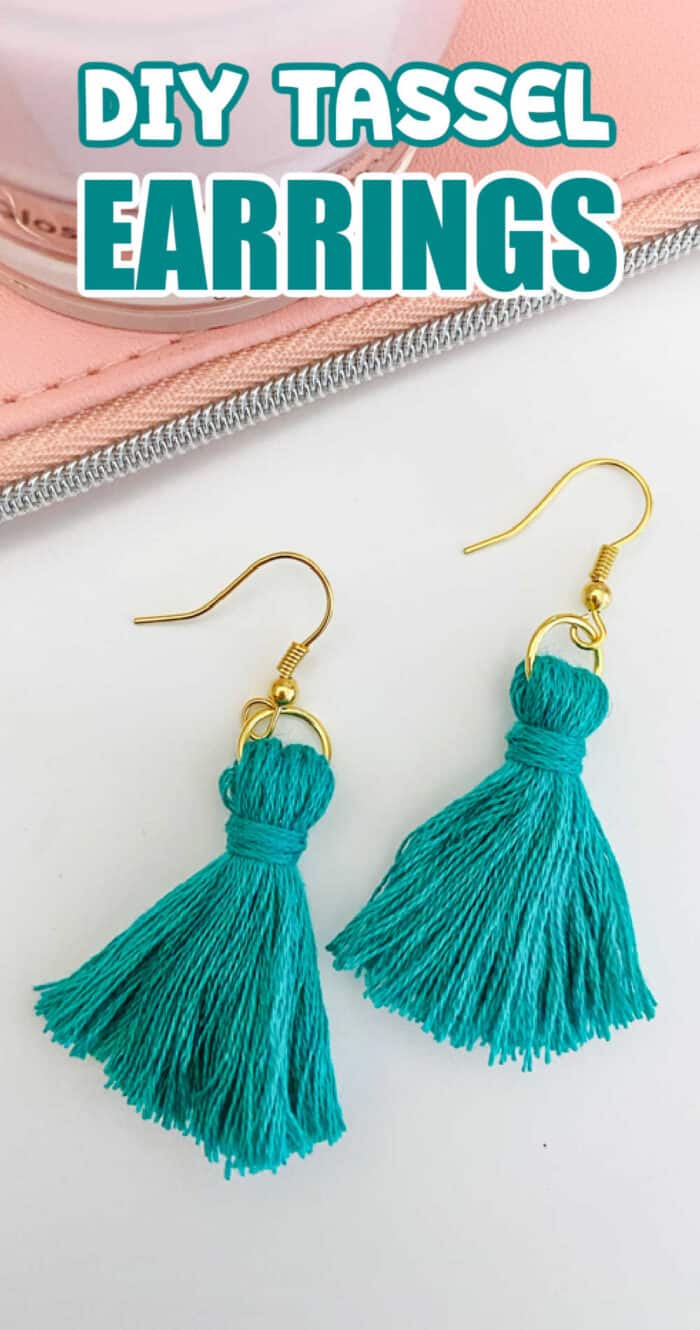
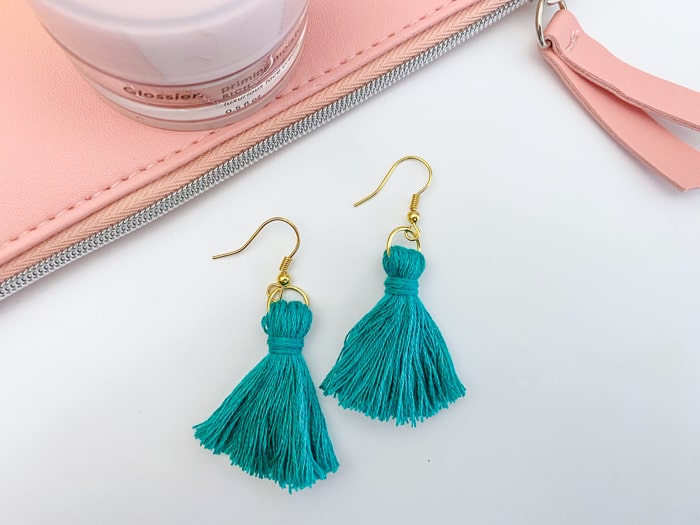
Step by step tutorial on making super cute DIY tassel earrings. With just a few simple supplies you can create your own earrings.
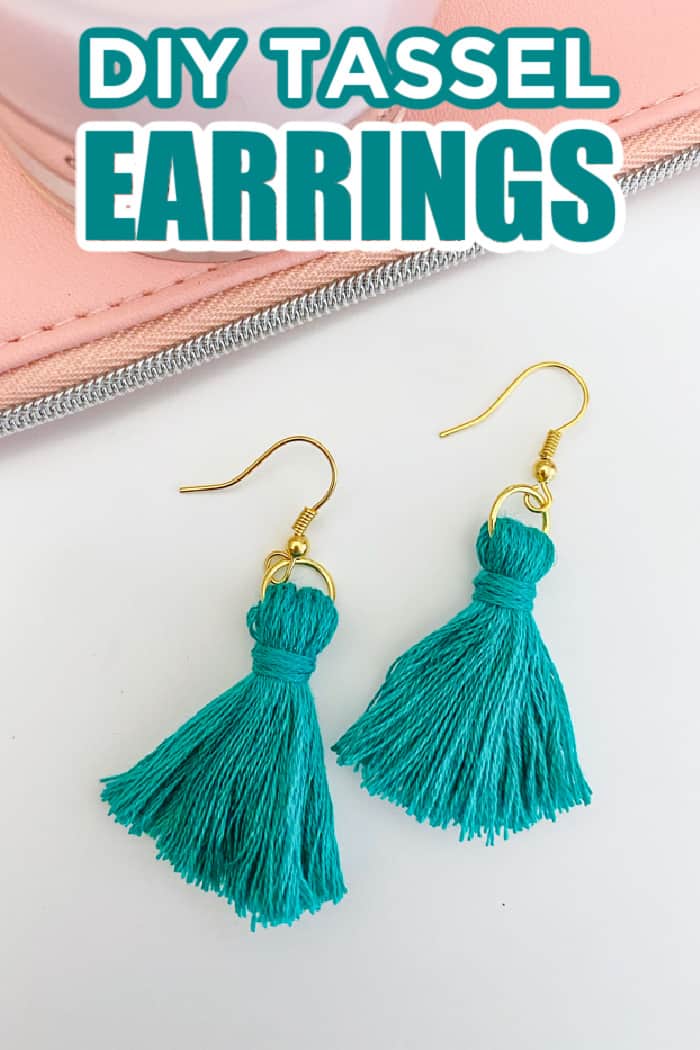
It's safe to say that I'm pretty much obsessed with these DIY Tassel Earrings. They're not only super duper cute but they're really quite simple to make. All you need is embroidery floss and a bit of embroidery thread to get started and you'll be flashing off these tassel earrings in no time at all!
If you love tassels as much as we do, then you will not want to miss our other popular tassel projects including How to Make a Tassel, Free Printable Graduation Card with Tassel, and Rainbow DIY Tissue Tassel, DIY Sandals, and Giant Paper Lanterns.
We highlighted this Summer DIY along with some other fun kid's crafts in our Easy Summer Crafts for Kids along with our 101+ Easy Craft Ideas for kids.
You also do not want to miss our 101+ Fun Coloring Pages For Kids and 101+ Free Kids Printables full of Crafts & Coloring Pages.
DIY Tassel Earrings
These DIY tassel earrings are simple yet sophisticated and pair up nicely with a casual look or a fun and funky night out on the town. I love that I can rock a different homemade earring look than my beaded earrings that I love so much and shake things up a bit with these fun tassel earrings. And the best part? The tutorial to make these DIY earrings is so simple and easy to do!
If you're looking for a simple way to spruce up your look and your ears, these tassel earrings are just too cute to pass up.
Don't miss our other fun Rainbow Shrinky Dink Earrings!
Easy DIY Gift Ideas
Want to save this project?
Enter your email below, and then we'll send it straight to your inbox. Plus get awesome new projects from us each week.
I love being able to make my own fashion. It's something that I've had a passion for as long as I can remember. But since I don't do it all the time, I sometimes find that I'm lacking confidence in making it happen.
This is why these earrings are the best. They aren't hard to make and got me over the hump and fear. They're so simple that even the kids joined in as well.
I loved that I could make these earrings in a ton of different colors and lengths to match my mood for the day or the colors of my outfits. These also make for really cute gift ideas as well that are great gifts for Mother's Day or a fun birthday idea also.
If you're looking for a fun and stylish craft that everyone can join in and make, these earrings should be at the top of your list. They're fast, simple, and really do frame the face and neck perfectly!
Supplies Needed For Tassel Earrings
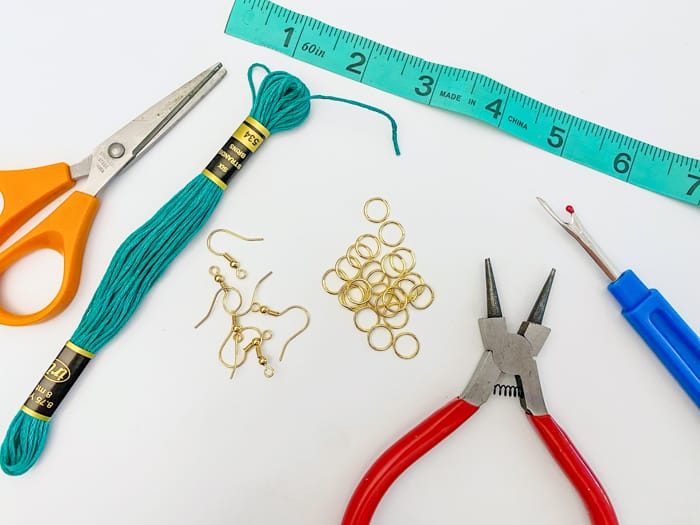
- Round nose jewelry pliers
- Sterling silver earring hooks (white gold hooks work too)
- 5-7mm silver jump rings
- Turquoise embroidery thread
- Ruler
- Scissors
How to Make DIY Tassel Earrings
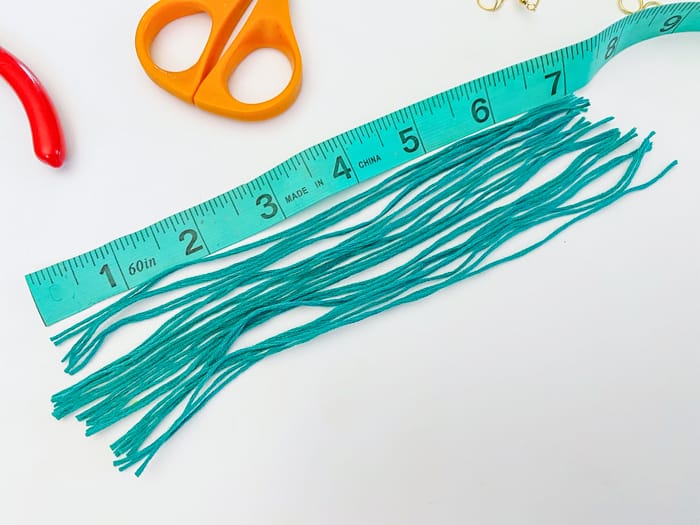
Measure out 25 strands of embroidery floss 7” long.
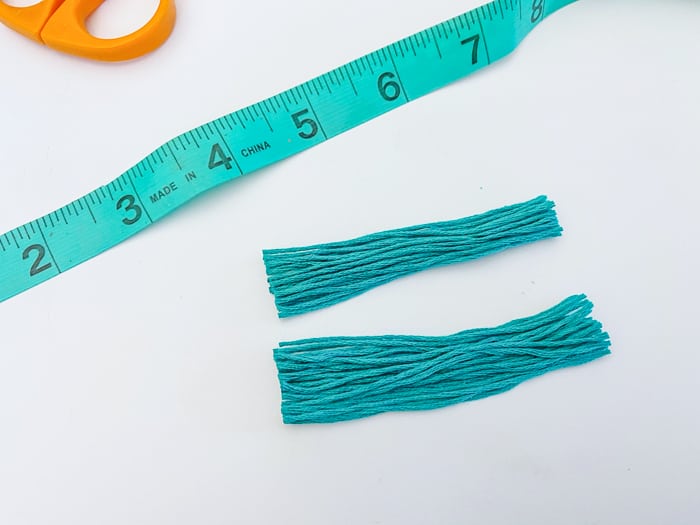
Place all the strands together and trim a ½” off each side to make sure all pieces are the same length. Cut the stands in half to make 2-3” bundles of strands.
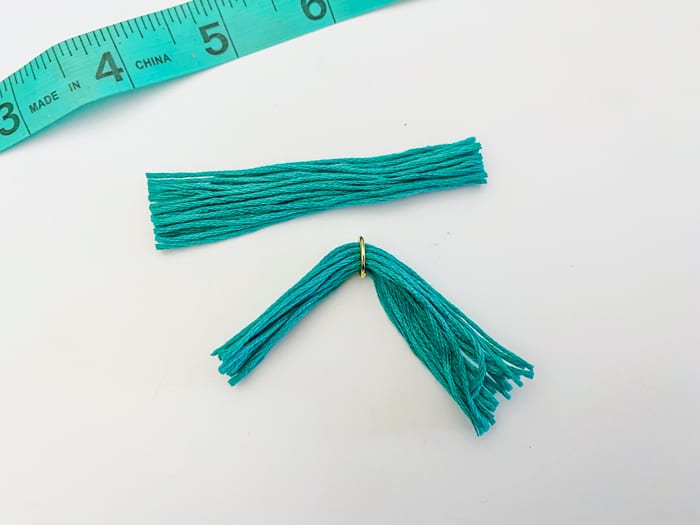
Slide a jump ring onto the center of your strand bundles and fold the bundle in half.
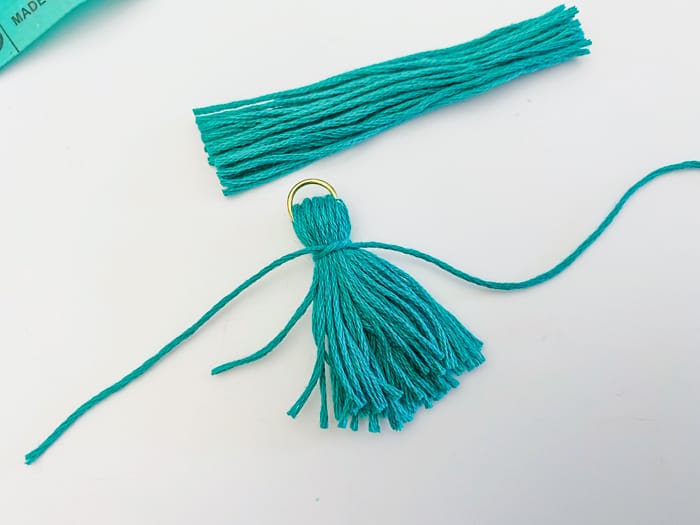
Cut 2-9” strands of embroidery floss and tie the bundles together in a tight knot right under the ring.
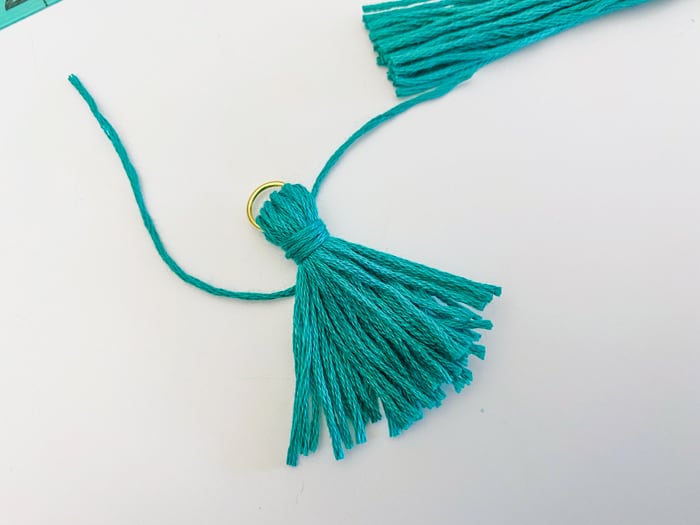
Wrap the ends around a few times and tie the two ends into a tight double knot. Cut off any loose ends. Repeat step for second earing.
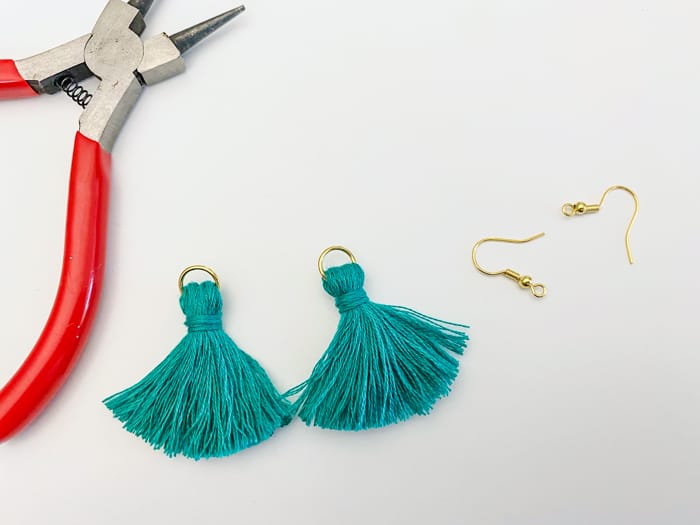
Use the pliers to open the bottom loop of the earring hook, slide the open hook onto the loop ring and close back up with pliers.
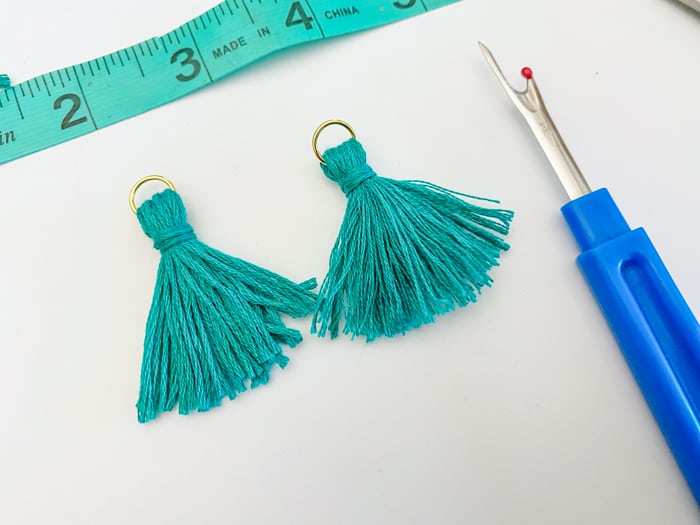
Use the pointy end of the thread ripper to comb out the embroidery floss into single threads.
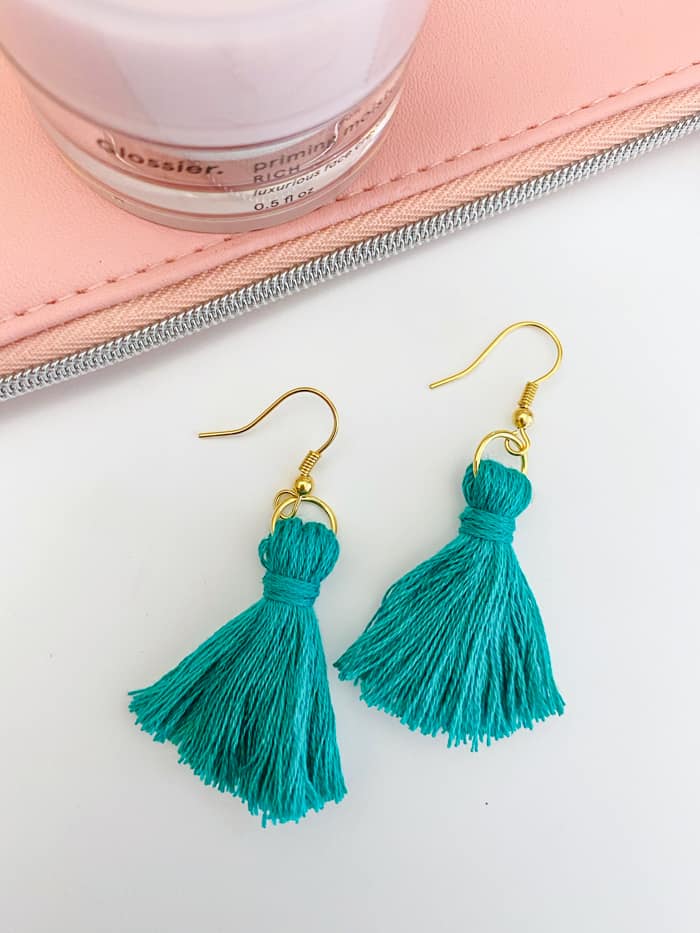
Trim the tassels to even them out and they are ready to wear! Viola, you have a pair of tassel earrings!
If you are looking for more fan tassel earrings, you can iron the tassels down flat.
This is how you make tassel earrings!
Happy Earring Making!
Other DIY's You'll Love
- DIY Flower Crown
- Beach Please Hat DIY
- DIY Round Beach Blanket
- Easy DIY Yarn Wall Hang
- Modern Picture Display
DIY Tassel Earrings
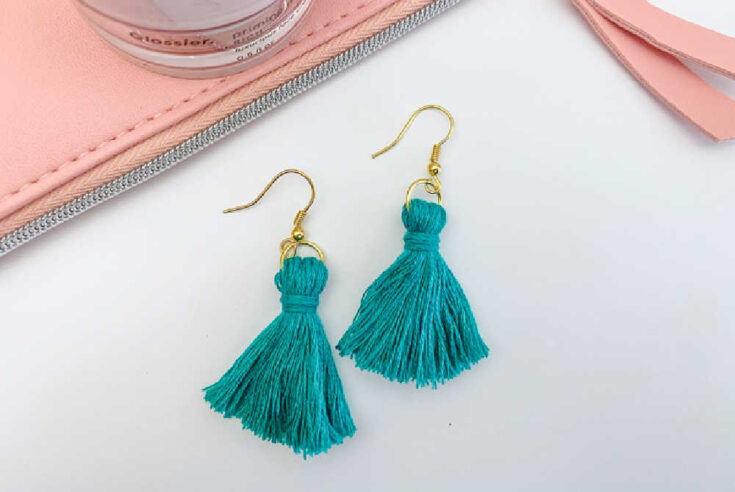
Step by step tutorial on making super cute DIY tassel earrings. With just a few simple supplies you can create your own earrings.
Materials
- Round nose jewelry pliers
- Sterling silver earring hooks
- 5-7mm silver jump rings
- Turquoise embroidery thread
- Ruler
Tools
Instructions
Measure out 25 strands of embroidery floss 7” long.
Place all the strands together and trim a ½” off each side to make sure all pieces are the same length. Cut the stands in half to make 2-3” bundles of strands.
Slide a jump ring onto the center of your strand bundles and fold the bundle in half.
Cut 2-9” strands of embroidery floss and tie the bundles together in a tight knot right under the ring.
Wrap the ends around a few times and tie the two ends into a tight double knot. Cut off any loose ends.
Use the pliers to open the bottom loop of the earring hook, slide the open hook onto the loop ring and close back up with pliers.
Use the pointy end of the thread ripper to comb out the embroidery floss into single threads.
Trim the tassels to even then out and they are ready to wear!
CONNECT WITH MADE WITH HAPPY!
Be sure to follow me on social media, so you never miss a post!
Facebook | Twitter | Youtube | Pinterest | Instagram
Find and shop my favorite products in my Amazon storefront here!
DIY TASSEL EARRINGS
PIN IT TO YOUR DIY BOARD ON PINTEREST!
FOLLOW MADE WITH HAPPY ON PINTEREST FOR ALL THINGS HAPPY!
