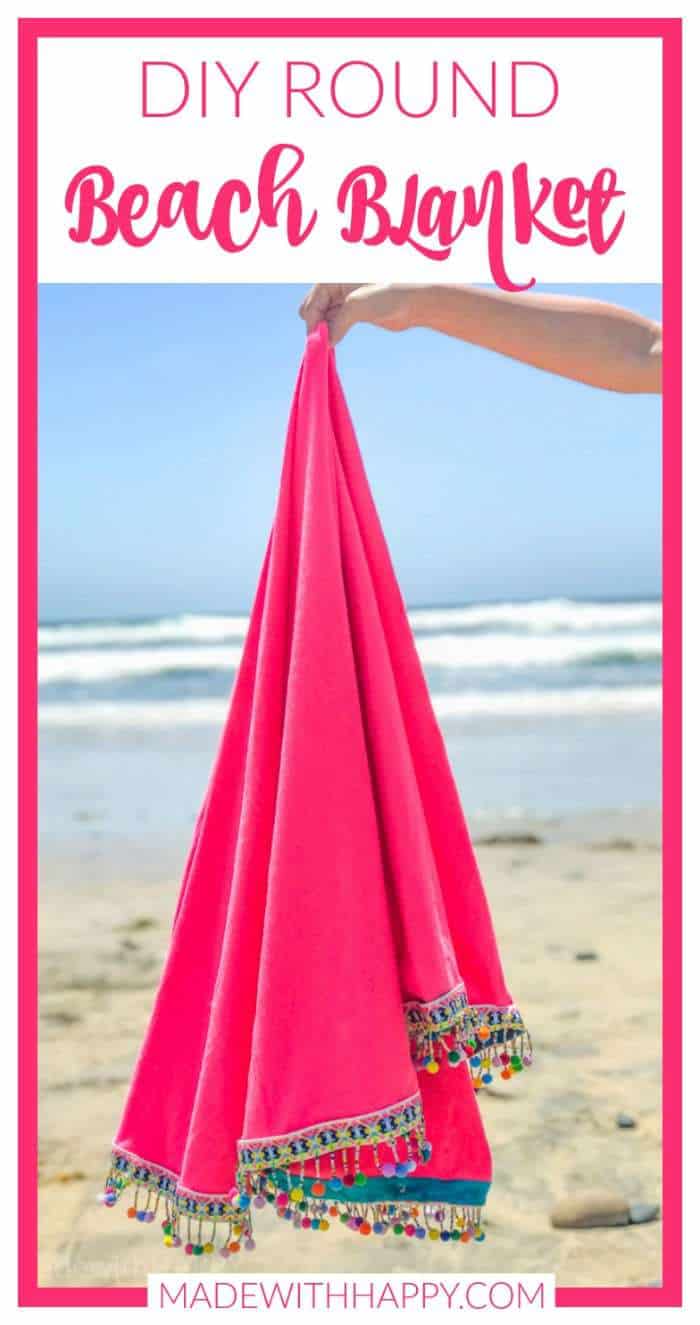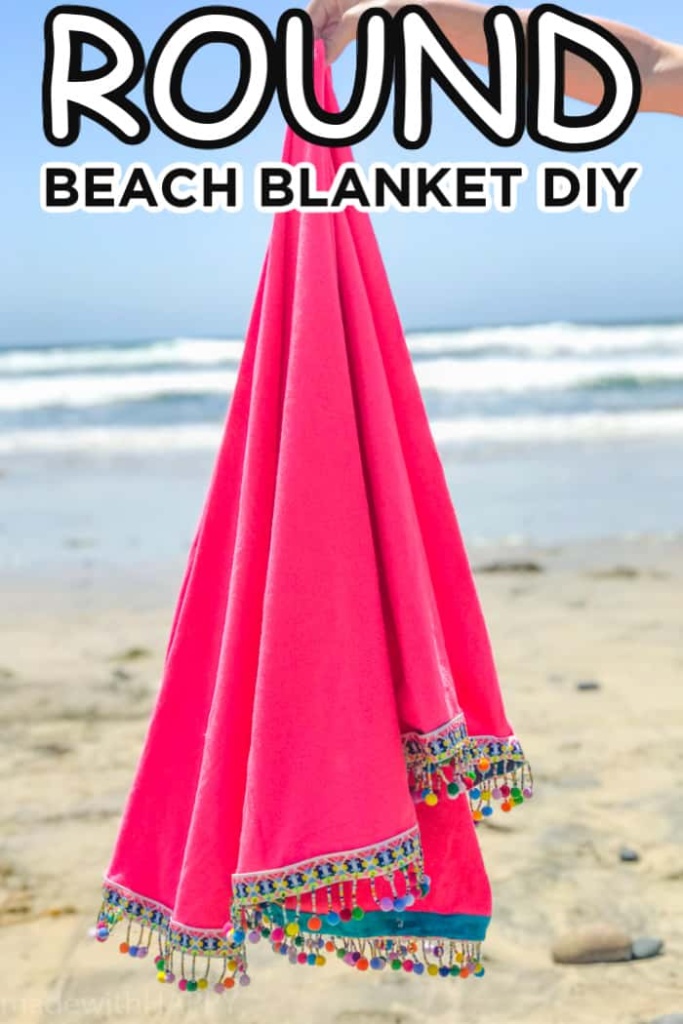
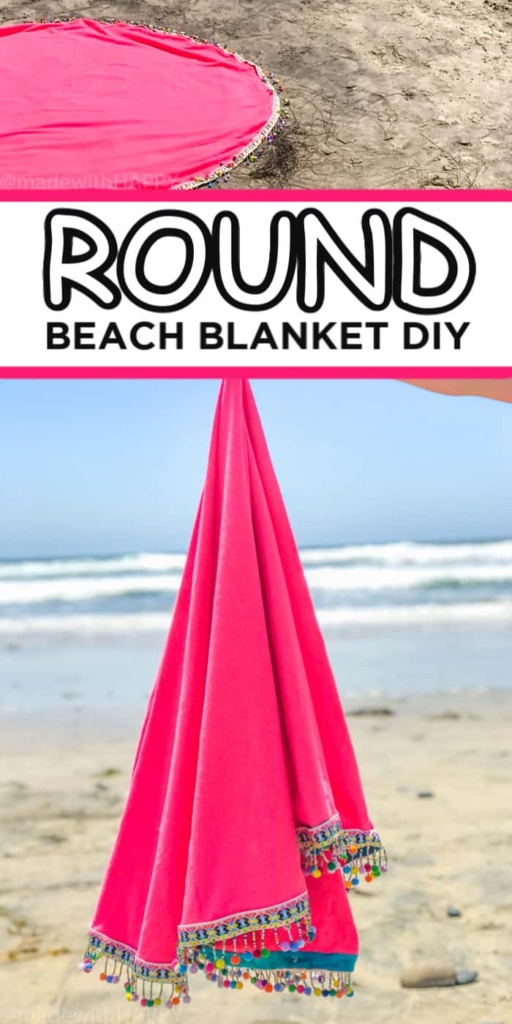

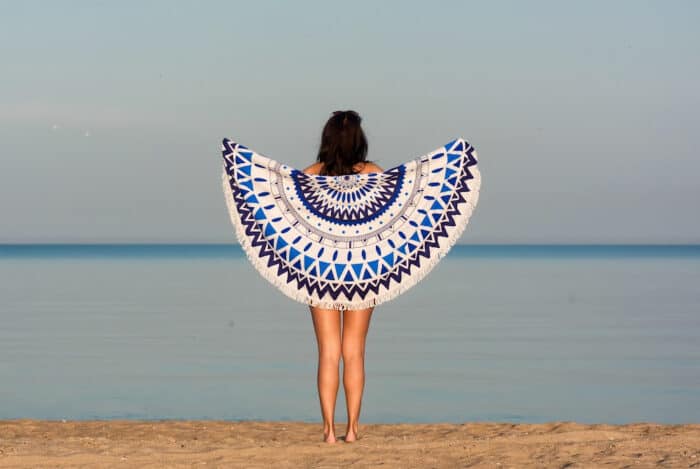
DIY Round Beach Blanket is the perfect blanket or beach towel for Summer. It is bright and fun and no sewing is required. Perfect Summer Craft Project.
Want to save this project?
Enter your email below, and then we'll send it straight to your inbox. Plus get awesome new projects from us each week.
We love this DIY Round Beach Blanket and especially that it's a no-sew blanket.
Summer is here and we are loving every lazy moment in the sun.
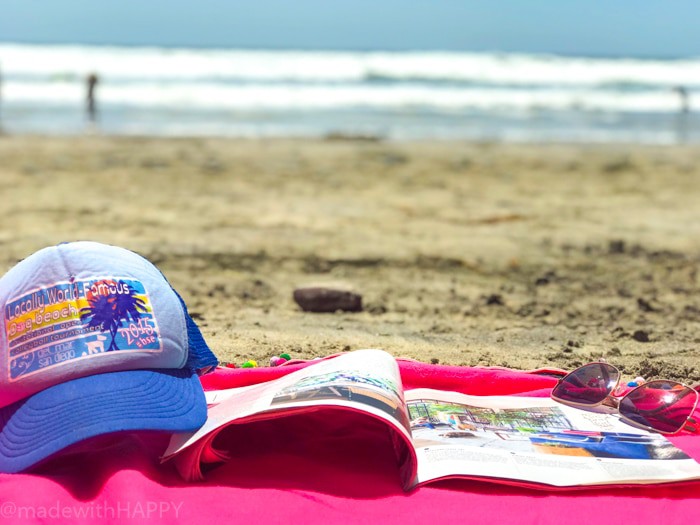
Like most of the country, we are in the midst of a heat wave and so water and heat relief are at the top of our list every day. For us, it's the beach, as I know for others it's the pool and or lakes.
Beach Towels
I realized a few weeks back that while we have towels, we did not really have a go-to blanket that we could take to the beach, picnics, pools, etc.
When I went to look for one, they were all muted colors and pretty boring. What is up with that? Seriously you guys, why are all blankets the ugliest maroon and hunter-green colors?
It should come as no surprise, I do not do muted or boring and so I decided I was going to make our own Summer DIY colorful Round Beach Blanket.
What you need to make your round blanket
After heading to the fabric store, I realized there were a few different ways to make this pretty little round beach towel number your own. I will share with you how I made mine and then how you can vary it to fit your wants.
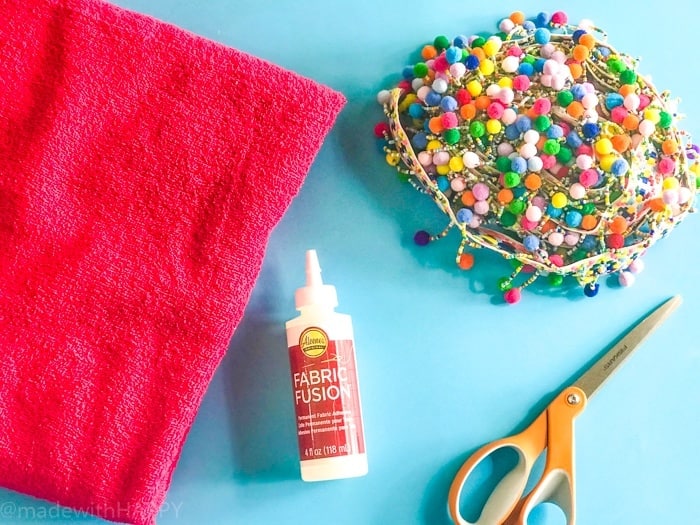
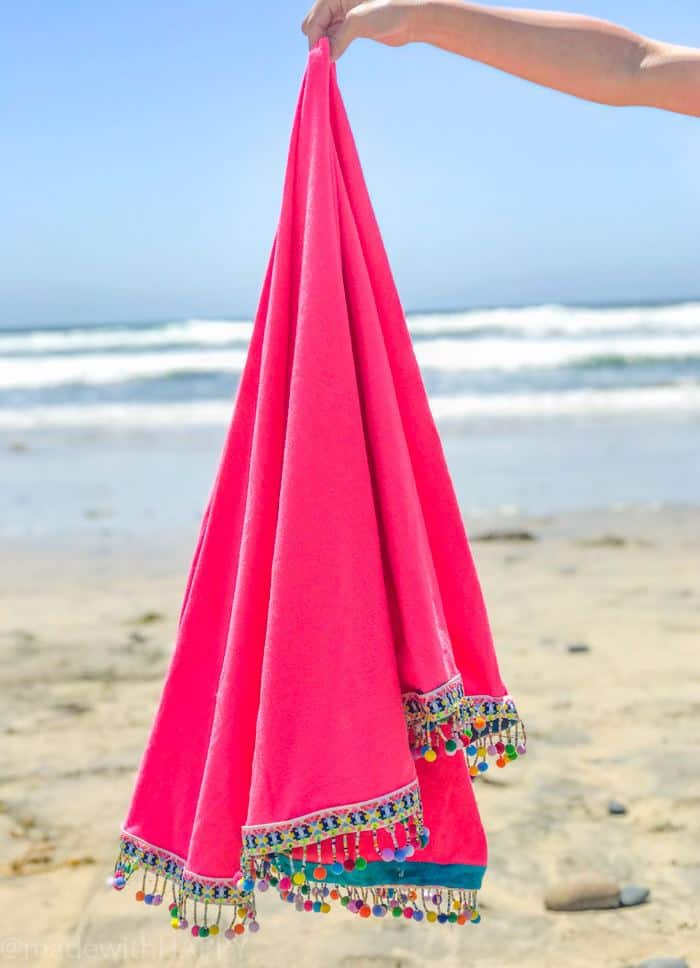
- 2 yards of fabric - I made one in both microfiber and terrycloth. Just make sure its absorbent.
- 5 yards pom pom trim
- 6 yards of double fold bias tape
- Fabric Glue
- Pencil
- Scissors
How to Make a Round Blanket

Fold your material in half and then in half again.
Using a pencil, draw a curved line from one corner edge to the other corner edge.
Using your scissors, cut along the line. This should create a large circle in your fabric.
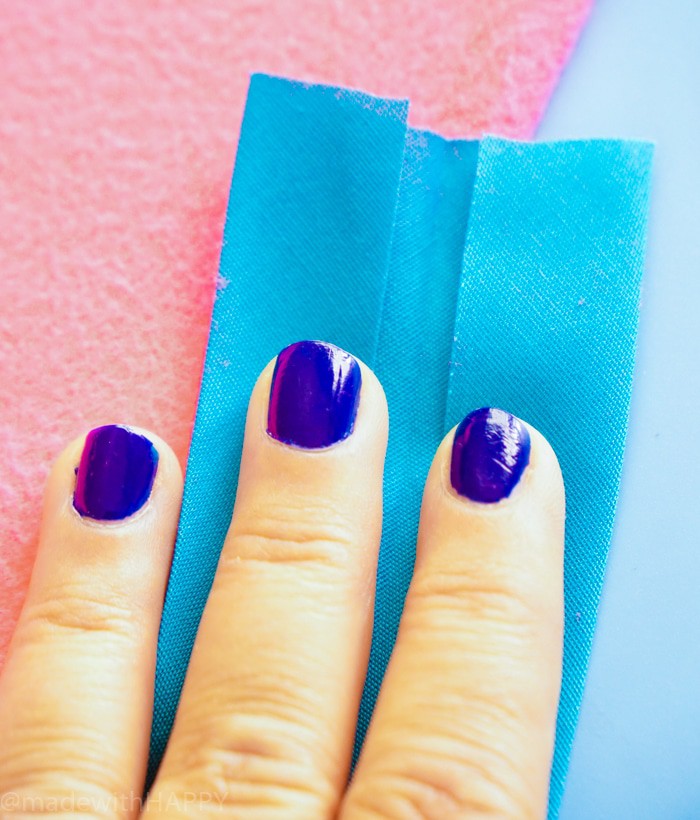
From there, its time to attach the bias tape. Unfold the tape in the middle, and run a thin line of glue along one side of the bias tape and then attach to one side of the edge of the circle fabric.
Continue to glue along the edge making sure the end of the fabric is towards the middle fold of the bias tape.
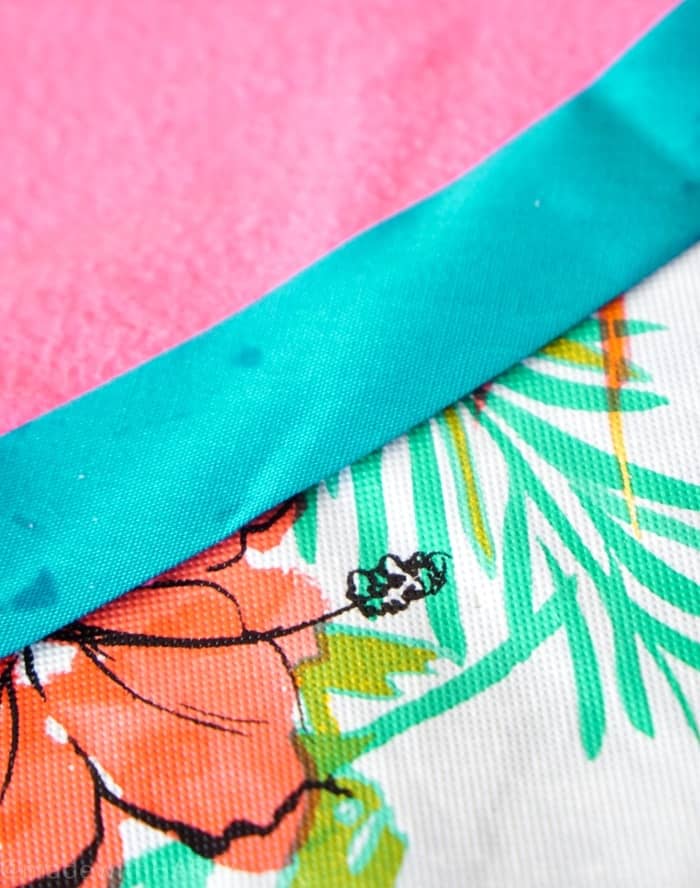
Once you have glued one side of the bias tape onto the fabric, run the glue along the other side of the fabric and the bias tape to secure the other side to the blanket.

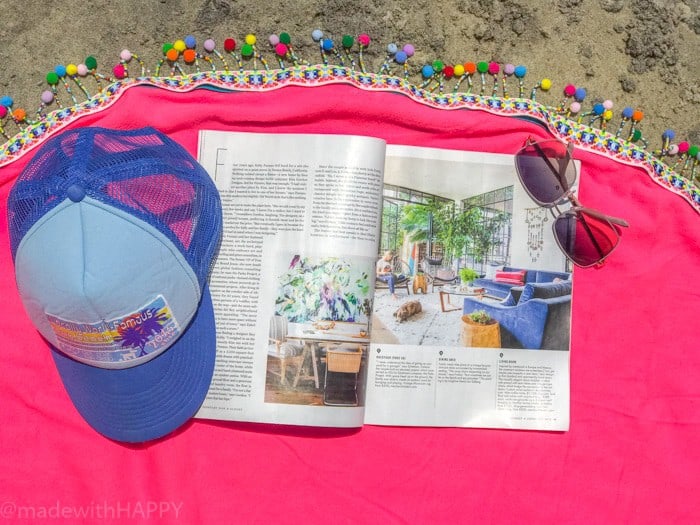
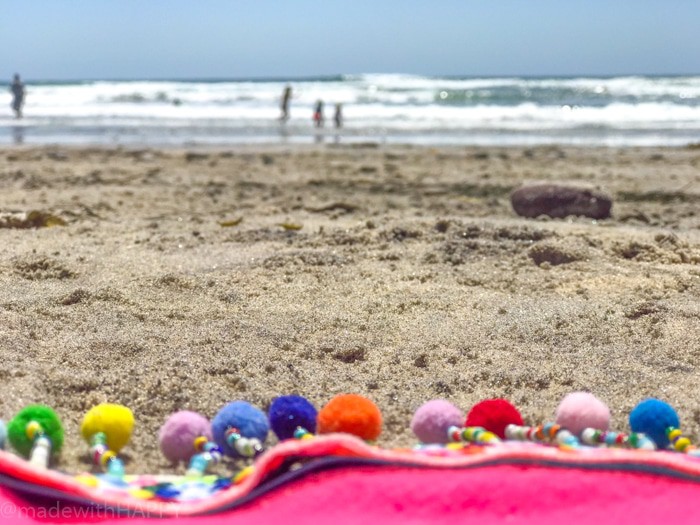
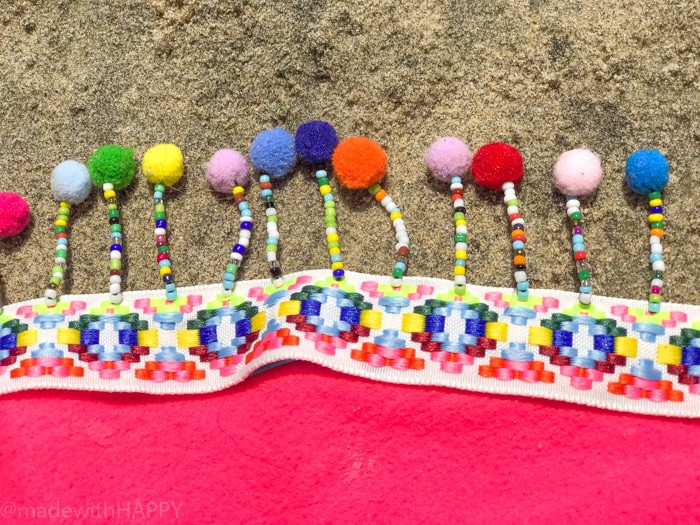
You can add any type of trim to your blanket. I loved this fun pom pom trim. It is colorful and playful and just the trim for us.
If you are looking for a more subtle trim ribbon, I have picked out a few of my favorites

Once the bias tape is dried and secured, then its time to add the trim. I love the look of this colorful trim with the mini pom poms. You will add the trim along one side of the bias tape using the fabric glue.
And once that dries my friends... you are done. Not a terribly complicated DIY, but just a little time waiting on the fabric glue to dry.
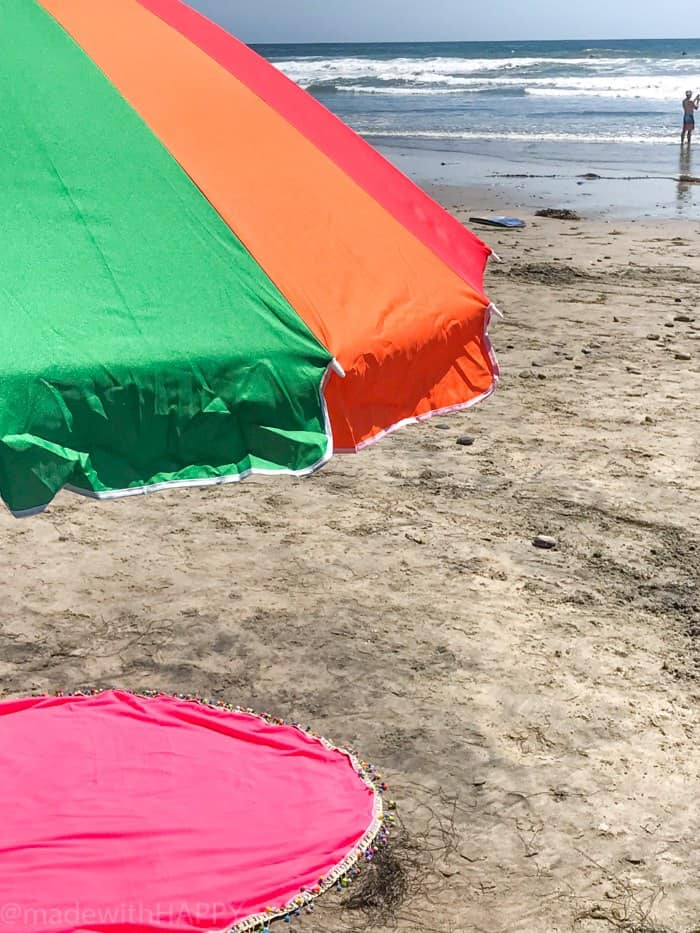
The last thing is to head to the beach and have some fun!
Some other Summer DIY Favorites
- Turn that dollar spot hat into a Summer dream with this DIY Beach Please hat! This is a fun and flirty hat that you can make with just a few supplies.
- This boat craft for kids is a great Summer activity. Is there anything more fun than playing in water? We have free printable sails too!
- These DIY Sandals are a fun project for Sring and Summer to add some HAPPY to your simple sandals. They are great for both kids and adults.
- Add fun and functionality to your patio with this DIY outdoor storage table.
- How to throw your favorite Summer Dive-in Movie Night.

Round Beach Blanket
DIY Round Beach Blanket is the perfect blanket or beach towel for Summer. It is bright and fun and no sewing required. Perfect Summer Craft Project.
Equipment
- Pencil
Ingredients
- 2 yards of fabric - I made one in both microfiber and terrycloth. Just make sure its absorbent.
- 5 yards pom pom trim
- 6 yards of double fold bias tape
- Fabric Glue
Instructions
- Fold your material in half and then in half again. Using a pencil, draw a curved line from one corner edge to the other corner edge. Using your scissors, cut along the line. This should create a large circle in your fabric.

- From there, it's time to attach the bias tape. Unfold the tape in the middle, and run a thin line of glue along one side of the bias tape and then attach it to one side of the edge of the circle fabric. Continue to glue along the edge making sure the end of the fabric is towards the middle fold of the bias tape.

- Once you have glued one side of the bias tape onto the fabric, run the glue along the other side of the fabric and the bias tape to secure the other side of the blanket.

- Once the bias tape is dried and secured, then it's time to add the trim. I love the look of this colorful trim with the mini pom poms. You will add the trim along one side of the bias tape using the fabric glue.

- And once that dries my friends... you are done. Not a terribly complicated DIY, but it just a little time waiting on the fabric glue to dry.


CONNECT WITH MADE WITH HAPPY!
Be sure to follow me on social media, so you never miss a post!
Facebook | Twitter | Youtube | Pinterest | Instagram
Find and shop my favorite products on my Amazon storefront here!
Round Beach Blanket
PIN IT TO YOUR CRAFTY BOARD ON PINTEREST!
FOLLOW MADEWITHHAPPY ON PINTEREST FOR ALL THINGS HAPPY!