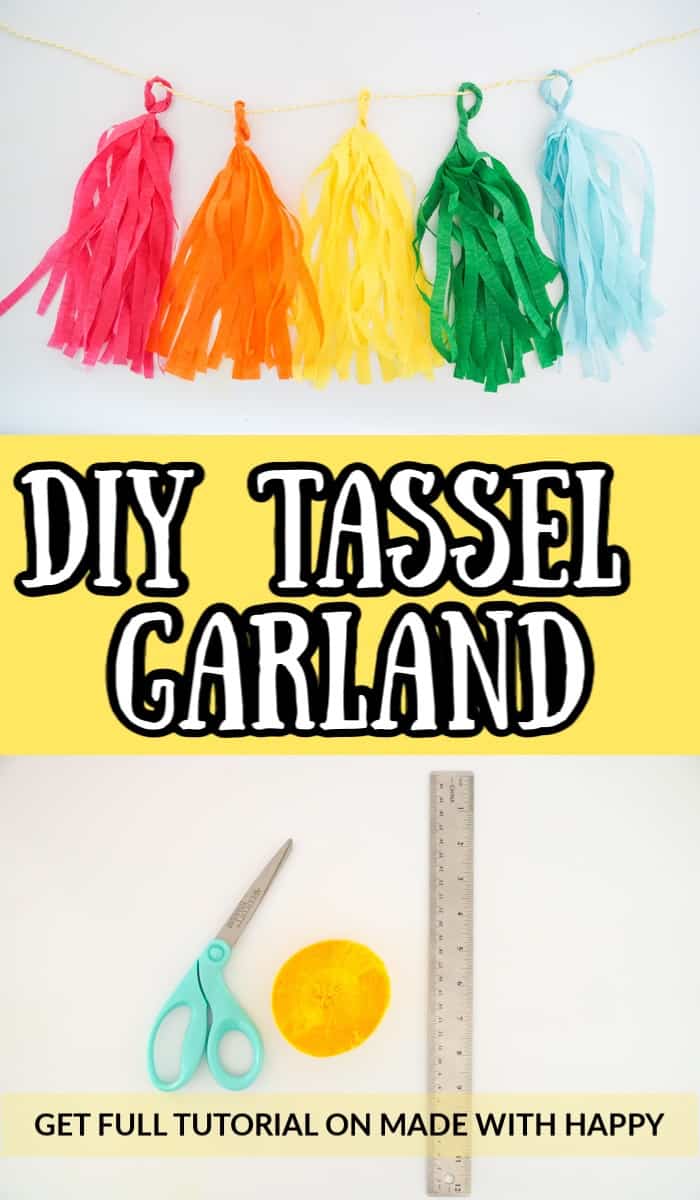
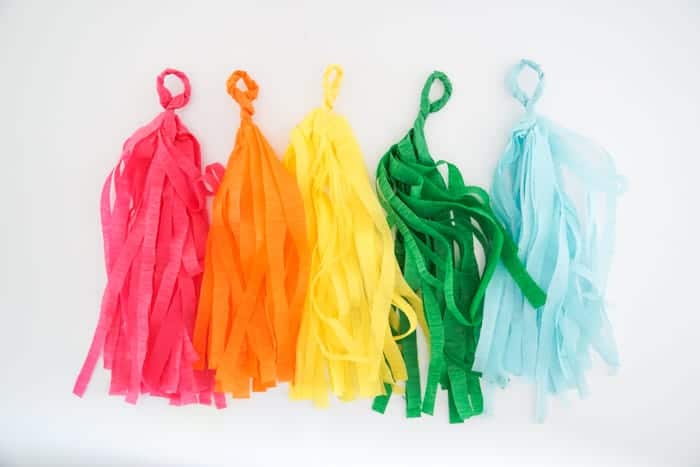
Looking for a simple way to dress up for your next party. We are showing you this easy DIY tassel garland that will bring HAPPY to any party.
Want to save this project?
Enter your email below, and then we'll send it straight to your inbox. Plus get awesome new projects from us each week.
I love to throw parties. I love large gala events as well as small girls' night parties. Parties to me always call for party decorations.
Party decorations should not be expensive. You can simply make decorations like this DIY tassel garland for a dollar or two. It should never break the bank.
Added bonus of making the decorations yourself is that you will get the exact colors and look you are going for.
Uses for DIY Tassel Garland?
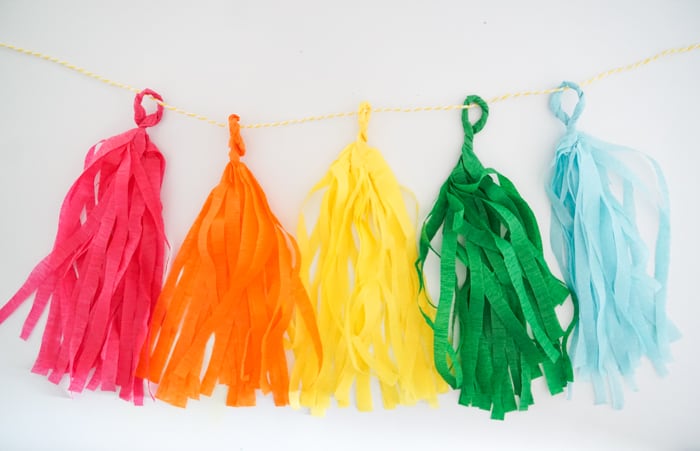
There are tons of great uses for this super cute DIY project. You can of course use it as a party garland. We've used them in home decoration on a peg board or above a mirror.
I use them in a ton of crafts too.
Supplies Needed to Make this Crepe Paper Tassel
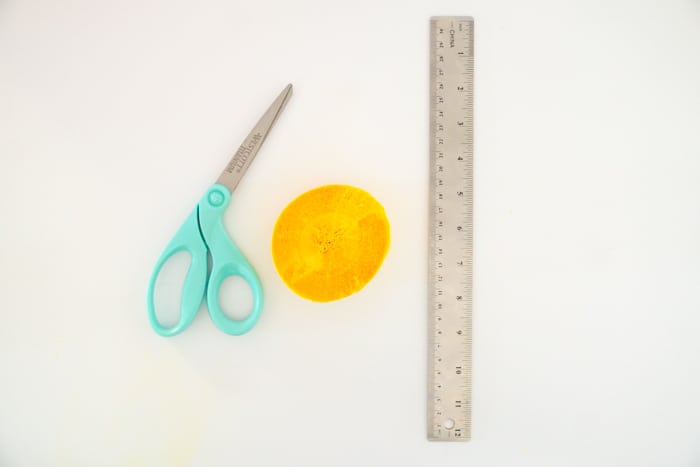
- crepe paper
- scissors
- ruler
How to make a simple tassel?
SIzes and Cuts Needed to make a tassel
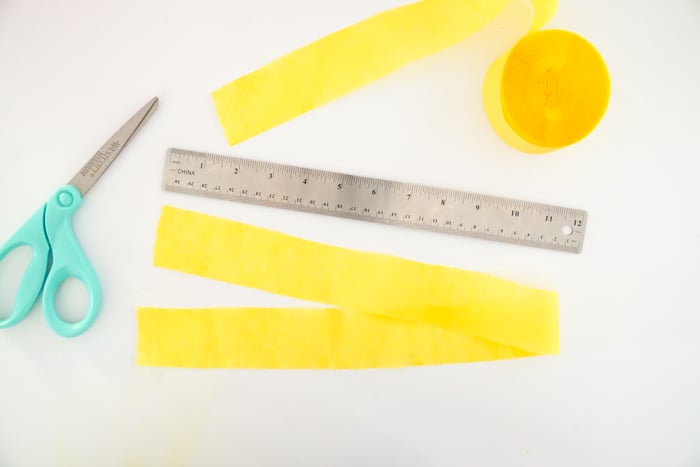
Start by cutting a piece of crepe paper to twenty-four inches long. If you are looking for a shorter tassel, then cut the piece to eighteen inches long.
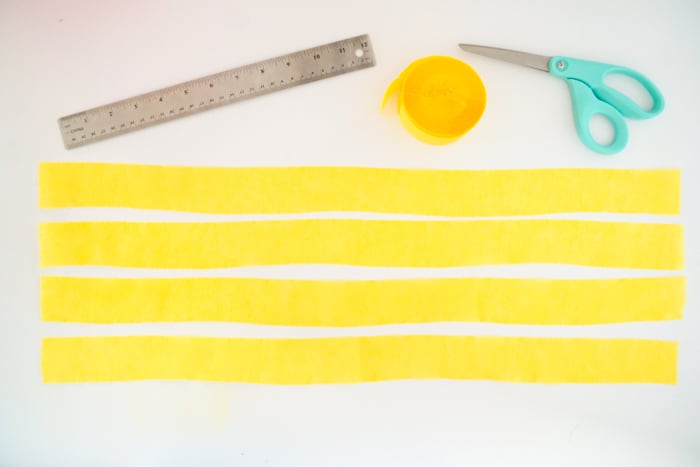
Cut four pieces of the same length. This will be what you need for one tassel. In the case you want to mix the tassel color, say yellow and blue, then I would cut two yellow pieces and two blue ones.
For this example, I would cut four yellow strips at twenty-four inches long.
Next, you will need to stack all four pieces on top of each other.

Fold the four pieces that are stacked on top of each other in half so that the end line up.
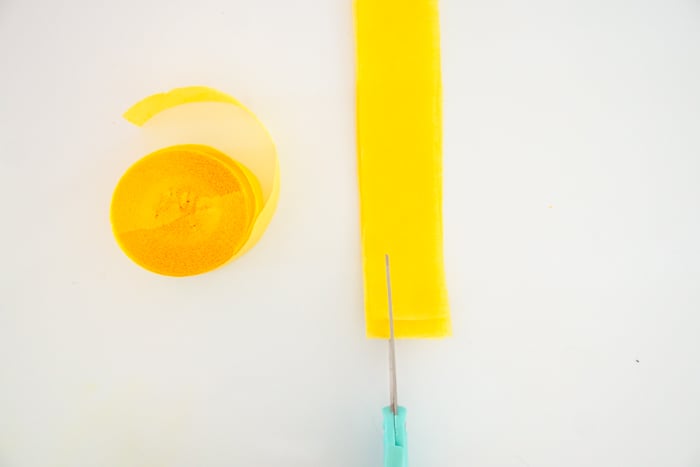
Using the scissors, cut strips up the crepe paper starting at the unfolded ends.
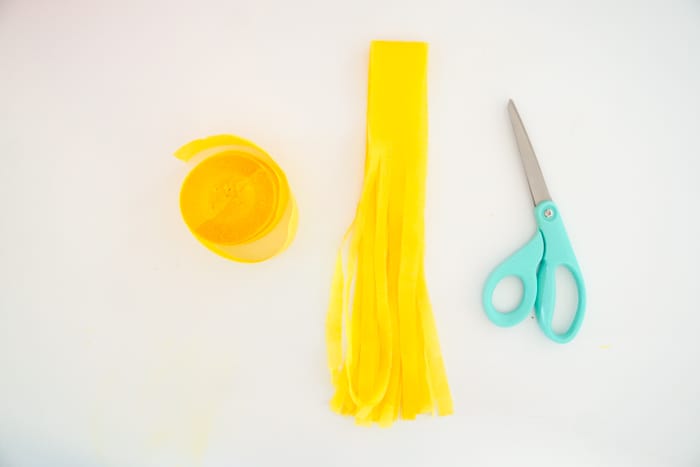
For a standard streamer width (1.75 inches) I like to make three cuts and have four fringe strips.
You will want to make the cuts up the crepe paper leaving about 2-3 inches at the top solid. While you should try and make the cuts straight, if they are not perfect, it is totally okay.
Putting the tassel together
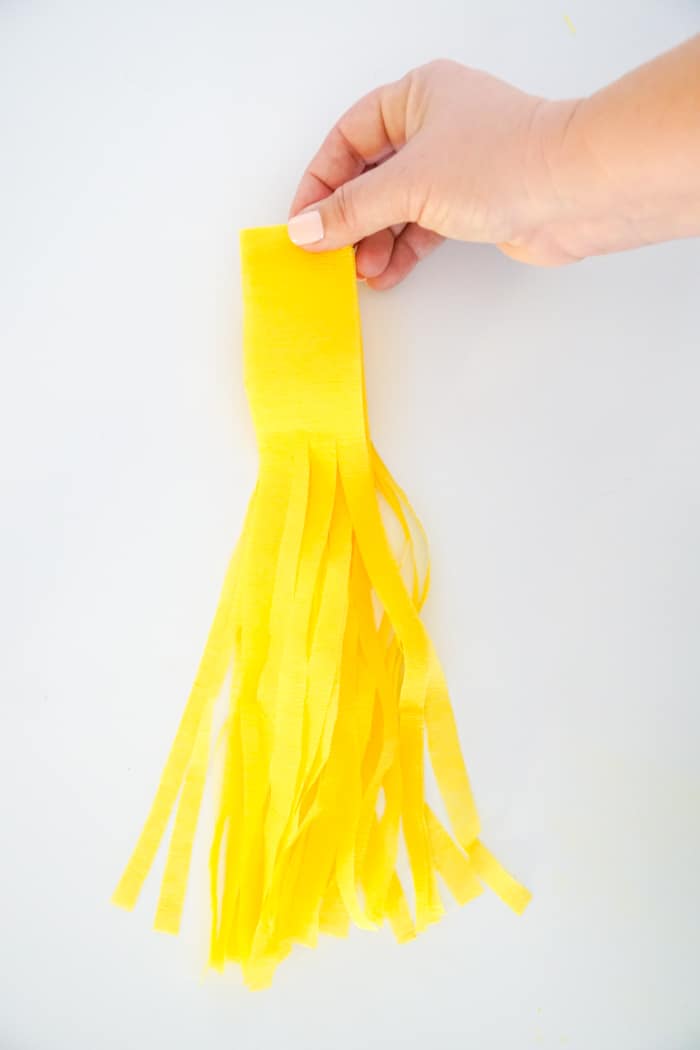
Grab your crepe paper stacks at the top fold and unfold the stacked pieces.
You will want to keep them stacked on top of each other, but unfold the pieces so the full twenty-four inches are laid out flat.
The cut fringes should now be on each side of the paper stack. It is okay if the fringes start to move a bit. You are more concerned that the solid middle portion of the four pieces is still on top of each other.
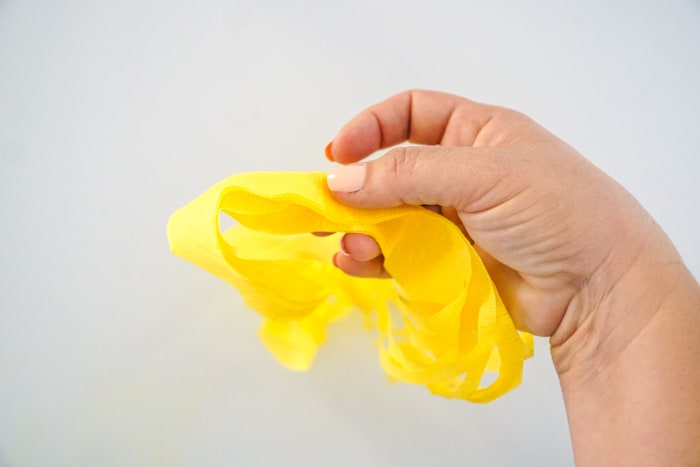
Next, you will grab the middle of the stacked piece and fold the middle of the streamers in half width-wise.
Fold the middle in half, width-wise, again.
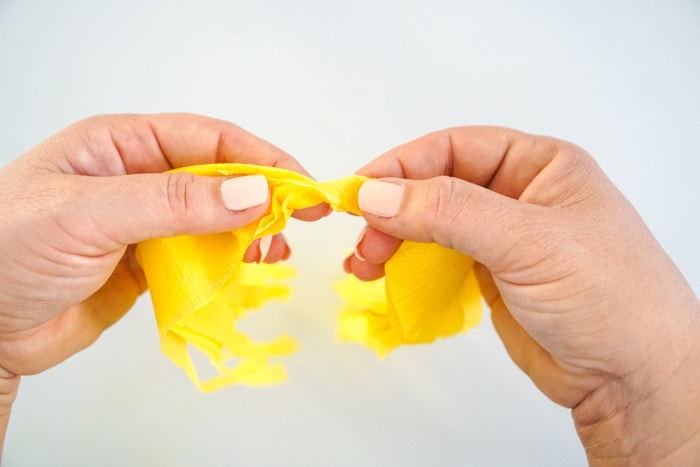
Once it's folded in half twice, then pinch the crepe paper together and twist so that one of your hands is moving forward and the other is moving backward.
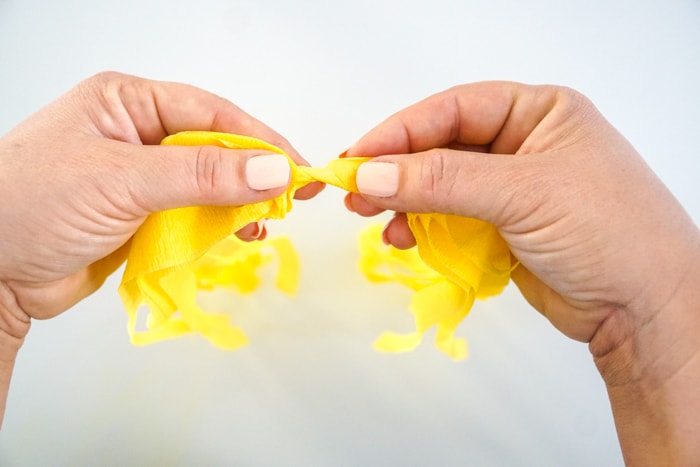
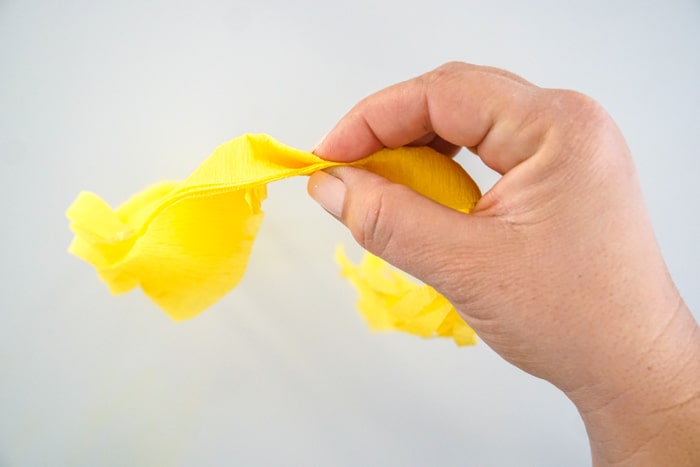
Continue to twist and pinch down from the middle to one side of the crepe paper.
You will twist that side until you reach the fringe.
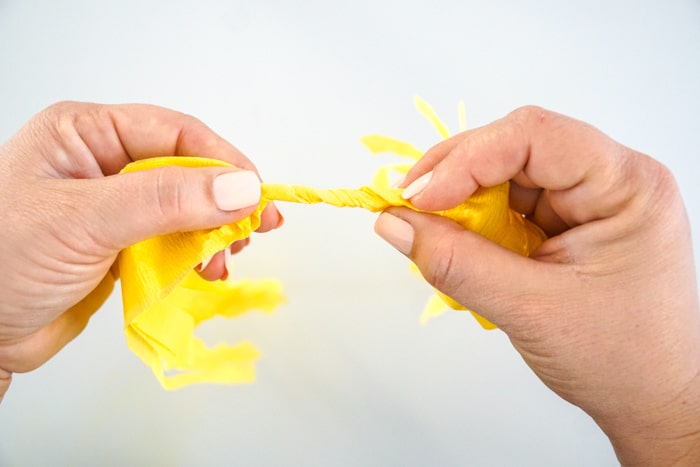
Then start to twist the other side starting in the middle. Continue to twist until you reach the fringe on the other side.
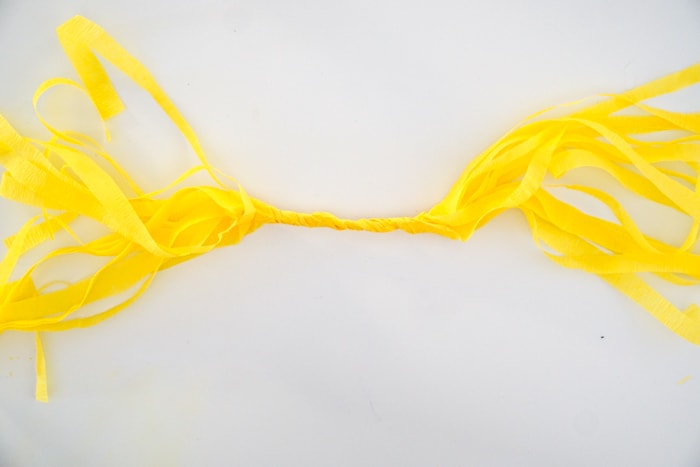
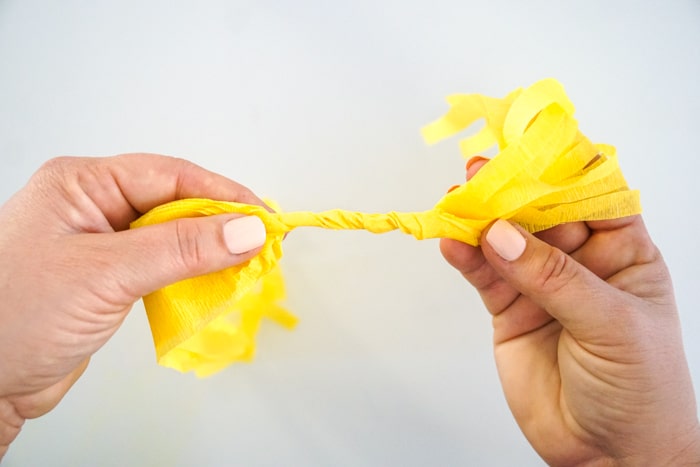
Once you are done, you should have what looks like a twisted rope in the middle of your fringe.
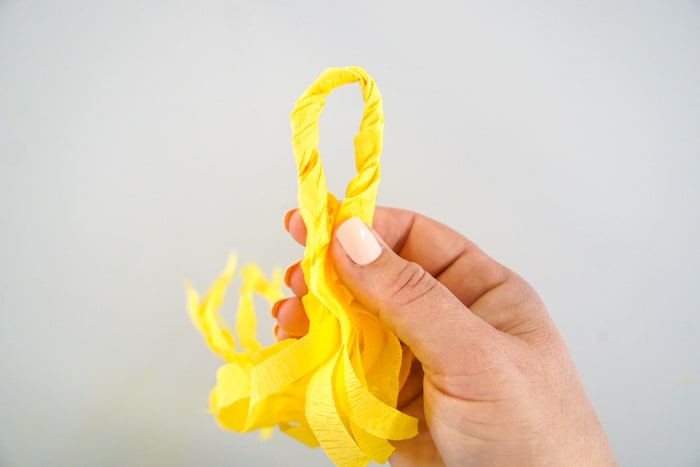
Pick up the crepe paper in the middle again. Now you will make a loop with the twisted rope-like portion of the crepe paper.
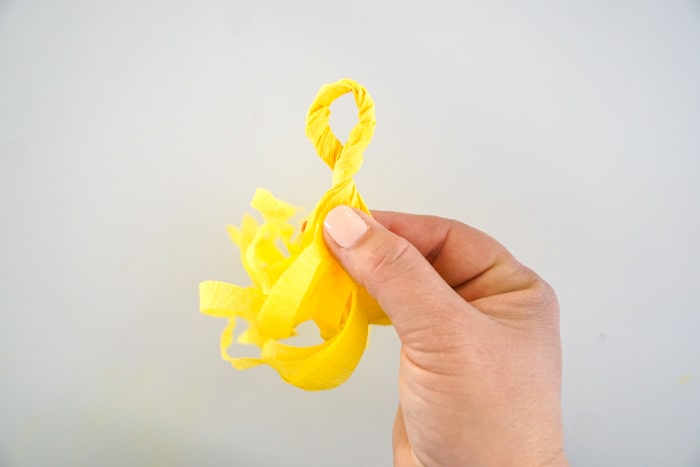
Then hold the ends of the rope portion of the paper together and twist. Pinch the crepe paper as you twist and that will keep the paper in place.
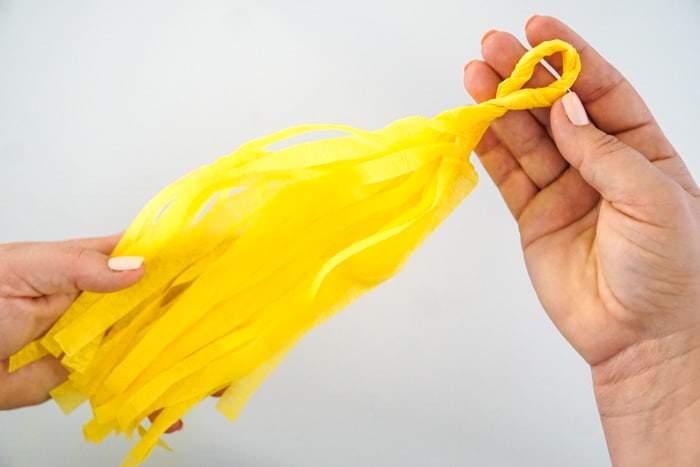
Once you have twisted to the fringe, you are done. You have yourself one of the tassel garland pieces. If you pinch and twist the paper hard enough, it should stay in place.
If for any reason you are feeling like your loop is not staying twisted. Then place a dot of hot glue on each of the ends of the rope portion. Then pinch the two ends together and twist. This should secure it in place.
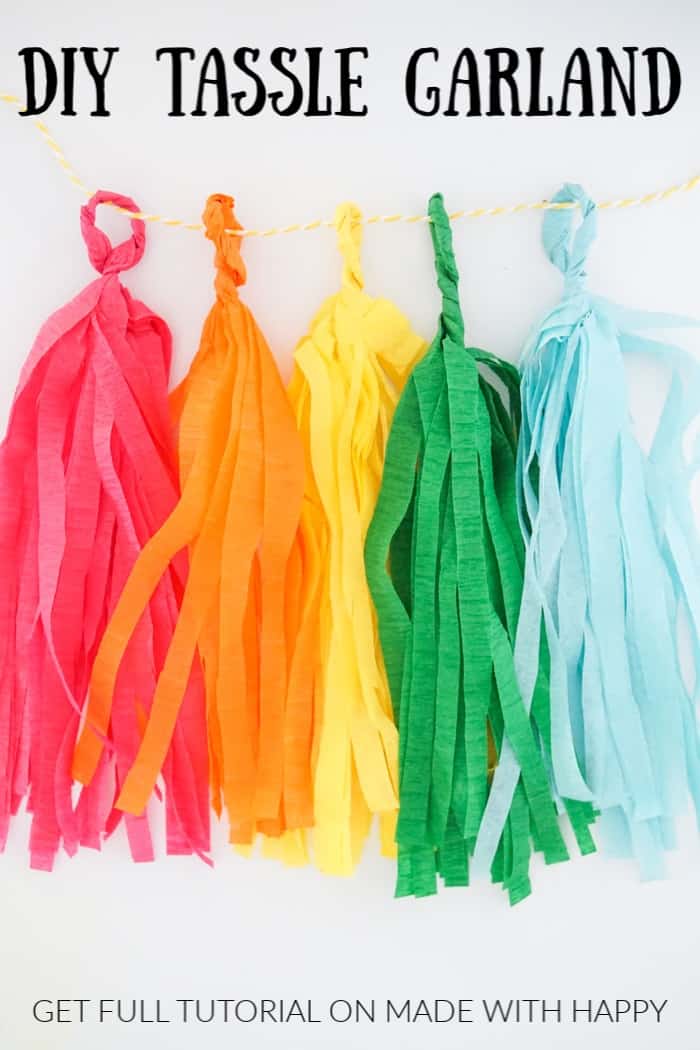
Hanging the tassel garland
Now it's a matter of making as many as you want for your garland.
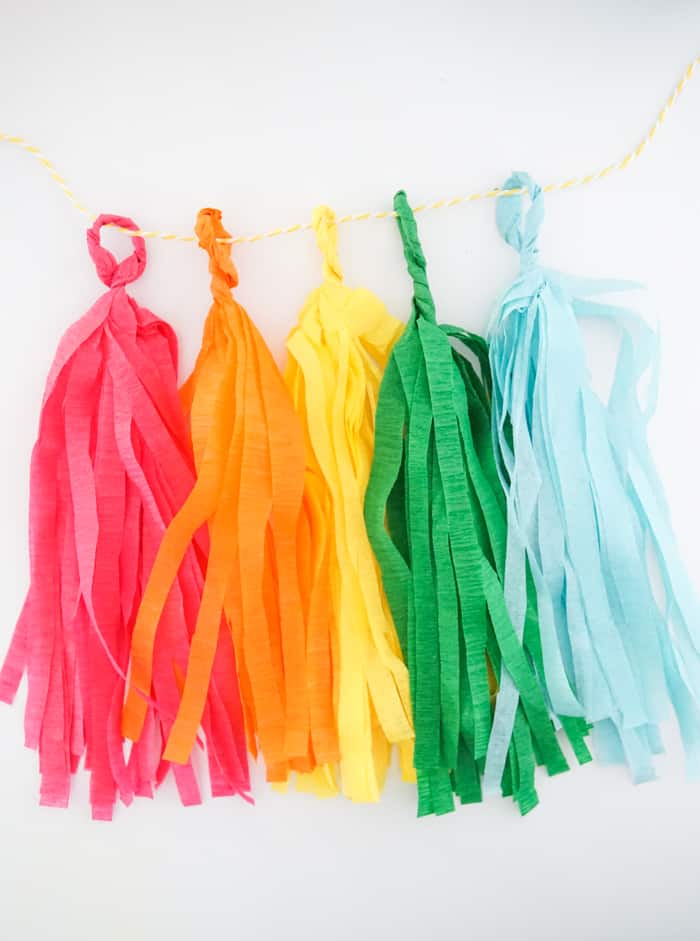
Simply thread your loops onto a piece of twine to hang.
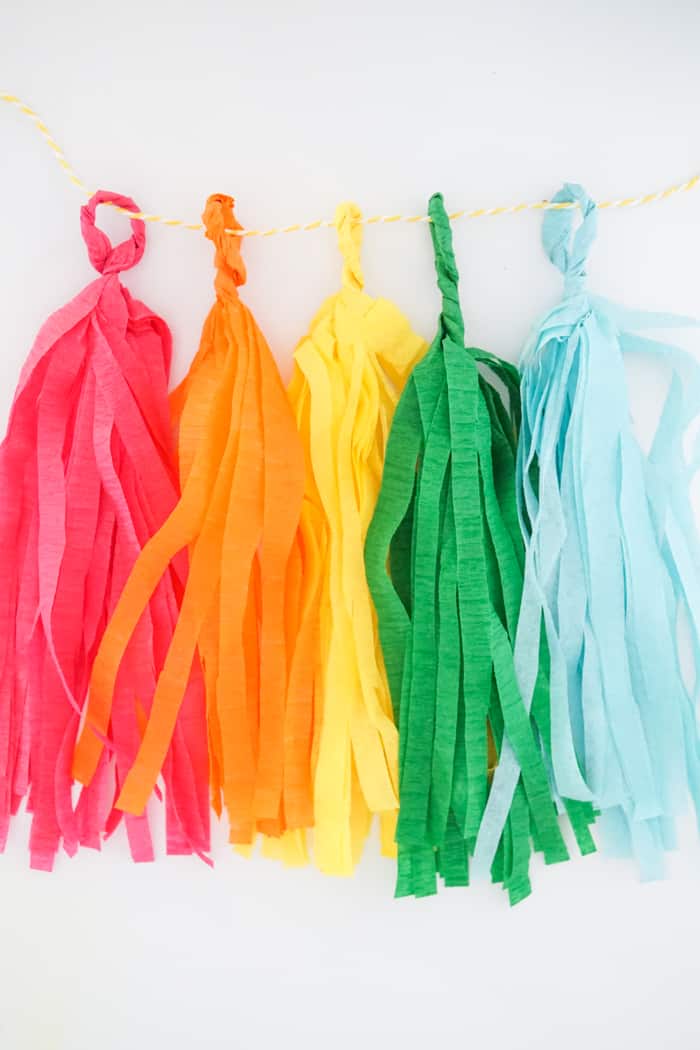
If you are looking to have the tassels in a specific place on the garland, then you can use a piece of tape and secure the loop to the twine.
Other tassel crafts you might enjoy
- How to make a tassel - Graduation tassel
- How to make tissue paper tassels
- DIY Tassel Earrings
- Chinese New Year Good Luck Ornament
- DIY Summer Sandals with Tassels
- Giant Paper Lantern DIY Tutorial

DIY Tassel Garland
Equipment
- Ruler
Ingredients
Instructions
- SIzes and Cuts Needed to make a tassel
- Start by cutting a piece of crepe paper to twenty four inches long. If you are looking for a shorter tassel, then cut the piece at eighteen inches long.

- Cut four pieces the same length. This will be what you need for one tassel. In the case you want to mix the tassel color, say yellow and blue, then I would cut two yellow pieces and two blue. For this example, I would cut four yellow strips at twenty four inches long.
- Next you will need to stack all four pieces on top of each other.
- Fold the four pieces that are stacked on top of each other in half so that the end line up.
- Using the scissors, cut strips strips up the crepe paper starting at the unfolded ends. For a standard streamer width (1.75 inches) I like to make three cuts and have four fringe strips. You will want to make the cuts up the crepe paper leaving about 2-3 inches at the top solid. While you should try and make the cuts straight, if they are not perfect, it is totally okay.
- Putting the tassel together
- Grab your crepe paper stacks at the top fold and unfold the stacked pieces. You will want to keep them stacked on top of each other, but unfold the pieces so the full twenty four inches is laid out flat. The cut fringes should now be on each of the side of the paper stack. It is okay if the fringes start to move a bit. You are more concerned that the solid middle portion of the four pieces are still on top of each other.

- Next, you will grab the middle of the stacked piece and fold the middle of the streamers in half width wise.
- Fold the middle in half, width wise, again.
- Once its folded in half twice, then pinch the crepe paper together and twist so that one of your hands is moving forward and the other is moving backwards.
- Continue to twist and pinch down from the middle to one side of the crepe paper.
- You will twist that side until you reach the fringe.
- Then start to twist the other side starting in the middle. Continue to twist until you reach the fringe on the other side.
- Once you are done, you should have what looks like a twisted rope in the middle of your fringe.
- Pick up the crepe paper in the middle again. Now you will make a loop with the twisted rope like portion of the crepe paper.
- Then hold the ends of the rope portion of the paper together and twist. Pinch the crepe paper as you twist and that will keep the paper in place.
- Once you have twisted to the fringe, you are done. You have yourself one of the tassel garland pieces. If you pinch and twist the paper hard enough, it should stay in place.