
Craft good fortune with our Chinese Good Luck Ornament Craft, a delightful activity for all ages to create charming ornaments and embrace positive vibes in a creative way!

Want to save this project?
Enter your email below, and then we'll send it straight to your inbox. Plus get awesome new projects from us each week.
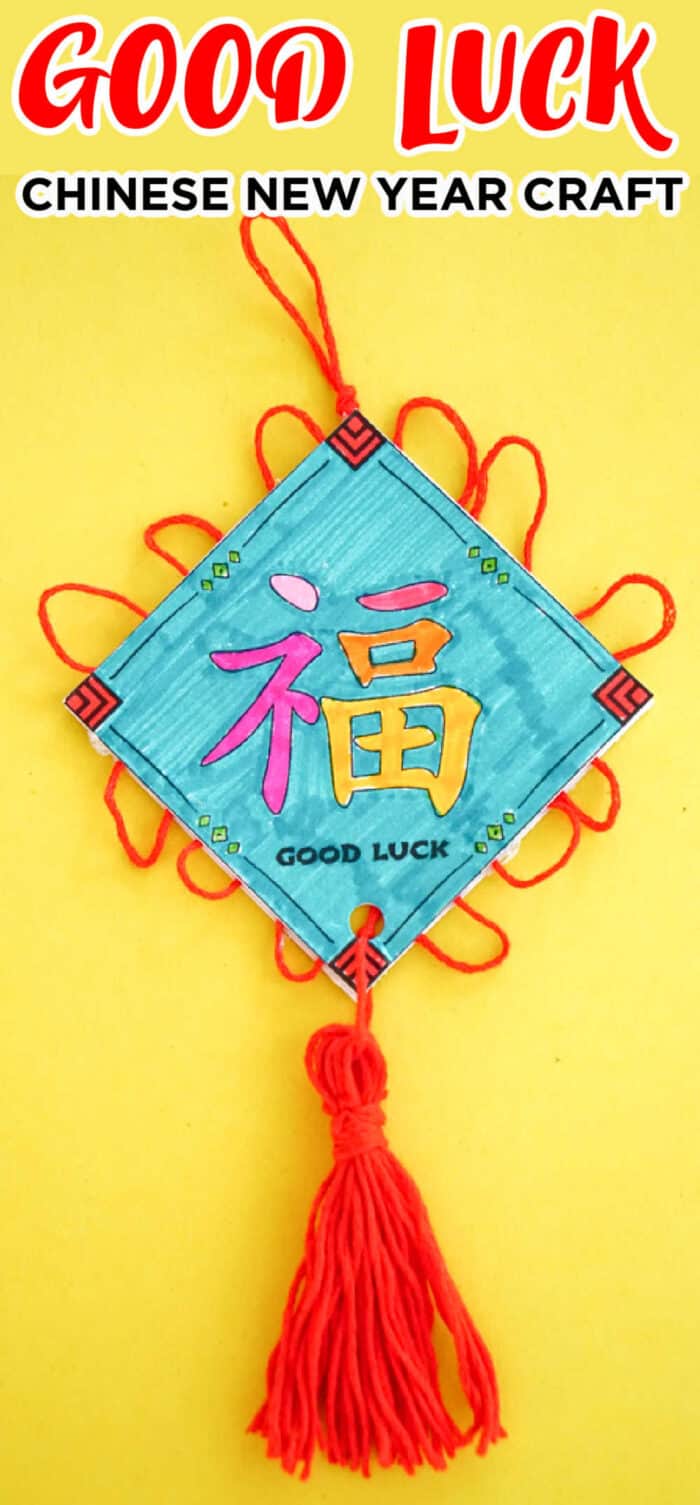
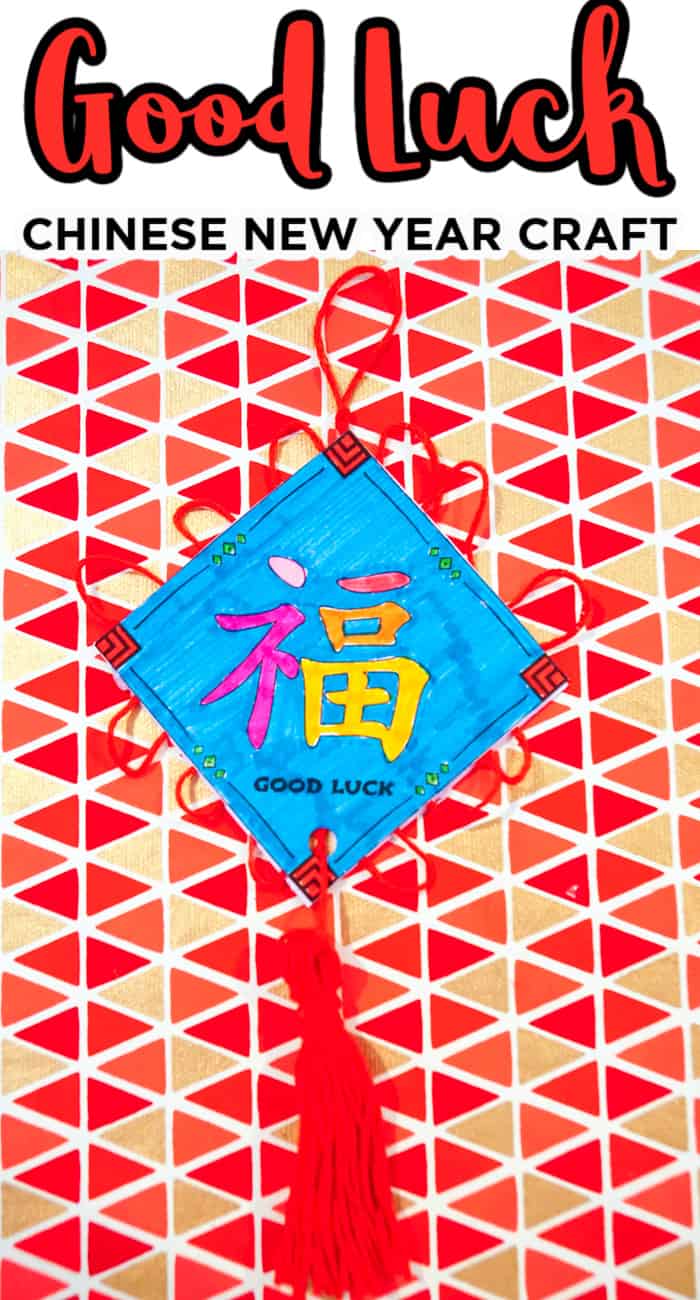
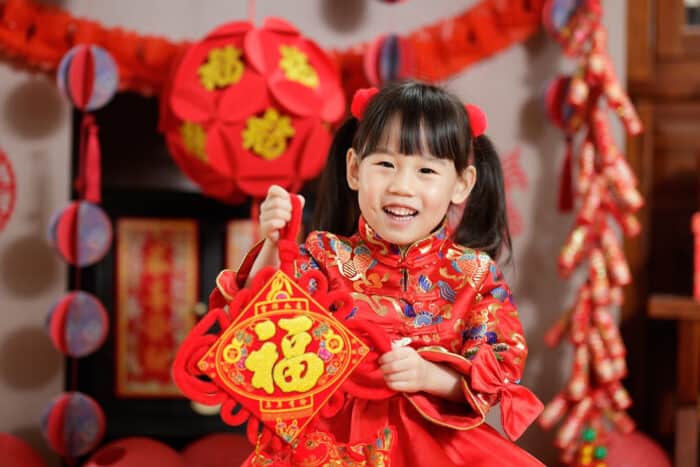
This Chinese Good Luck Ornament is a fun way to ring in the Chinese New Year and make it all kinds of HAPPY.
We love celebrating Chinese New Year. Chinese New Year is a celebration by the Chinese culture and is also known as the Lunar New Year because it is based on the Lunar Calendar. The celebration lasts 15 days and
Each year we try and come up with a new fun craft, like these good luck ornaments, and celebrate with some delicious Chinese cuisine. Some of the fun crafts we've done in the past are
Luck in Chinese
In studying Chinese New Year, we have found that there are a number of things that represent good luck, good fortune, and good wishes in Chinese Culture. Especially during Chinese New Year celebrations.
There are Chinese Characters like lion and dragon dancers. There are foods to be eaten on the Chinese New Year dinner as well as gifts, Chinese Zodiac signs, home decorations, and a lucky number. Some of the traditions include
- Red Paper Lanterns - Red is considered one of the lucky colors
- Red Envelopes filled with coins and money are given to the children for good luck and fortune.
- Lucky Food includes whole fish, dumplings, spring rolls, nian gao (sweet glutinous rice cake), and longevity noodles.

Good Luck Chinese New Years
This year, I thought creating our own fun Good Luck Ornaments is a great way to celebrate the Chinese New Year. Who wouldn't want to celebrate Good Luck!
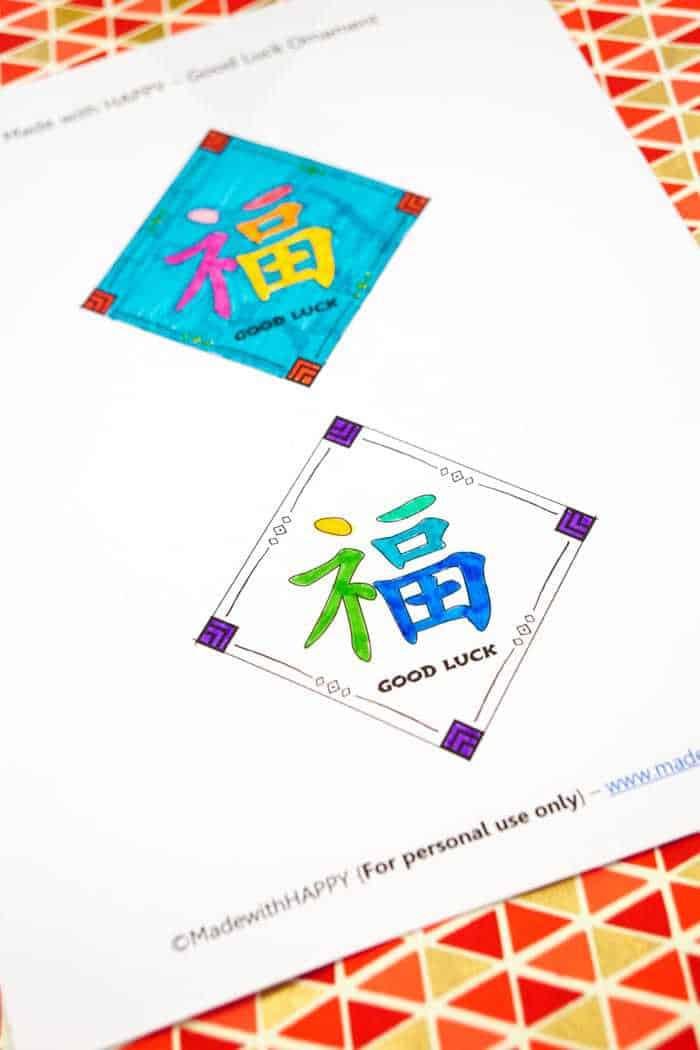
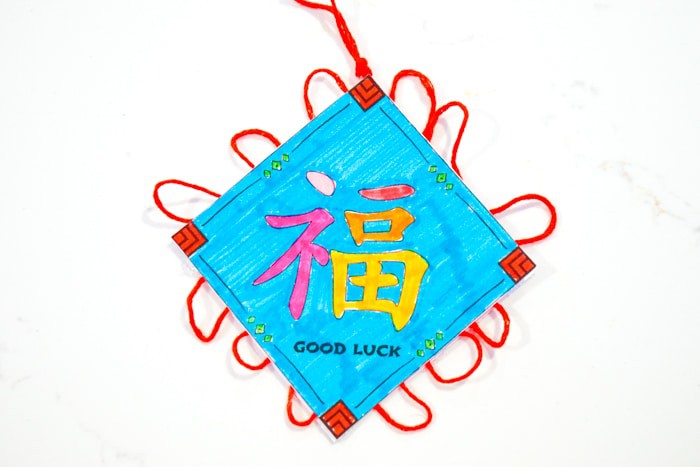
From what I've learned there are different translations of the Chinese Symbol Good Luck. Others would say the same symbol means HAPPINESS. In either case, I think they are both really really Made with HAPPY, so we're going to go with this symbol for Good Luck.
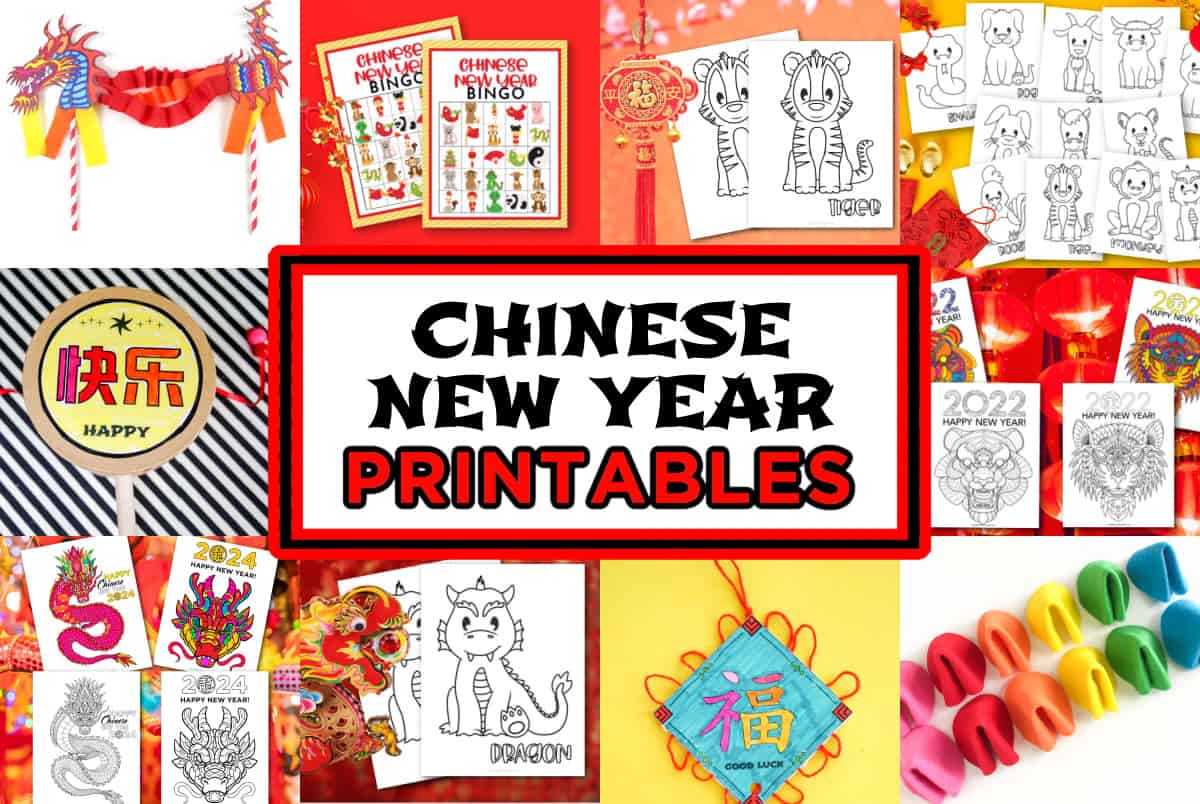
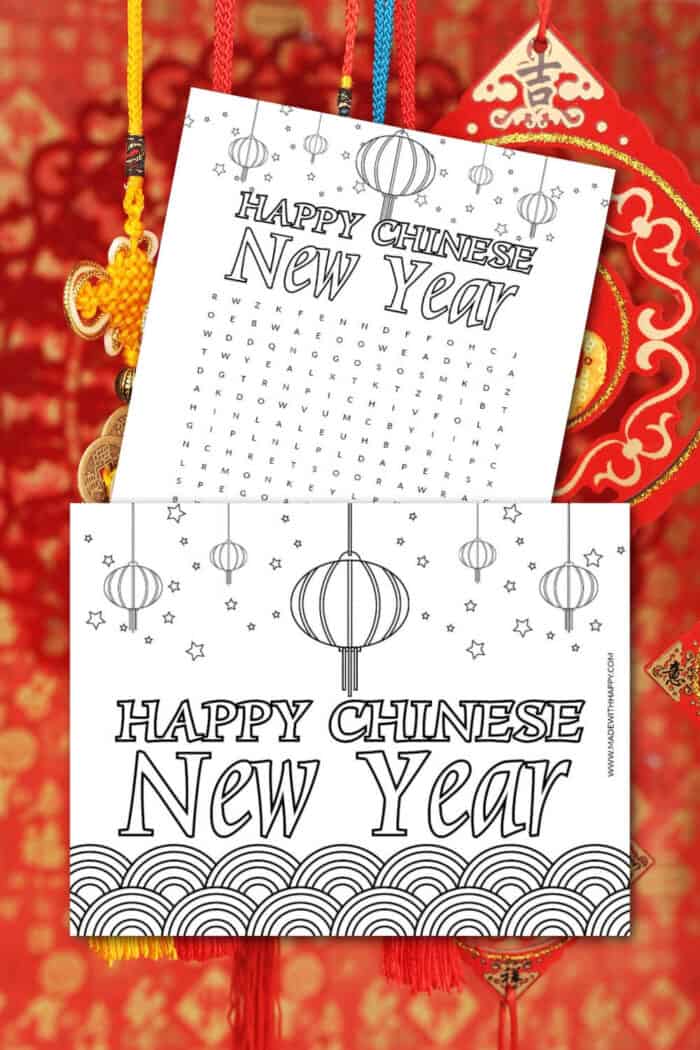
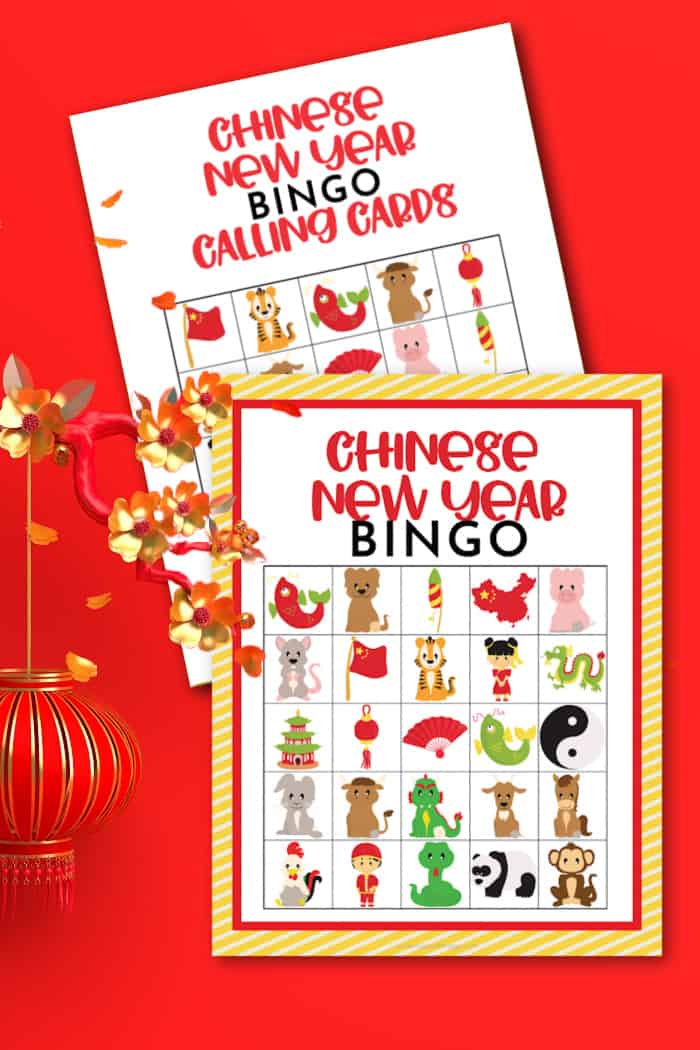
Check out these other Chinese New Year Printables!

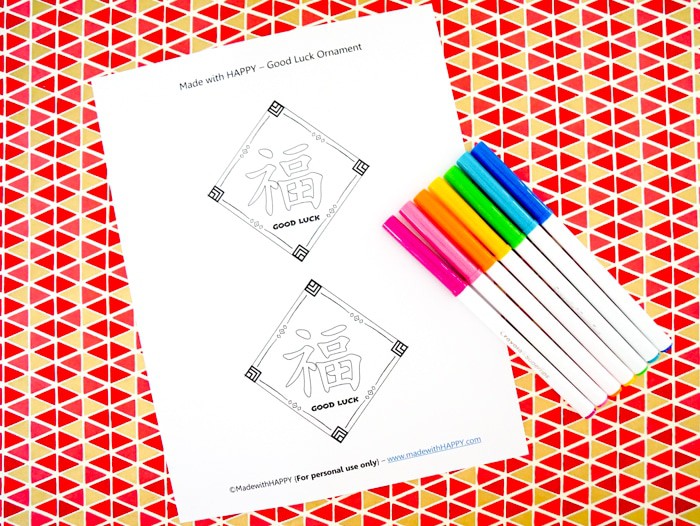
Good Luck Chinese Ornament Craft Supplies
- Printable Good Luck Ornament - Grab Below
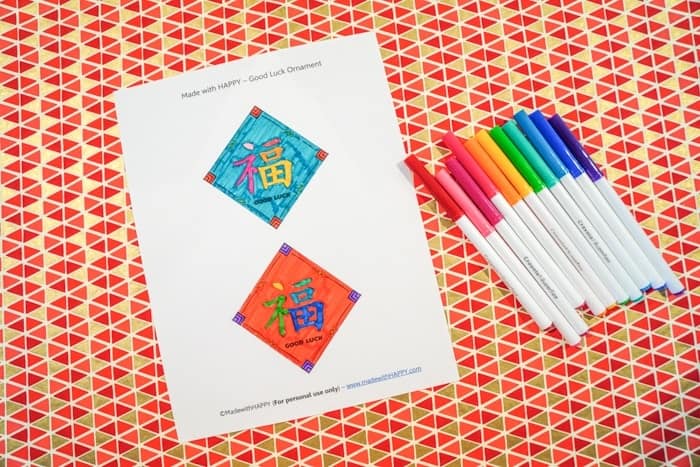
- Markers
- Embroidery Floss
- Scissors
- Glue
How to Make this Chinese Good Luck Symbol
Once you print it out, give each child their own page to color.
Let each child color the good luck in Chinese.
While the kids are coloring, take your embroidery floss (I used red and cut 12 pieces each approximately 2 inches long. You will then need one piece that is three inches long for the hanging loop.
You will then use the remainder of the floss to create a tassel.
Then cut out each square along the outside.
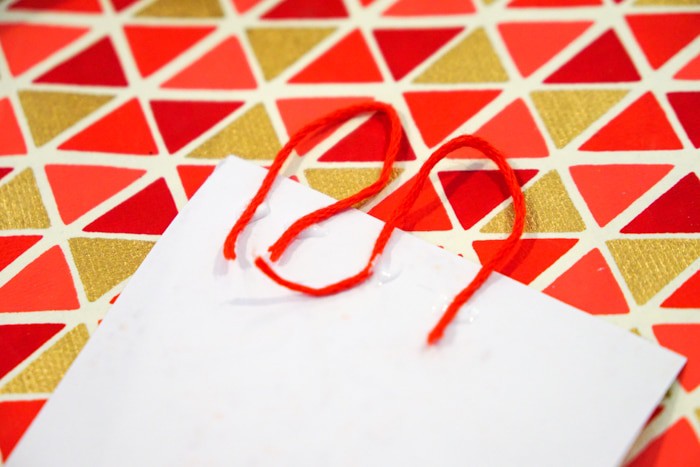
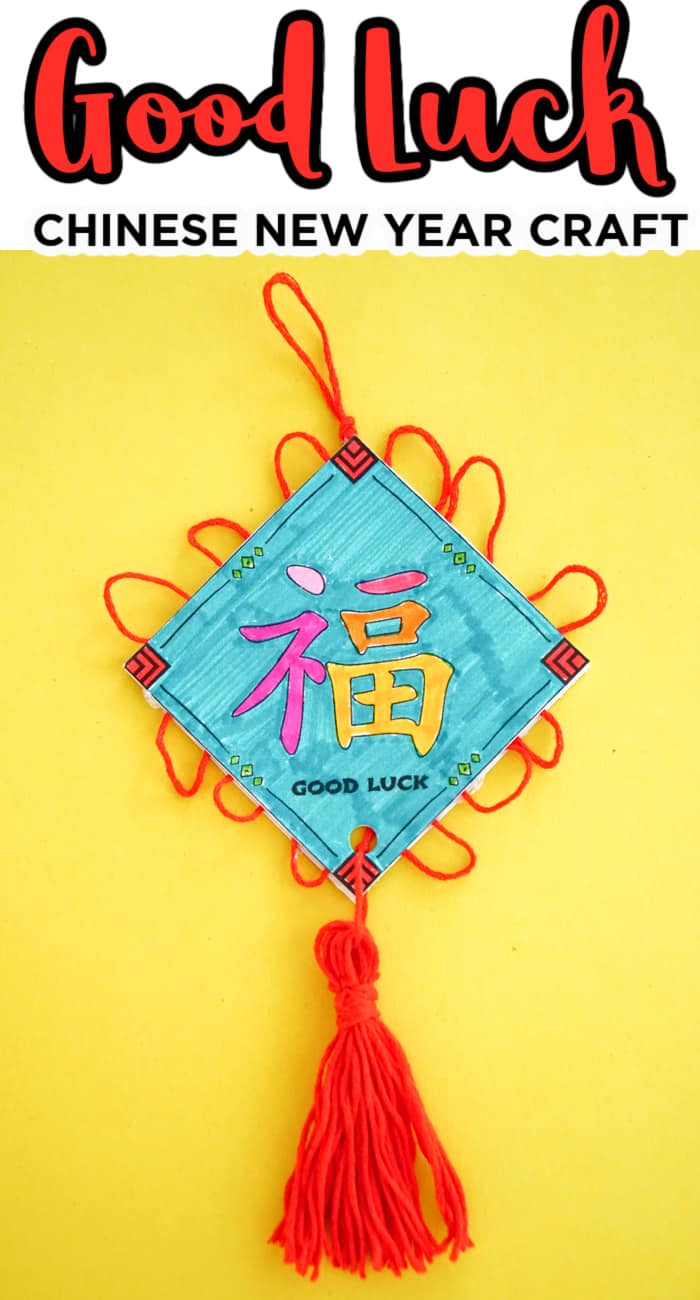
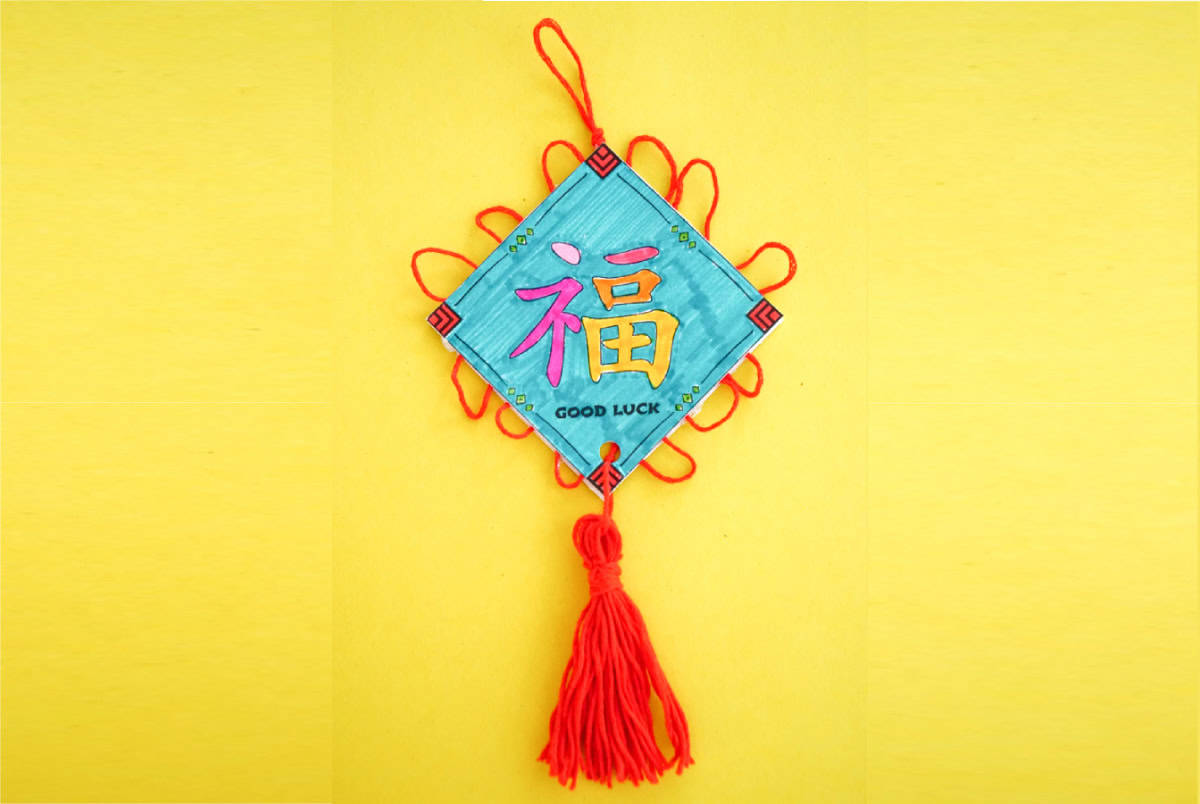
Turn the square upside down and glue each piece of the embroidery floss in loops to the outside of each side of the square. Three loops per side is a good estimate.
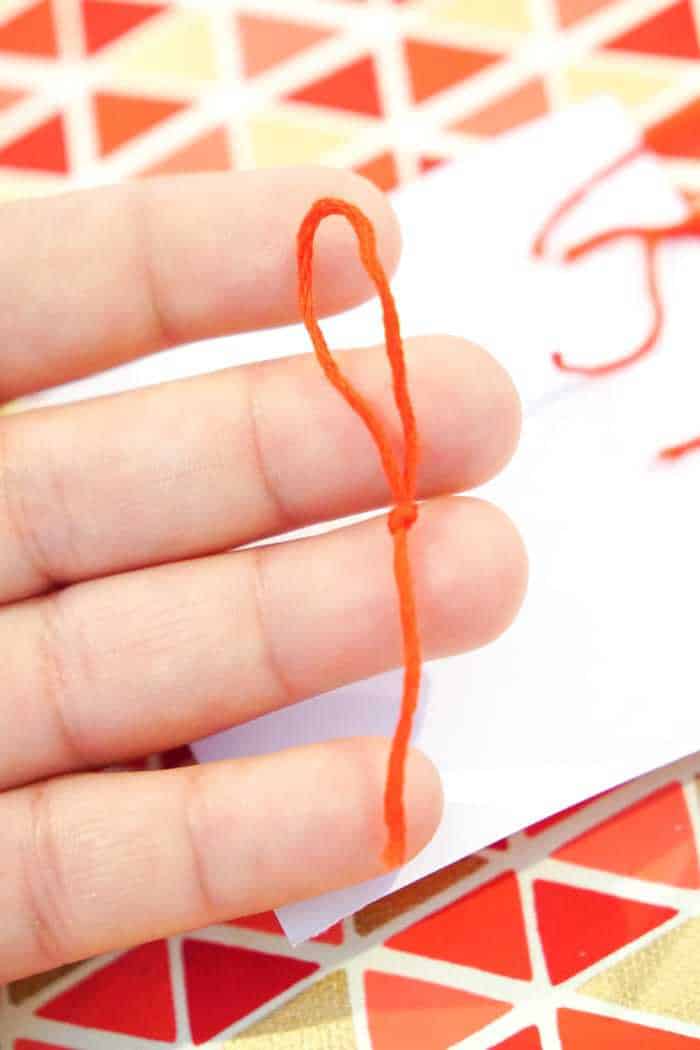
For the 4-inch piece of thread, fold it in half and then tie both pieces together into a knot.
You will glue the bottom of the hoop to the top corner of the square.
How To Make a Tassel
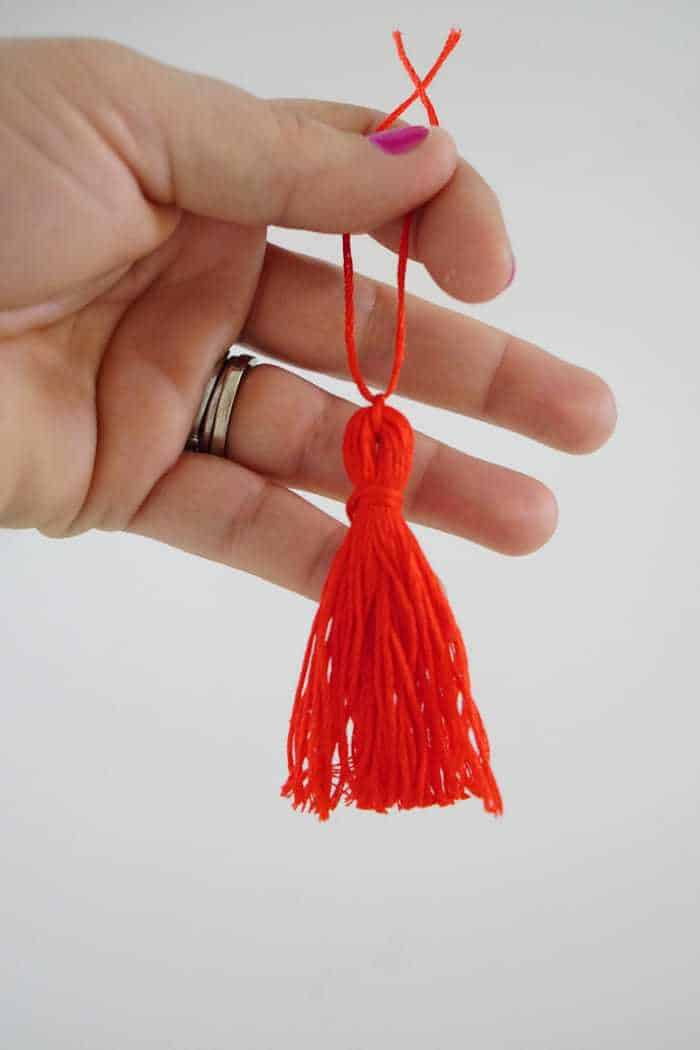
Then glue the other square on top and you have your ornament. The last piece is to create the tassel. I have a how-to post on how to make a tassel.
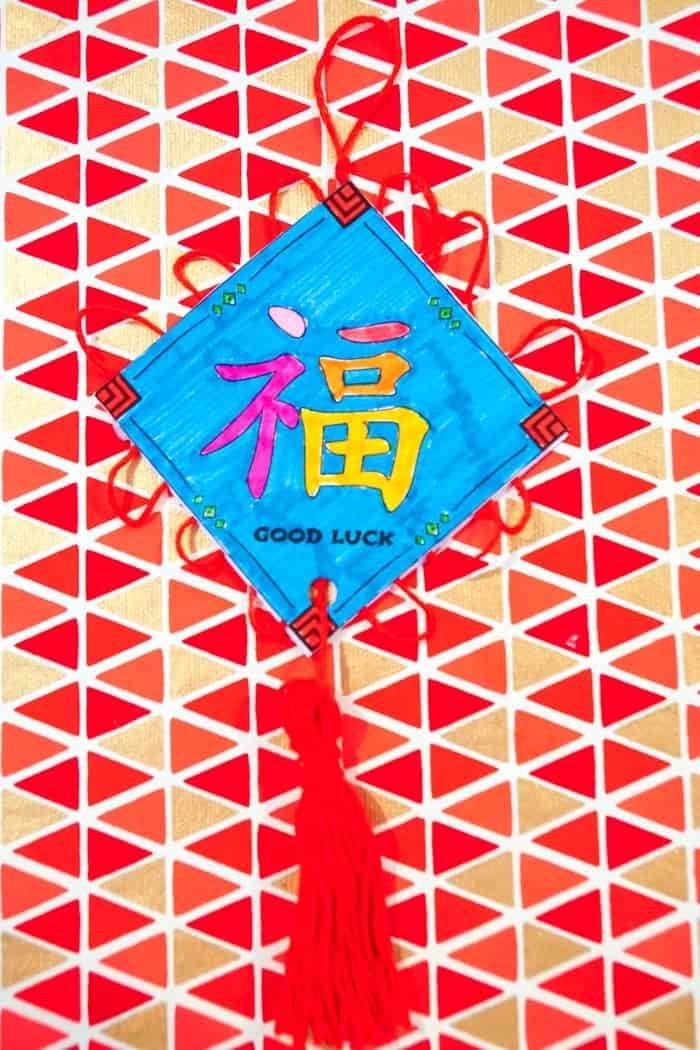
You can attach it in a few different ways. The first is to hole punch the bottom of the ornament and then tie the ends through the hole.
The second is to glue the hanging strings into the ornament like you did the top hanging loop.
In my opinion, it will depend on the glue. If you are using simple white glue, you may want to go the hole punch route. If you use a more industrial-strength glue, then it could hold the tassel.
Creating a good luck ornament is a wonderful way to add meaning and charm to your holiday decorations.
Let your creativity shine as you design something unique and personal that can be cherished for years to come. Here's to crafting joy and bringing a little extra luck into the holiday season!
Happy Chinese New Year!
Be sure to check out our January Coloring Pages and February Coloring Pages!
Other Questions You Might Have
What is the good luck symbol in Chinese?
The Chinese symbol, 福, means good fortune. You can find one of the Chinese good luck symbols in the printable coloring page we provide above.
Are Chinese Dragons good luck?
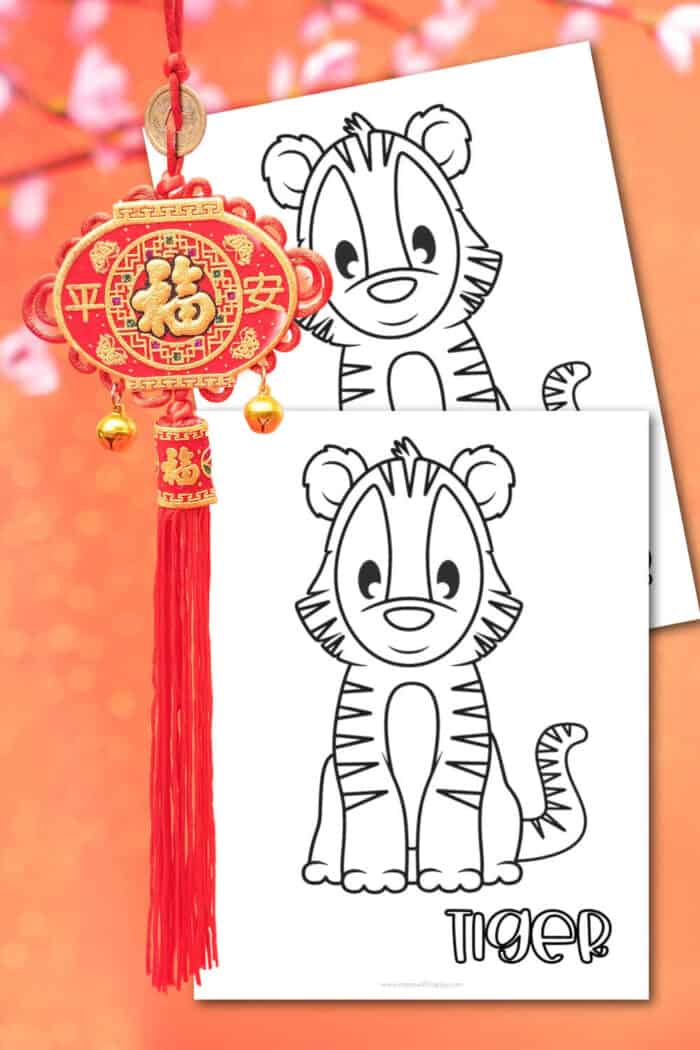
Dragons represent strength and good luck for sure. We have a number of Chinese dragon crafts and coloring pages and you can find them in our Chinese New Year Crafts for Kids
What brings good luck in China?
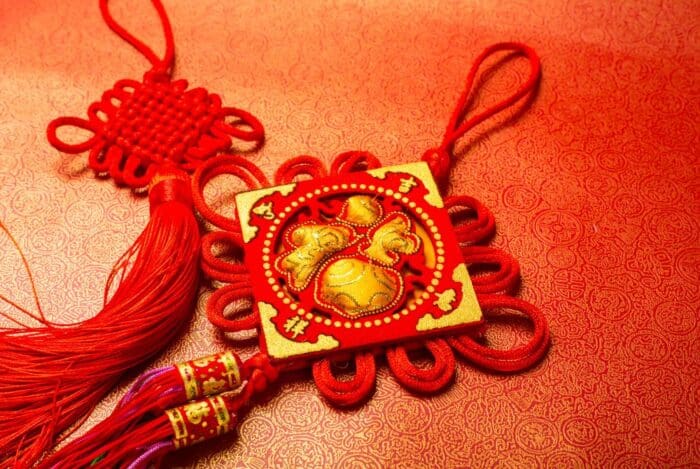
The color red is a good luck color in China. That is why you will typically see most of the Chinese good luck ornaments and other items in red.
We highlighted this Chinese New Year Craft along with some other fun kid's crafts in our January Crafts for Kids along with our 101+ Easy Craft Ideas for kids.
You also do not want to miss our Fun Coloring Pages For Kids and Free Kids Printables full of Crafts & Coloring Pages.

Download Your Free Good Luck Ornament Template
Enter your email address in the form below and you'll be taken directly to the free downloadable Good Luck Symbol Chinese New Year Ornament PDF File.x`
*For Personal Use Only
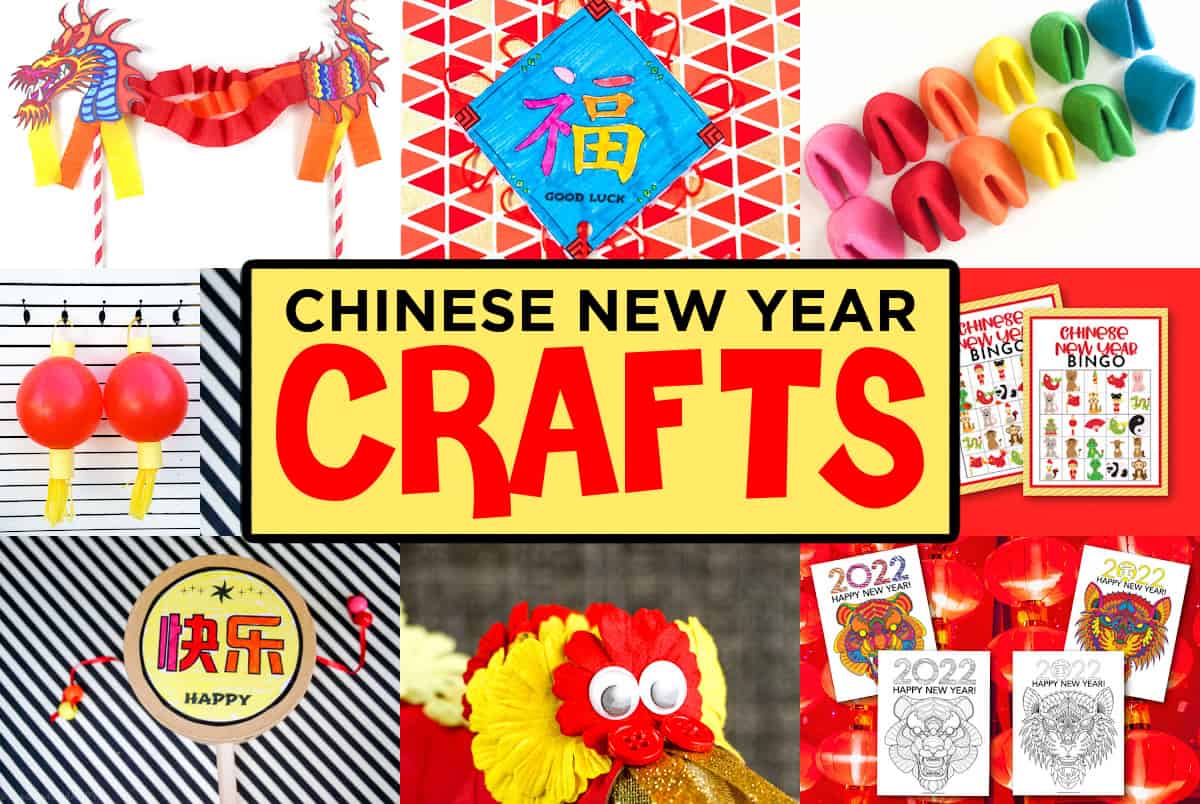
Other Chinese New Year Crafts You Might Enjoy
Chinese New Year Good Luck Ornament
Looking for a fun children's Chinese New Year craft, then I suggest making these fun Chinese New Year Good Luck Ornaments!
Want to save this project?
Enter your email below, and then we'll send it straight to your inbox. Plus get awesome new projects from us each week.
Material
- Paper - Printable Good Luck Ornament
- Markers
- Embroidery Floss
- Glue
Tools
Instructions
- Once you print it out, give each child their own page to color.

- While the kids are coloring, take your embroidery floss (I used red, and cut 12 pieces each approximately 2 inches long. You will then need one piece that is three inches long for the hanging loop. You will then use the remainder of the floss to create a tassel.

- Then cut out each square along the outside. Turn the square upside down and glue each piece of the embroidery floss in loops to the outside of each side of the square. Three loops per side is a good estimate.
- For the 4 inch piece of thread, fold in half and then tie both pieces together into a knot.

- You will glue the bottom of the hoop to the top corner of the square.
- Then glue the other square on top and you have your ornament. The last piece is to create the tassel. I have a how to make a tassle post showing you how to make them.
- You can attach it a few different ways. The first is to hole punch the bottom of the ornament and then tie the ends through the hole. The second is to glue the hanging strings into the ornament like you did the top hanging loop.


CONNECT WITH MADE WITH HAPPY!
Be sure to follow me on social media, so you never miss a post!
Facebook | Twitter | Youtube | Pinterest | Instagram
Find and shop my favorite products in my Amazon storefront here!
Good Luck Chinese Ornaments
PIN IT TO YOUR FAVORITE BOARD ON PINTEREST!
FOLLOW MADE WITH HAPPY ON PINTEREST FOR ALL THINGS HAPPY!