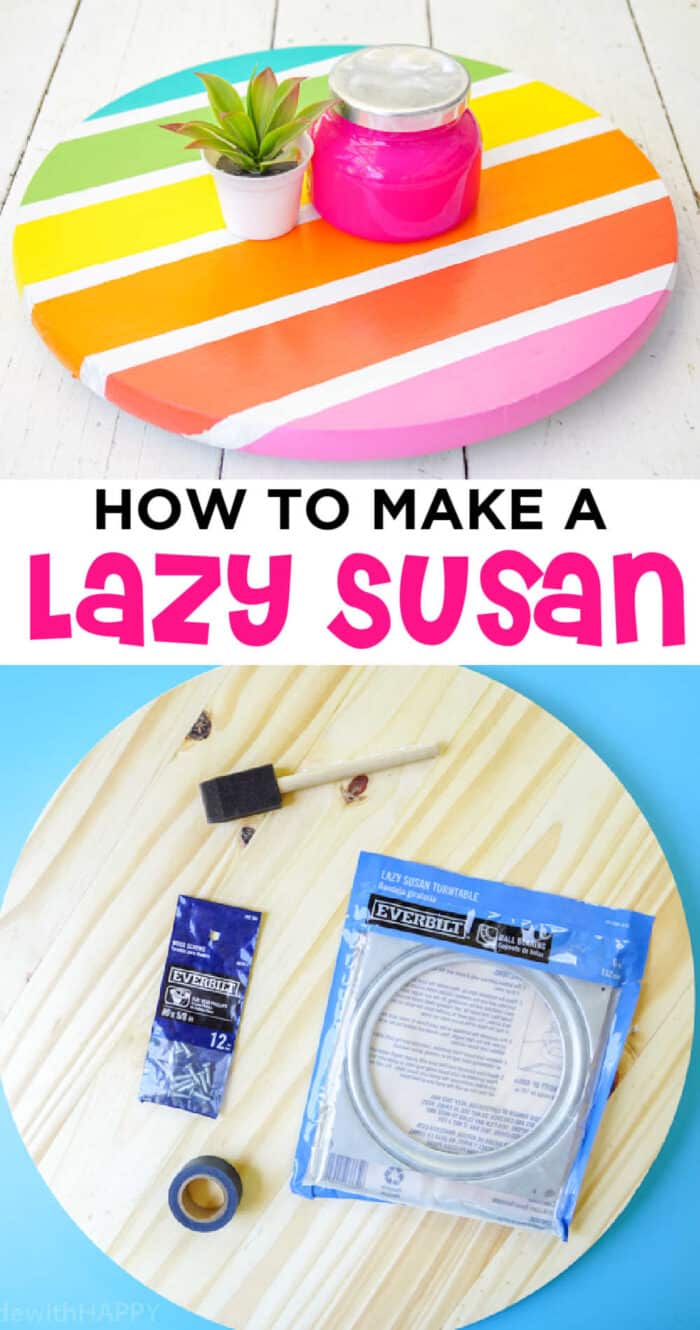
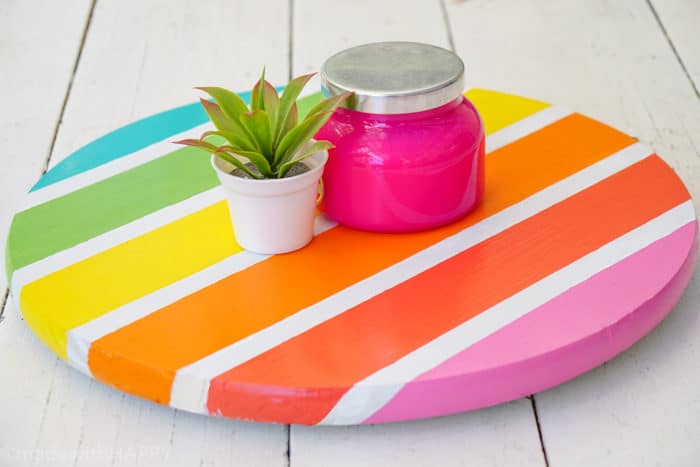
Sharing a quick and easy way on how to make a Lazy Susan. With just a few supplies, you will have colorful and fun spinning DIY Lazy Susan.
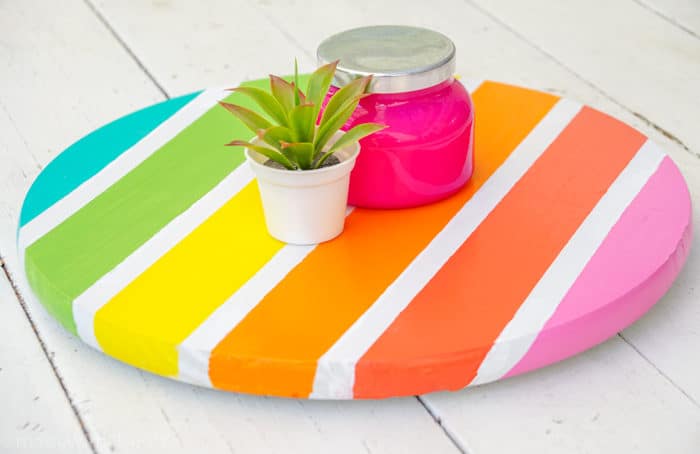
This simple tutorial on how to build a lazy susan will make you wonder why you have not had one on your dining room table always.
Who had a Lazy susan in their house growing up? We did and I have fond memories of it filled with napkins, salt, pepper, celery salt (it was big at our house), and maybe hot sauce. It wasn't very big, but we sure did love spinning that thing around to grab the salt or just for fun.
We love sharing how to build a lazy susan with this modern rainbow DIY!
DIY Lazy Susan
For those that may be following @madewithhappy on Instagram, know that we recently renovated our kitchen.
To the surprise of many that know my love of color, we created an all-white kitchen. I've gotten so many laughs and comments about how they never thought I'd have an all-white kitchen. What I then explain is that an all-white pallet leaves room for pops of color throughout, like a bright rainbow Lazy Susan! 🙂
My family recently sat down to dinner and if your kids are anything like my kids, passing things around the table is a struggle. Sometimes it's too heavy, too hot, or just easier to get up and get it yourself. I decided that my family needed a Lazy Susan as we had back in the day.
I did what any good DIY'er would do and I made you this How to Build a Lazy Susan tutorial. FULL of color and beauty and cost less than twenty dollars.
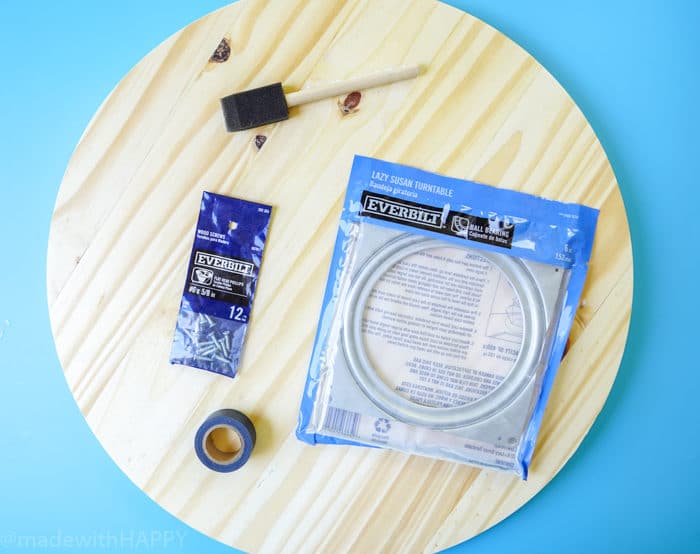
What you need for DIY Lazy Susan
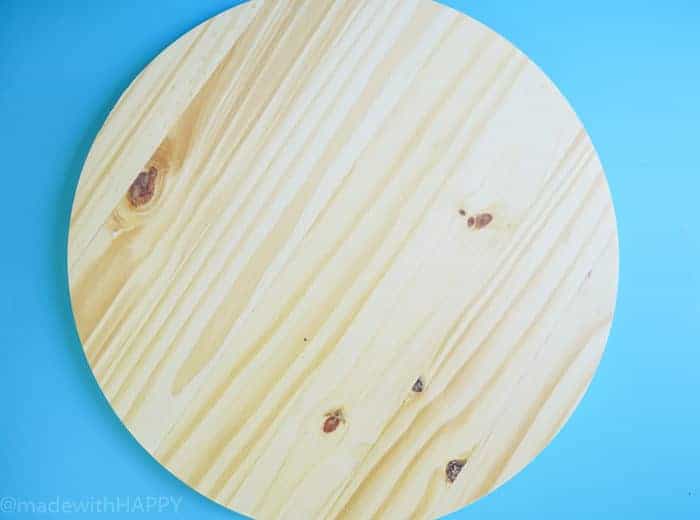
- Panel Round Board - Circular boards
- Lazy Susan Hardware
- Paint - We used Acrylic Paint
- Tape
- Mod Podge (optional)
How to Make a Lazy Susan
Want to save this project?
Enter your email below, and then we'll send it straight to your inbox. Plus get awesome new projects from us each week.
Start with painting your base color on your tabletop board. I went in white.
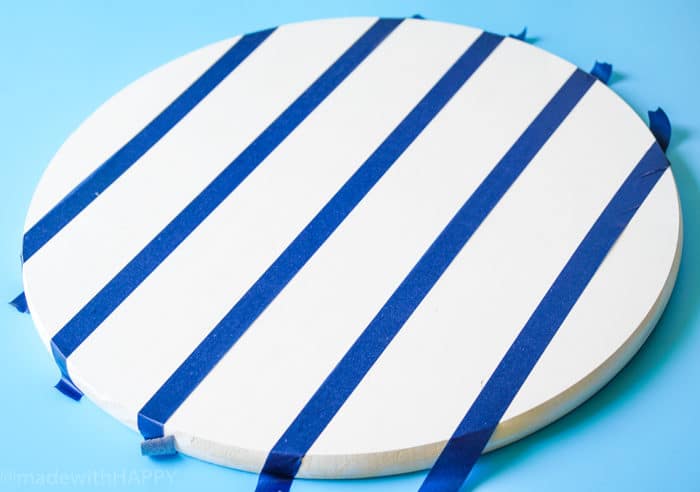
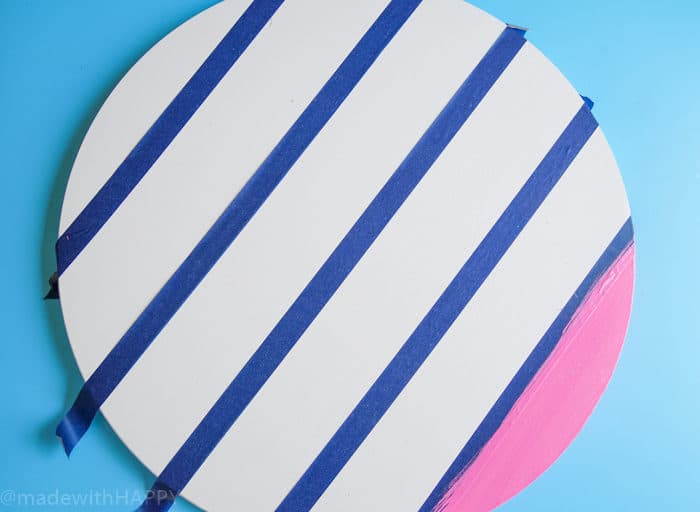
Once it dries, then using painter's tape, tape off your pattern. If you are looking for a straight edge, then you can use a pencil to mark your lines and then add the painter's tape.
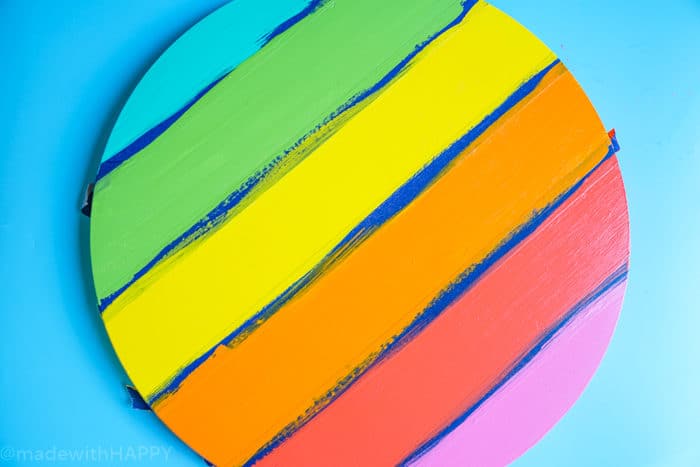
Then paint your board in whatever fun pattern you like on the top lazy susan.
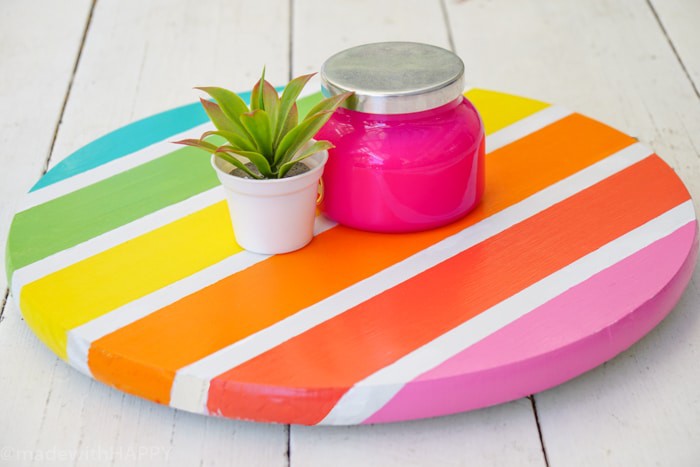
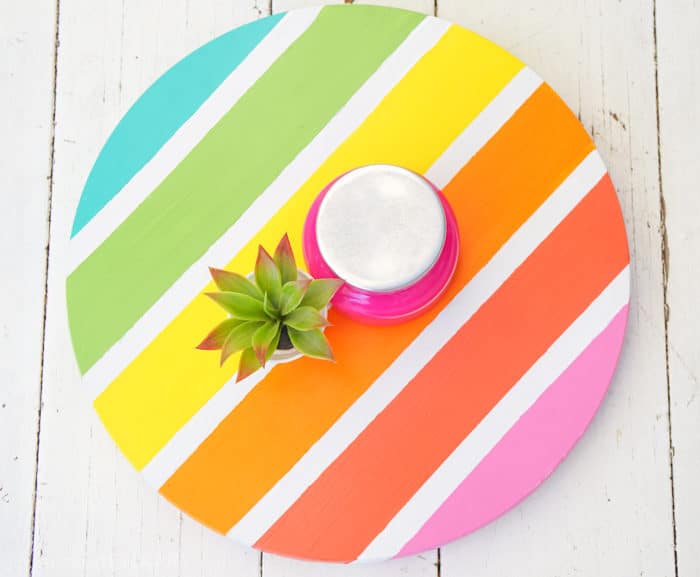
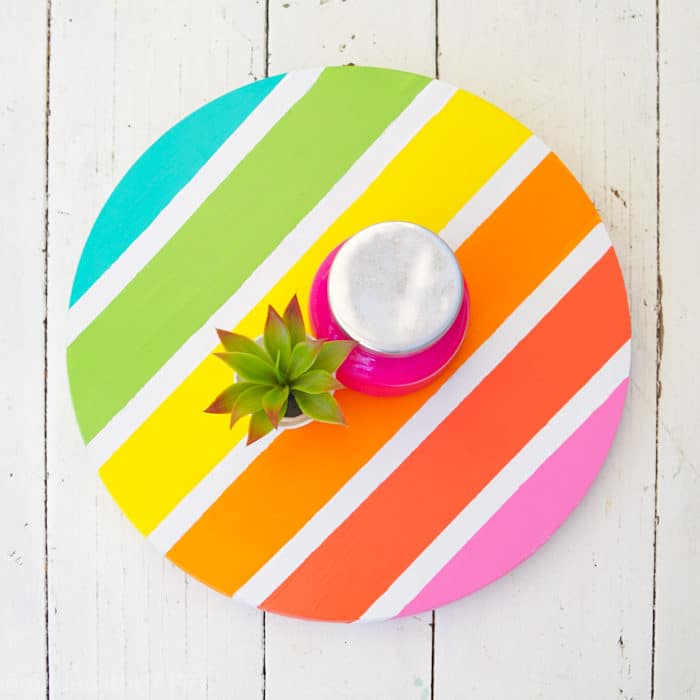
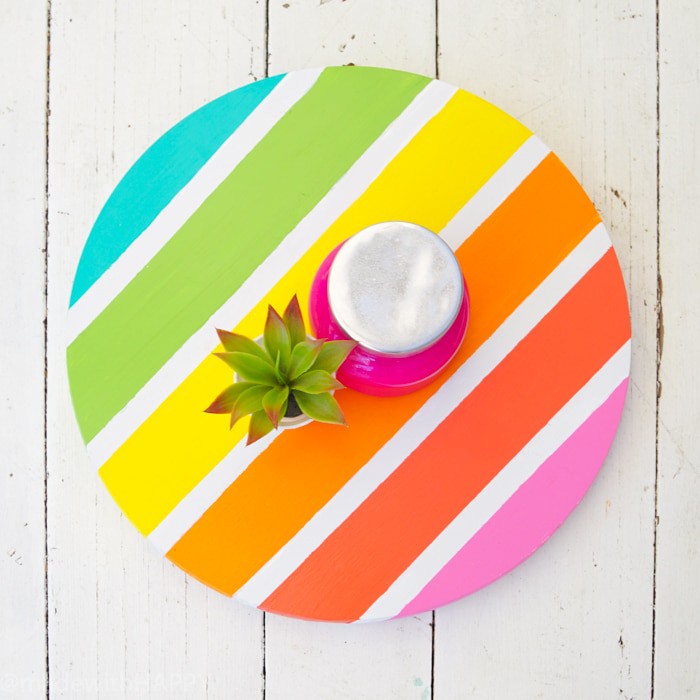
We of course went for a fun rainbow color pattern. But like our DIY outdoor table, you could also do a fun color blocking pattern.
Once the paint dries, then remove the tape. Drying times are all dependent on the paint you use.
If you are looking for a protective finish, you can paint a layer of mod podge over the top or clear coating spray paint. This will ensure the top of your lazy Susan is free of nicks.
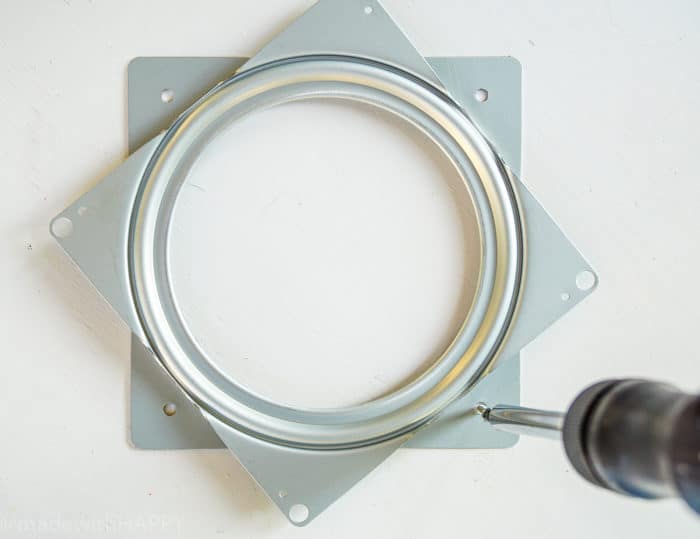
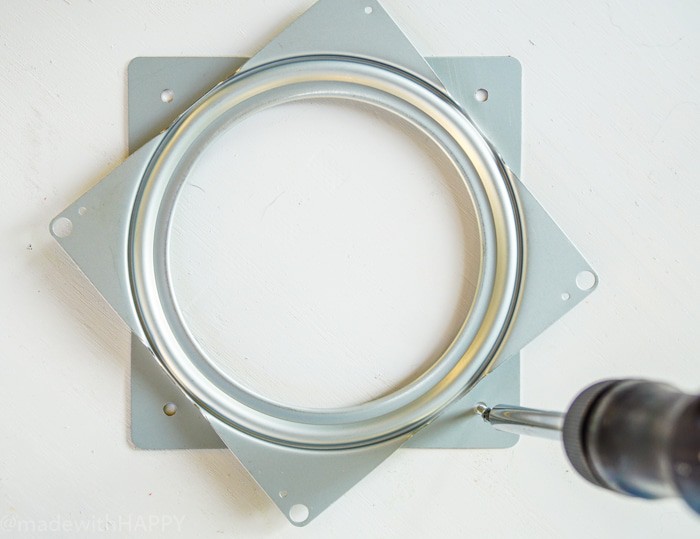
Flip the board over and attach your bearing hardware to the middle of the piece of wood. The easiest way to do this is to use a pencil and mark the screw hole of the turntable hardware. You can use a drill and start a pilot hole (or small hole for the screws to access) to make sure you can attach the screws. You need to make sure the swivel piece is shifted to show the access hole. With one hand hold the hardware in place and with the other use the screw driver to start the head of the screw into the hole.
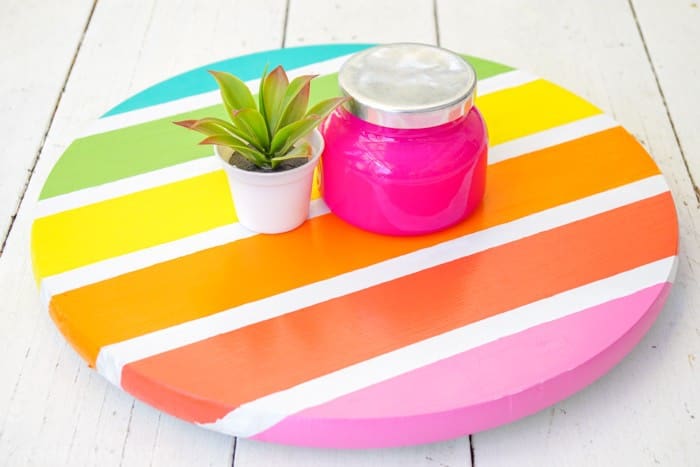
Set it on your dining table and call it a day! Your dinner table will never look so good.
You have your very own lazy Susan in your favorite colors. The best thing is that with one spin like a fidget spinner, you have easy access to whatever you're in need of reaching.
Lazy Susan Uses
The most common use is a lazy susan tabletop or kitchen counter, but there are many other places these things are great.
We love the idea of using a lazy susan for office or school supplies. Grab one of these desk organizers and you will be on your way.
Another use is outside. While I do not recommend keeping your lazy Susan turntable outside all year long, it is great for the Summer months or to keep next to your grill.
Here are a few questions you might be thinking about now that you’ve gotten started on this new craft.
I do not think it matters how thick the wood is as long as the ⅝th inch screw does not pierce through.
The hardware essentially consists of two square pieces that connected and spin on a set of bearings. If one is attached to the wood piece the other will sit in place and they will spin.
That is the beauty of a lazy Susan, you can decorate it however you please. I like to have flowers as well as napkins and salt and pepper on ours.
Other DIY Projects You Might Enjoy:
- DIY HERB GARDEN - This is a beautifully colorful take on your herb garden. It can be located indoors or outdoors and just what you have been looking for at your home.
- DIY POOL HEATERS - These are so easy to make and will warm your pool at a fraction of the cost the solar pool heaters are online.
- MADE WITH HAPPY TREEHOUSE - The most popular DIY project on Made with HAPPY is our Treehouse/Playhouse. It shares all the steps needed to create a fun and functional space for kids in your background.
- RAINBOW VERTICAL GARDEN This will brighten up any space that needs a little help.
- MODERN PICTURE DISPLAY - A simple way to display those pictures in a fun and natural way.
- MADE WITH HAPPY DOG HOUSE - If you enjoy the beauty of our treehouse, then you will love our dog house that has a barn door!
- MODERN PLANT STAND Another great DIY project that only cost a few dollars.
- MODERN FIREPLACE MAKEOVER - A bigger DIY project, but definitely worth the sweat equity. If you are looking to update your fireplace, then head over to this post.
- Easy DIY Yarn Wall Hang - If you are into modern wall hangings, then you will definitely want to start with this project.
- Rainbow Popsicle Shelf - This is a great DIY project for all ages. Simple supplies of craft sticks and glue and you have yourself a fun shelf!
- DIY CHARGING STATION - This is the best organization project for those of us with all the cords. Its clean and sleak and easy to make.
- HOW TO MAKE TWIG PENCILS - These are such a fun project. Take twigs from your yard and turn them into pencils.
How to Build a Lazy Susan
Materials
- Panel Round Board
- Lazy Susan Hardware
- Paint
Tools
- Tape
Instructions
Start with painting your base color on your table top board. I went with white.
Once it dries, then using painters tape, tape off your pattern.
Then paint your board in whatever fun pattern you'd like.
Once the paint dries, flip the board over.
Attach your lazy susan hardware to the middle of the board. You do this by drawing a light pencil line from 12 pm to 6 (like a clock) and then from 9 o'clock to 3 o'clock. That marks the middle.
CONNECT WITH MADE WITH HAPPY!
Be sure to follow me on social media, so you never miss a post!
Facebook | Twitter | Youtube
Pinterest | Instagram
Find and shop my favorite products in my Amazon storefront here!
HOW TO MAKE A LAZY SUSAN
PIN IT TO YOUR DIY BOARD ON PINTEREST!
FOLLOW MADEWITHHAPPY ON PINTEREST FOR ALL THINGS HAPPY!


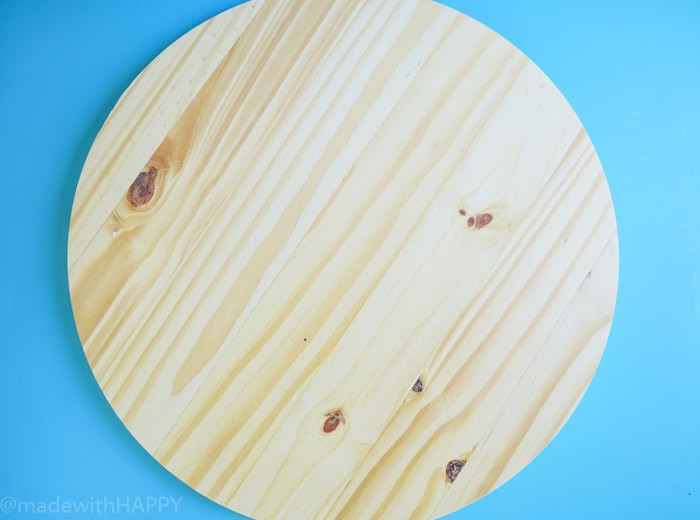 Start with painting your base color on your table top board. I went with white.
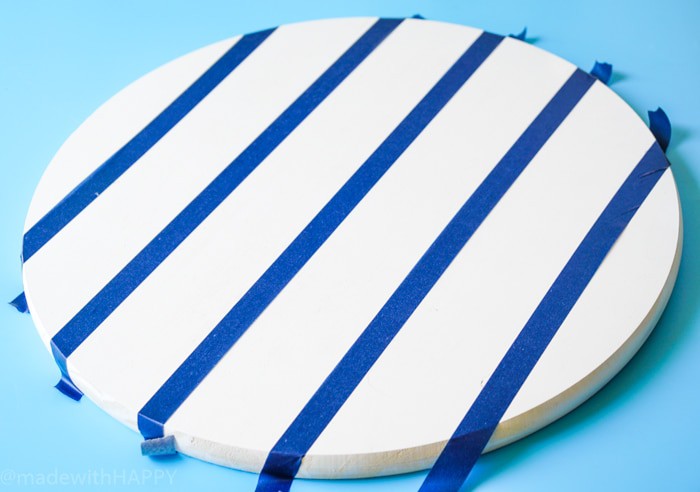 Once it dries, then using painters tape, tape off your pattern.
  Then paint your board in whatever fun pattern you'd like.
  Once the paint dries, flip the board over.
 Attach your lazy susan hardware to the middle of the board. You do this by drawing a light pencil line from 12 pm to 6 (like a clock) and then from 9 o'clock to 3 o'clock. That marks the middle.