

I'm excited to share our new HAPPY Kitchen Remodel with you all. In my opinion, it is what white kitchen design dreams are made of.

Want to save this project?
Enter your email below, and then we'll send it straight to your inbox. Plus get awesome new projects from us each week.
We love our new HAPPY Kitchen and we can only hope the classic white kitchen ideas will help as you look to make a change in your kitchen.
When we moved into our house, 12 plus years ago, we knew that one day we would be renovating this kitchen. As an avid DIYer, I would have thought this would have happened many years earlier, but knowing now what it took, I am glad that we did it when we did.
What to consider when tackling a full kitchen remodel
There are a number of things that should be considered when tackling a full kitchen renovation. The first and maybe the most obvious is the cost.
- Whether you do it yourself, or hire it out, have a interior designer or not, there is going to be a cost associated with it, so its something to consider. I'm happy to give a general break down of costs for things along the way for those looking to do a remodel. Of course, this all depends on your contractor, but I'm HAPPY to give a general idea of cost.
- The second thing that I think is not talked about as much is understanding the flow of a kitchen.
- When the hubs and I moved into this house, we moved from a condo with a pretty small kitchen.
- Moving in, I was bright eyed at the thought it was bigger than our condo kitchen, so it was much better right? That's a negative ghost rider. Our kitchen was setup so poorly, that it did not take long for us to realize that we may have had the same amount of usable space as that of the small galley kitchen.
- Lastly, understand what you like about kitchens, what you don't like about kitchens. This might seem like a no brainer, but it seriously helped us tremendously.
- There are many times within the process when the contractor would come to me and say... we ran into this problem or there is this that can go three different ways, which way do you want to go with?
- For me, the easiest way was to start with Pinterest. Create a board of your dream kitchens. Everything from general look and feels, to knobs and pulls, back splashes, floors, appliances. Seriously... gather all the ideas and then when you go to create the kitchen of your dreams, you have your ideas and thoughts.
Okay, so here are a few BEFORE pictures to give you an idea of pain points of our old kitchen.
Our Before Kitchen
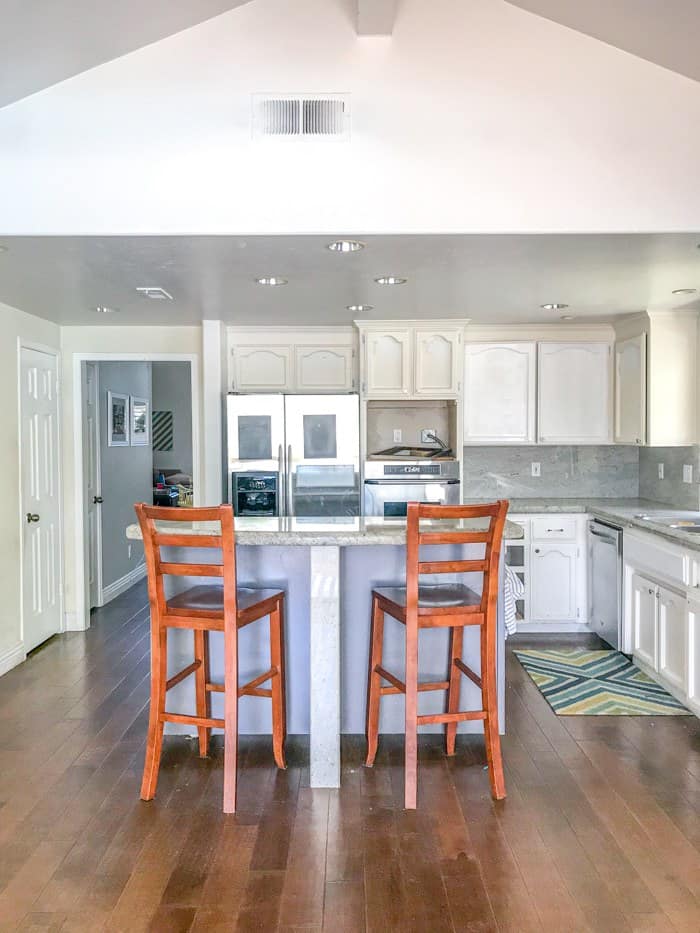
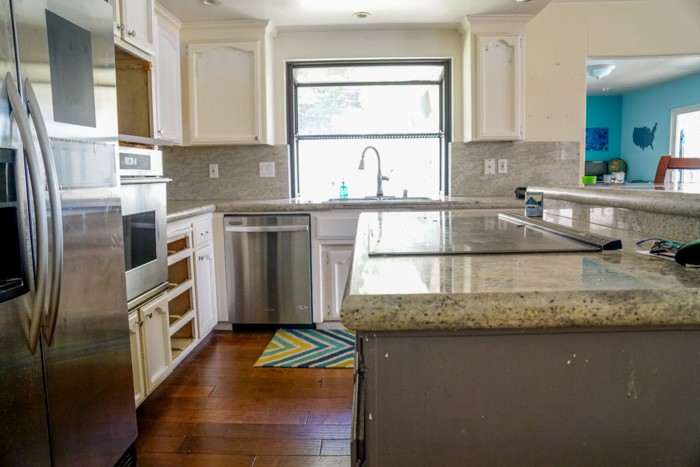
Fun fact, the day we moved in, these cabinet faces had pink and blue flowers painted at the top of each kitchen cabinets. YUCK.If you look closely, our sink was never centered on the window. I was told that it was because the dishwasher was pushing the sink to the right. Speaking of dishwasher, when it was open and being unloaded, I was unable to put away 85% of the dishes as they were in the cabinets beside and above the dishwasher. NO BUENO.
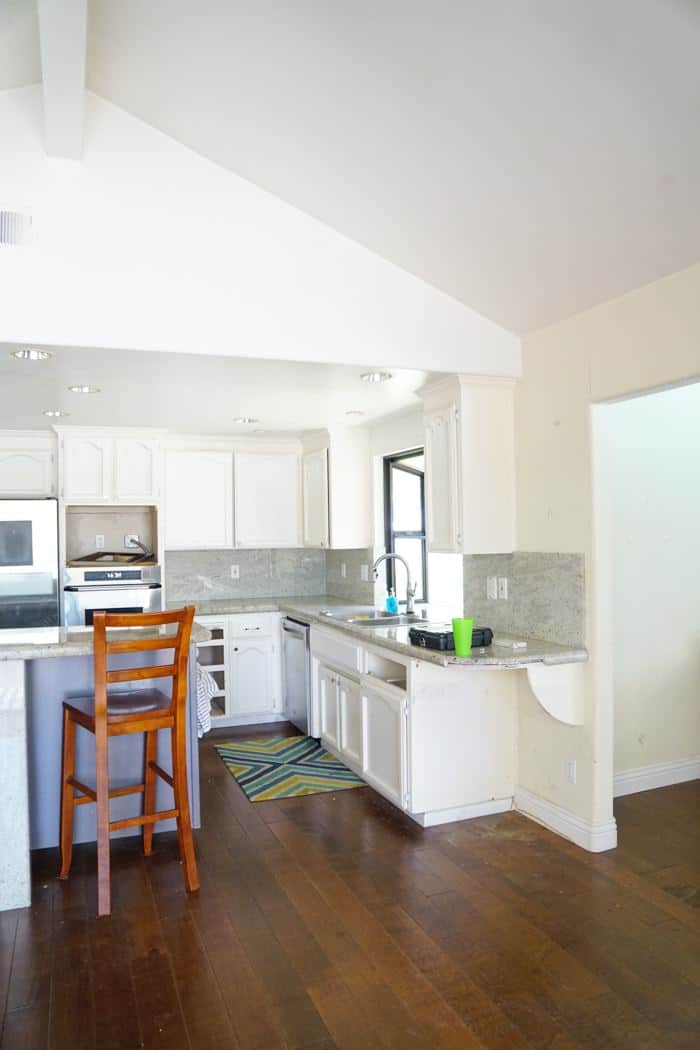
Challenges with the before kitchen
There are two things you will see from this picture.
- The drop ceiling. Not sure why they did not want it to go all the way up to the wall line, but that was the first thing we discussed because dropped ceilings mean, lost cabinet space.
- There is a huge missing cabinet area at the end of the right cabinets. We need storage, not random open spaces.
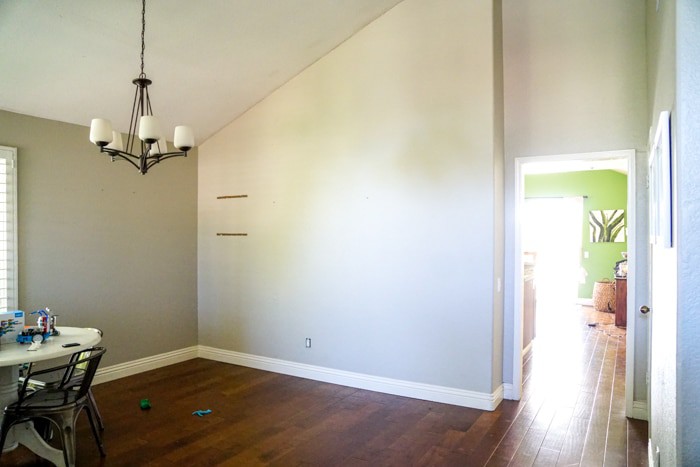
This is the view of our kitchen when you walk in the front door and from our living room. My husband thought I was crazy to think we could remove this wall, but what is important to remember is that nothing is IMPOSSIBLE.
There may have to be some concessions, but not impossible. We were quoted approximately 5 thousand for a load bearing beam in place of the wall as reference.
I was craving an open concept and so this wall needed to come down to make this happen.
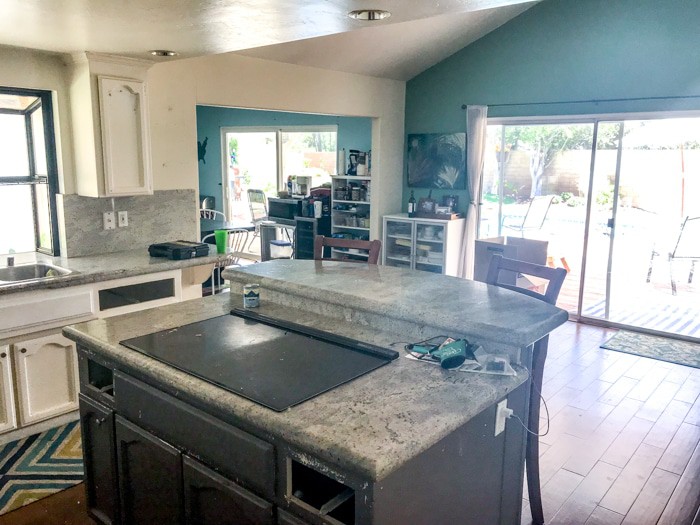
Ahhh, the worst island in history of islands.
First, the cooktop on the island. Uggg!!! I get that there wasn't any other place to put it, but I will tell you, every single party we hosted, everyone would gather around this island, and there was no where to put anything or anyone. I would stand in front of the stove top because it was electric and hard for people to know if it was on or off, or hot or not.
Also because the stove top was in the island and the down draft of vent, there was a gigantic tube in the middle of the island which left very little room for storage in the island. Lastly, I am also not a fan of the two tier kitchen island.
Okay... Now onto the new and improved kitchen. Here you have it!
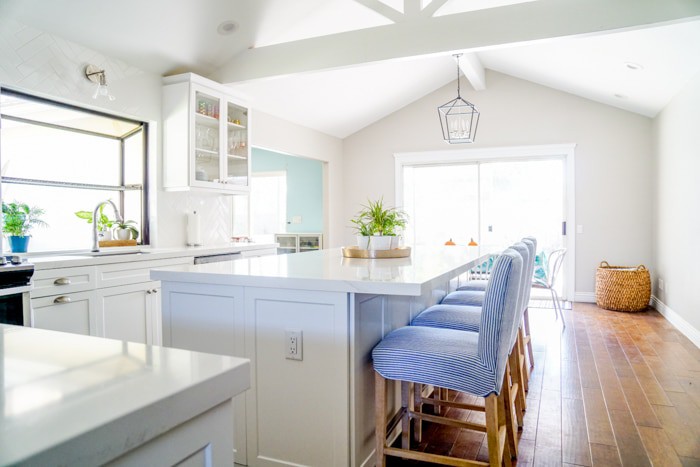
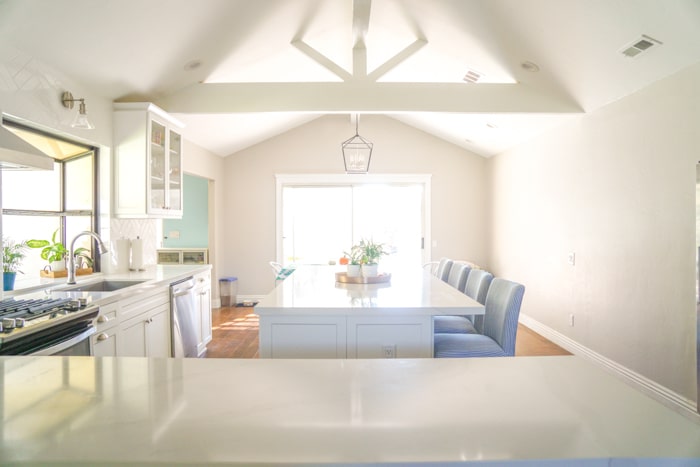
Our Modern White Kitchen

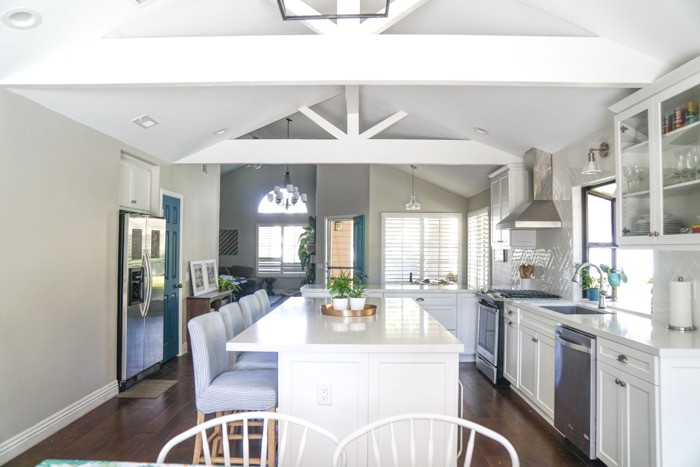
You can see from this angel that we got rid of the drop ceiling completely. Initially we had planning on just shifting the drop ceiling up to the wall line, but after seeing the amazing beam that ran through the entirety of the kitchen we decided to pitch the ceiling in the kitchen.
We went with a classic white kitchen.
Removing a Wall
 Removing a Wall
The biggest change of the kitchen was removing the dreaded wall. By removing that wall, there were a few items that needed to shift.
We relocated our refrigerator, oven, and microwave. Truth be told, that was the hardest part of the whole planning process. Trying to figure out where to put everything. Once we had that planned, the rest was fun.
Modern Sink
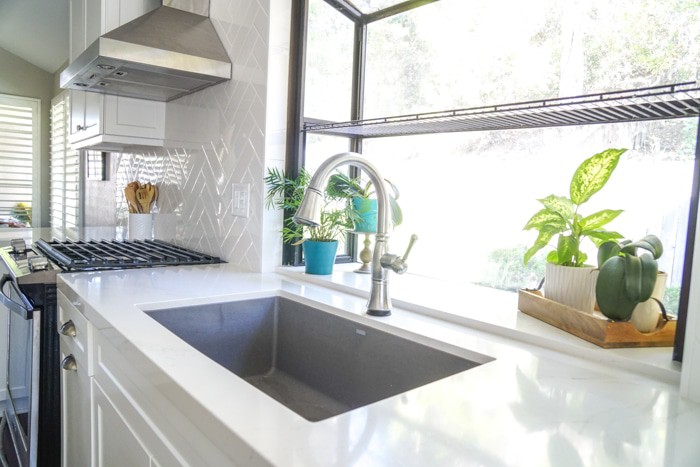 Modern Sink
Our sink was centered!!!
We went with this metallic granite sink rather than a farmhouse sink. We knew we wanted something that we could bang our pots and pans in and not do any damage to it. The actual sink we went with is listed at the bottom and was around the $300.
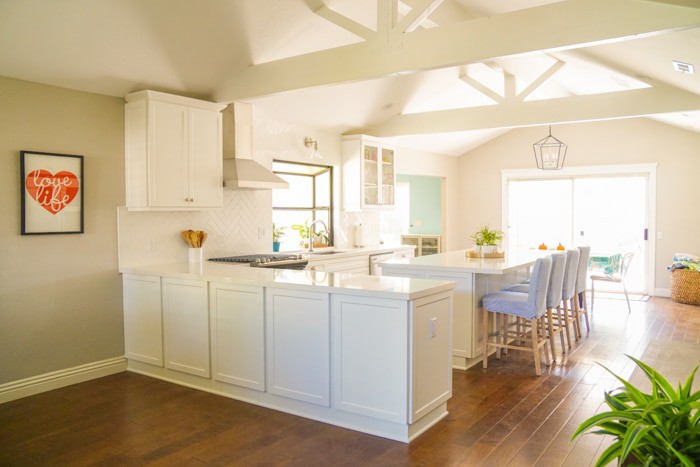
Large Center Island
We went with a large one level island.
For those that might not know with a standard cabinet height counter, you want counter height bar stools, not standard bar stools. The rad bar stools we bought are listed below.
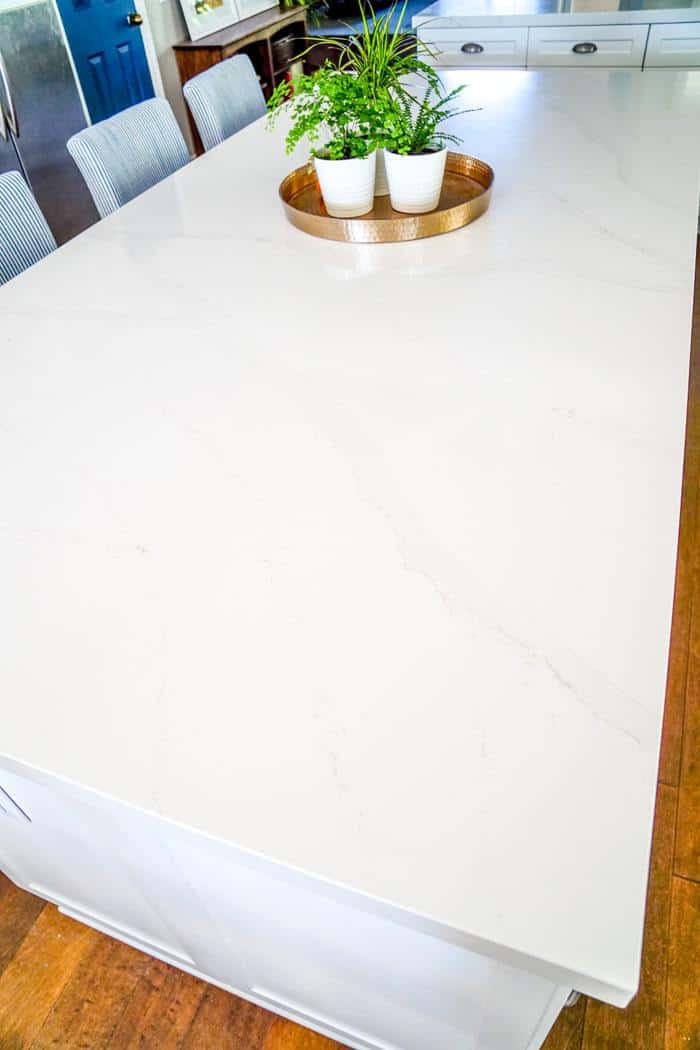
I absolutely love the white marble countertops. Knowing we are harder on our counters, we went with a white quartz for the counters with a slight veining.
I was very particular about making sure the veining was not too dark and so we ended up paying much more than estimated for three slabs. Contractors can typically get your counters at a discounted rate through them, but just for reference I found that all slabs I priced out (retail) were between one to three thousand a slab.
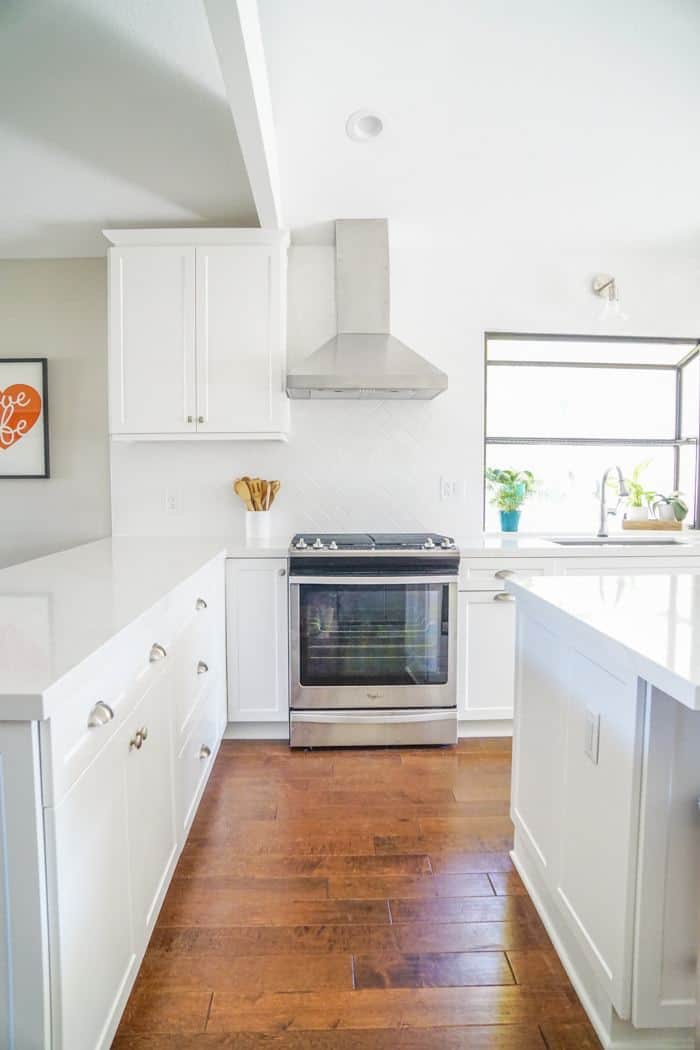
Simple White Shaker Cabinets
In terms of cabinets, as you can see we went with simple white cabinetry. White cabinets are my absolute favorite and we went with a shaker style kitchen cabinet.
For the uppers we considered open shelving too. I adore the look and would have considered it, if we had more cabinets throughout the kitchen. While we were upgrading the amount of cabinets in this kitchen , there was not a ton of extra room after losing the pantry.
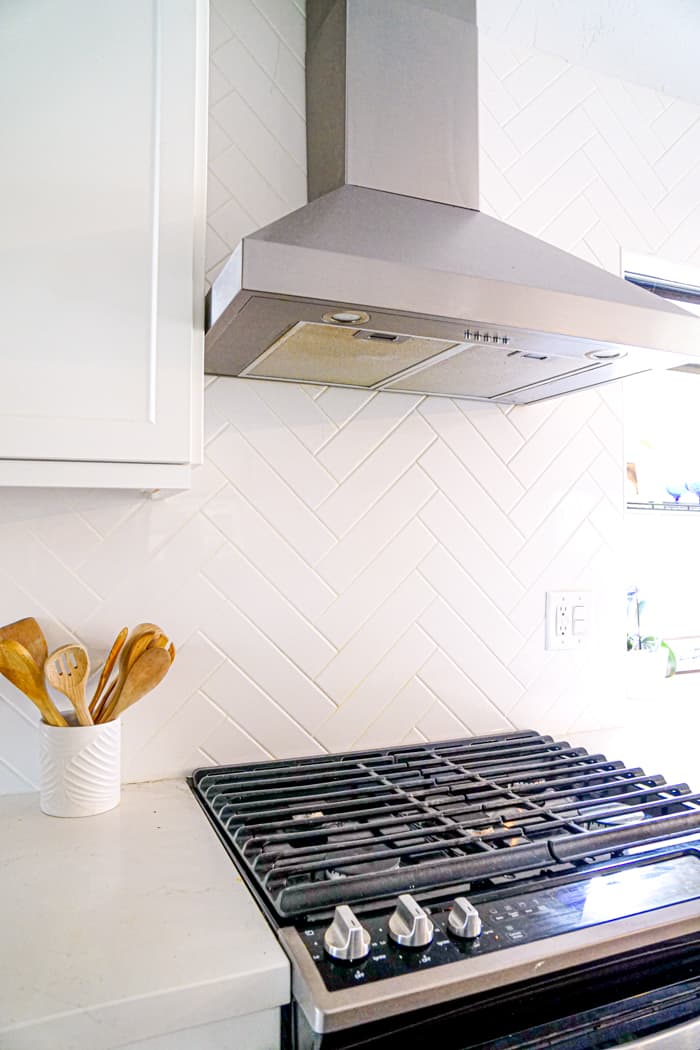
Herringbone Backsplash
For the backsplash, we went with a large subway tile and laid it in a herringbone pattern. We went with a white grout as opposed to the more traditional farmhouse kitchen look with black or grey grout.
Personally, the darker grout makes me feel like the grout is dirty. Its a preference thing.
Kitchen Flooring
The floor was re-threaded where the wall was previously and it looks like it was always there. Cost on this will depend on your flooring. For our in particular we needed 3 boxes of extra boxes of wood flooring.
We are so so HAPPY with the results of the new kitchen. I'm always HAPPY to answer any questions you might have, so shoot me an email. I have been getting a ton of questions about fixtures and appliances, so I made a list below for reference.
White Kitchen Ideas
SOURCE LIST (HAPPY KITCHEN)
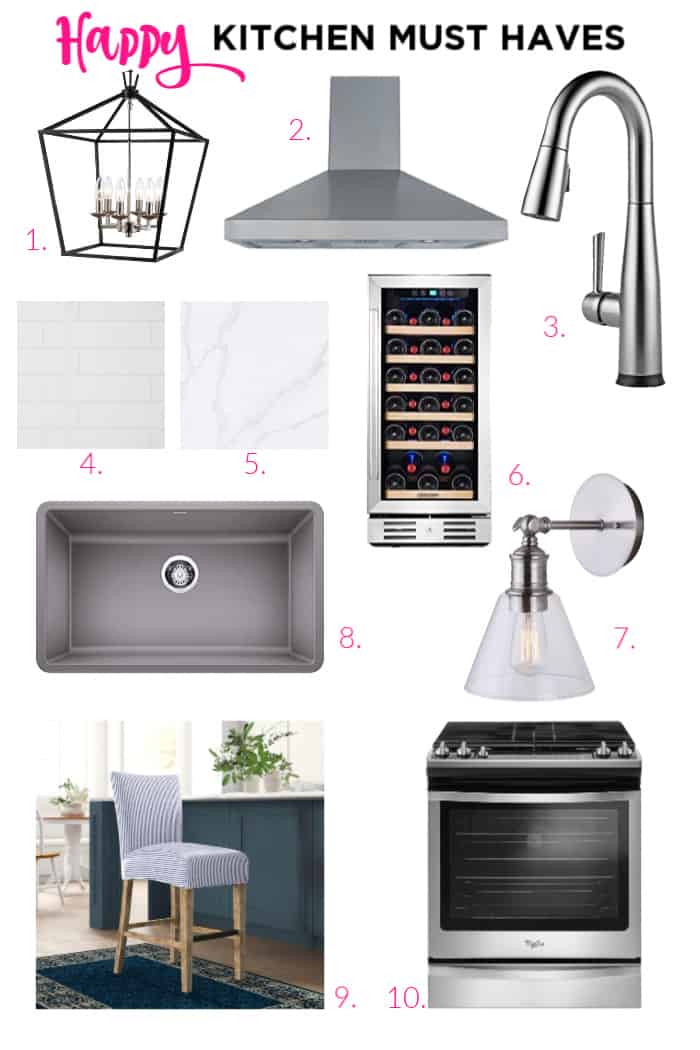
- Geometric Chandelier
- Range Hood
- Single Handle Faucet
- Ceramic Wall Tile
- Countertops
- Wine Cooler
- Armed Sconce
- Metalic Grey Sink
- Stool
- Gas Range
[show_shopthepost_widget id="4006614"]
HAPPY Kitchen Tour!!
Other Remodel Projects You'll Enjoy
- 3 IMPORTANT STEPS TO WALL STENCILS + GIVEAWAY
- FIFTY DOLLAR BATHROOM MAKEOVER
- MODERN FIREPLACE MAKEOVER
- DIY Treehouse
CONNECT WITH MADE WITH HAPPY!
Be sure to follow me on social media, so you never miss a post!
Facebook | Twitter | Youtube | Pinterest | Instagram
Find and shop my favorite products on my Amazon storefront here!


