

For those that have been following along at home, know that my house although a great house, I would be definitely classified it in the "fixer upper" category. When we bought the house, we were happy with the layout and structure of the house. Meaning it didn't need new roof or walls or anything of that kind of fixing up. It was more the ascetics of the house that we weren't as pleased with... like every door, door frame, and base board was painted this murky beige tone instead of bright white that we prefer. In any case, over the years we've tackled each eye sore as we can. From the home office to the backyard.
Now if I hit the lottery tomorrow, I can tell you my to-do fixer upper list would get checked off a ton quicker then it is currently, but the reality is that we're like any other family and funds get tight. When that happens, some improvements get put on hold or you have to get creative on how you spruce up a space with limited cash. To this I say... Challenge Accepted!
Want to save this project?
Enter your email below, and then we'll send it straight to your inbox. Plus get awesome new projects from us each week.
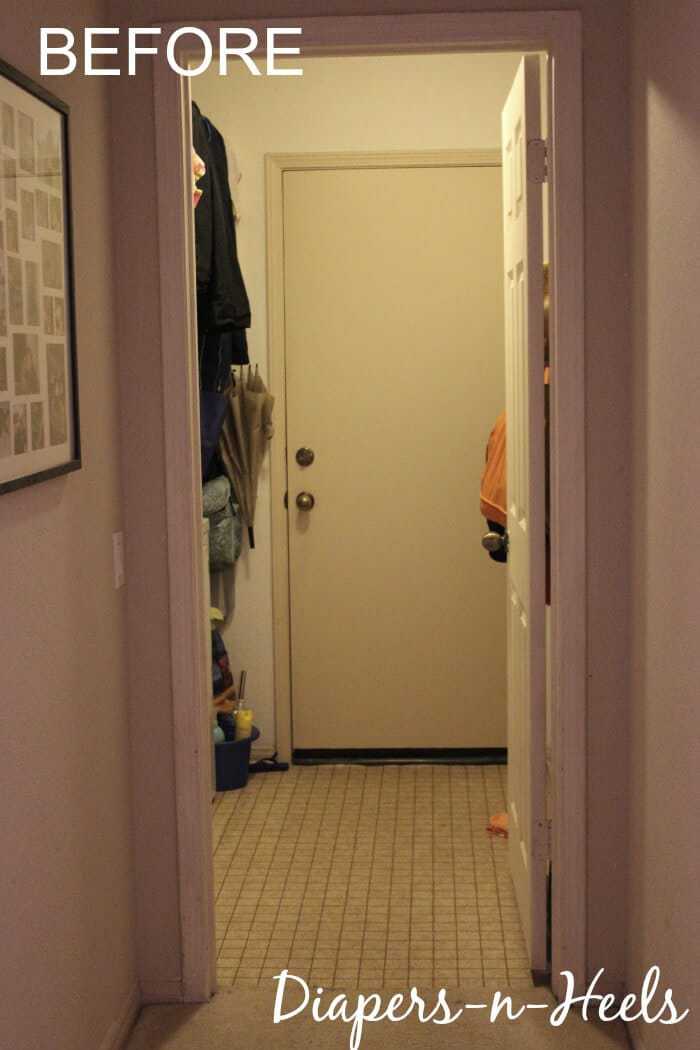
Going down the list of spaces and the improvements for each, I started thinking about our laundry room. Really the only thing that space needs (with the exception of the floor that will be replaced with all the other floor in the house) is some organization and fresh coat of paint to brighten it up. Okay, I'm going to show you a pic of our laundry room before (no laughing). I wasn't lying about the murky beige color on EVERYTHING from doors to cabinets and shelves. YUCK. Okay, yeah the floor are hideous. Our laundry room is at the end of the hall and connects the house to the garage. The lighting is terrible in there and it had become the collect all room of all kinds of things and was so cluttered and depressing that I knew this has to be my next project.
While I promising to share with you the full laundry remodel very soon, I did want to share with you what I decided to do to the main wall opposite of the washing machine and dryer (on the right side of the above picture). Oh yeah, you've read the title and already know. Get to the point Alli 🙂 Okay okay, I decided that would be the perfect wall to rock a great stencil. WOOHOO!
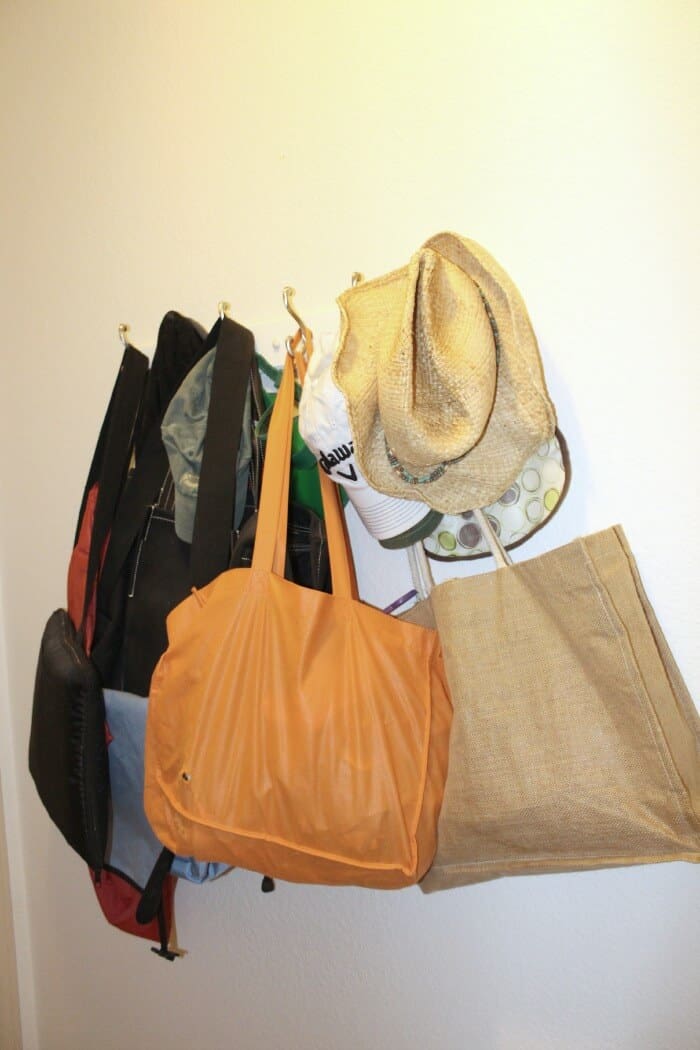
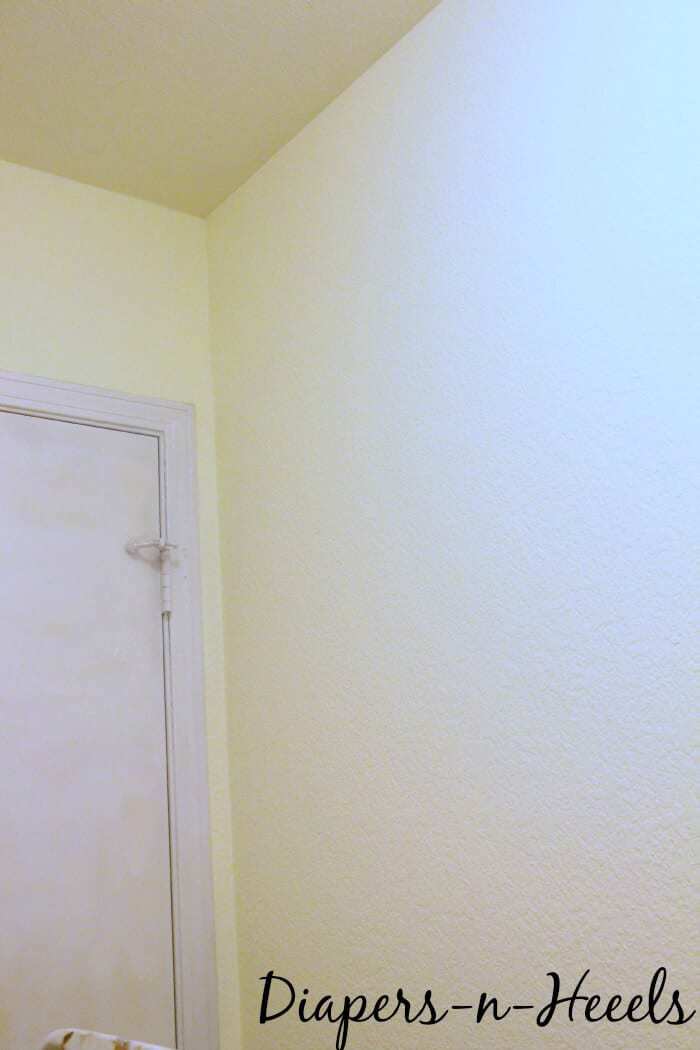
That is when I reached out Cutting Edge Stencils and told them about my "big plans" for my dungeon of a laundry room. They were awesome and sent out one of their great stencils for me to try. It came just a few days later and voila, its Laundry Room Makeover time!Step 1: Remove all the clutter from the walls. We have simple hook rack on that wall that had become the collection of apparently every bag we own. Step 2: New coat of paint over everything in that room. Ultra White for the cabinets, doors and shelves and a fresh coat of paint on all the walls. I wanted something that would really brighten up the space and continue with the look of the rest of the house, so I opted for a "Lemon White" on the walls.
Step 3: Its time to stencil!
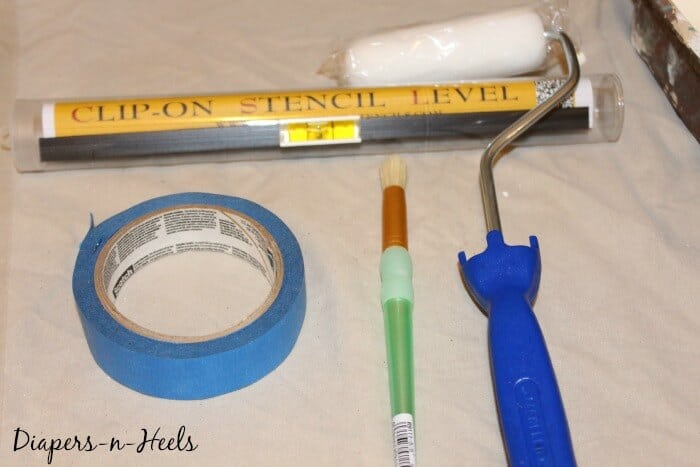
Stencil Supplies:
- Stencil (of course)
- Stencil level - comes with the stencil - useful
- Painters tape
- Paint Roller and/or Stencil Brush

The full instructions on how to stencil are on Cutting Edge's website, but there are a few things I learned (as a regular joe-anne) that I think are super duper important when stenciling a laundry room in particular.
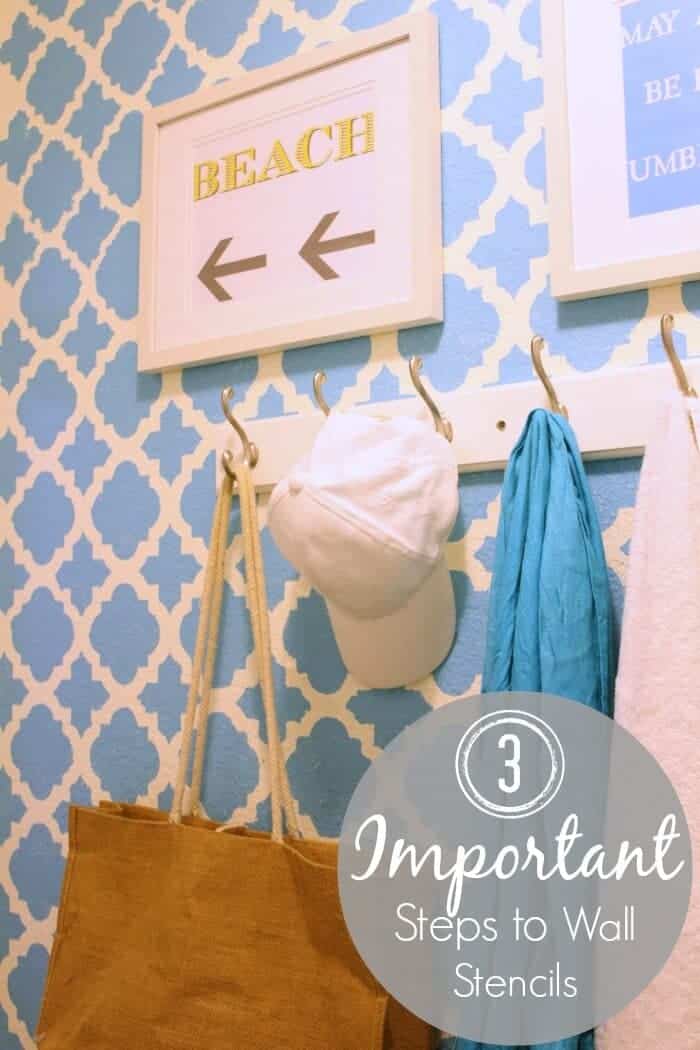
3 Important Steps to Wall Stencils
- You very well might say... umm duh to this one, but remember to not try and apply stencil in the laundry room when the dryer is going. The humidity makes it virtually impossible for the tape to stick to the walls even with ventilation or fans. Learned the hard way people
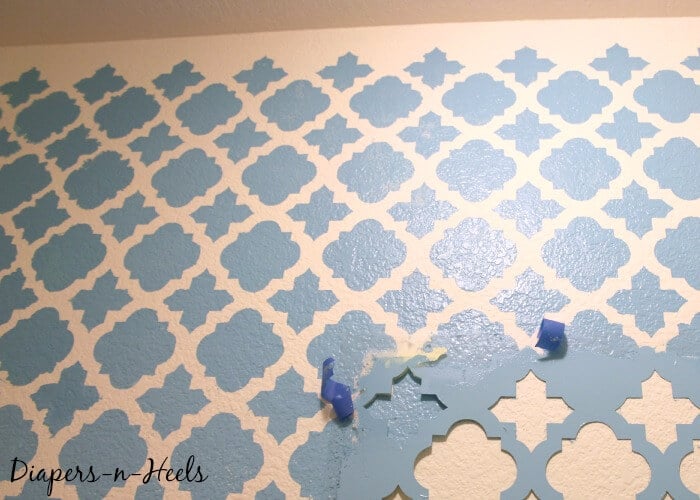
- Be mindful when picking a color for the stencil. There should be some contrast in the paint color. I went through two different paint colors that were shade or two different from the base color and you couldn't see them. Always a safe bet talking to the paint professionals about your color choice. On my third trip back to the store, I told them how my base was a tinge yellow and I learned how it can be a difficult color to paint over. Who knew?
- In the instructions, they say to not over load your roller with paint and to use light to medium pressure when rolling onto the wall. This is super important. I read it, but tend to be more of medium to high pressure when painting a wall to ensure coverage and there was you will have bleeding paint all over the place. NO BUENO my friend, NO BUENO! Lightly roll it on and the coverage will happen.
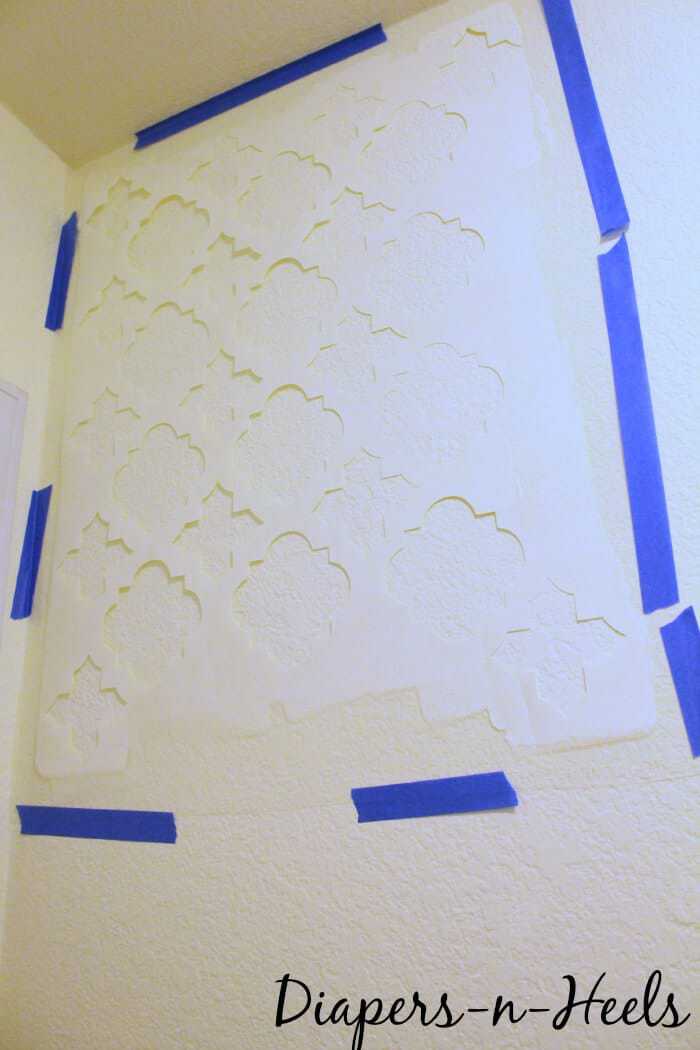
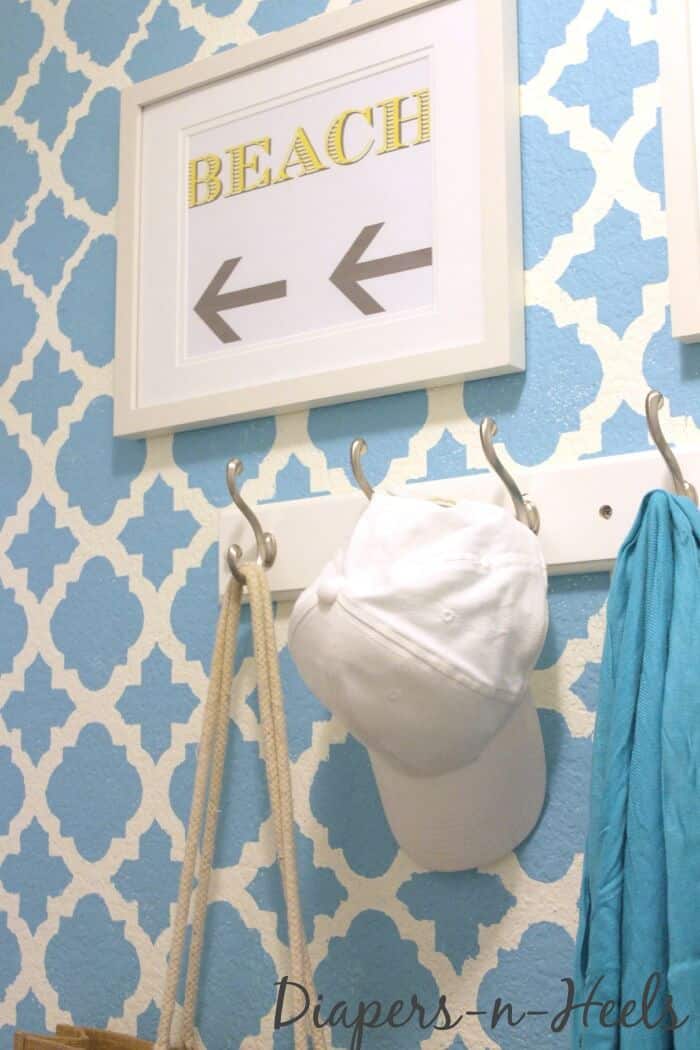
I'm super excited by how our wall turned out even though we went through 3 different color choices. Here's how it went down.Stencil up and ready.Applied it starting on the left and moving right.Once your done, you add back any wall touches like hook racks and art pieces. Viola - you have yourself a bright and airy space instead of a dark and dingy dungeon! Yay! What do you think?
Giveaway
We loved how great our laundry room turned out using our stencil that we wanted you to have a chance to win one for yourself and your home! WOOOHOO!
We're making it easy for you to win. Head over to Cutting Edge Stencils and then leave us a comment below letting us know what stencil you'd love to have and where you'd paint it. One winner will be picked (using random.org). Easy Peezy! This giveaway will close on March 13th at 11:59pm PST. Winners will be chosen and notified within 24 hours.
If you're looking for more DIY inspiration, here are a few other projects you may enjoy:
You can also find other inspirations on our Home Pinterest Board
Follow Alli Ward's board DNH: Home on Pinterest.
Disclaimer: Cutting Edge did provide me with a stencil for review purposes, but all opinions are my own.
OTHER REMODEL PROJECTS YOU MIGHT ENJOY
- LIFE WITH KIDS - KITCHEN REMODEL
- MADE WITH HAPPY KITCHEN REMODEL
- FIFTY DOLLAR BATHROOM MAKEOVER
- MODERN FIREPLACE MAKEOVER


