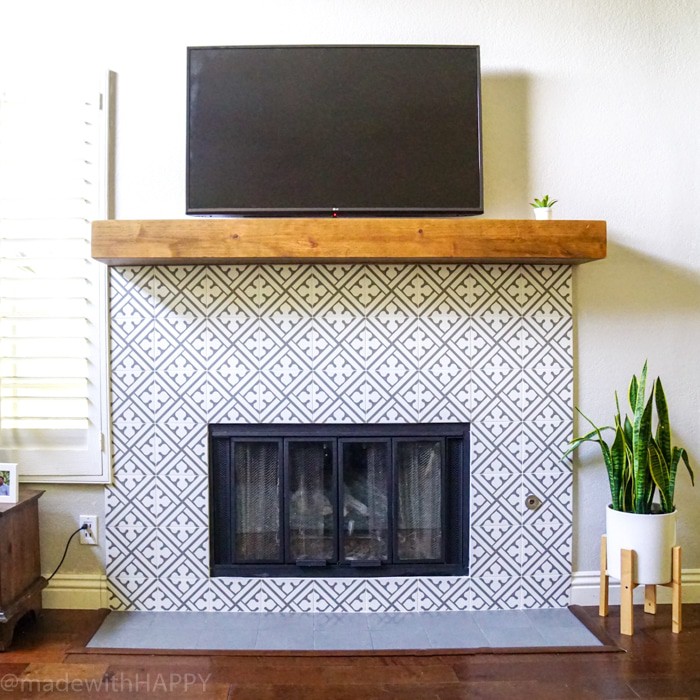
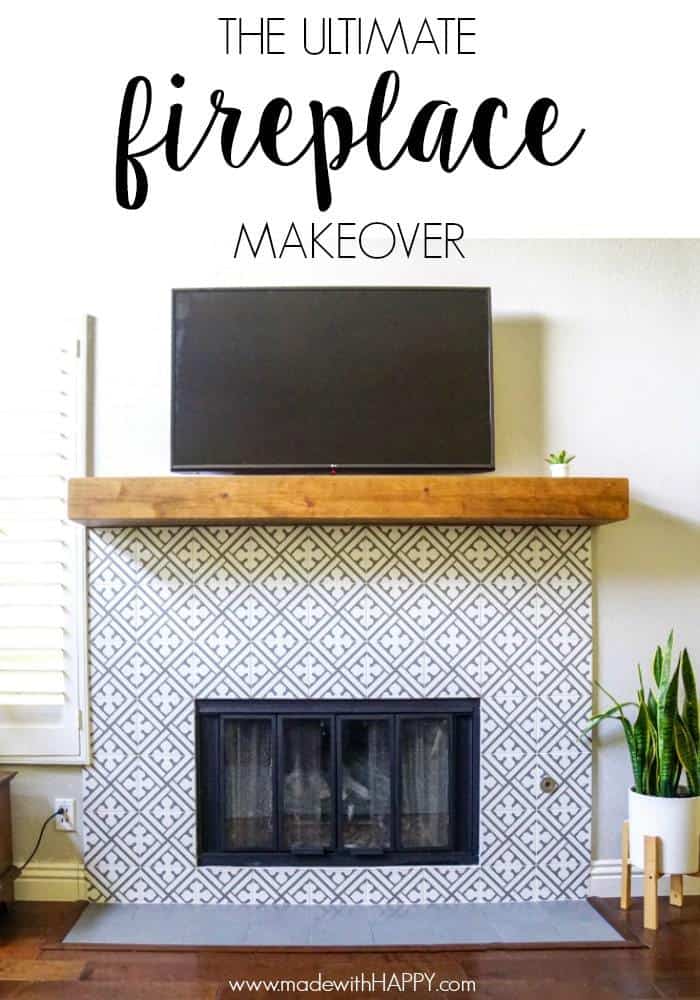
We are showcasing our modern fireplace makeover and turned our outdated 80's fireplace into this modern fireplace.
Want to save this project?
Enter your email below, and then we'll send it straight to your inbox. Plus get awesome new projects from us each week.
Want to save this project?
Enter your email below, and then we'll send it straight to your inbox. Plus get awesome new projects from us each week.
We have lived in our house for 11 years and I have struggled with looking at our fireplace for 11 years.
- There was no real mantel. The drywall box that was there was about 3-4 inches in depth, not leaving us room to place anything on the mantel.
- I tried everything to remove the black soot, but tiles were porous and it was stained.
- The pony wall really served no point other than collecting random items.
- It was ugly. Okay, so this isn't really an issue other than I really couldn't look at it any more.
After scouring the internet, coming up with a game plan for the space (and convincing the hubs its not that big of a renovation) 🙂 , it was time to demo.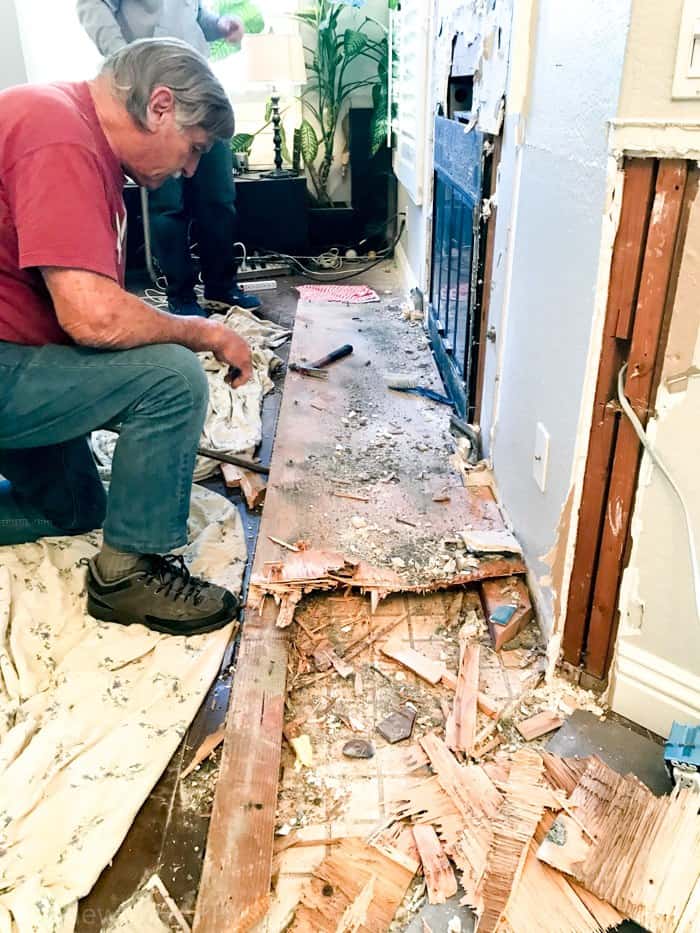
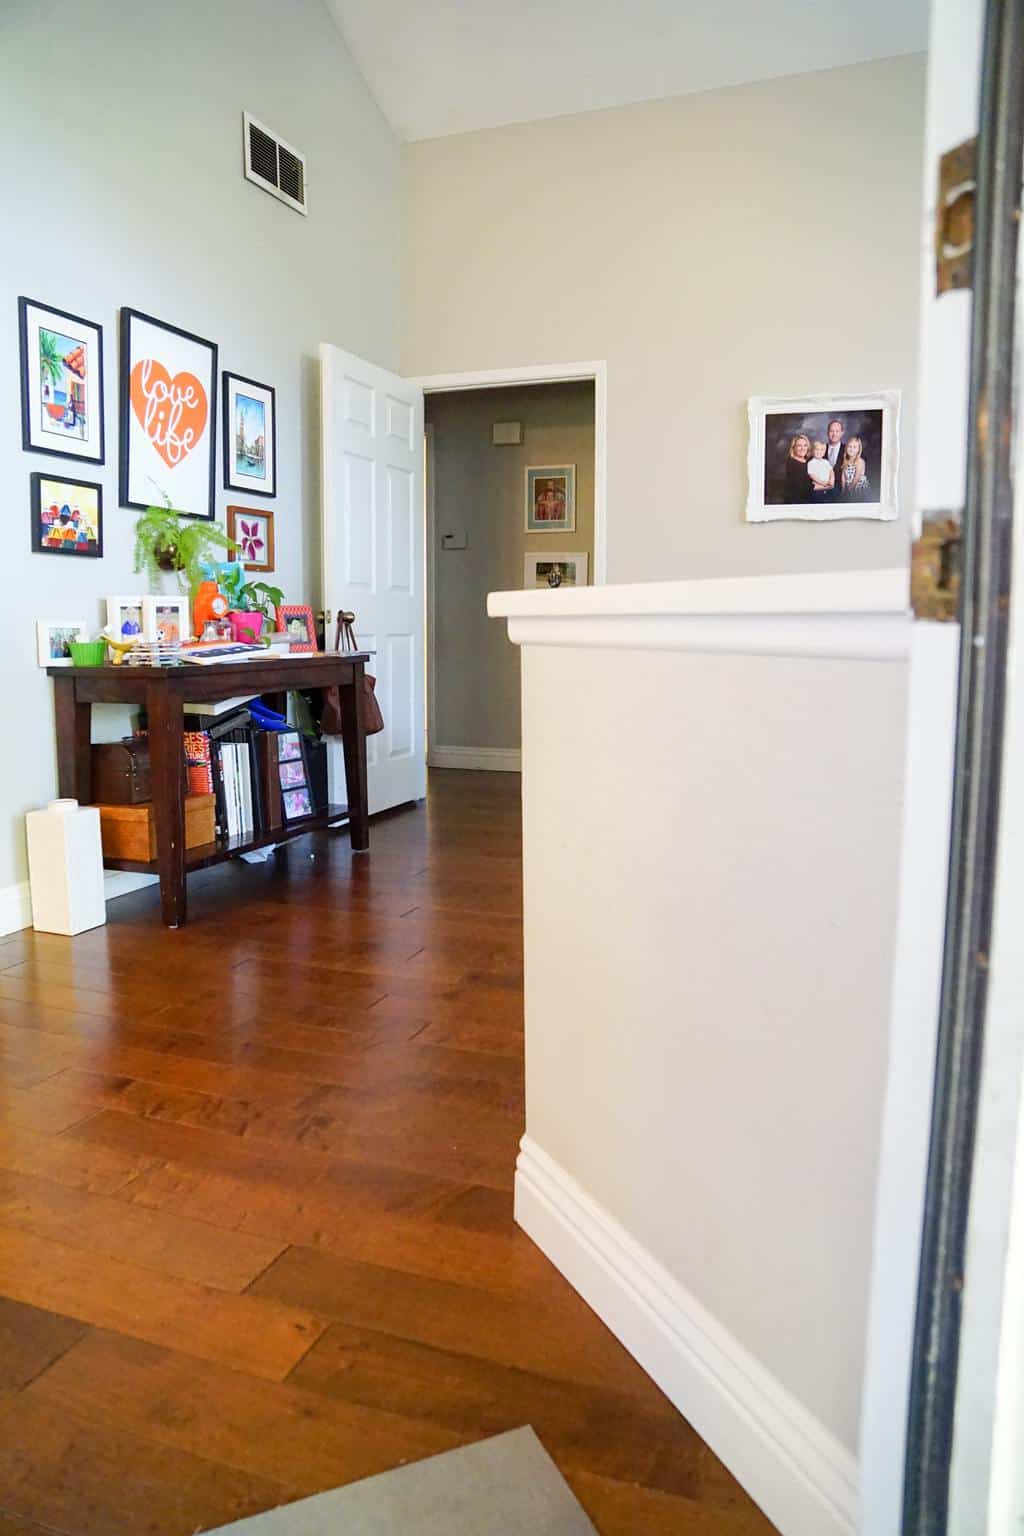
Once we had the space cleared, I was able to layout the design. There are a few things to keep in mind when designing a fireplace makeover like this
- How big is the space? - The wall that our fireplace is on is quite large and has vaulted ceilings, so we were able to go higher up with the tile than if say it was a 10 foot ceiling.
- Are there any other design elements that need to be considered for that space. For our space, we have a window on the left that needs to be considered for the design. Also, we really wanted to move the TV to above the mantel, so making sure it wasn't too high to watch, was also a consideration.
- By law, the hearth in front of the firebox must be a non-flamable material. Check with your state on dimensions. So considering the tile for that is also part of the design.
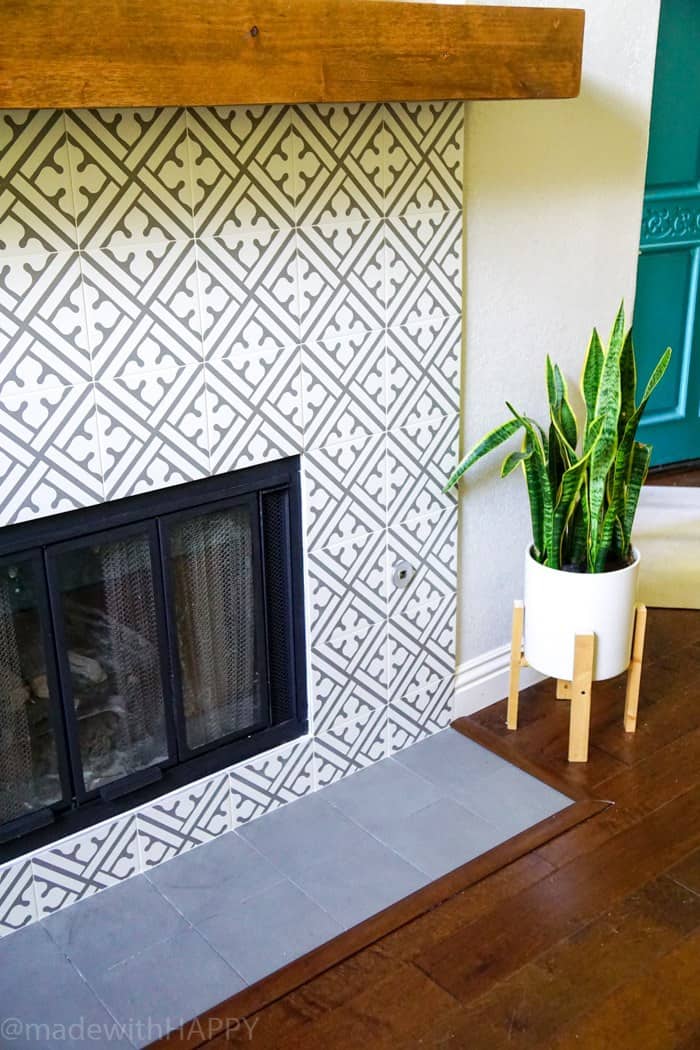
- The cost of cement tile is more expensive, but not necessarily how you think. In a number of cases, the minimum purchase of cement tile is 50-60 square feet. Even with excess tiles, our space would at the most be 20 square feet, and so it did not make sense cost wise for a single project like that.
- Cement tile is porous. It would need to be sealed, and maintained to make sure soot would not stain the tile like what happened to the travertine we had prior. To be honest, this was the bigger of the two reasons for me. Ceramic tile is already sealed and would not need any upkeep to it, making it a better option for us.
Once I found a tile I loved, then it was time to figure out how many tile we would need for this project. We decided we would have three full tiles above the fire box and two wide. The challenge came when measuring cuts and how it would fit around the firebox. I do not have CAD skills, but am pretty handy when it comes to math, so I created a rough design based on the outer edge of the firebox, where the tile was mounted prior.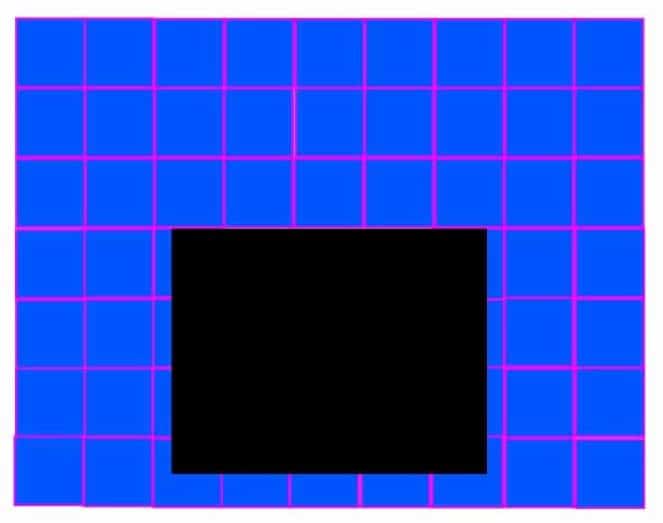
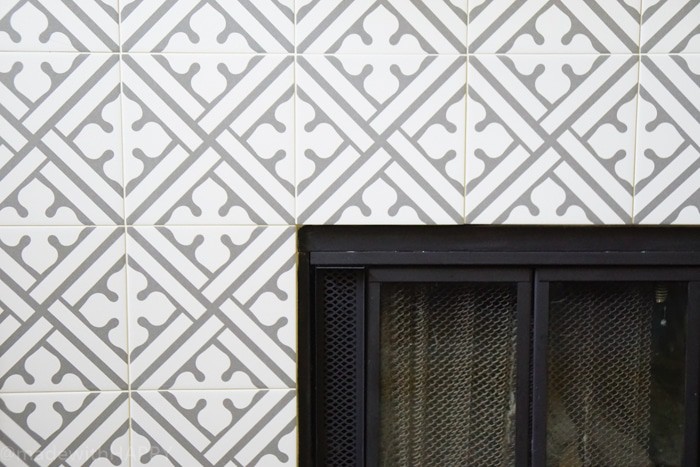
The two remaining pieces of the fireplace makeover were the mantel and mounting the TV.
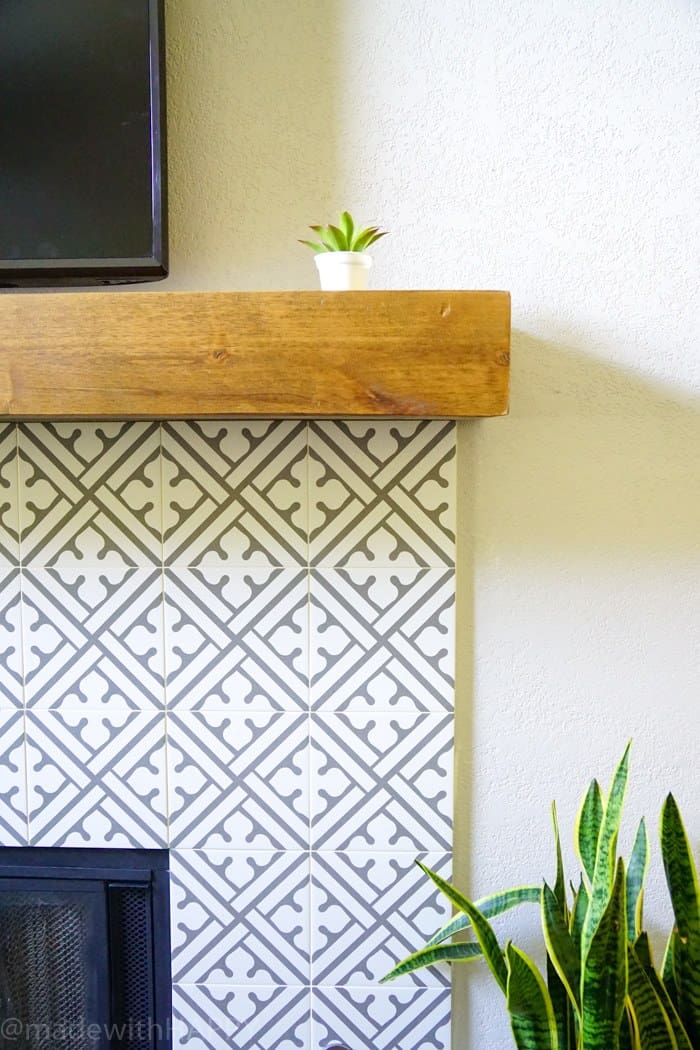
As for the tv mount here are the supplies we used.
And really that is the gist of the fireplace renovation and full fireplace makeover.
There were a number of steps in between that I'm happy to explain further for those that are looking. Like the feeding of the electrical outlet up to behind the tv. Or the hdmi boxes we places behind the tv and then down below. There were also pieces of the renovation we hired out. We hired a texture expert for our drywall texture, the flooring folks to lace in the wood pieces where the pony wall once was. These things can be done yourself, its up to you to whether you feel it needs to be hired out.
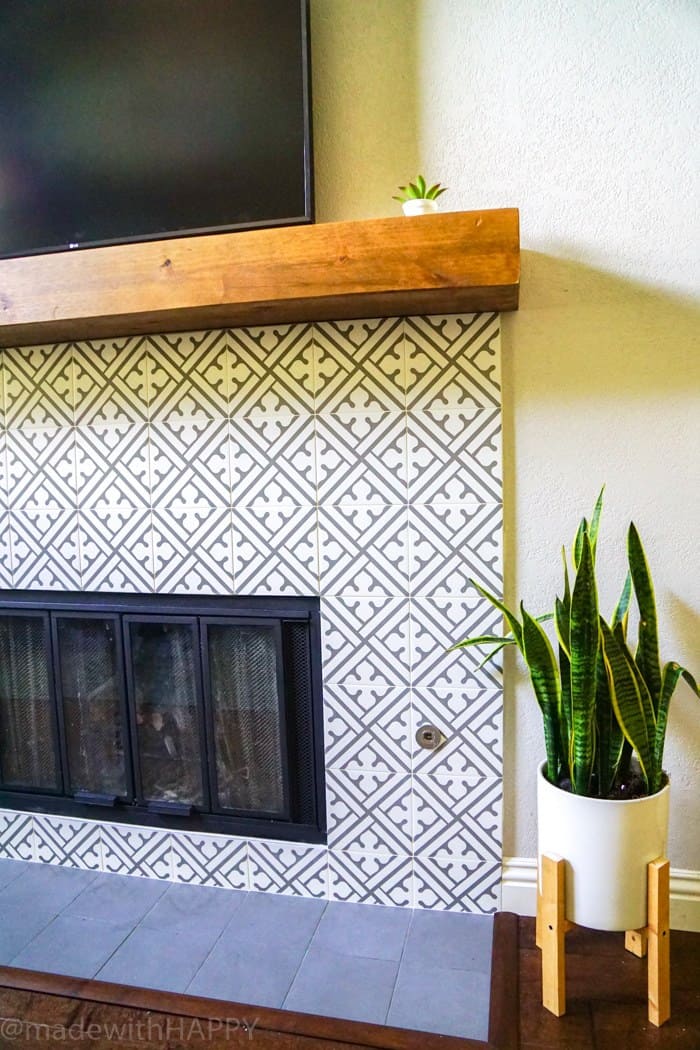
Fireplace Makeover
PIN IT TO YOUR HOME DECORATING BOARD ON PINTEREST!
FOLLOW MADEWITHHAPPY ON PINTEREST FOR MORE GREAT HOME/DIY OR DECORATING IDEAS!
 HAPPY Constructions my friends!
Some of our other favorite home DIY Projects:
Made With HAPPY Treehouse



 HAPPY Constructions my friends!