Sharing how to make a treehouse roof. We are framing the treehouse and sharing all the fun for the DIY Backyard Playhouse.
Want to save this project?
Enter your email below, and then we'll send it straight to your inbox. Plus get awesome new projects from us each week.
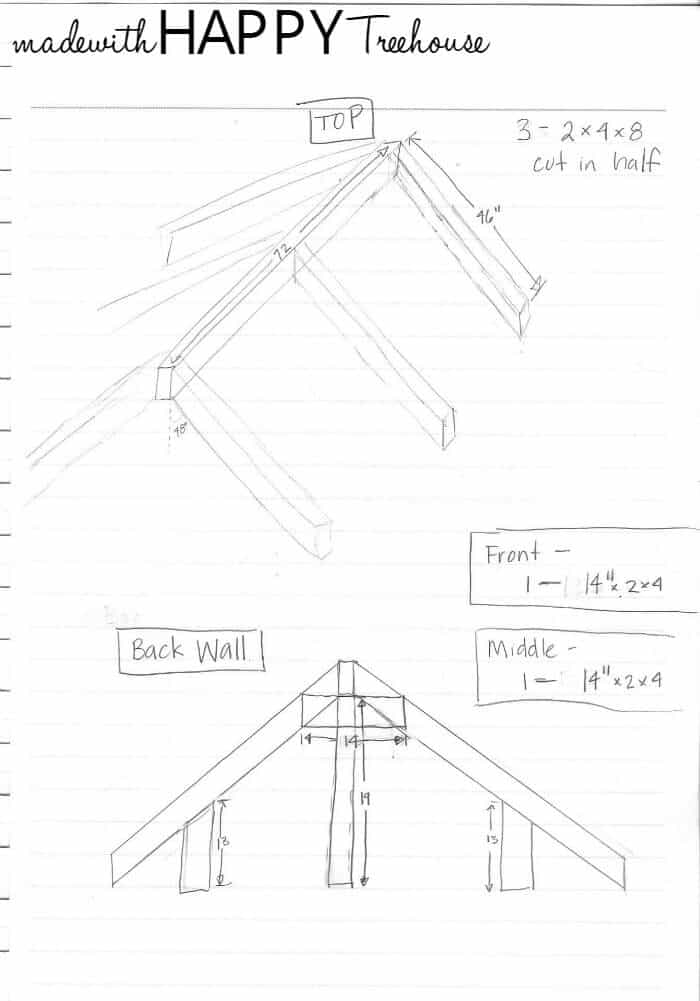
Below are the long awaited plans for the Made with HAPPY Treehouse Roof. We busted out our trigonometry skills and are so proud of what we've created.
Making a Treehouse Roof
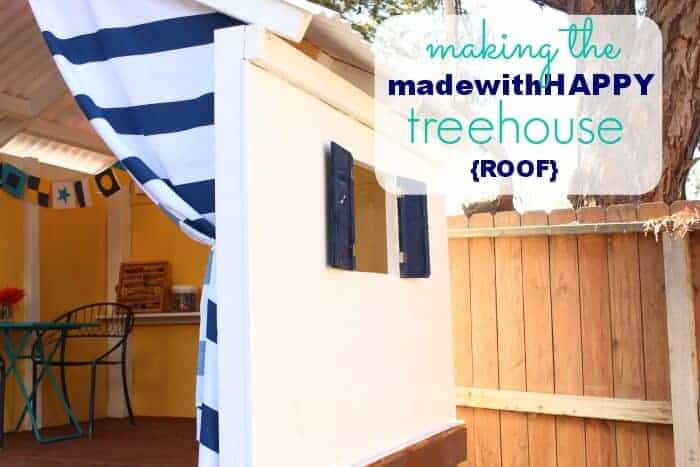
For reference, we have finished the base and frame of the treehouse as well as the floor and Stairs. Now we are working on the roof and then we will talk through the walls and windows after that. Here are the each of the sections for reference.
Supplies
- 4 - 2x4x8
- 3 - 2x4x6
- 3 - 26 in. x 8 ft. White Polycarbonate Corrugated Roof Panel
- 2 - 36 in. Horizontal Foam Closure Strips
- 1 - 6 ft - 2 inch White Roof Edge Flashing
- Midersaw
- Drill
- Metal Sheers
- Same box of 3 inch gold wood/deck screws that we've used for the entire treehouse
Before I start talking roof and cuts, its important to note that we are NOT contractors or carpenters by any stretch. Roof pitch can be a bit confusing, but I will tell you how we did it, and please know that you can modify to what suits your treehouse best.
The first decision we made when it came to the roof, was how tall you want your treehouse. As I mentioned in the beginning, we were concerned with it showing too much over the fence to our neighbors.
The inside of our treehouse at the middle is 5.5 feet. If you want it taller, you will have to adjust, or if you want it shorter.
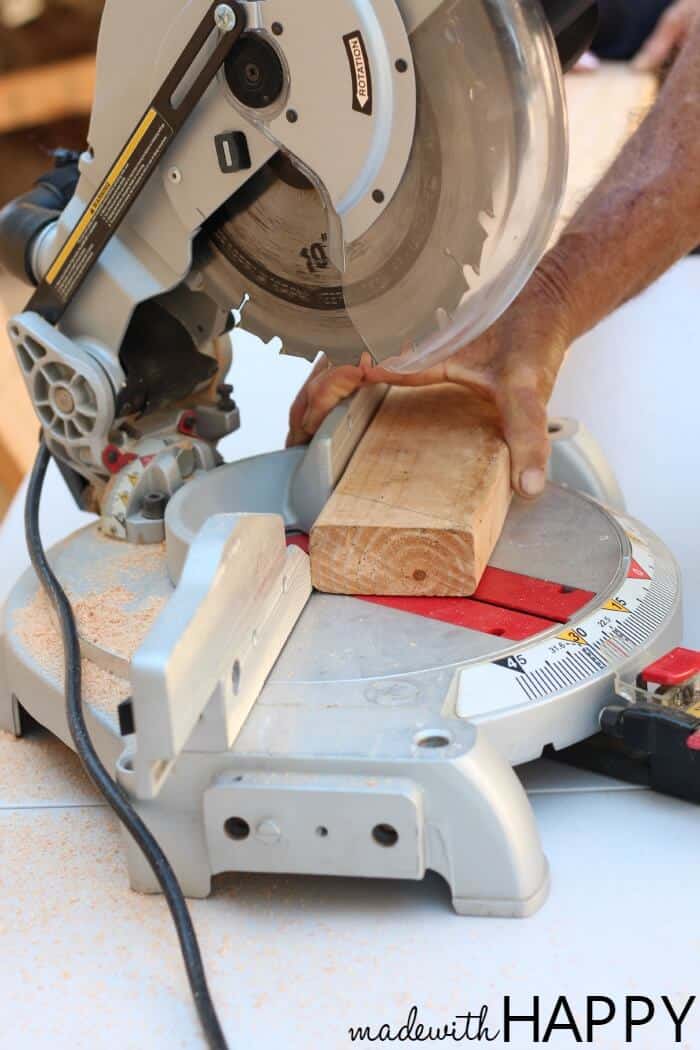
Wood Cuts
Simple straight cuts first
- using 3 of the 8ft 2x4's we cut 6 at 46 inches
- using the 4th 8ft 2x4, we cut 3 14 inch pieces. These will be used to hold the middle main beam of the roof
- 1 - 19 inch piece
- 2 - 13 inch pieces
- the last two 6 ft. 2x4's are for bracing between the three triangle frames. You will want to hold off on cutting these till you get to that part.
Roof Pitch
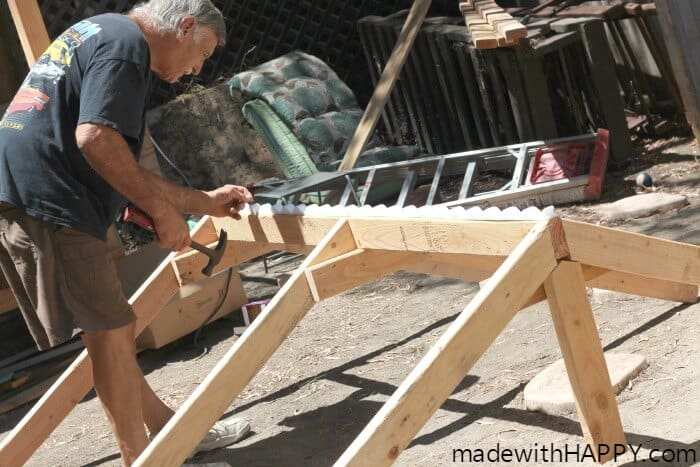
We decided that it would be easier for us to frame the roof on the ground and then lift it onto the treehouse after its framed up.
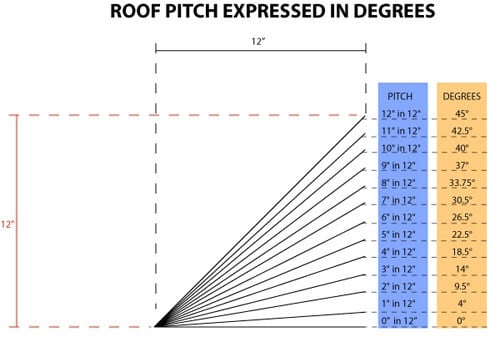
First things first, as I mentioned before, we decided on a height we wanted the roof to be, so that is how we came on the 19 inch back piece that would brace the roof on the back wall. From there it was time to determine the pitch of the roof based on that middle piece. There are official ways to do this, and we found this great resource from MyMilesCity
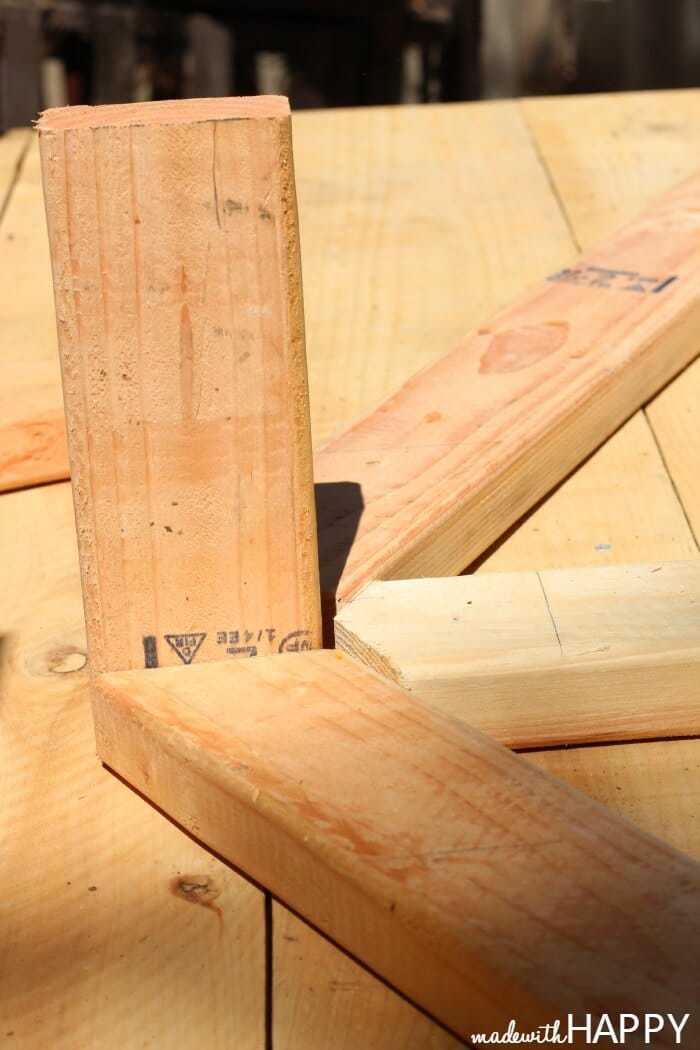
I believe our pitch approximately 62 degrees (28 degree cut), but ease your way into the cut and measure till you have it right.
Also, one thing to remember is that you want your roof to hang off the side of the treehouse a bit for water protection. Ours was approximately 4 inches off each side. When you go to cut the angle, you want to make sure you're keeping your longest side at 46 inches.
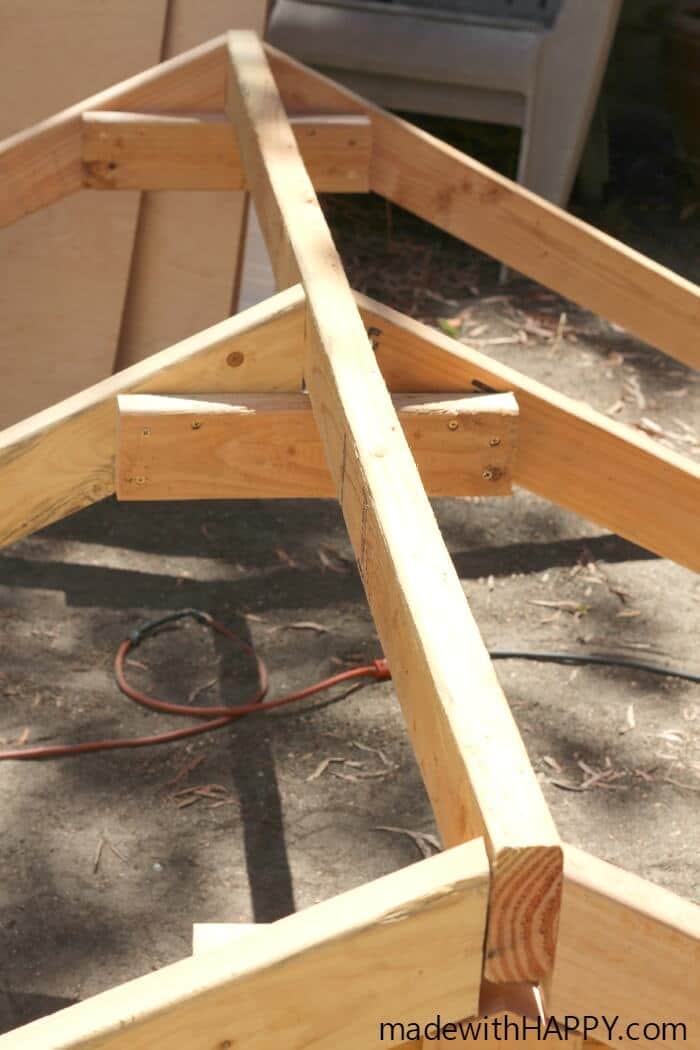
Treehouse Roof Framing
As you will see in this picture, we used a scrap 2x4 in place of the main roof beam for ease. The main beam will be the last piece to be secured into the frame before the roofing.
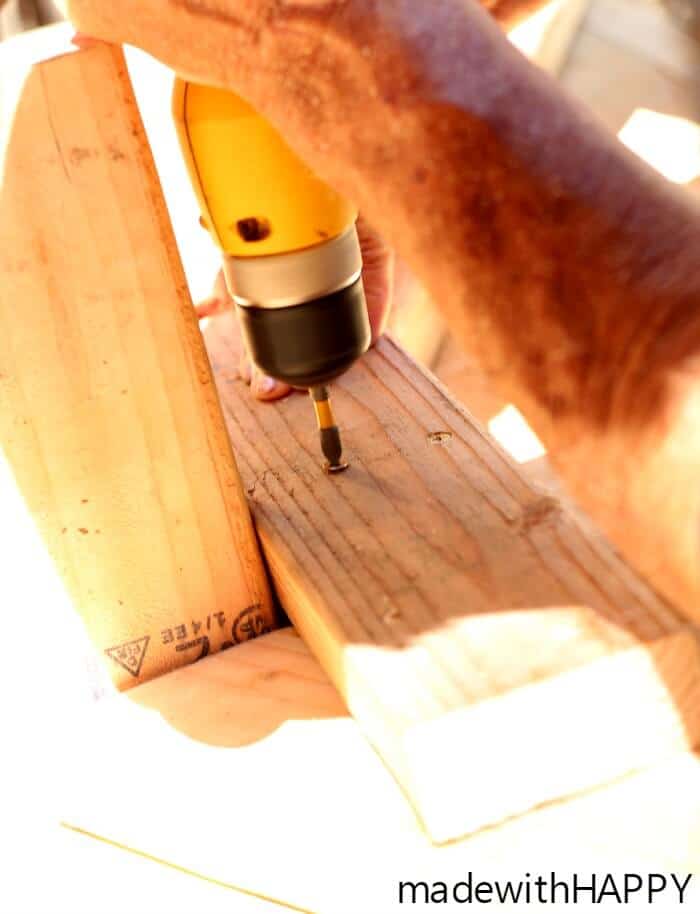
After you have your roof angles where you want them, its time to cut the 19" piece of wood at a point. What we found to be the easiest on this was to hold the piece of wood up to the angled piece and with a pencil on the opposite side, mark the cuts. This will assure its where you need it.
Then its time to secure each of the 14 inch cross beams in place. On the back wall, you will secure the cross beam into the 19 inch piece as well as the side beams. For the middle and front roof frames, you will secure the 14 inch cross beam to each of the sides.Then slide your main beam into place.
Roof Bracing
The last piece you will need to do at this point is cutting your pieces for bracing between your three triangle roofing frames.
We did not realize the need for these till after we had the roofing on.
The reason for these braces is that there are three pieces of roofing that slightly overlap. To secure the roof to the middle roof frame and the ends. Where there is overlap, it would sag if you did not have braces.
You will want to cut each brace to fit in between each of the roof frames. If your middle frame is exactly in the middle then, your cuts should be approximately 33" each. I would measure to be precise. If you off set each piece, it will be easier to secure each brace in place.
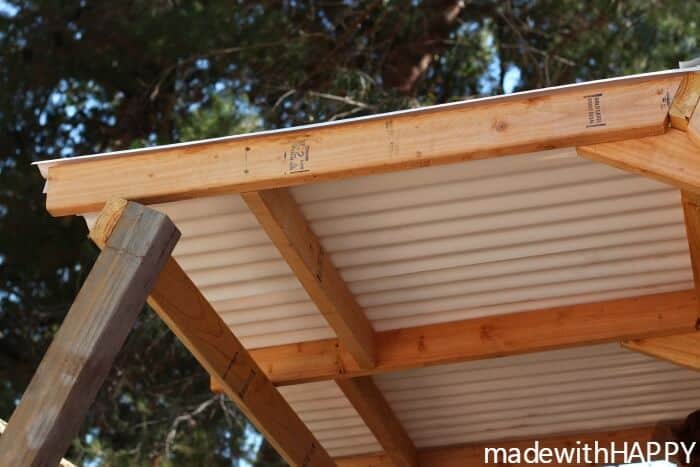
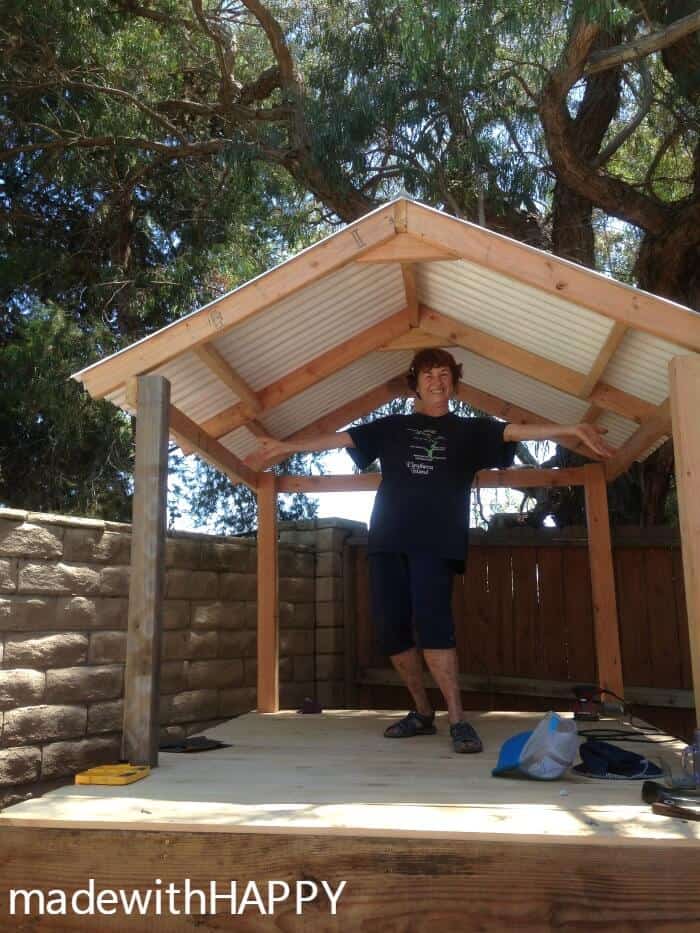
Treehouse Roofing
Once you have your frame complete, its time to add the roofing. Using nails, we simply nailed the foam to the top of the main beam.
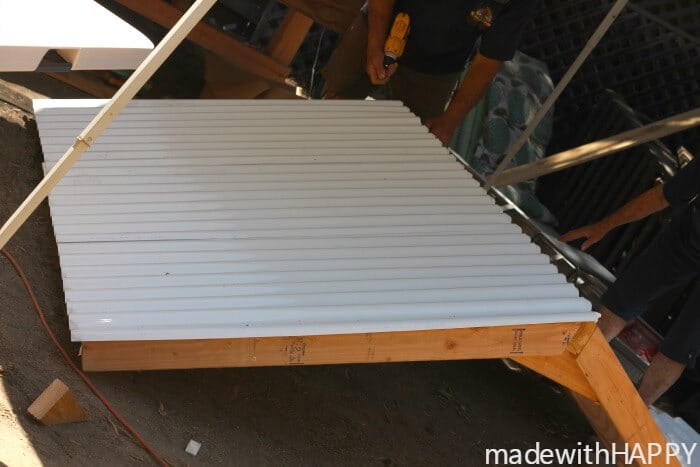
The easy part about the roofing is that the sheets come in 8 feet. Simply cut each of the three sheets exactly in half.
Lay each of the three pieces onto the frame making sure the ends match up. There is about 2 inch overlap on each. Secure in place with screws. Remember to secure to your braces as well.
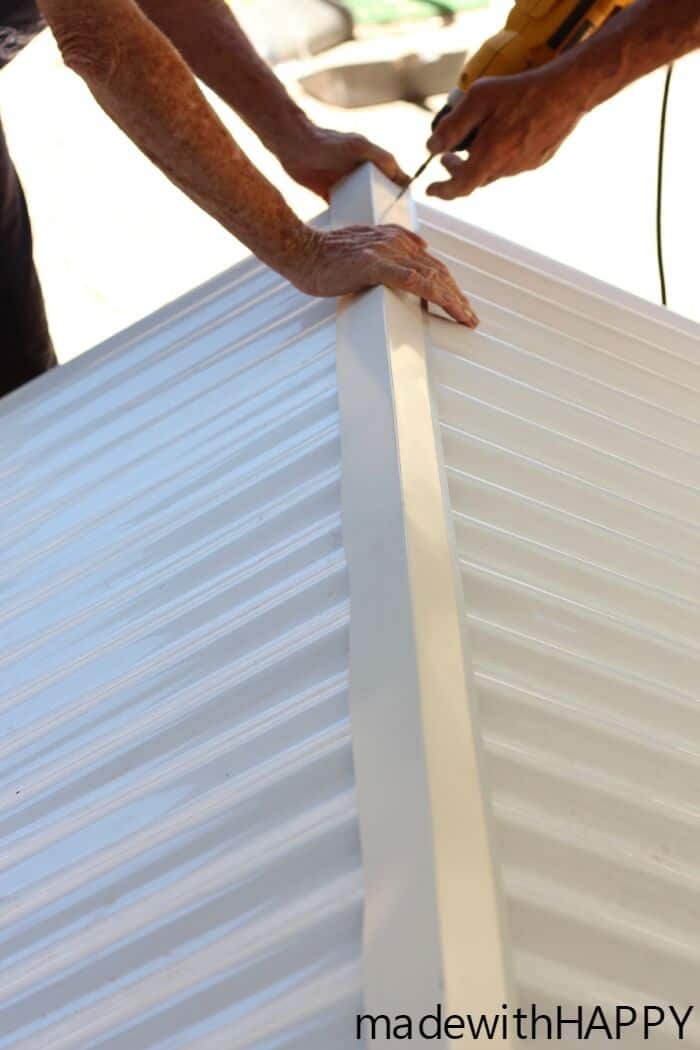
Edge Flashing
Then over the top we used the edge flashing.
These roofs come with caps that are plenty fine. They cost more, and we did not need anything that big. We went with the edge flashing and cut it down to about 76 inches in length which gives about 2 inches on each side.
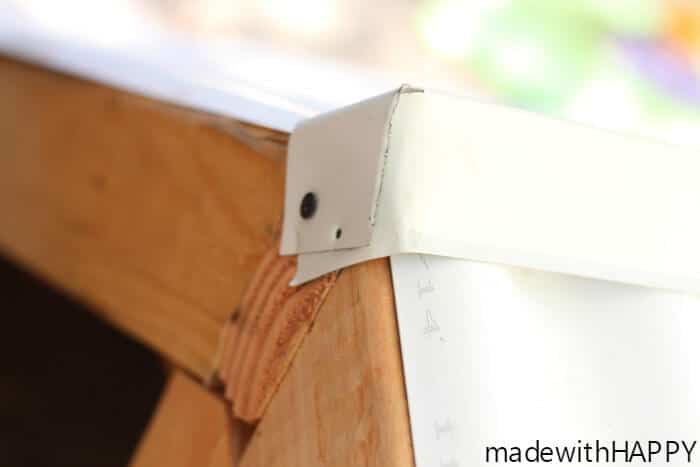
Using metal sheers, make a cut right down the bend to the frame. Bend each side over and secure.
Viola, you have yourself a roof!
Other Backyard DIY Projects You Might Enjoy
- MADE WITH HAPPY DOG HOUSE
- HOW TO MAKE OUTDOOR EASEL
- DIY POOL HEATERS
- ORANGE BIRD FEEDER
- DIY STRING GARDEN
CONNECT WITH MADE WITH HAPPY!
Be sure to follow me on social media, so you never miss a post!
Facebook | Twitter | Youtube
Pinterest | Instagram