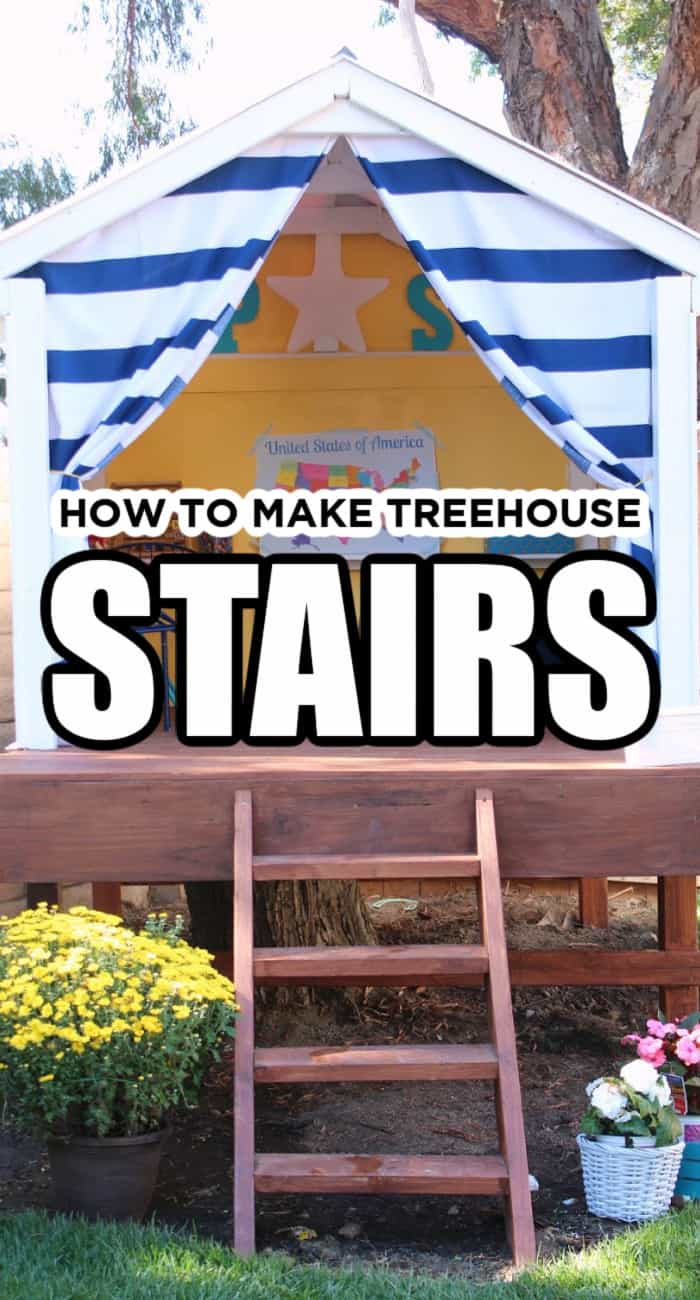
We are sharing how we made our treehouse stairs and the stain we used to make the Made with Happy Treehouse extra special.

Want to save this project?
Enter your email below, and then we'll send it straight to your inbox. Plus get awesome new projects from us each week.
These treehouse stairs and floor are a crucial part to the making of the Made with Happy Treehouse.
We are so HAPPY to continue in our How to Make a HAPPY Treehouse series. Last week we shared the finished Treehouse, as well as How we built the base and frame.
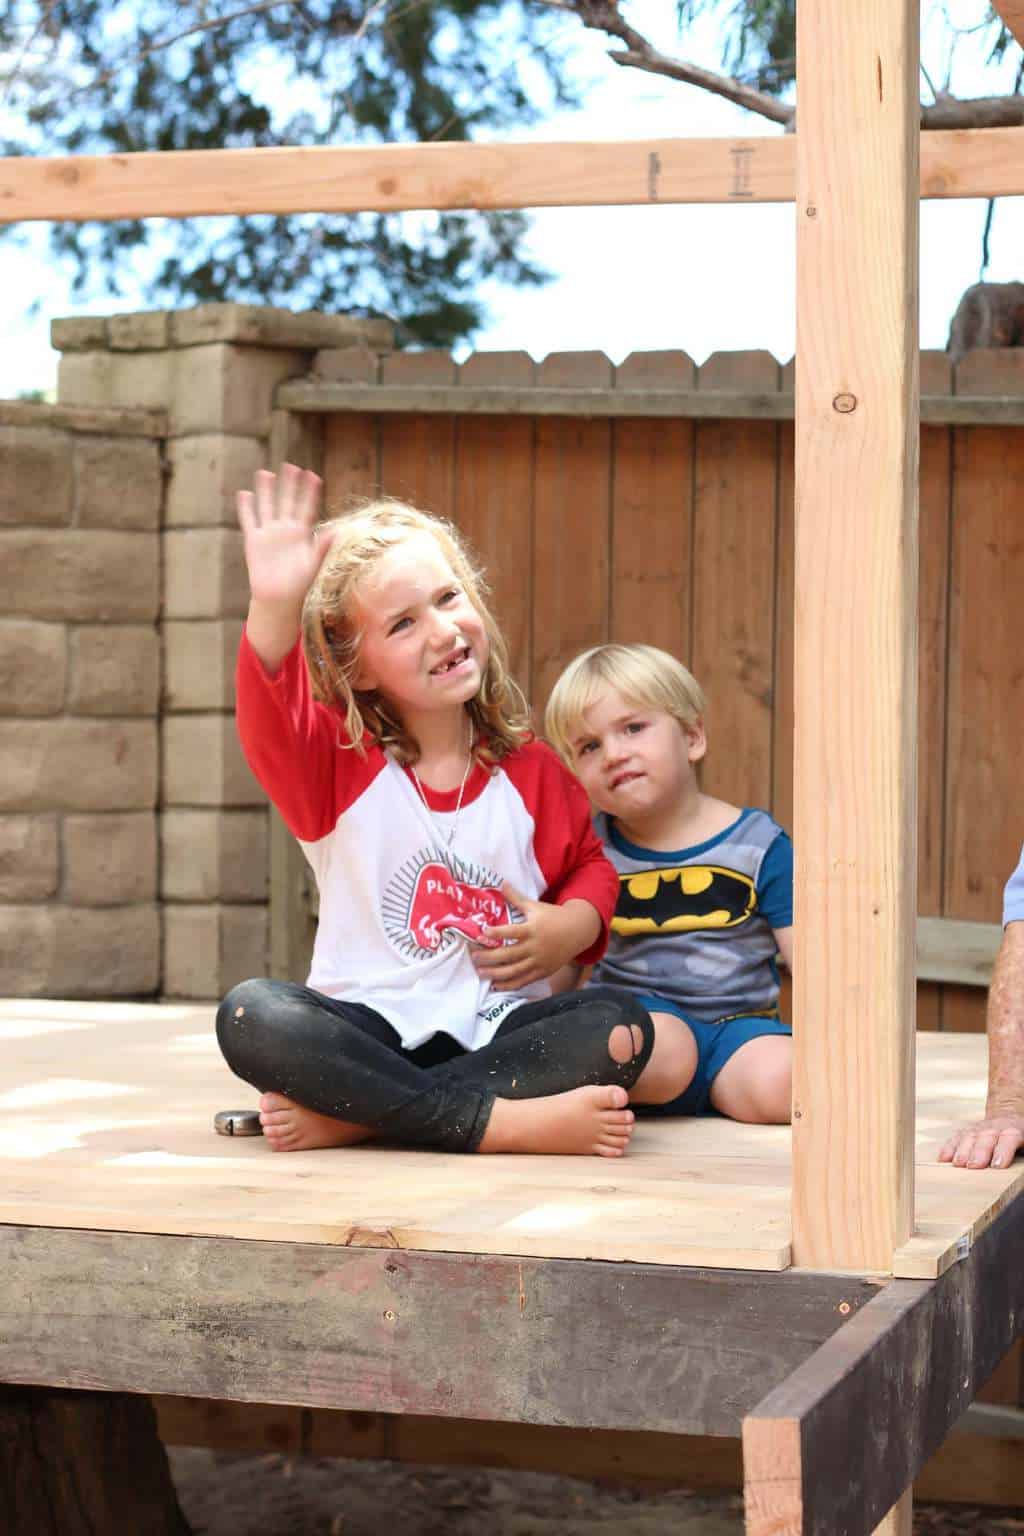
Today we're talking floor, stairs and stain and sealant. We had so much fun on this part of the build, because its when it turned from a few pieces of wood to something the kids could climb into and begin to play in.
Okay, here's what you're going to need for this portion of the build
Treehouse Floor Supplies
- 1 - 2x10x6
- 2 - 2x4x6
- 14 - ⅝inch x 7.5inch x 6ft
- 3 inch gold wood/deck screws (p.s. we only needed one box for the entire treehouse)
- jigsaw
Treehouse Stairs Supplies
- 2 - 2x6x8
- Miter saw
- 3 inch gold wood/deck screws
Stain + Seal
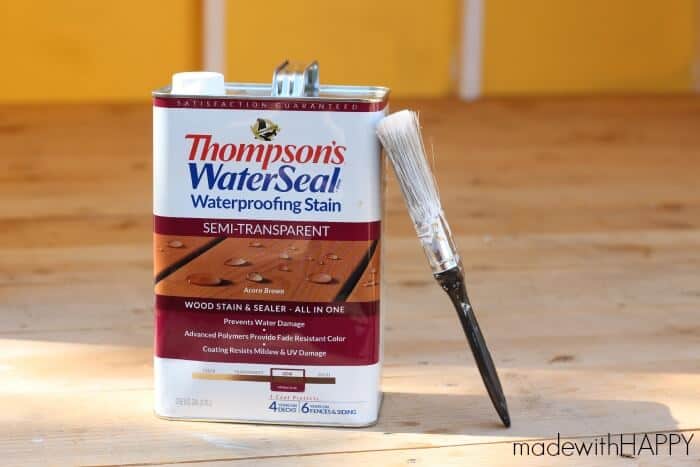
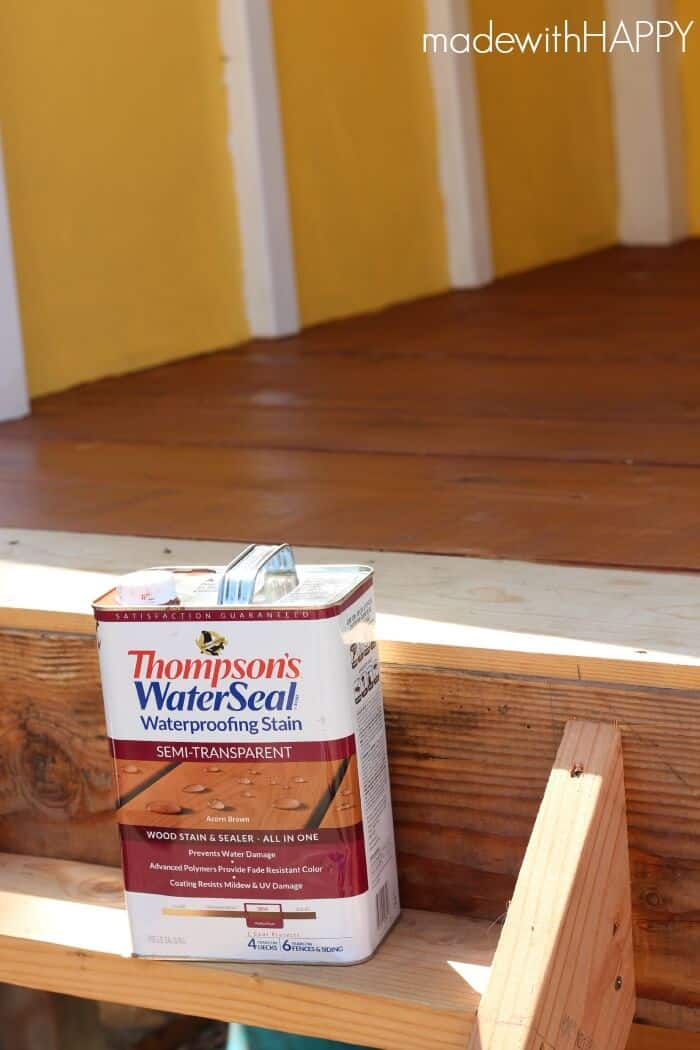
- 1 can Thompsons WaterSeal - Semi-Transparent Acorn Brown
- 1 stain brush/paint brush
- paint bowl or container
How to Build the Floor
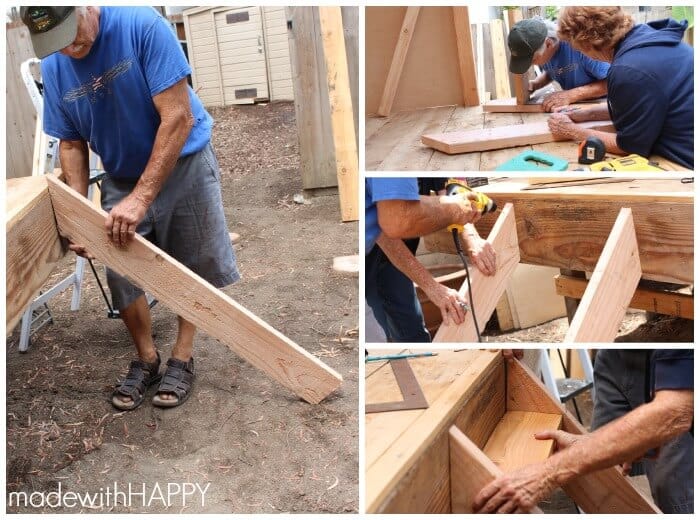
Where we last left off, we had build the outside frame. Because we wanted the floor to run across the treehouse (side to side), we made sure the framing of the floor rand the length of the frame (front to back). We added three 2x4x6's along the main floor of the house.
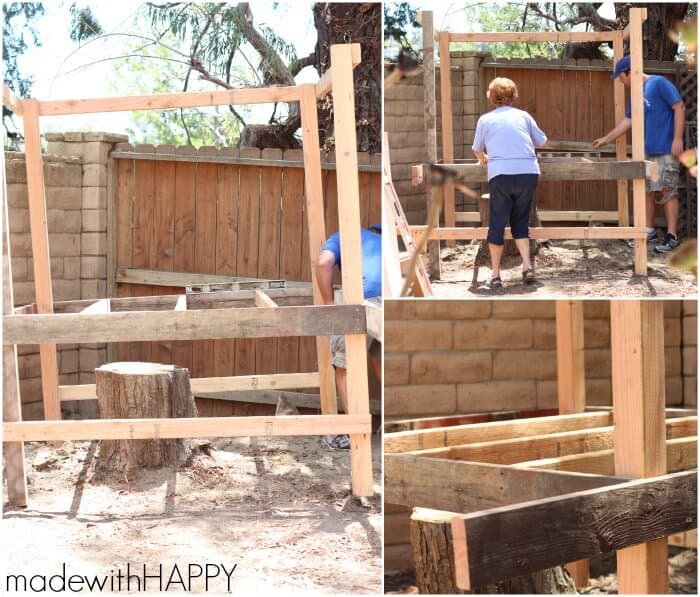
At this point we wanted to make sure we had the house moved into place. The ground was uneven so we dug around the base post to make sure we're working with a level frame.
Now onto the flooring. I should mention that we did use fence pickets as the flooring for this project. They were quite sturdy and were already cut to the length we needed them. It also helped in cutting down the cost. SCORE!
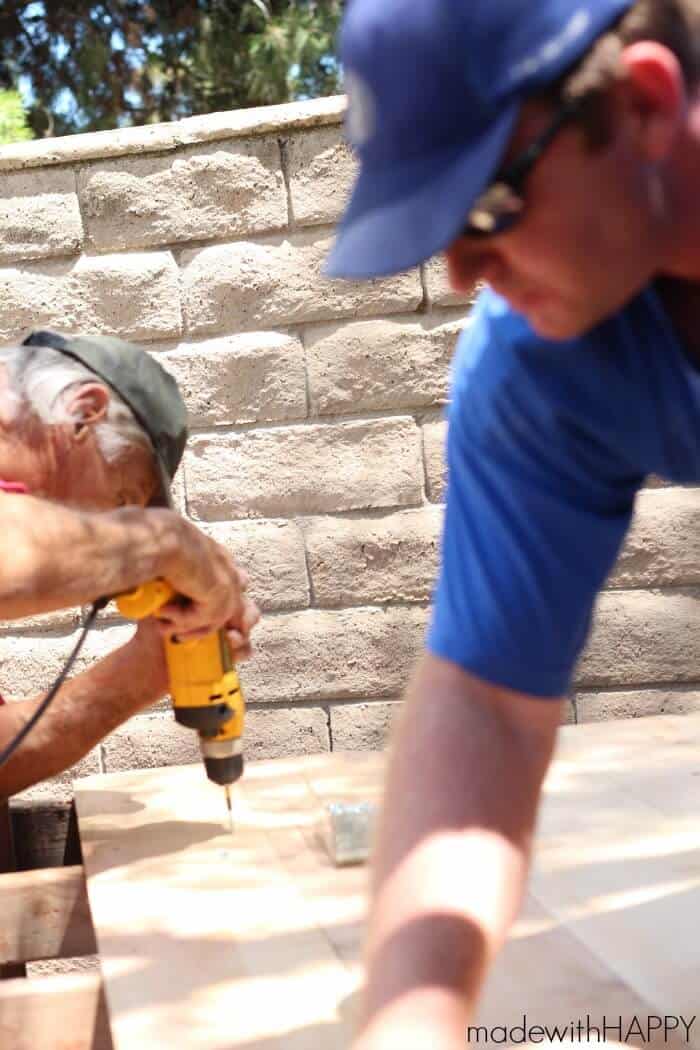
The only cutting we needed to do, was to use the jigsaw to cut a piece out for the four corners of the treehouse. Other than that, it was just simply screw it down to the base.
We did do a bit of sanding as we installed, just to make sure there were no splinters in the feet.
From here we added the front 2x10x6 as the front finishing piece. You could of course use a 2x6 like the sides, but we happened to have a 2x10 piece left over from our deck demolition.
Also, we added one 2x4 across the middle of the porch portion of the floor along with one foot sections the length wise for added support. We then continued on with adding the flooring (fence pickets) to finish it up. Flooring done! Check!
Lessons Learned
***One thing I do want to note, is that with any good history lesson, we learn from our mistakes right? 🙂 The same goes for the order we did things around here. We were busy little bees and building each section.
Lessons learned in that we should have really finished the floor, then build the stairs and then stain and seal. All before building the walls and roof. Ooops... it didn't really happen that way for us, but we would recommend that order when building it yourself.
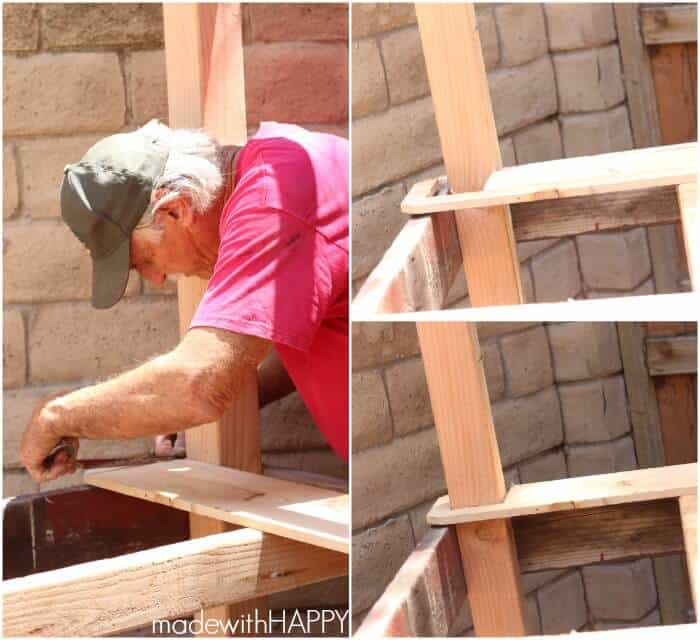
How to Build the Treehouse Stairs
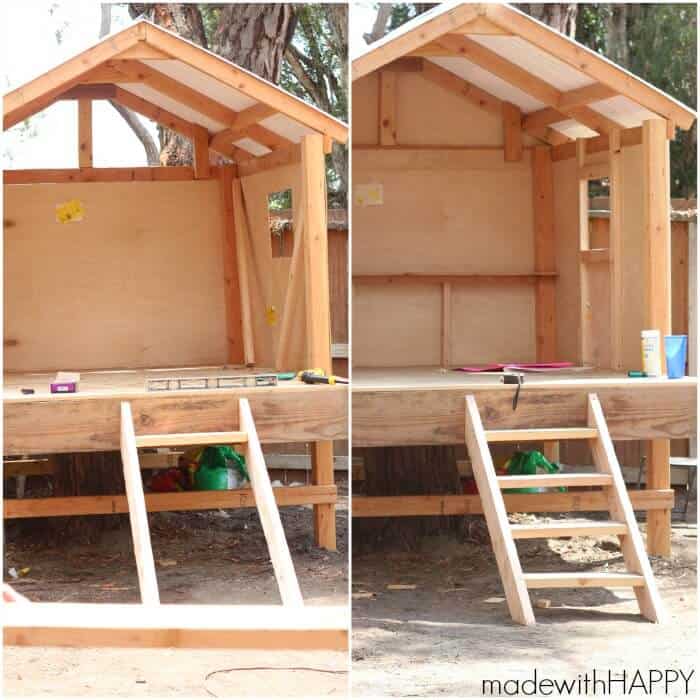
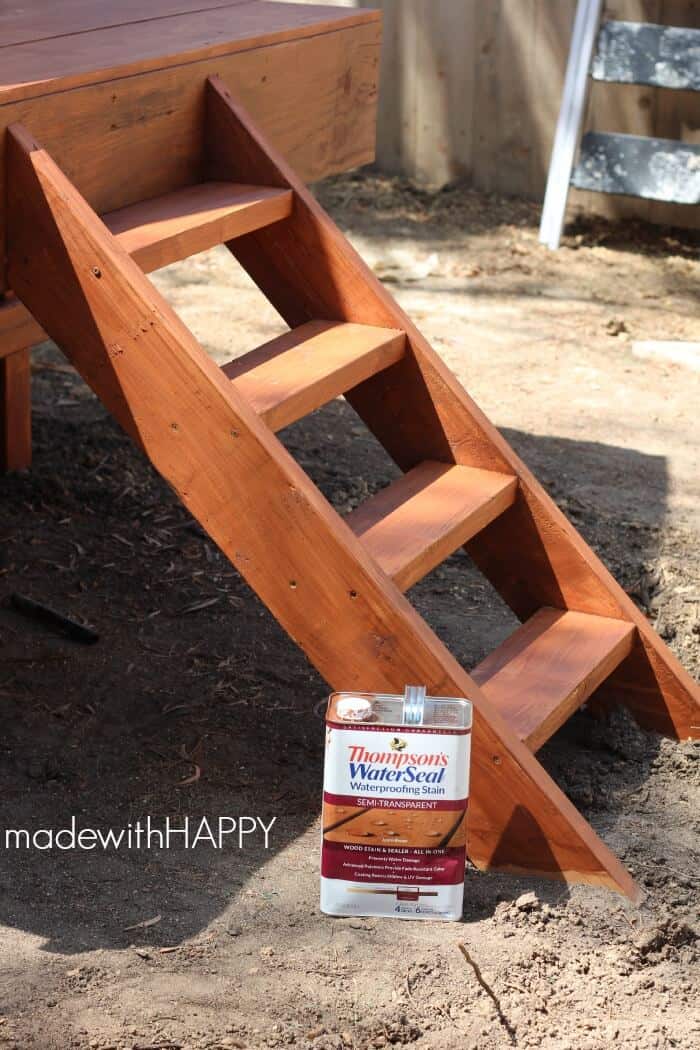
The treehouse stairs were actually a lot easier than we had initially thought they were going to be. Our platform is 3 feet off the ground. After we measured and decided on a 4 feet side rails.
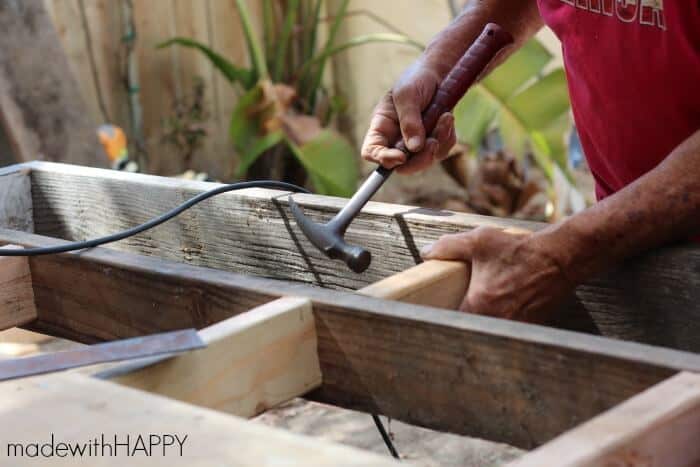
We cut the end at 45 degree angle for both the top and bottom of the side rails (2x6x4). We cut the second 2x6 into four even size pieces (~18 inches in length) and then starting at the top, determined an appropriate step height for little legs. Using a level or metal square to make sure the steps were level, then we evenly installed the remainder of the steps from there.
We secured the stairs from the side and underneath.
How to Apply Stain and Seal
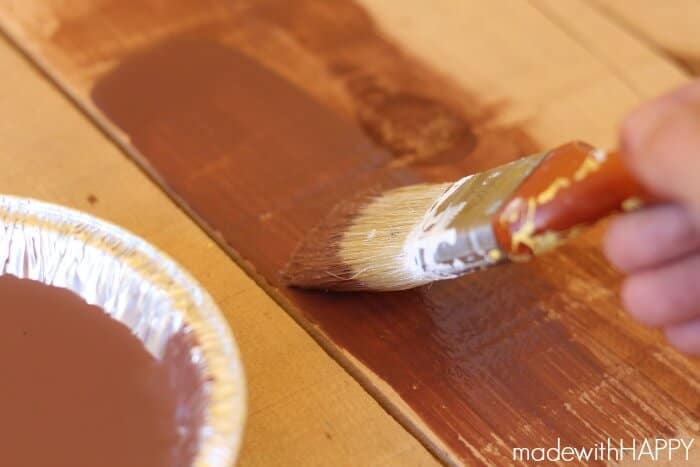
This was my favorite part. Although, I do recommend doing this before you put the walls up, it was still pretty easy.
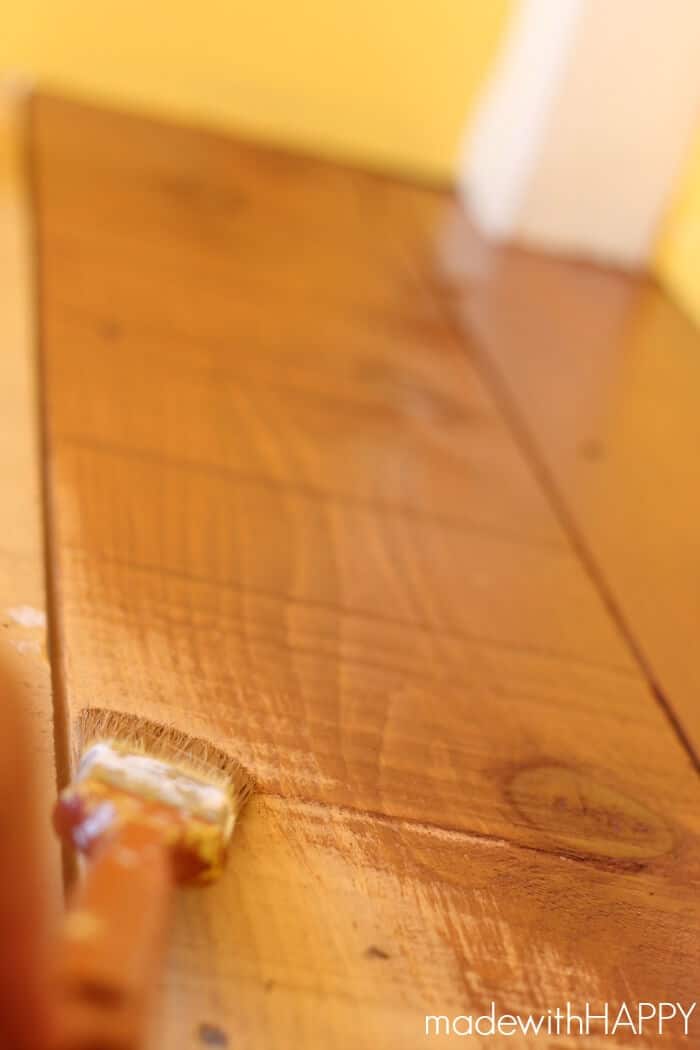
Make sure you're working with a clean surface. We used the semi-transparent acorn brown Thompsons WaterSeal to match up mix match piece of wood and are absolutely in love with the color.
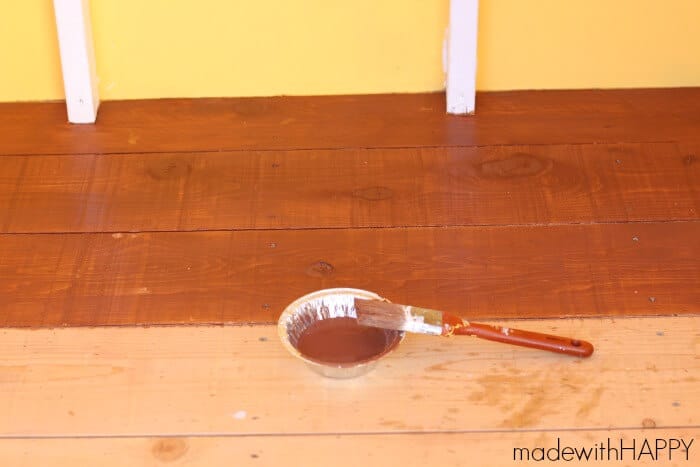
It goes on so smooth and quickly, that you'll wish every project was that easy. Plus its so pretty.
I went from slat to slat of the floor. Might be a no brainer, but make sure you start at the back and make your way forward. You certainly don't want to stain yourself into a corner. I was able to seal both the floor, base and stairs in less than an hour. AWESOME.
Do you use sealant in addition to stain?
For those contemplating whether or not to use a sealant, please please please do! It will seal your wood and make it last so many more years than if you weren't to use it. Water causes such damage so fast. I would hate to see all your hard work messed up after a few storms.
As you can see from the finished project, we also added grass to the space around the treehouse. We found out really fast how awesome it works when we were adjusting the sprinklers and gobs of water was hitting the stairs and floor and it beaded it right up.
This definitely saved us. Thompsons WaterSeal is the best for a reason guys and I'm not just saying that. Oh and P.S.... 1 can was more than enough to cover the floor base and stairs.
Look for the remainder of the How to make a HAPPY Treehouse series this week, where we will be tackling the roof and the walls and window.
Other DIY Projects You'll Love
- HOW TO MAKE OUTDOOR EASEL
- DIY POOL HEATERS
- HOW TO MAKE TWIG PENCILS
- RAINBOW VERTICAL GARDEN
- MADE WITH HAPPY DOG HOUSE
CONNECT WITH MADE WITH HAPPY!
Be sure to follow me on social media, so you never miss a post!
Facebook | Twitter | Youtube | Pinterest | Instagram
Find and shop my favorite products in my Amazon storefront here!
TREEHOUSE STAIRS AND FLOOR
PIN IT TO YOUR FAVORITE BOARD ON PINTEREST!
FOLLOW MADE WITH HAPPY ON PINTEREST FOR ALL THINGS HAPPY!