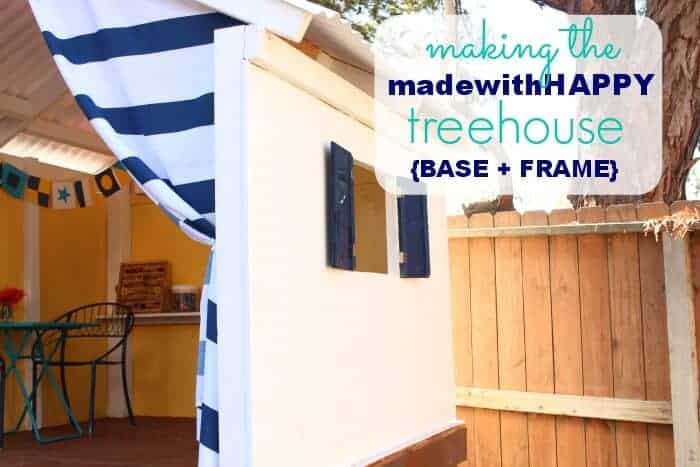
We are building a treehouse, and sharing in this post how to make a tree house platform base and frame in this post.
Want to save this project?
Enter your email below, and then we'll send it straight to your inbox. Plus get awesome new projects from us each week.
The first part of this build is going to be focused on the base and tree house platform.
Hello Friends. Ahhh, I can't even tell you how excited we were to finally reveal the Made with HAPPY Treehouse earlier this week. As promised, I would break down how we built it into different posts to tackle each of the areas.
Making a Treehouse
We broke down the building of the diy kids treehouse into four different sections.
- Base and Frame- Down below
- Floor
- Roof
- Walls & Window
How to Make a Treehouse - A Made with HAPPY one 🙂

When we got started thinking about the treehouse, we of course did our research and came up with a general design. I fell in love with the The Handmade Home's Hideaway, but the hefty price tag ($1k+) I knew that we were going to have to make our own version.
MWH Grandpa and I sat down, along with our favorite little lady and began to map out our design for the space.
Treehouse Plans
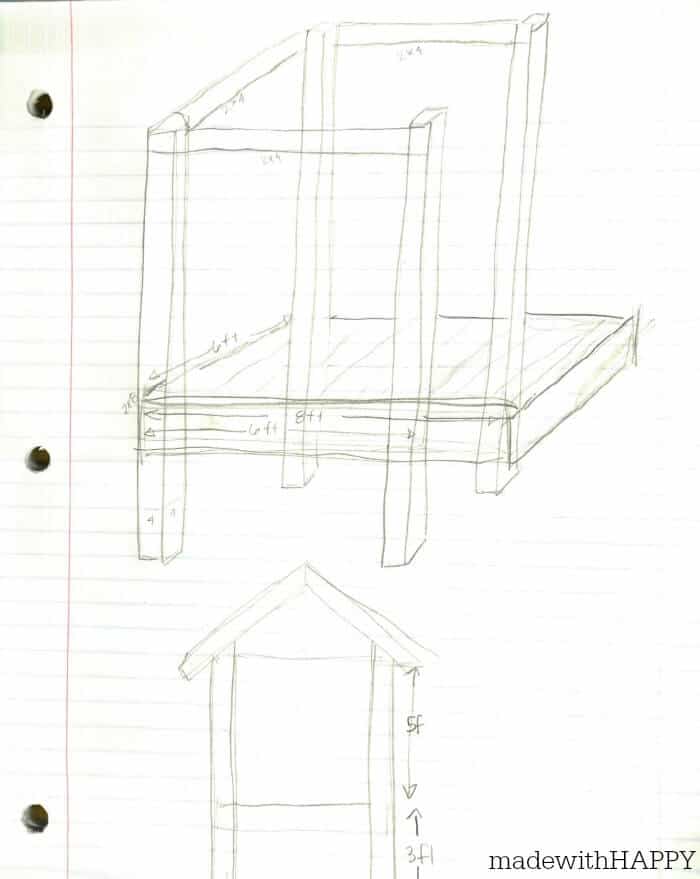
An important thing to remember when drawing out plans like this, is that wood generally comes in 6ft, 8ft, 10ft and 12ft pre-cut piece. You will make your life 100 times easier if you keep your general dimensions within these constrains so that you are not making a thousand and one cuts. Trust me, its no fun having to measure and cut a gagillion pieces.
For the frame, we decided that rather than building the base separately and then build the house on top of it, that using 8ft 4x4's, we could do it all as one frame.
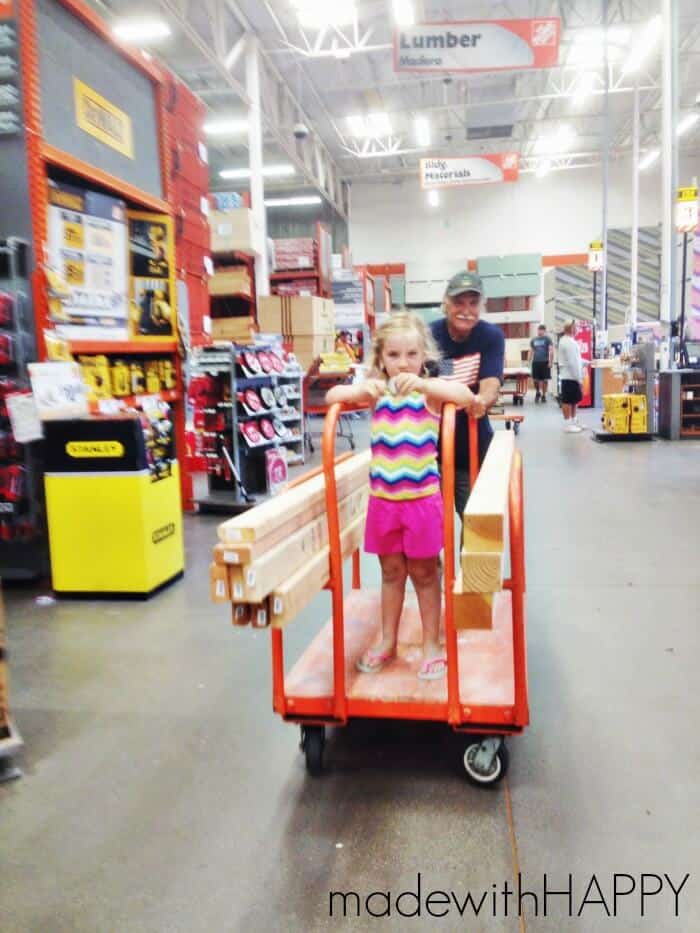
Once you've got your supply list, then its off to the store.
We did a pretty good job at not making too many trips to Home Depot, but with any project like this, you're bound to be back and forth a bit.
Our Supply List for this portion of the project was this:
Supplies
- 8 - 2x4x6
- 2 - 2x6x6
- 2 - 2x6x8
- 4 - 4x4x8
- 3inc gold wood/deck screws
- Drill/Screwdriver
- Hand Saw
- Miter Saw
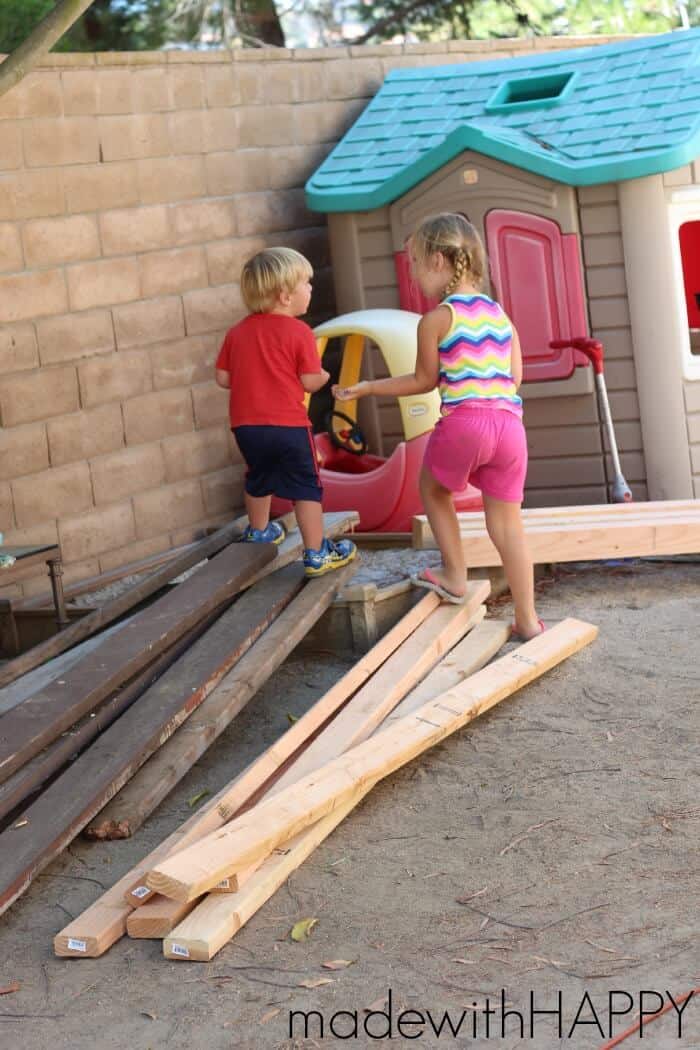
You'll see that we worked at building the playhouse in conjunction with getting the space in our yard ready. I do not recommend having your work area right next to the kids current play area, but were were limited and made it very clear to the kids that they were to wear shoes and to always look where they were walking. Safety first!
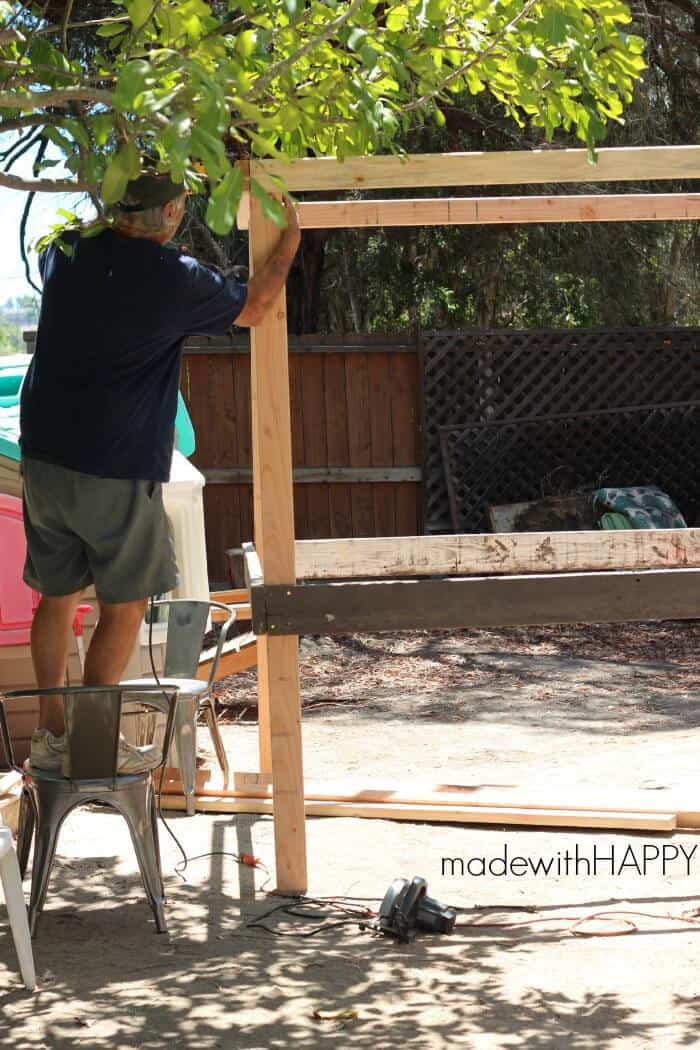
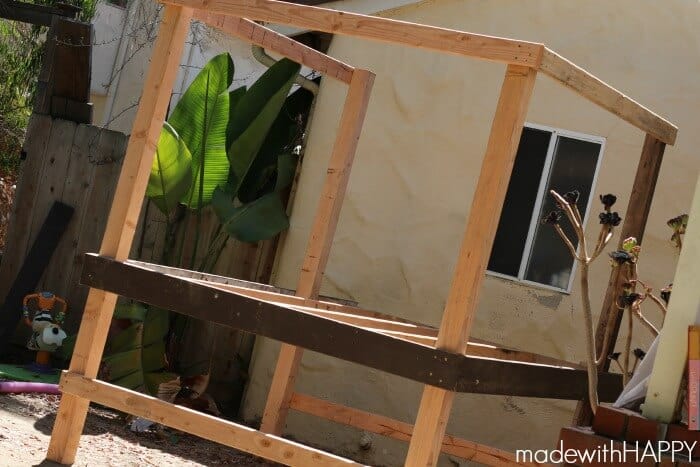
Building the Platform and Frame

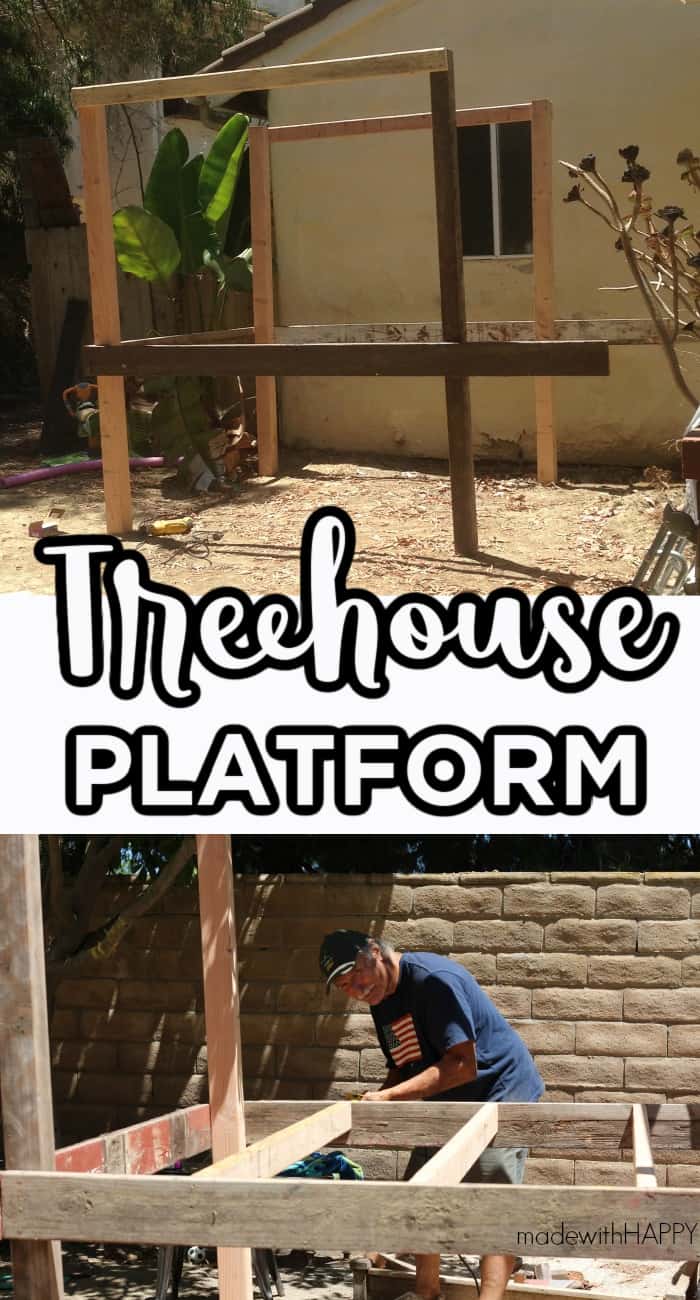
One thing I should mention is that earlier I stated that when determining dimensions for your treehouse platform, try and stick to pre-measured lengths and in most cases you should stick to that rule. Because our treehouse would be butting up against our neighbor's fence, we decided to cut our 8ft - 4x4's down to 7ft.
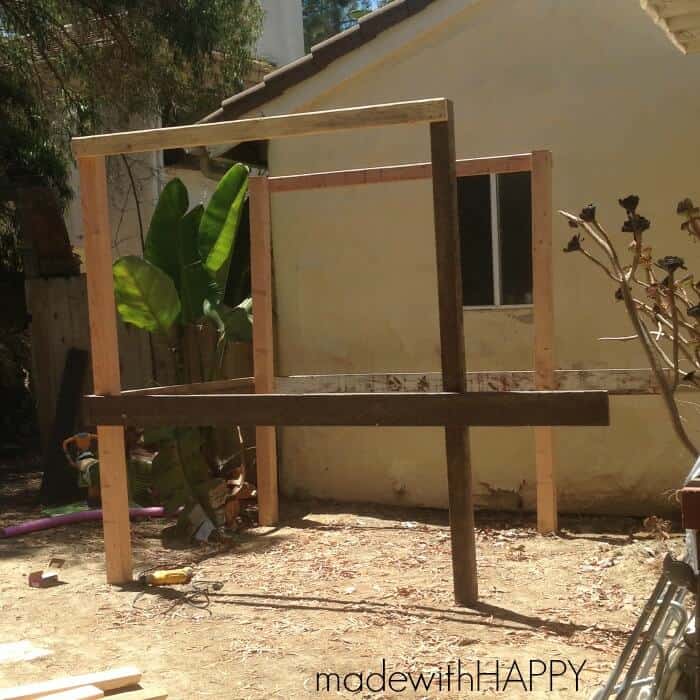
We realized the pitch of the roof was going to give us another two or so feet above, so to be mindful, we reduced the overall height of the treehouse by a foot.
While measuring out the height of the treehouse, you also want to determine how high you want your treehouse off the ground. Because MWH Boy is still only 2 years old, we made the decision to have the treehouse platform 3 feet off the ground. You could certainly go 4 ft up, its totally your decision.
Base and Tree House Platform
In order to start building, we started with each of the sides, and then added the cross floor piece to bring it together.

In order to support the structure and stabilize the frame, we added a 2x4 to the bottom approximately a foot and a half off the ground as well as 2x4 along the top on both sides and the back. We left the front open to give it a more open feel.
Our next post we will be sharing how we built the floor. Stay tuned.
Other Backyard DIY Projects You Might Enjoy
- SUMMER DIYS
- MADE WITH HAPPY DOG HOUSE
- HOW TO MAKE OUTDOOR EASEL
- DIY POOL HEATERS
- ORANGE BIRD FEEDER
- DIY STRING GARDEN
CONNECT WITH MADE WITH HAPPY!
Be sure to follow me on social media, so you never miss a post!
Facebook | Twitter | Youtube
Pinterest | Instagram
Find and shop my favorite products in my Amazon storefront here!
TREE HOUSE PLATFORM
PIN IT TO YOUR FAVORITE BOARD ON PINTEREST!
FOLLOW MADE WITH HAPPY ON PINTEREST FOR ALL THINGS HAPPY!