

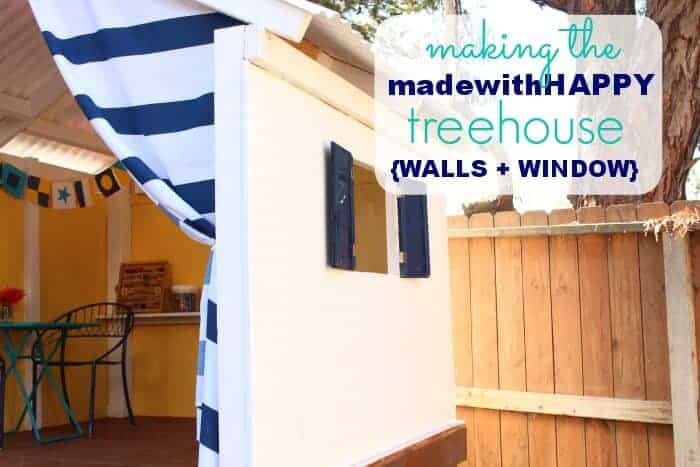
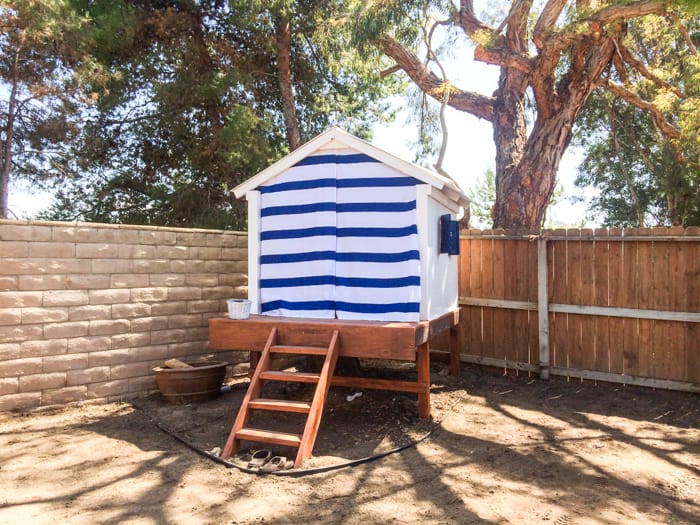
We're excited to finish up the how-to on our made with HAPPY Treehouse today sharing how we made the treehouse windows and walls.
Want to save this project?
Enter your email below, and then we'll send it straight to your inbox. Plus get awesome new projects from us each week.
The treehouse windows and walls were the last of the Happy Treehouse project and we are hoping to break it down to where it is easy to install.
This tree house project was one of the bigger projects we have undertaken at the house, but we're so glad we jumped in and did it.
We've learned more about our building capabilities and how great it is to create something out of pile of wood.
No one task was too much to handle. Just concentrate on one section at a time, and you'll be surprised at how quickly it goes up.
If you missed any of the other post up to this point, we have the finished treehouse, the base + frame, the floor + stairs, and the roof.
What you need to build the treehouse windows and walls
- 3 - 4ft. x 8ft paneling
- 2 - 2.5" x 1.5" x 8ft. lumber
- 2 - 2.5" x 1.5" x 6ft. lumber
- 1 - 7.5" fence picket - 6ft
- 1 packet 15" shims
- 4 hinges
- Eye hook
- 1 shower curtain
- 1 package cup hooks
- Wood Glue
- Mider Saw
- Circular Saw
How to Build the Treehouse Walls
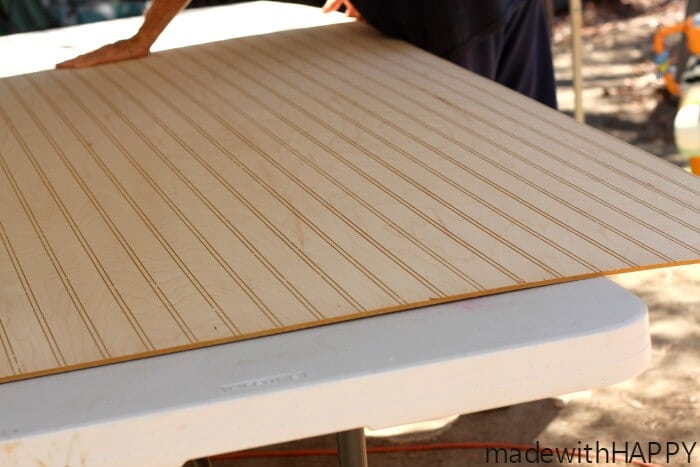
One thing to mention about the walls before we get into the How-to, is that we initially headed to home depot in search of a flat wall paneling.
The wainscoting paneling was on sale and therefor we went with the wainscoting. SCORE!
Although I love the texture of wainscoting, if its more cost effective to go with flat paneling, the tree house will look just as great with flat walls.
I have mentioned this before, but that we went into this project with an idea of what we wanted to do, but with any project like this, there are things that you realize or discover after the fact.
In this tutorial, we are giving your opinion on the best order to do things based on lessons learned.
With that in mind, you will quickly see that we put the wall paneling up before some of the the inside wall framing. DOH! Live and learn.
We recommend adding the wall framing first, and then wall paneling last to make it easier on yourself.
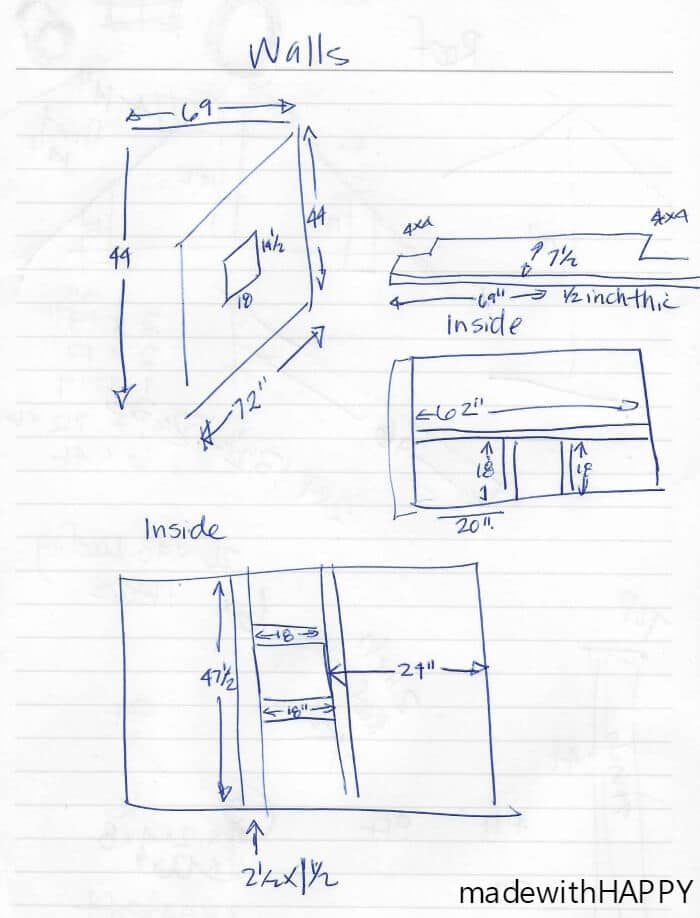
The cuts for wall framing:
- Side panels each have 2 - 2.5" x 1.5" x 47.5"
- Top and bottom of window cutout - 2 - 2.5" x 1.5" x 18"
- Back panel:
- 2 - 2.5" x 1.5" x 18"
- 1 - 2.5" x 1.5" x 62"
- 1 - 7.5" fence picket - 69" long
For the shelf we made out of the fence picket, you will need to cut the 4"x 4" corners out.
If you have a jigsaw, that tends to be easier, but you certainly can use the circular saw, mider or hand saw if you have that!
For the back panel, we placed the two 18 inch bases pieces to the shelf approximately 20" inches in from each side.
Then attached the 62" piece along the top with the fence picket on top of that. Giving the kids a small ledge shelf to color or set books, etc.
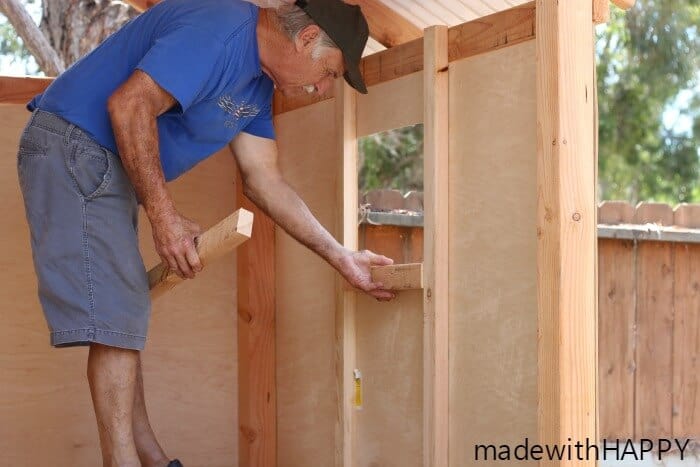
For the side panels, we screwed in the 2 - 2.5" x 1.5" x 47.5" to the floor all the way to the top of the top 2x4 on the frame.
We wanted the window as close to the middle of the wall as we could get. Once you have your wall framing in place, you can pencil out your window then cut.
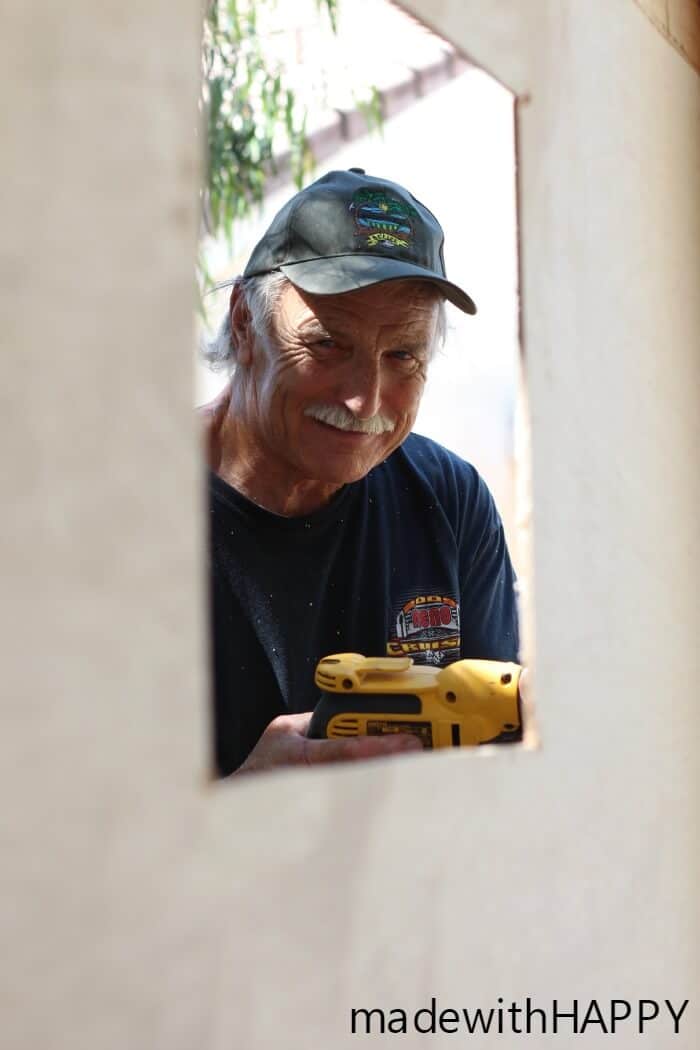
Look how cute MWH Grandpa is! Oh I love him so much!
The cuts for the paneling are:
- Back panel 69" x 44"
- Side panels 72" x 44"
- Window cutout - 18" x 14.5"
- Back paneling - from frame to roof triangle. We added two right triangle pieces from the left over paneling that were 21" high and 36" long.
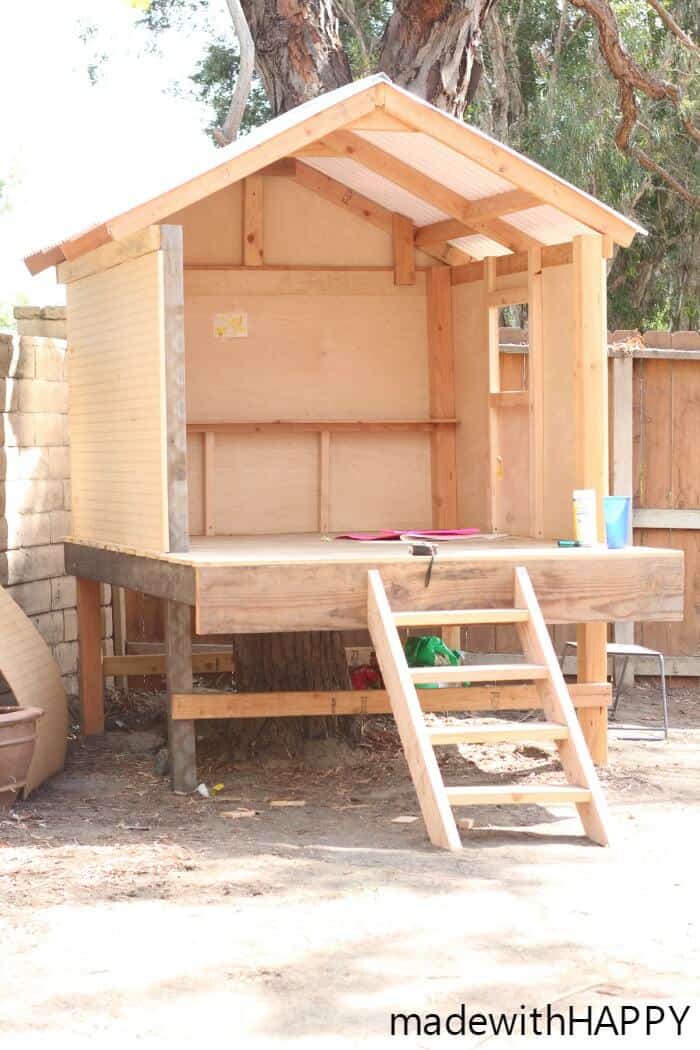
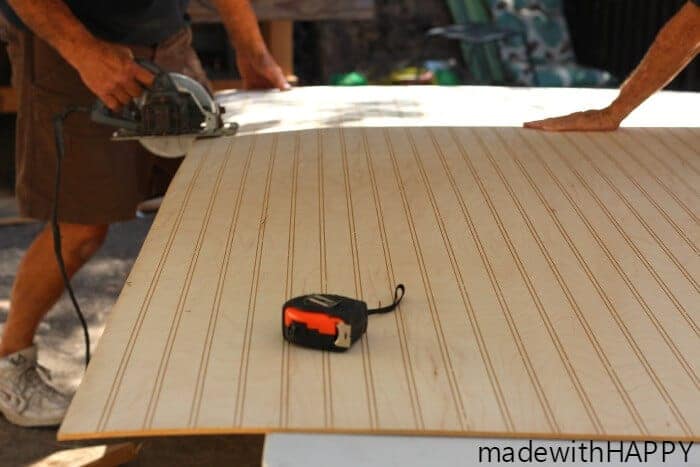
Wall paneling after it was cut, was simple to screw into the frame.
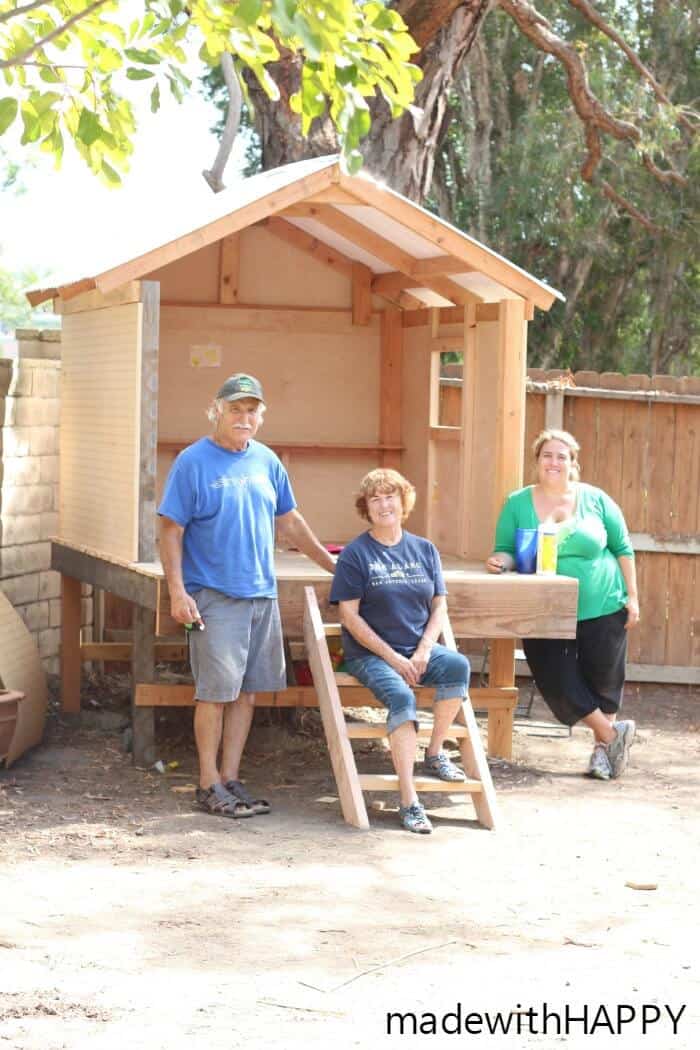
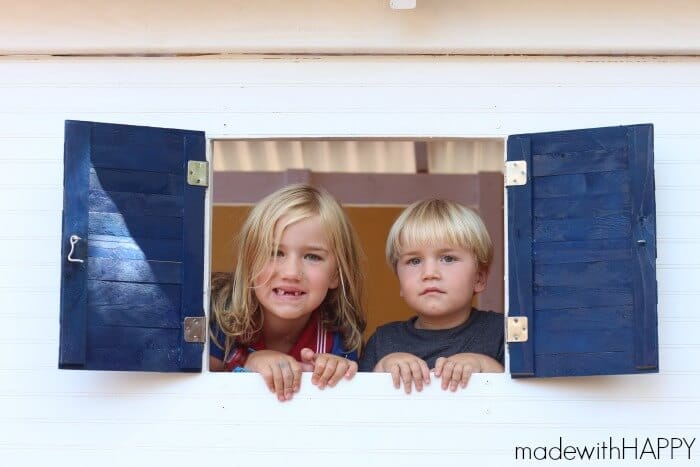
Look at this motley crew after the completion of the tree house. Apparently, my hair hit a wind tunnel or something, but I love this picture as our marks of completion.
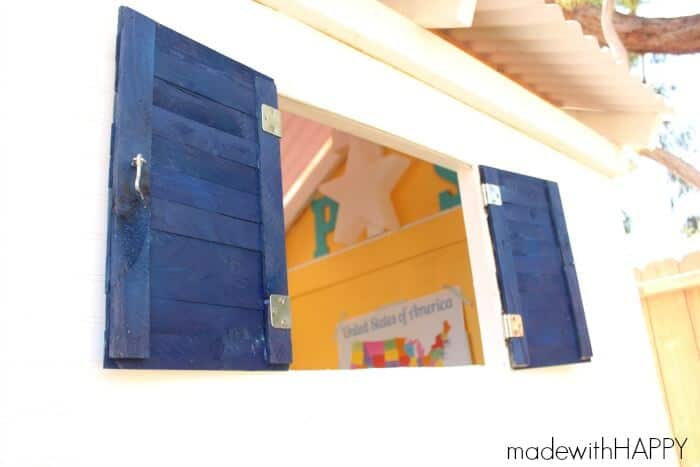
How to Build Treehouse Window Shutters
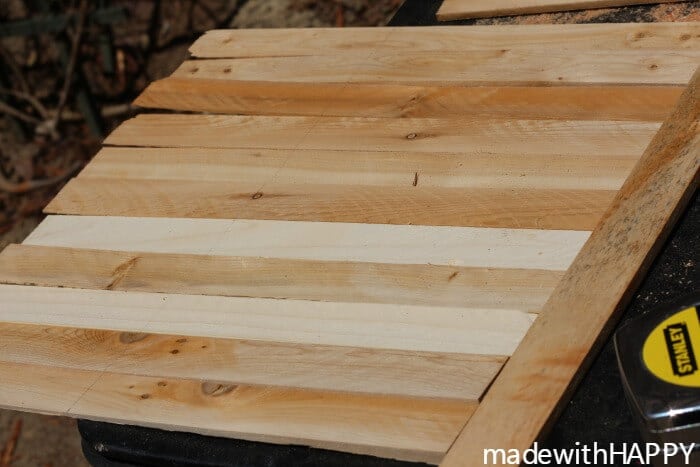
For the window shutters, we simply made them out of shims.
We measured out approximately 9" and cut them using a mider down to size.
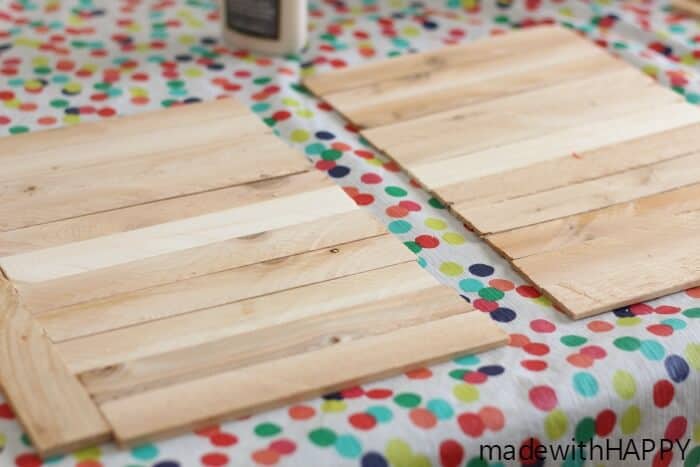
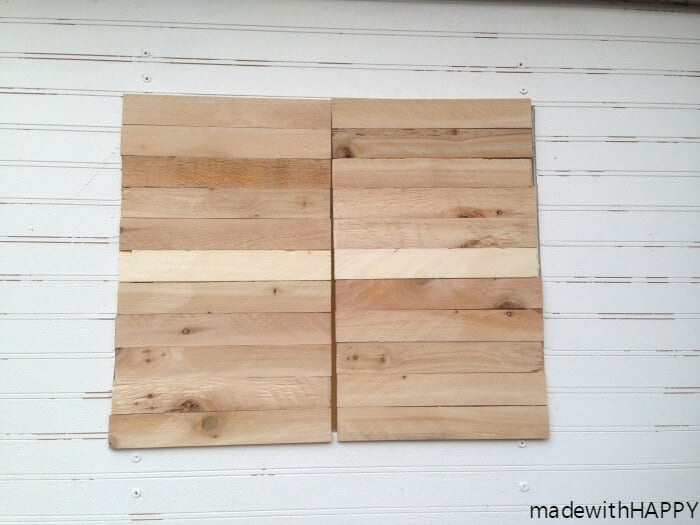
We glued two shims lengthwise on each ends of the shutter.Measure to make sure they fit before adding hinges.
Based on the hinges we bought, we screwed them into the outside of the treehouse.
We then addedthe eye hook on the inside which lets the kids close and lock up the windows.
How to Hang the Curtains
Cutting the curtain
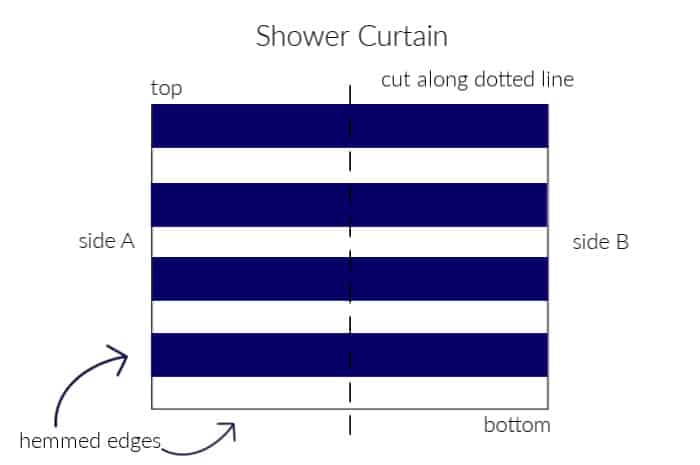
There are a few different ways to hang the curtains, but we will show you how we did it and feel free to decide the best way for you.
We started by using a ruler and pencil we marked a line from the top of the curtain to the bottom.
Using a fabric scissors, we cut along the pencil line.
We then swapped the two sides. Meaning, we moved side A to the right and moved side B to the left side. This is so that the hemmed sides of the curtain are now next to each other in the middle.
There are three options for the cut sides of the curtain.
- Using a sewing machine, sew up the sides into a small hem.
- Fabric glue the sides into a small hem.
- Leave the cut sides
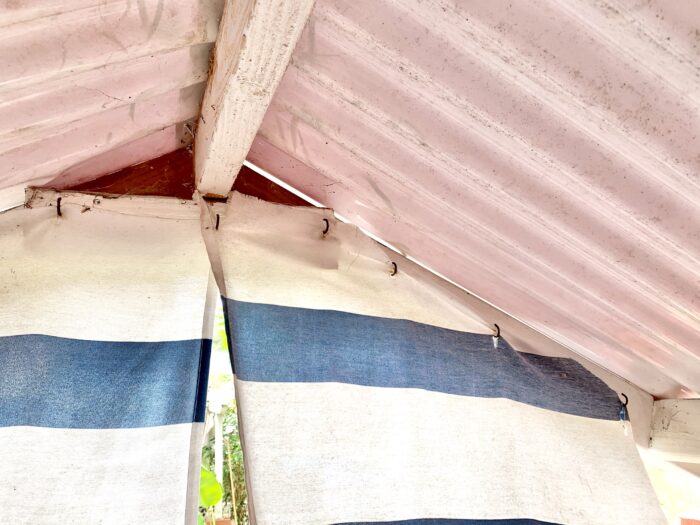
Hanging the curtain
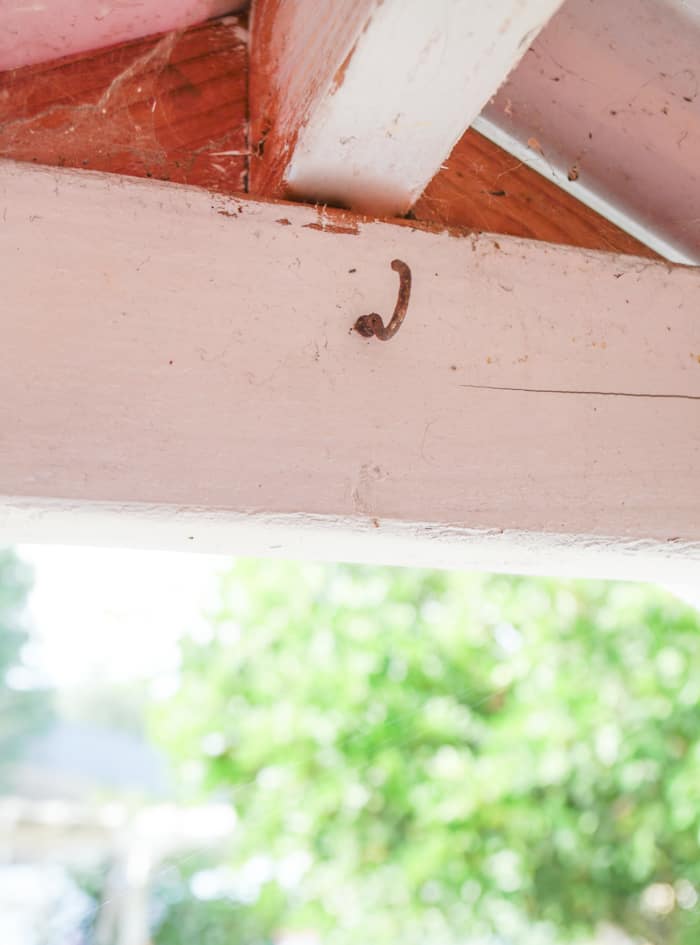
Screw in your hooks on the inside of the front opening, starting with one at the top middle. Space them approximate 6 inches apart.
The last step is where it gets kind of tricky.
The object of the curtains: is that the bottom hit right at the floor and that the lines of the curtains are lined up and horizontal.
In order to acheive this, you work with one curtain at a time.
Hold one side of your curtain up so that the bottom is just meets the floor. The middle seam should just slightly cover that middle hook.
Mark with a pencil, each location of the hooks.
Then using a x-acto knife or scissors, cut a small hole in the fabric right at the mark.
Hang the curtain using the holes. The hole should be small enough so that if there are any issues, you can re-cut a hole without anyone noticing.
Do the same for the other side.
Once they are hanging as you would like them, mark and cut off the the excess material at the top of the curtains. Again, you can sew those seems, fabric glue or leave.
We added one of the remaining hooks to each side of the front opening so we could tie up the curtains open when playing in there.
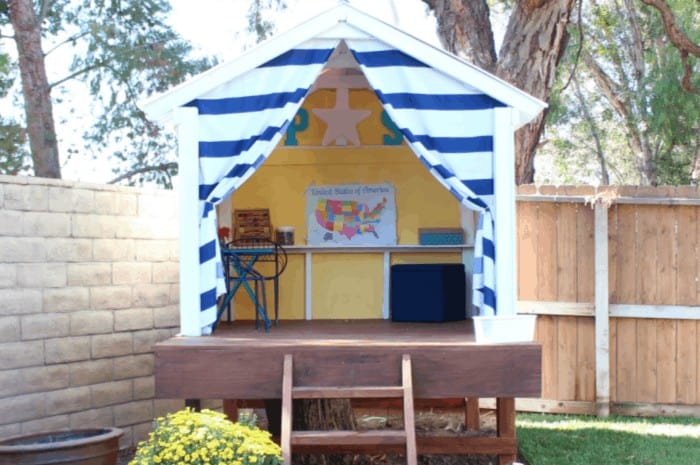
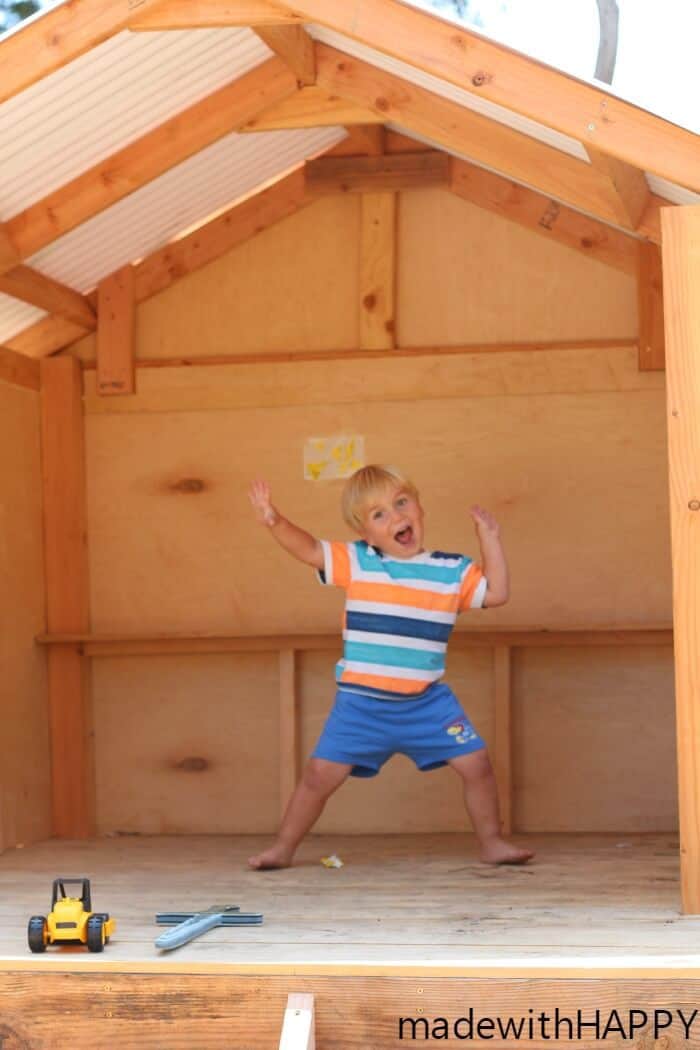
You now have yourself a fully functioning treehouse!
Don't forget to check out the other aspects of the Making the MadewithHAPPY Treehouse!


