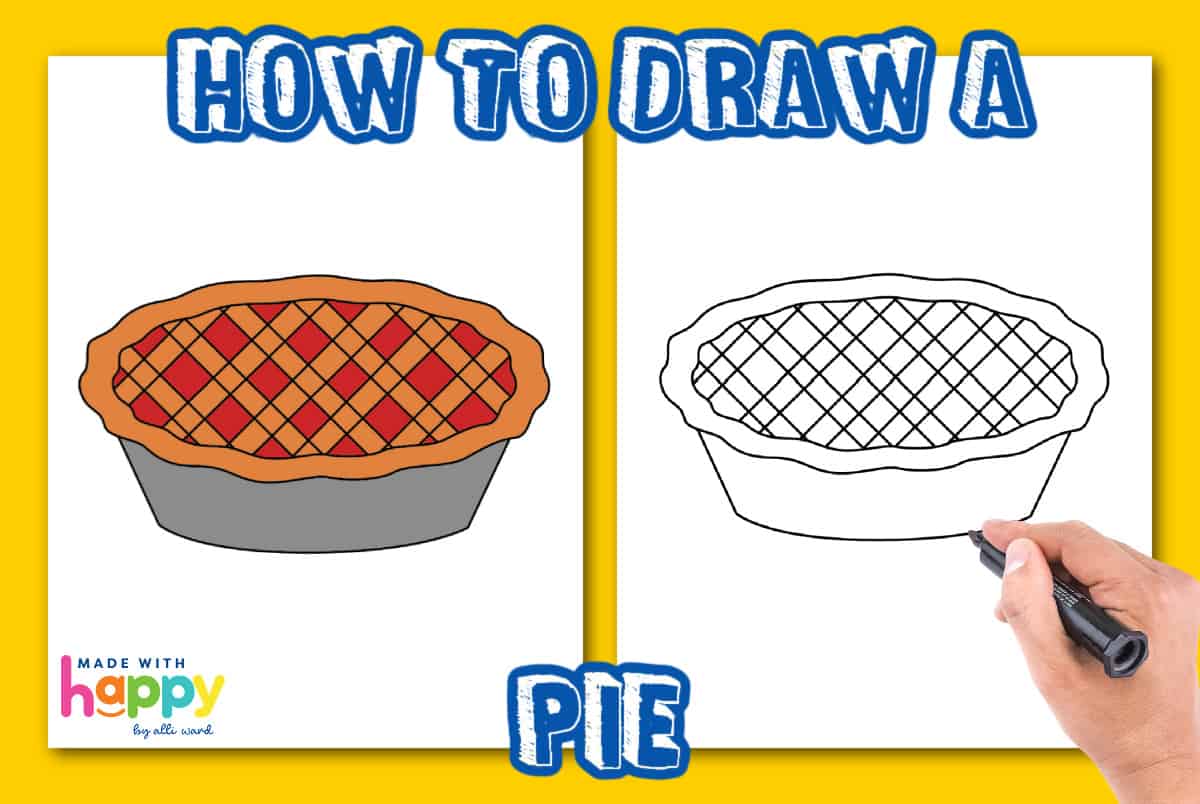
Create delicious art with our simple guide on How to Draw a Pie, perfect for all skill levels to add a touch of sweetness to their sketches!
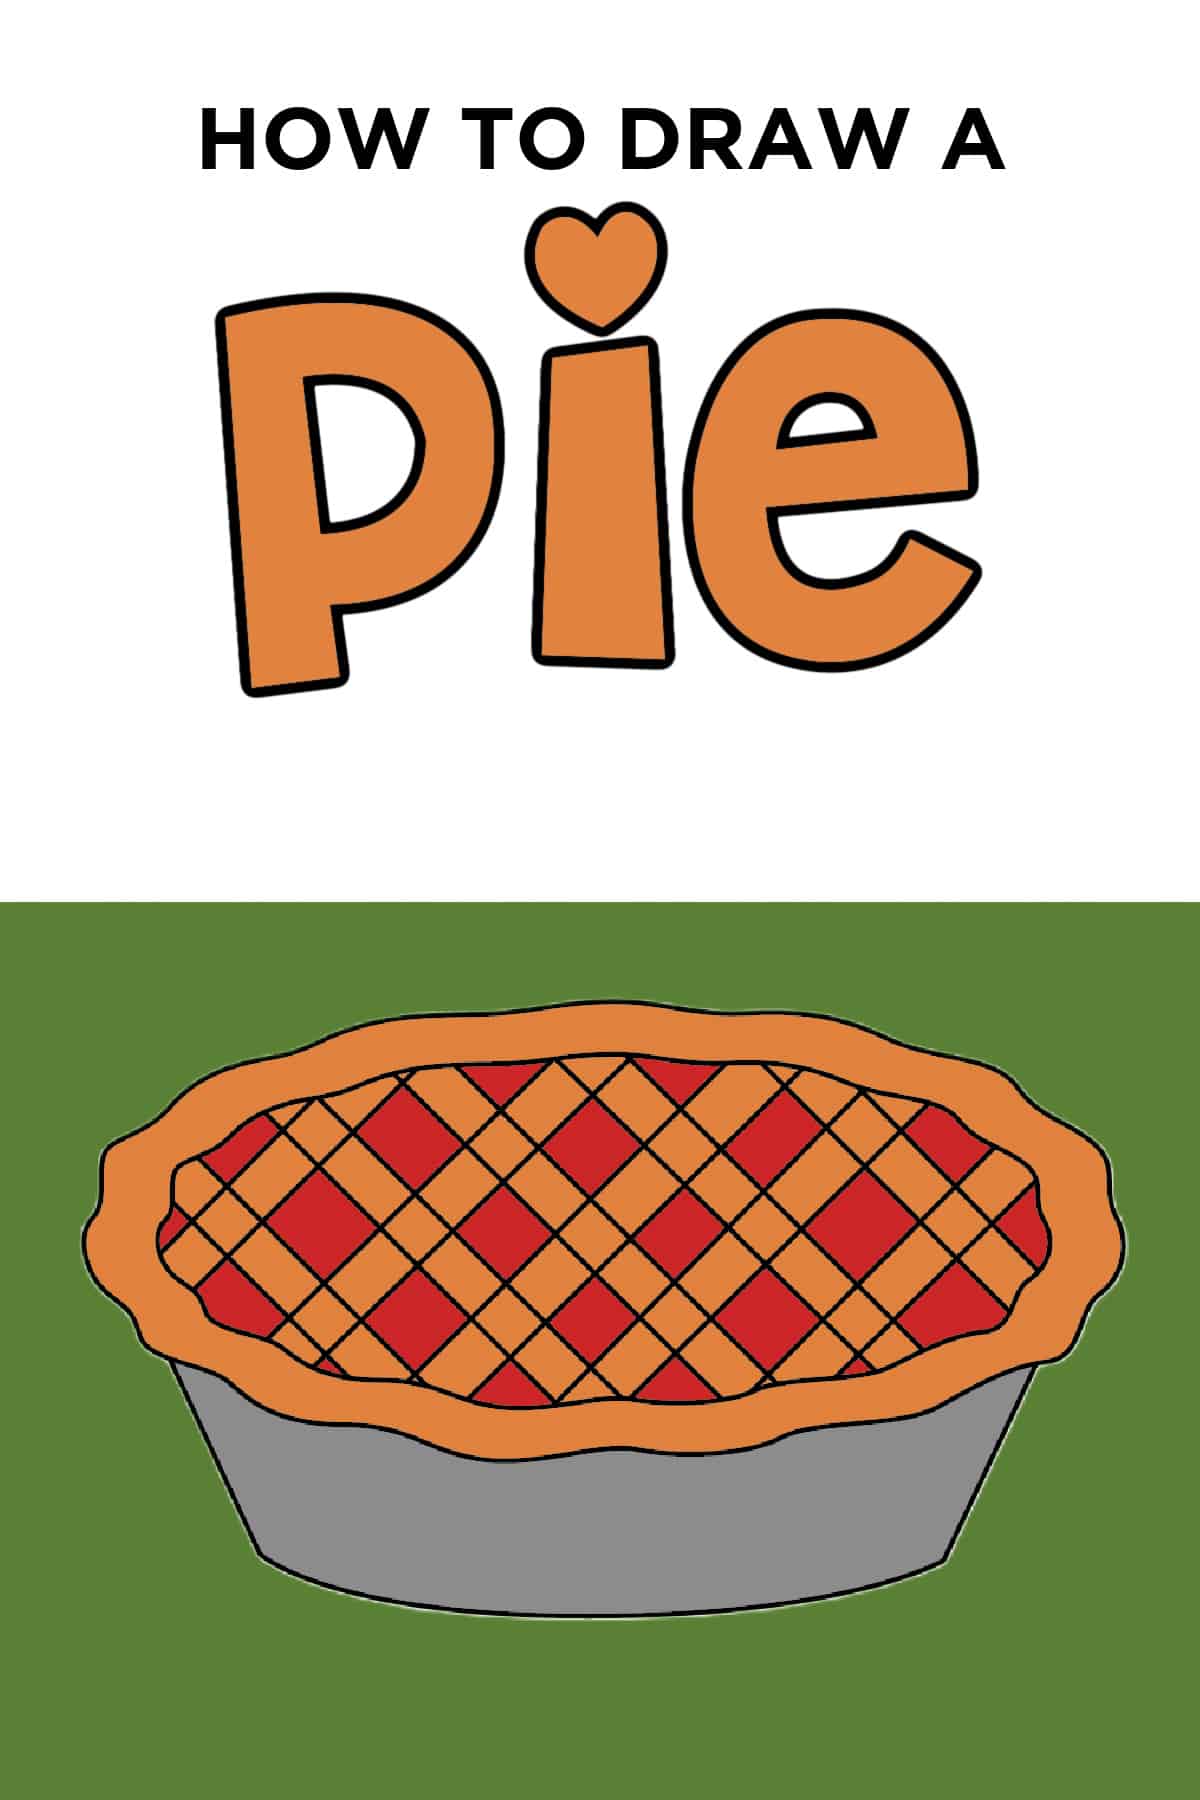
This How to Draw a Pie Easy Tutorial is so fun for the kids to learn the easy steps on how to make their own pie drawing. It's a great way to sweeten up your pie sketch whether it's an apple pie, cherry pie, pecan pie, or pumpkin pie.
Indulge your artistic appetite with our step-by-step tutorial on How to Draw a Pie. Whether you're a seasoned sketcher or a beginner, this guide serves up a delightful and easy-to-follow recipe for creating a visually delicious masterpiece. Get ready to add a slice of creativity to your artistic menu!
Want to save this project?
Enter your email below, and then we'll send it straight to your inbox. Plus get awesome new projects from us each week.
Drawing a Pie
Drawing a pie is like capturing the deliciousness of this favorite dessert on paper. Share how yummy a pie is—its crispy crust, tasty fillings, and all the things that make it so tempting!
Artists experiment with shapes and textures, making drawings as appetizing as the real thing in this creative process.
Don't miss our other November Drawings including Turkey Drawing, Pumpkin Drawing, and Leaf Drawing.
Easy Drawings For Kids of All Ages
This easy tutorial is made for everyone, no matter how much artistic experience you have. The easiest way is to break down the drawing into easy steps. Whether you're a seasoned artist or just starting, these instructions are easy to follow. Make drawing pies enjoyable and accessible for everyone, allowing personal style to shine in the final artwork.
Now, let's switch gears and explore the world of Easy Drawings For Kids. Drawing can be a fantastic and entertaining activity for children of all ages. With simple steps and fun guidance, even the youngest artists can create delightful images.
Encourage creativity by using basic shapes and vibrant colors. Whether it's a smiling sun, a playful animal, or a favorite treat like a pie, these easy drawings for kids provide a great way to foster artistic expression and boost confidence. So, grab your pencils and let the artistic adventure begin!
How to Draw a Pie
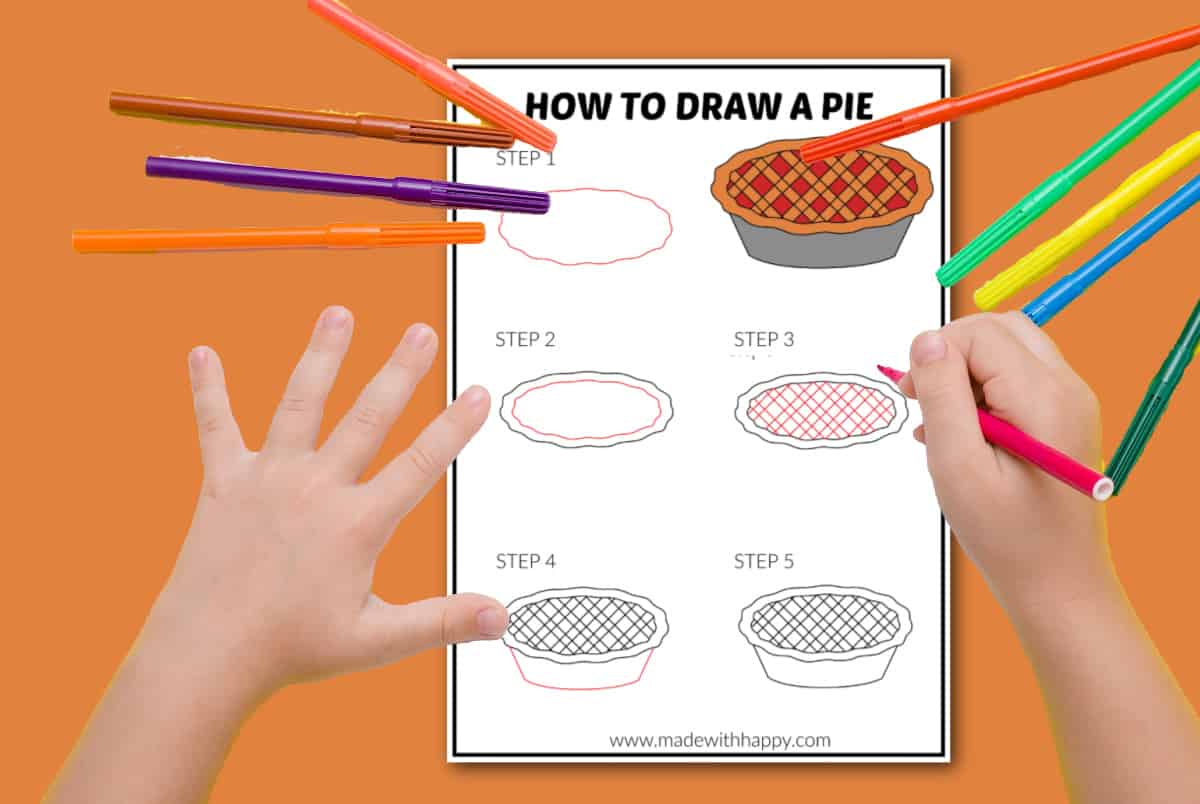
Before you start drawing, we also want to make sure you have the right tools. Here are the drawing paper, and drawing pencils that we like to use.
Now onto the fun pie step by step!
Top of Pie
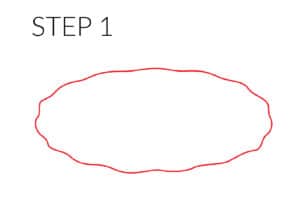
Start with an oval shape. There are two ways to draw the outline of the pie. The first would be to draw the oval with a straight line and the second would be to draw the oval with a wavy line. This is creatively up to you.

The next step is to sketch the crust of the pie by drawing a similar oval inside the oval from the previous step.
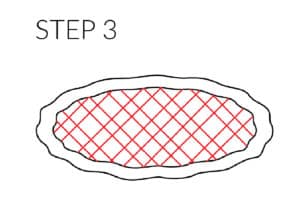
The next step is to draw the lattice on the top of the pie. Simply draw straight lines diagonally starting on one side of the pie to the other side with a little gap between each line. then other straight lines going in the other direction creating a small square at the top of the pie.
Bottom of Pie
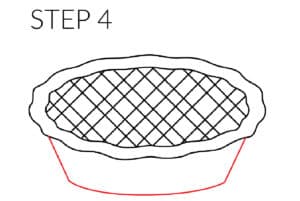
To draw the bottom of the pie, draw a small straight line down at a slight angle from the bottom of the oval on each end of the pie, and then draw a small curved line connecting the two sides of the pie for the bottom.
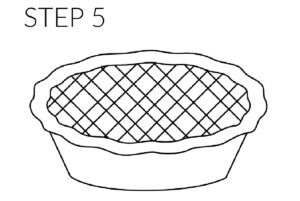
The final step is to outline the pie with a black pen on the final lines and erase any extra lines you had while sketching your fun pie.
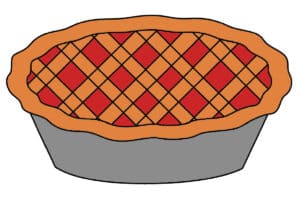
Lastly, but certainly not least grab your crayons, colored pencils, and or markers and color in your pie. The only decision you have now is to the what kind of pie you're drawing and color in the filling of the pie accordingly!
Happy Baking and Happy Drawing!
We highlighted this Easy Drawing along with some other fun kid's crafts in our November Crafts along with our Crafts For Kids.
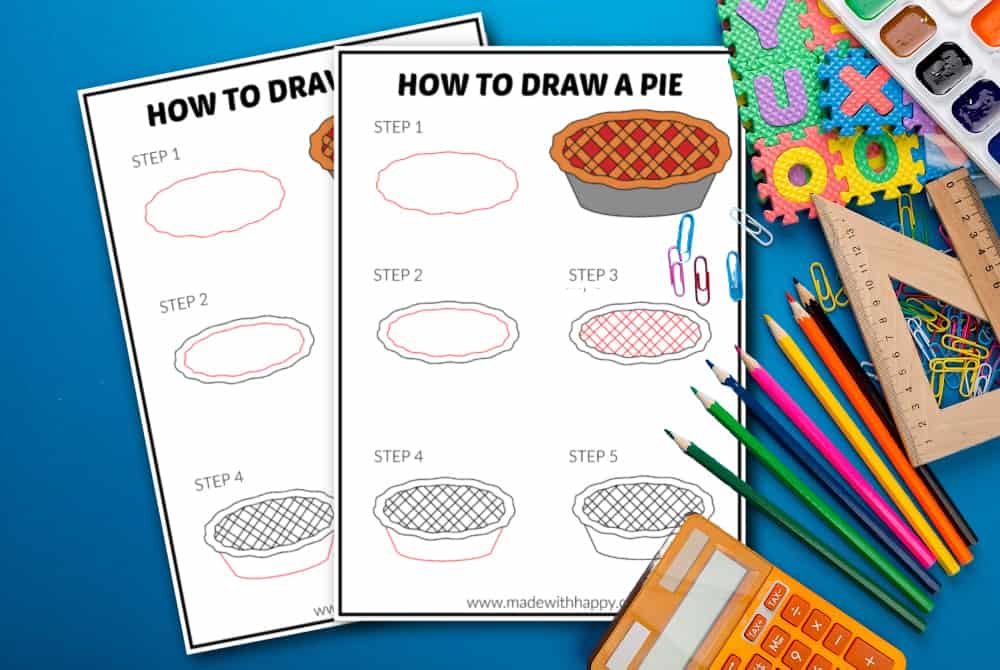
Download Free Pie Drawing Tutorial
Enter your email address in the form below and you'll be directed straight to the How To Draw a Pie Tutorial PDF File.
*For personal use only
How to Draw a Apple Pie
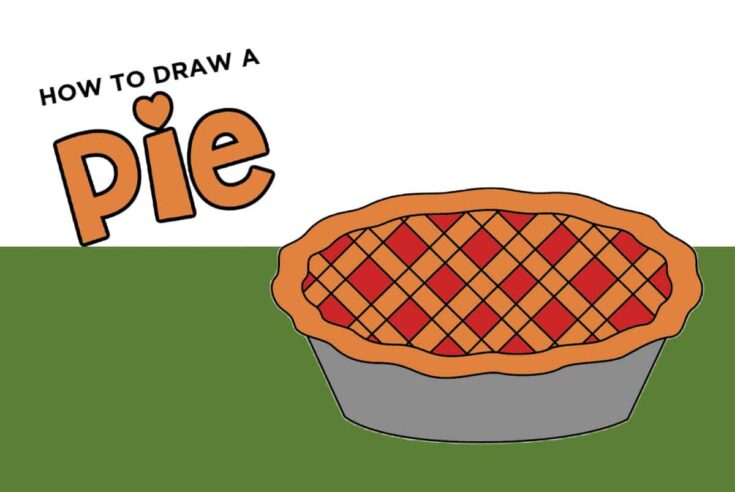
Create delicious art with our simple guide on How to Draw a Pie, perfect for all skill levels to add a touch of sweetness to their sketches!
Materials
- Paper
- Pie Drawing Tutorial
Tools
- Pencil
Instructions
Start with an oval shape. There are two ways to draw the outline of the pie. The first would be to draw the oval with a straight line and the second would be to draw the oval with a wavy line. This is creatively up to you.
The next step is to sketch the crust of the pie by drawing a similar oval inside the oval from the previous step.
The next step is to draw the lattice on the top of the pie. Simply draw straight lines diagonally starting on one side of the pie to the other side with a little gap between each line. then other straight lines going in the other direction creating a small square at the top of the pie.
To draw the bottom of the pie, draw a small straight line down at a slight angle from the bottom of the oval on each end of the pie, and then draw a small curved line connecting the two sides of the pie for the bottom.
The final step is to outline the pie with a black pen on the final lines and erase any extra lines you had while sketching your fun pie.
Lastly, but certainly not least grab your crayons, colored pencils, and or markers and color in your pie. The only decision you have now is to the what kind of pie you're drawing and color in the filling of the pie accordingly!
CONNECT WITH MADE WITH HAPPY!
Be sure to follow me on social media, so you never miss a post!
Facebook | Twitter | Youtube | Pinterest | Instagram
Find and shop my favorite products on my Amazon storefront here!
How To Draw a Pie
PIN IT TO YOUR DIY BOARD ON PINTEREST!
FOLLOW MADE WITH HAPPY ON PINTEREST FOR ALL THINGS HAPPY!
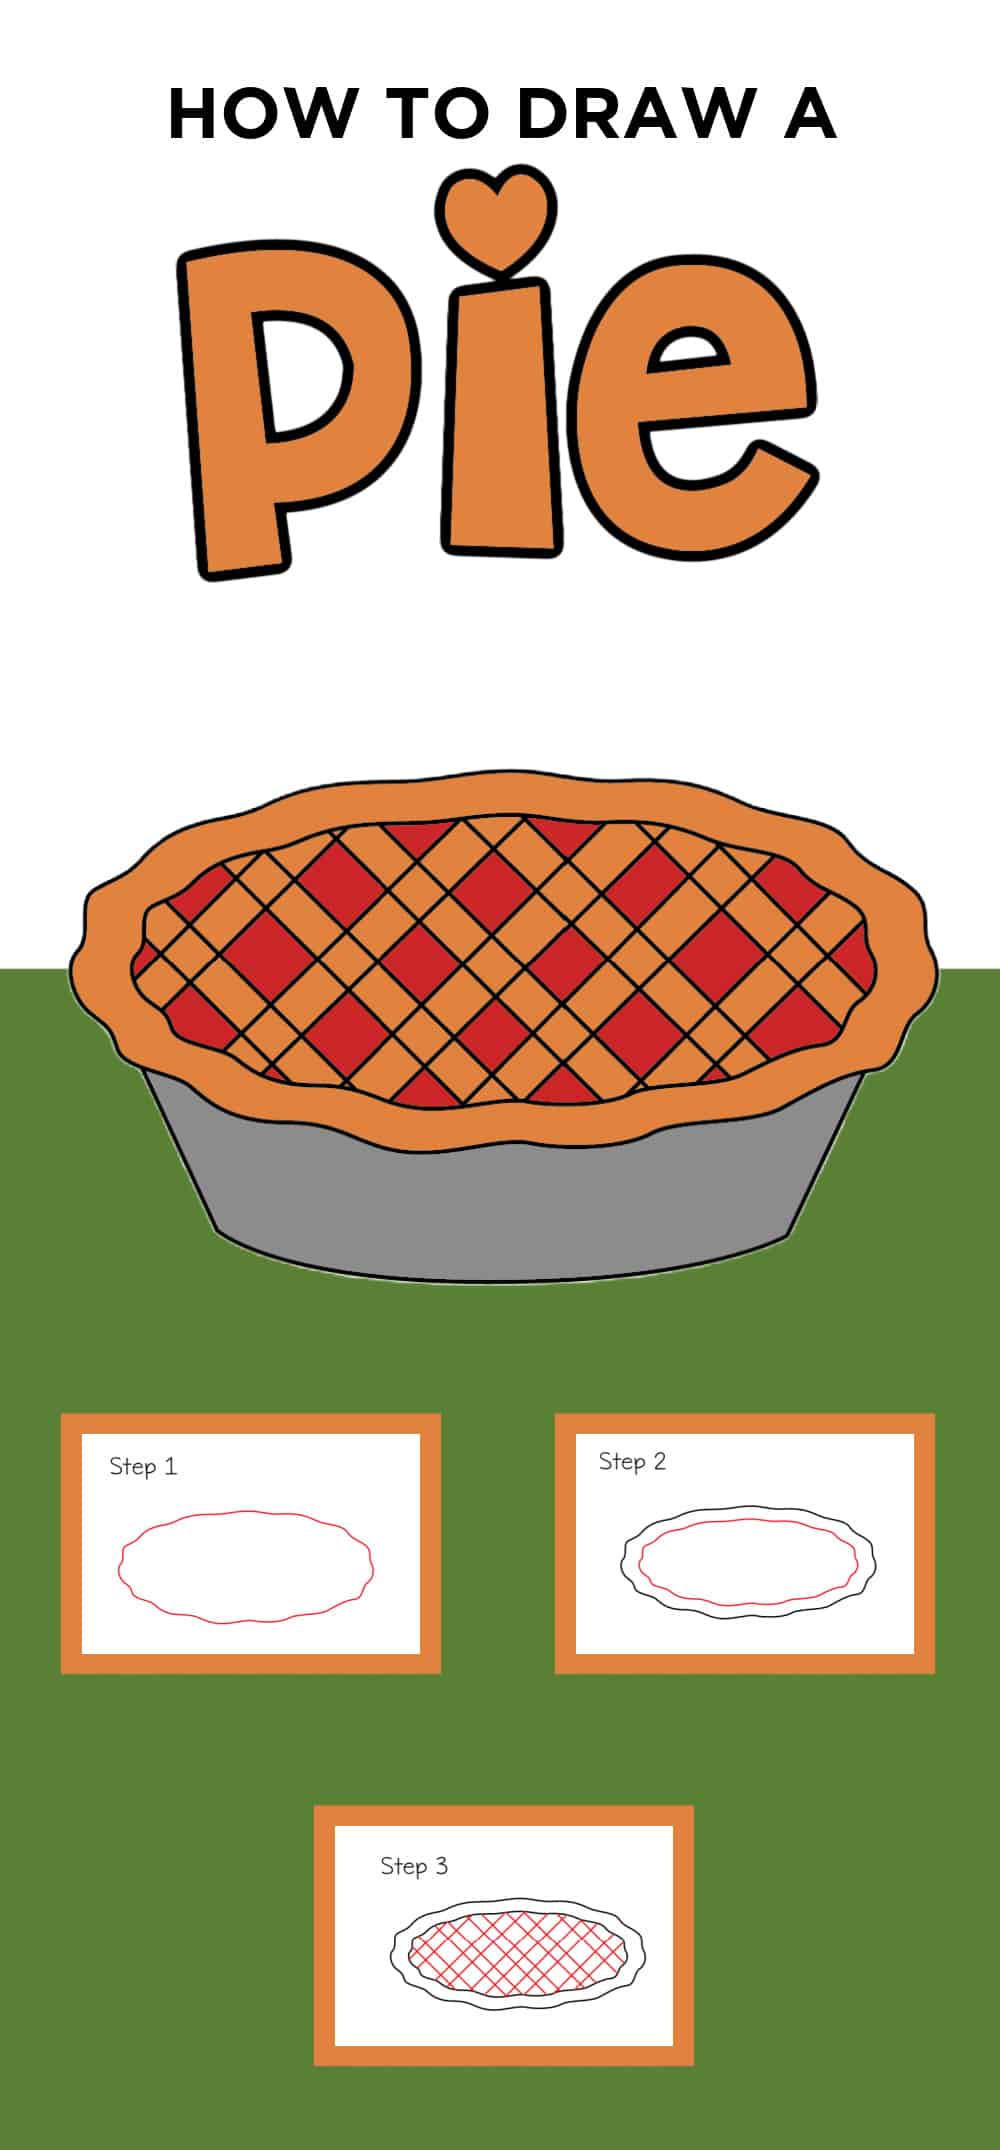


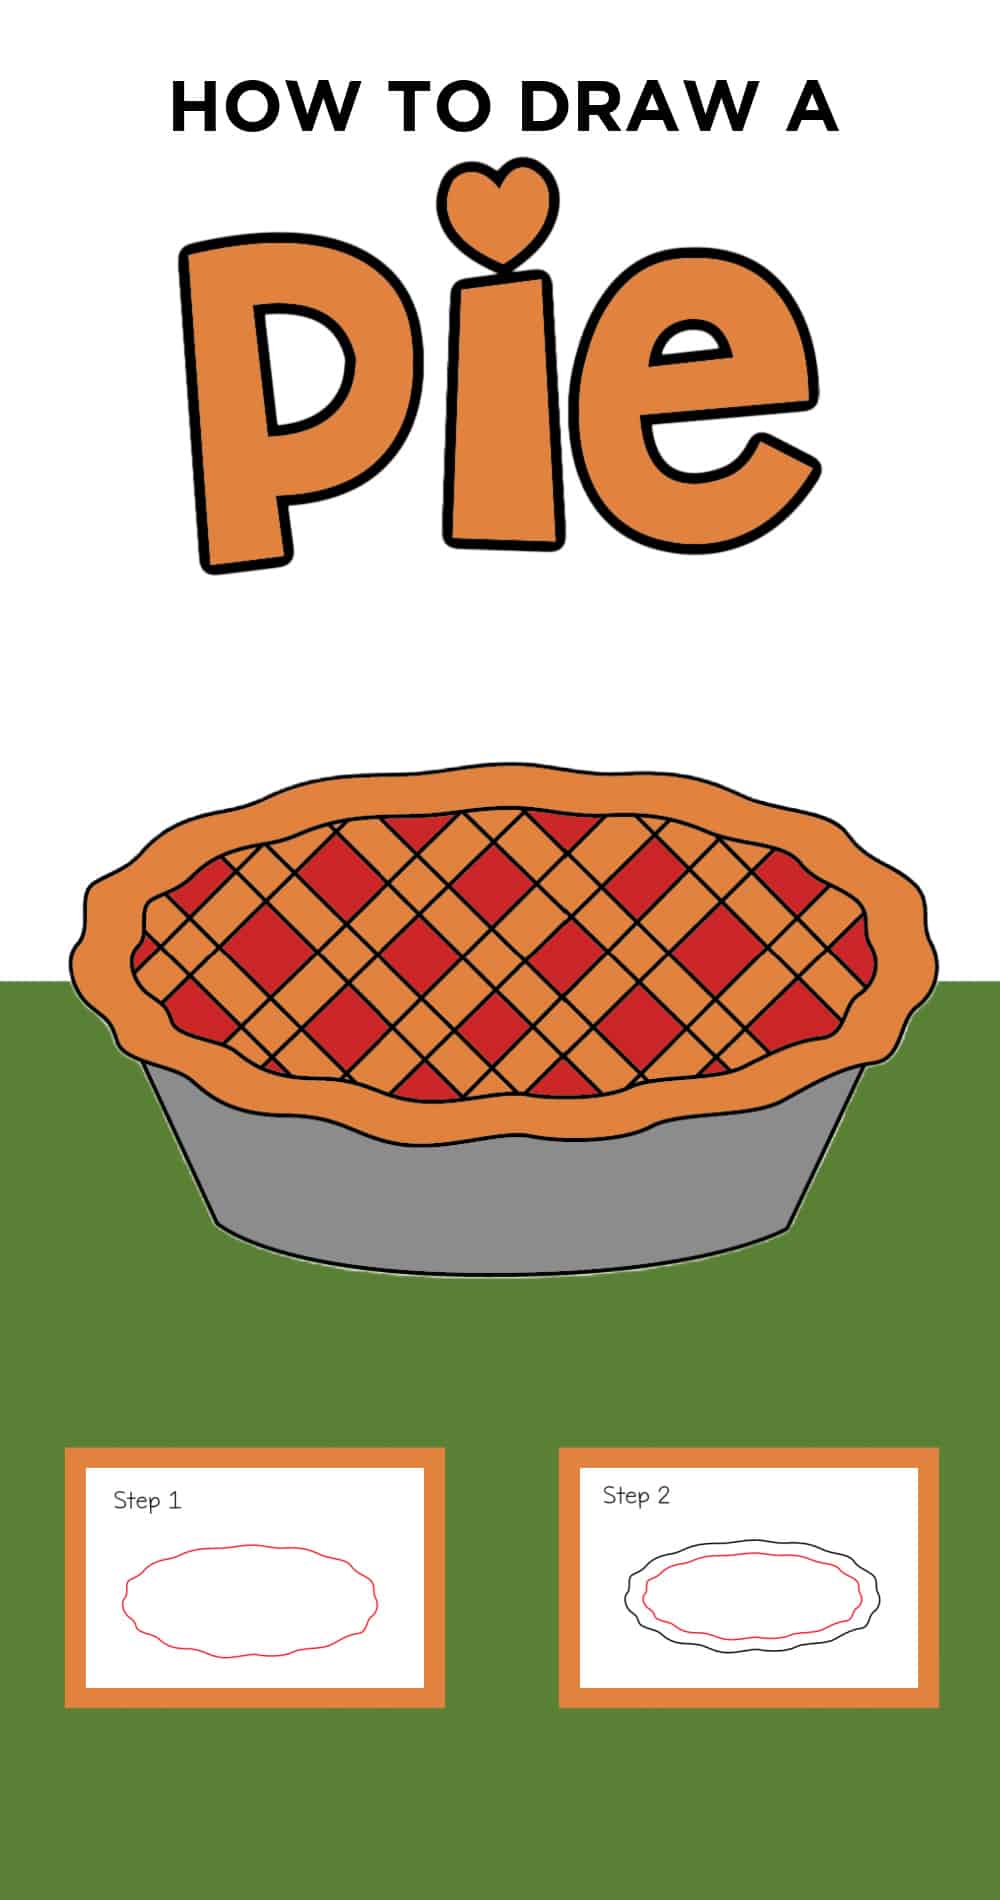
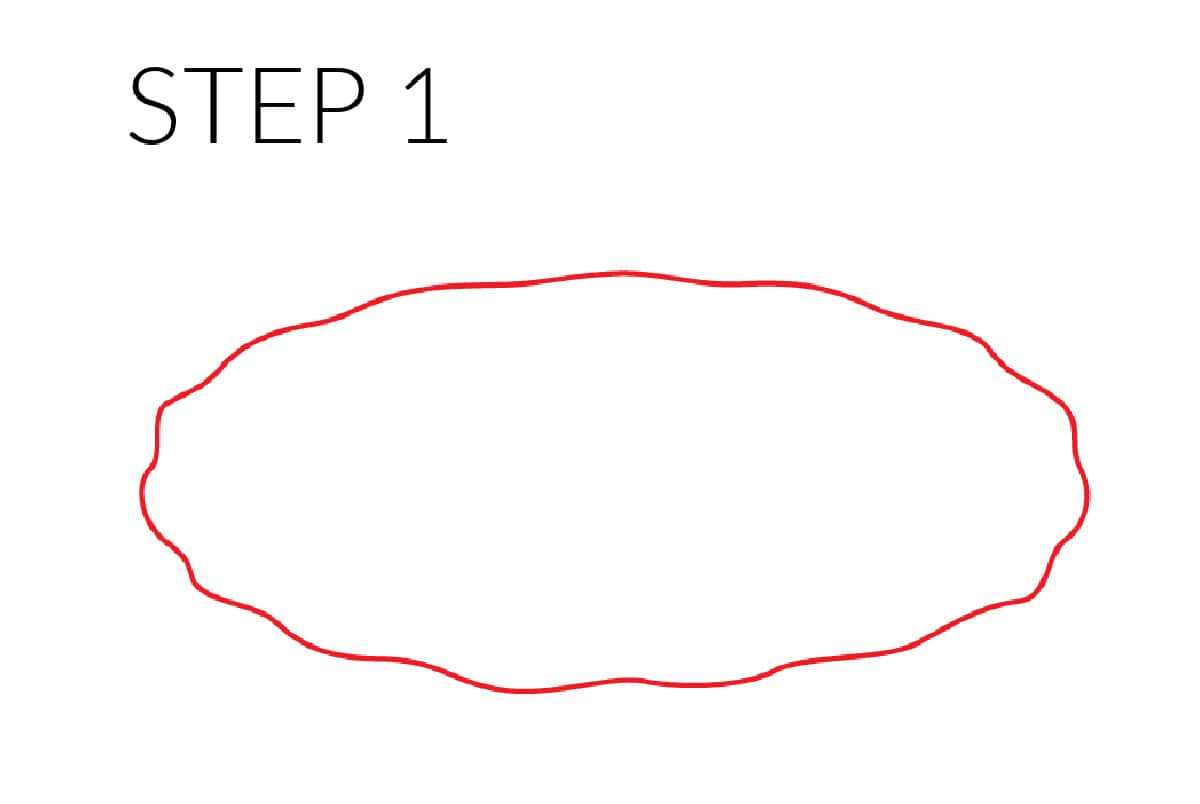 Start with an oval shape. There are two ways to draw the outline of the pie. The first would be to draw the oval with a straight line and the second would be to draw the oval with a wavy line. This is creatively up to you.
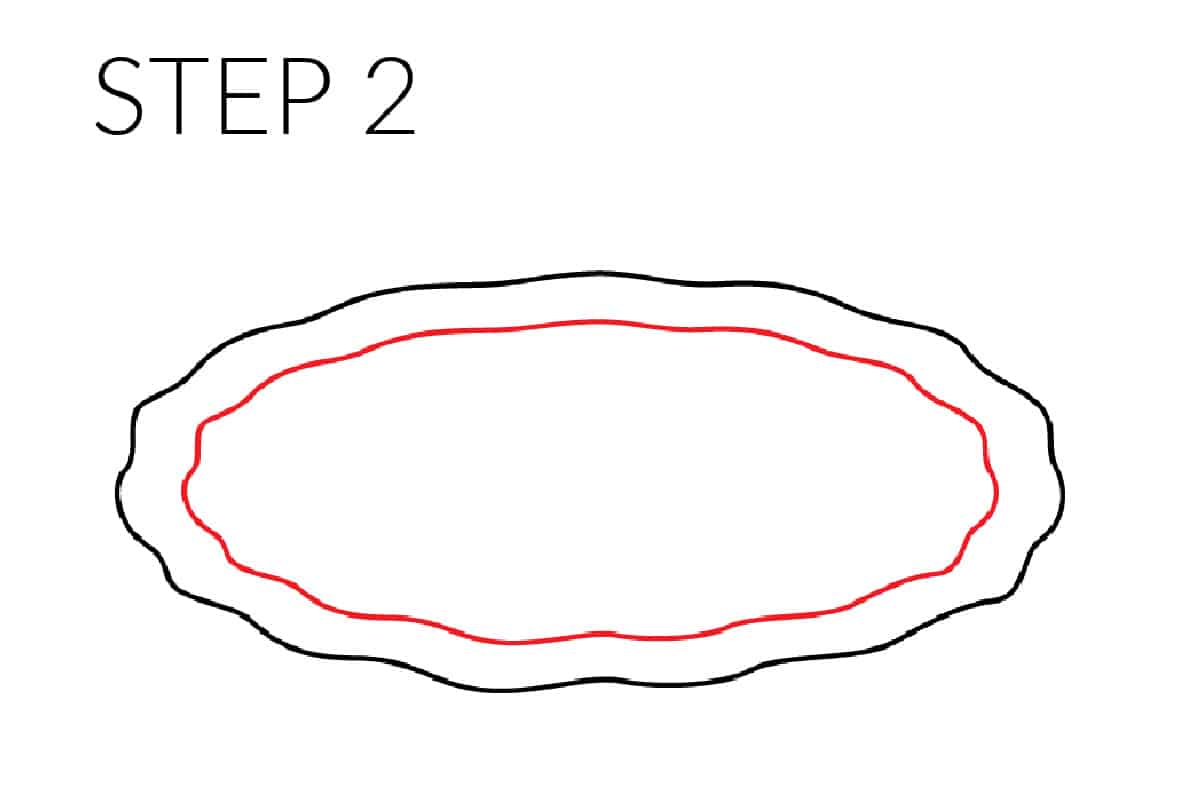 The next step is to sketch the crust of the pie by drawing a similar oval inside the oval from the previous step.
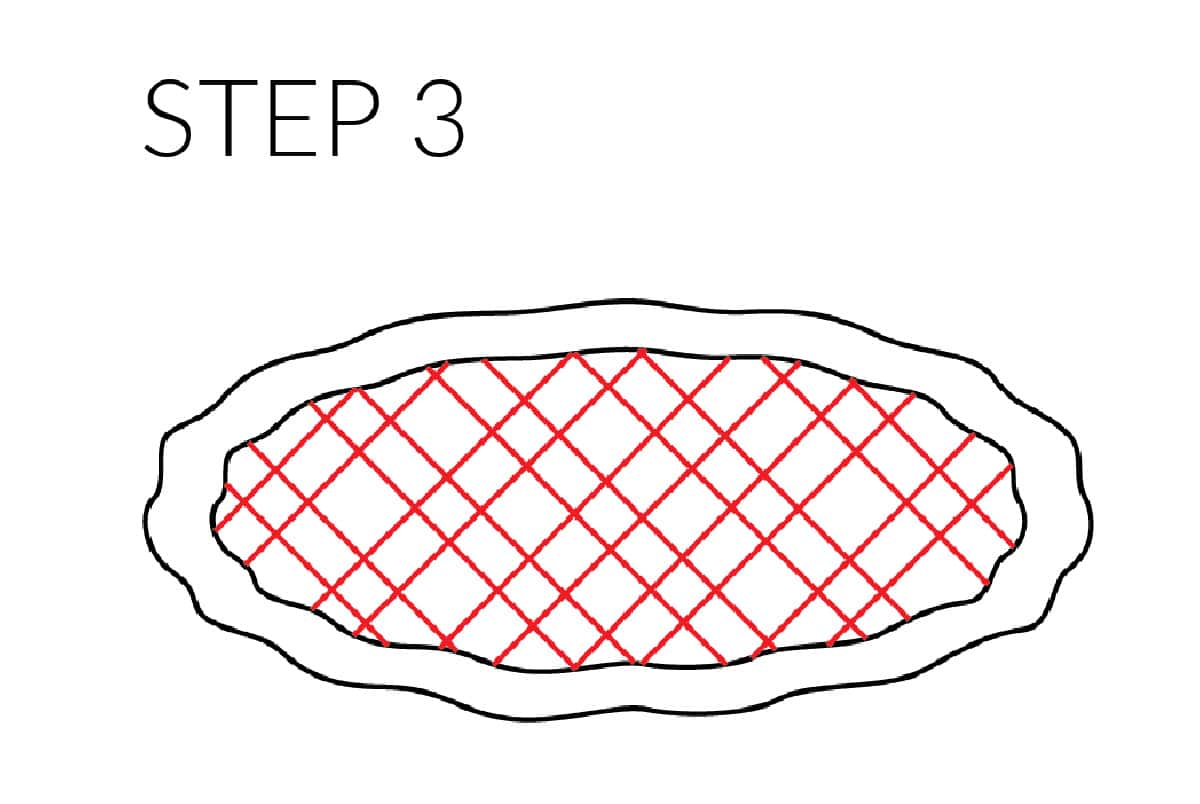 The next step is to draw the lattice on the top of the pie. Simply draw straight lines diagonally starting on one side of the pie to the other side with a little gap between each line. then other straight lines going in the other direction creating a small square at the top of the pie.
 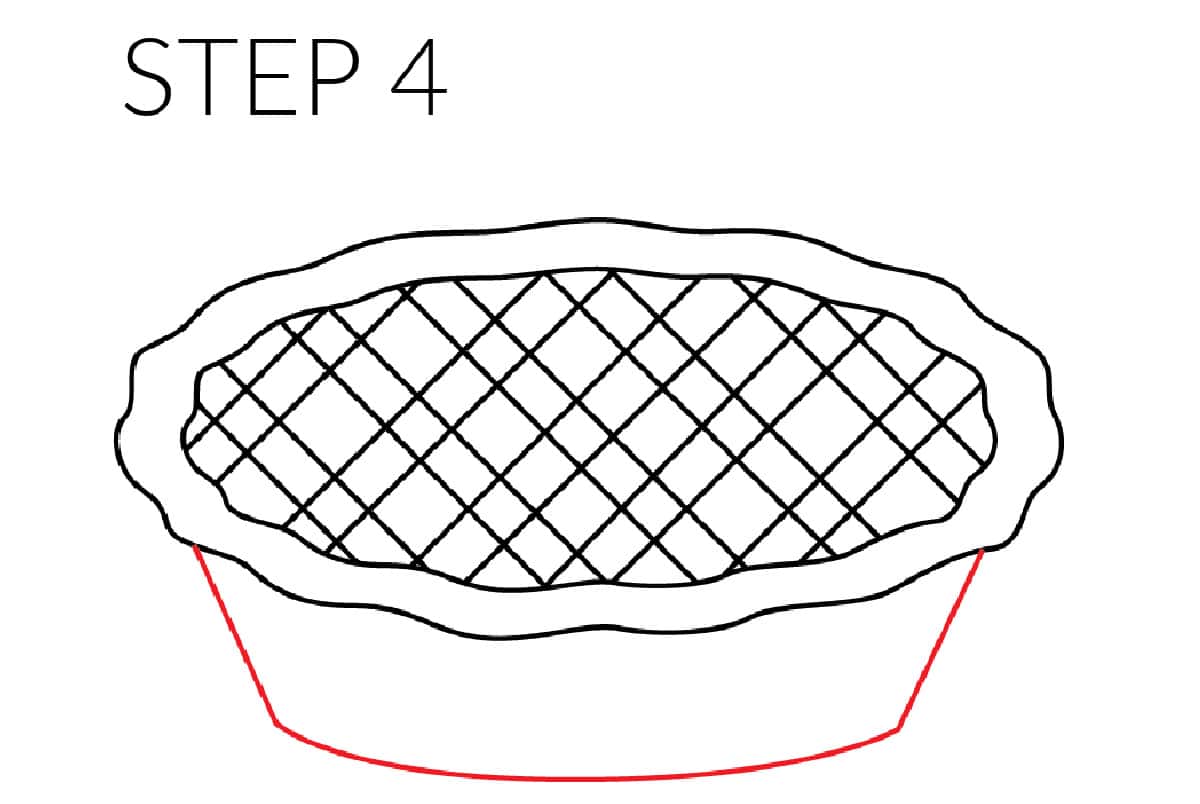 To draw the bottom of the pie, draw a small straight line down at a slight angle from the bottom of the oval on each end of the pie, and then draw a small curved line connecting the two sides of the pie for the bottom.
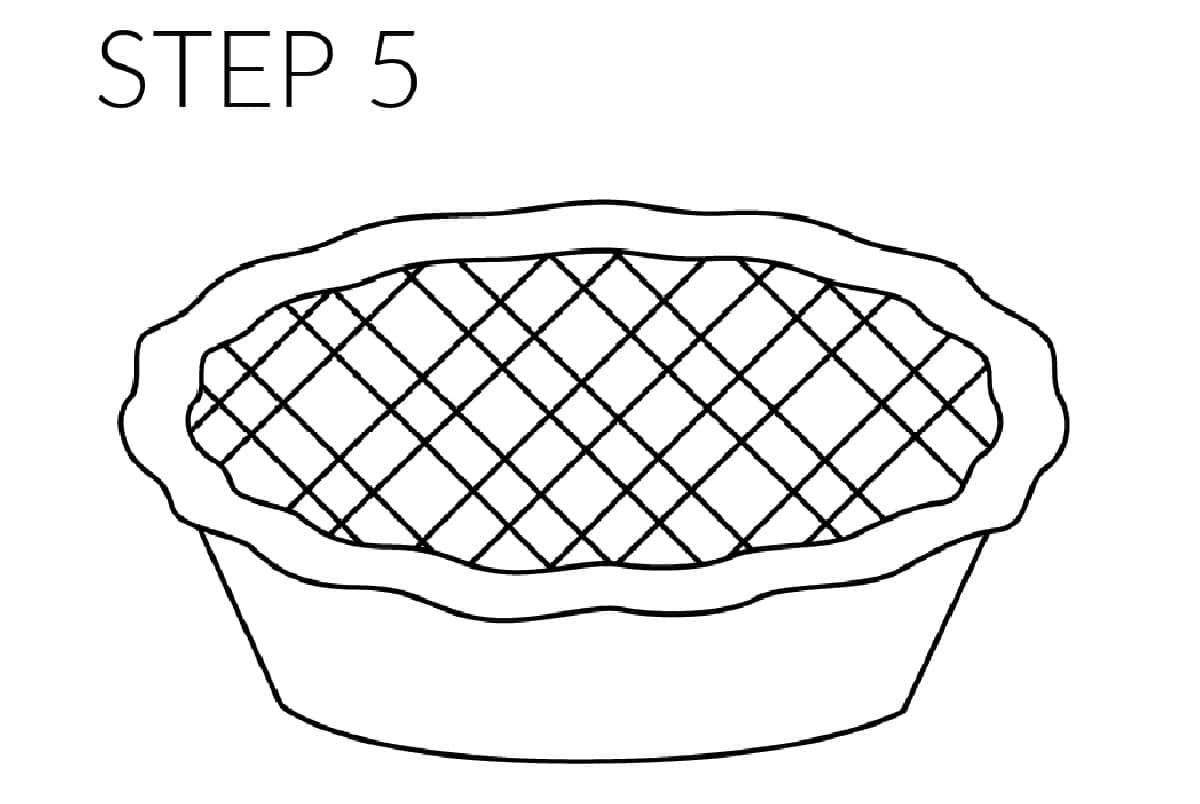 The final step is to outline the pie with a black pen on the final lines and erase any extra lines you had while sketching your fun pie.
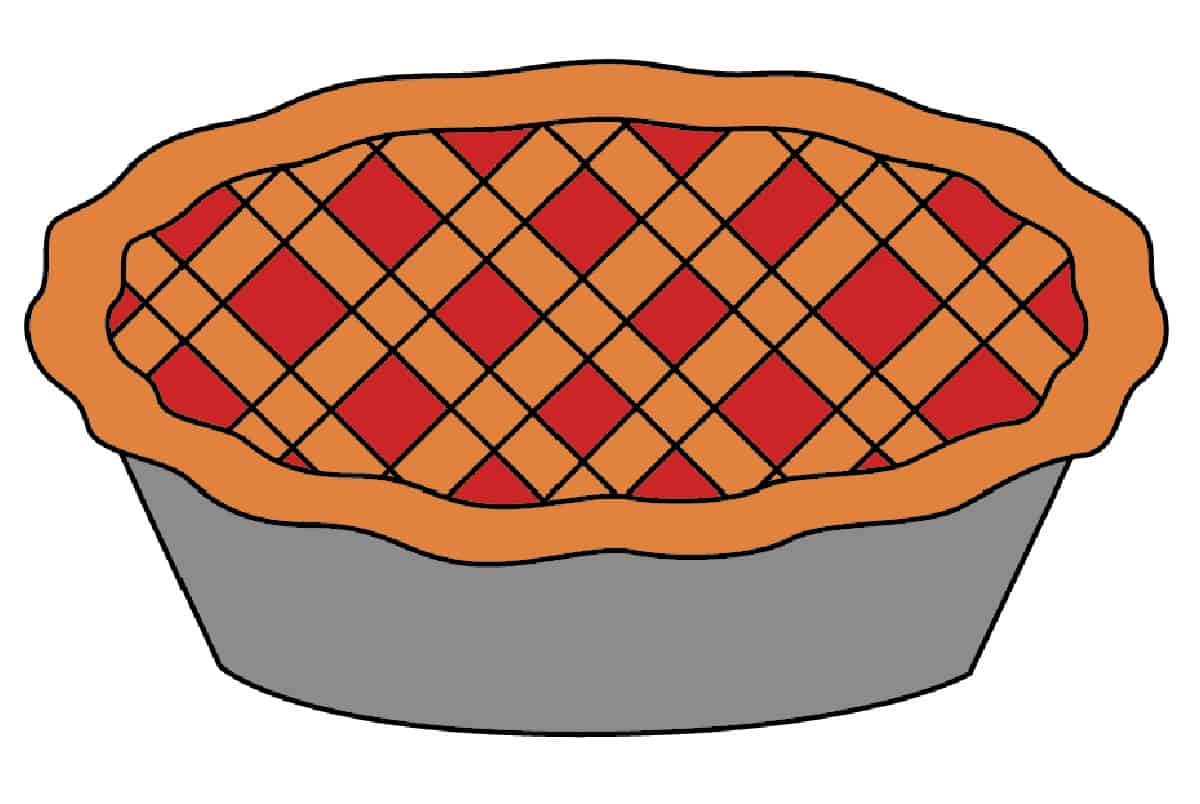 Lastly, but certainly not least grab your crayons, colored pencils, and or markers and color in your pie. The only decision you have now is to the what kind of pie you're drawing and color in the filling of the pie accordingly!