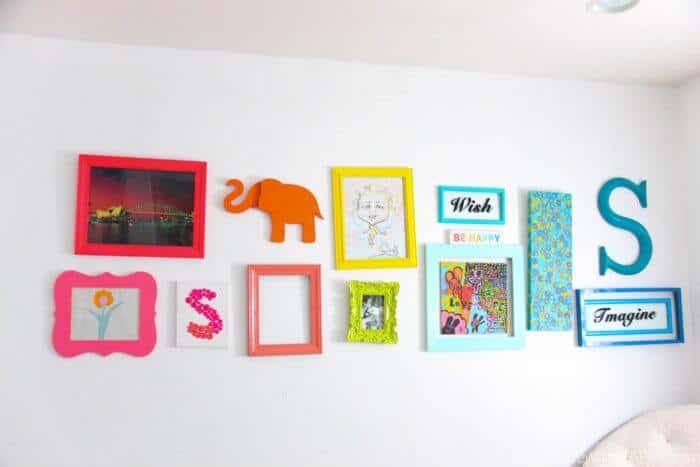
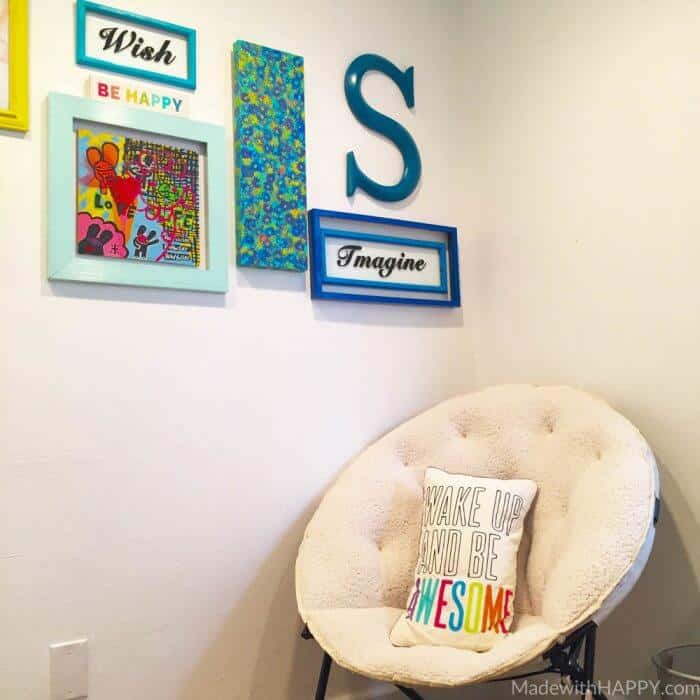
Those that know me, know I have this thing with rainbows and bright colors. Well my friends, it appears I have passed on this love affair onto the my little love. She too loves all things rainbow and colorful and asked if we could turn her wall into a rainbow wall.
Want to save this project?
Enter your email below, and then we'll send it straight to your inbox. Plus get awesome new projects from us each week.
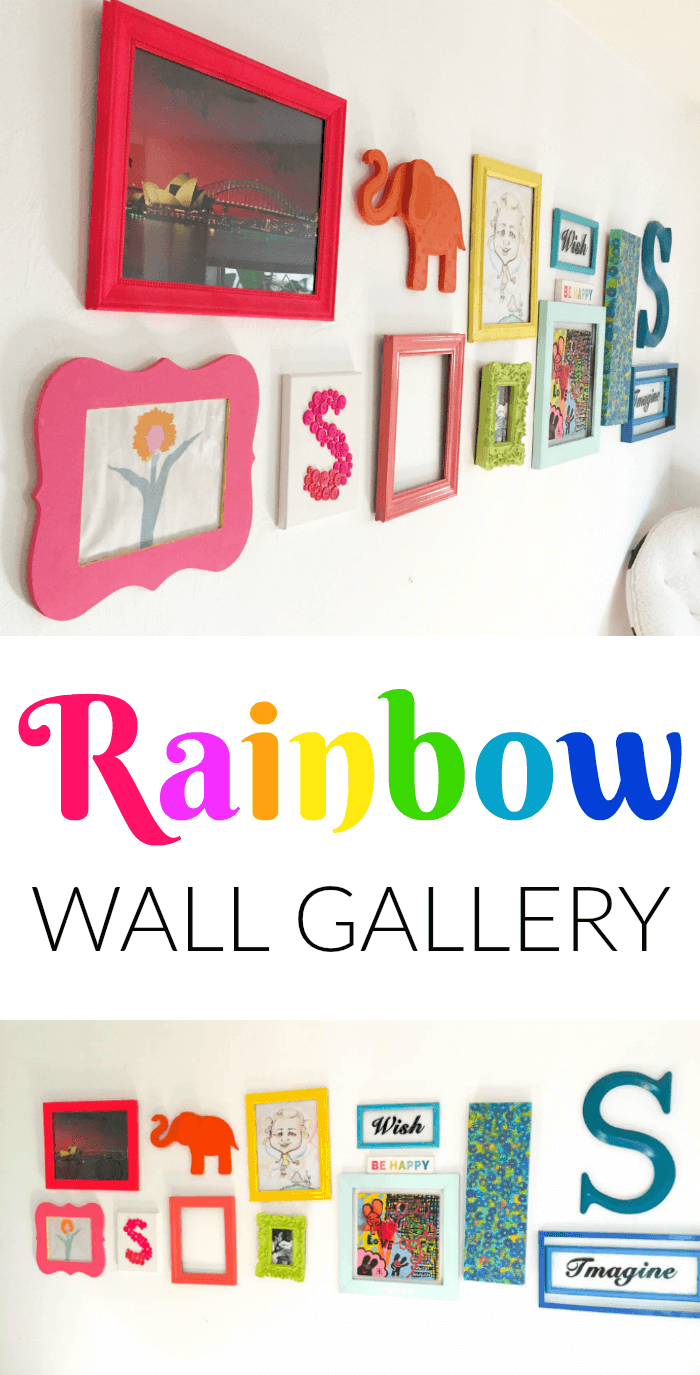
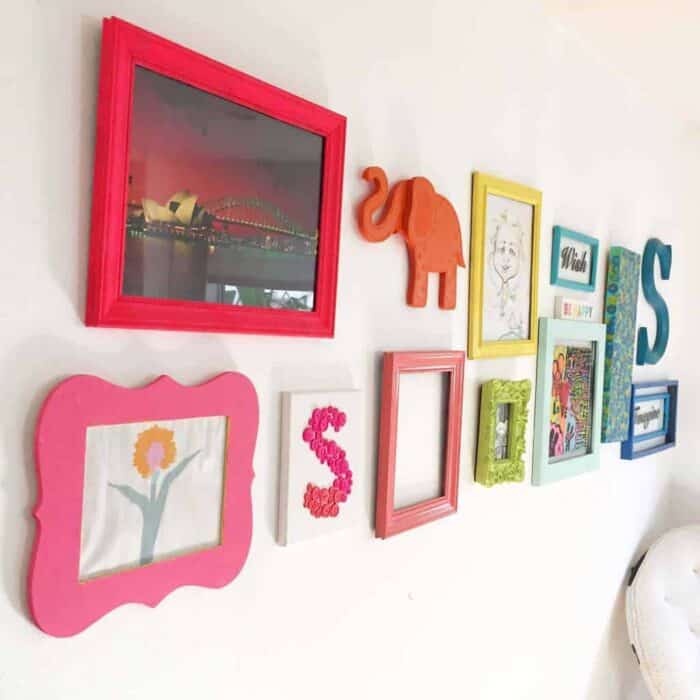
After going back and forth on how to incorporate the every loving rainbows we both adore, we finally came up with the idea of a rainbow gallery wall.
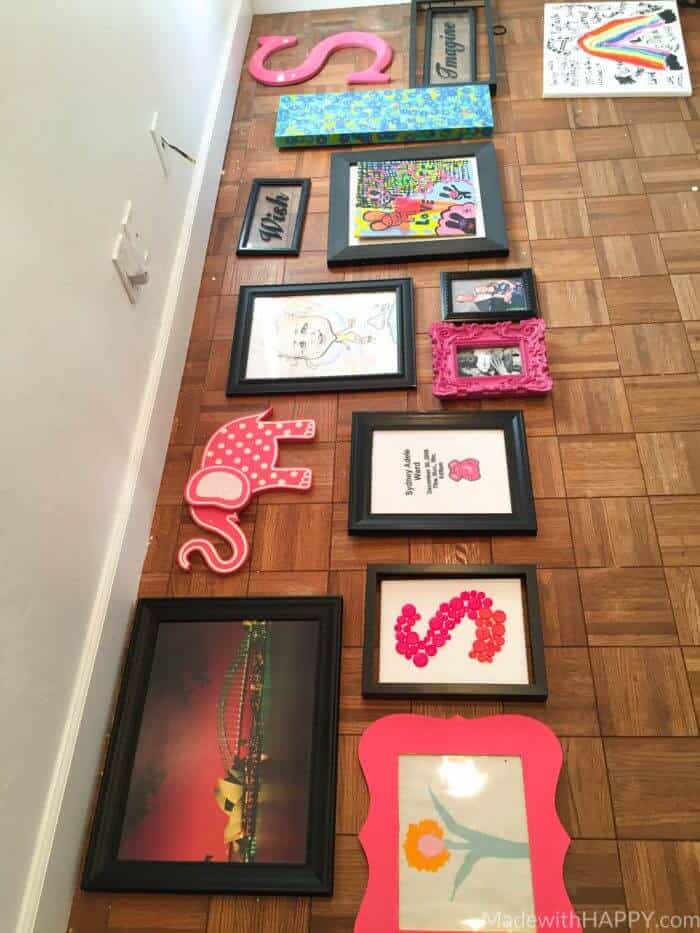
Because our gallery wall was only two pieces in height, we decided to take a looser approach.
Step 1: We started with eye level and making sure the center of the gallery wall was approximately 57" off the floor. This will vary within a few inches depending on the ceiling height and if there are furniture pieces underneath it.
Step 2: Layout the frames and art piece. Remember that even though there are different shapes and sizes, you want to create balance. Seperating larger pieces from each other and making sure the focal point is centered.
Step 3: With this type of wall gallery, there are two different ways to create it. One is to a allign the outter edges of the frames to create a rectangle shape and if that is the case, then the distance between pieces will vary depending on the frame. The second way is to ensure the same spacing between pieces starting from the middle eye level and moving up and down from there. For this project, we went with the first method and made sure the pieces aligned with the outer edges. We were able to do this by creating lines on the outter edges of the wall.
Step 4: Layout the paints for the frames. Have I mentioned lately how I'm a spray paint horder? If you don't have spray paint, you can use acrylic paints as well.
Step 4: Hang your gallery. Measure, measure, measure.


