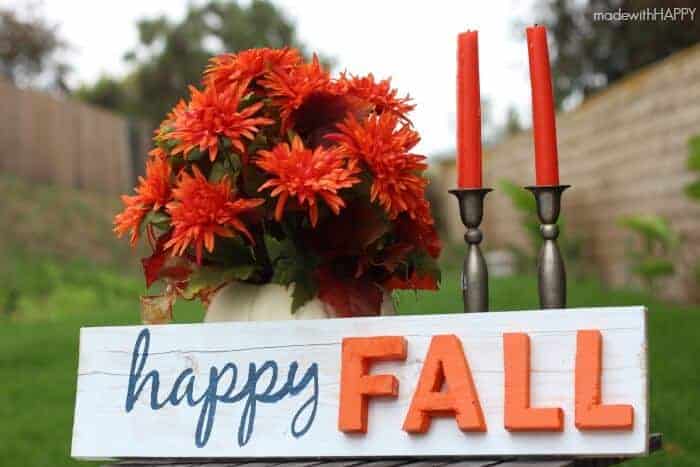
I don't know about you, but with the intensely warm extended Summer we had in the Southwest, it hasn't, until the last week, felt like FALL.
It has finally seemed to cool down (fingers crossed), thank goodness. But what that also means is that we've been frantically scrambling to decorate and make the house, which was just 90+ degrees last week, feel and look like FALL.
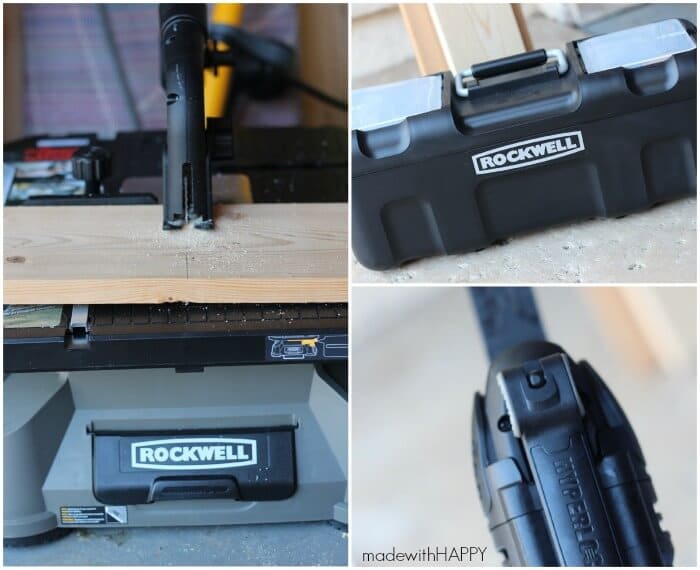
The folks at Rockwell Woodworking Tools sent me with a few saws to check out and so I thought what better than to craft a cute FALL sign for the house? Here's how I did it.
This is great all Fall season long (September, October, and November).
Supplies:
Want to save this project?
Enter your email below, and then we'll send it straight to your inbox. Plus get awesome new projects from us each week.
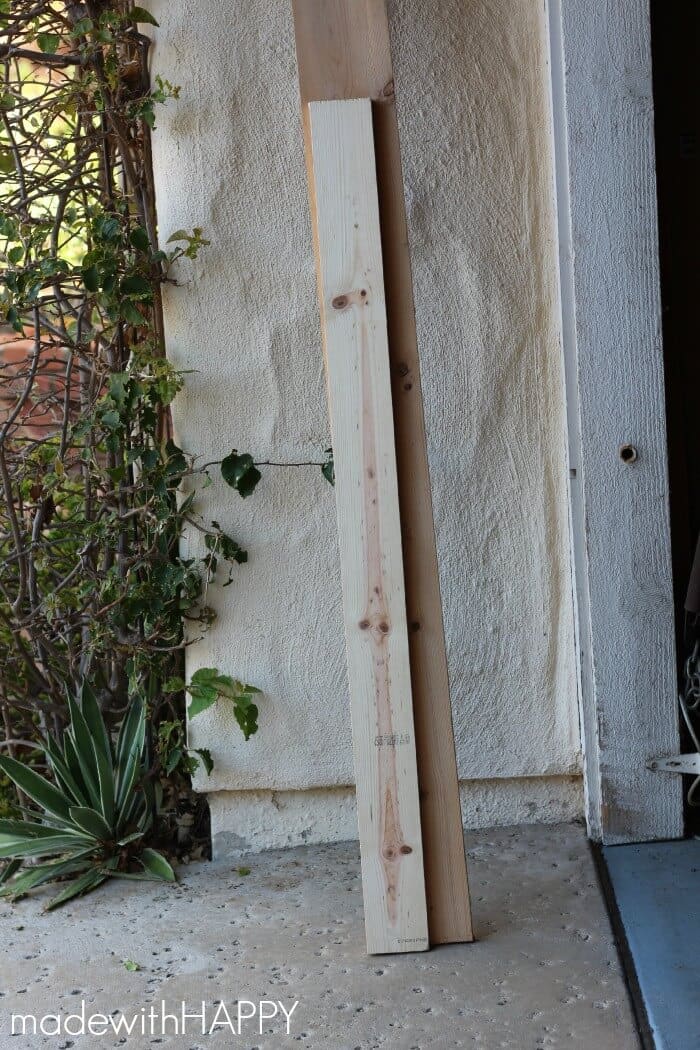
- Two pieces of thin appearance wood pieces (One wider piece as the base and then a thinner piece for the letters) - I used a 5 ½ inch wide as base and 3 ½ inch wide for the letters.
- Paint
- Wood Glue
- Wood Saws
Directions:
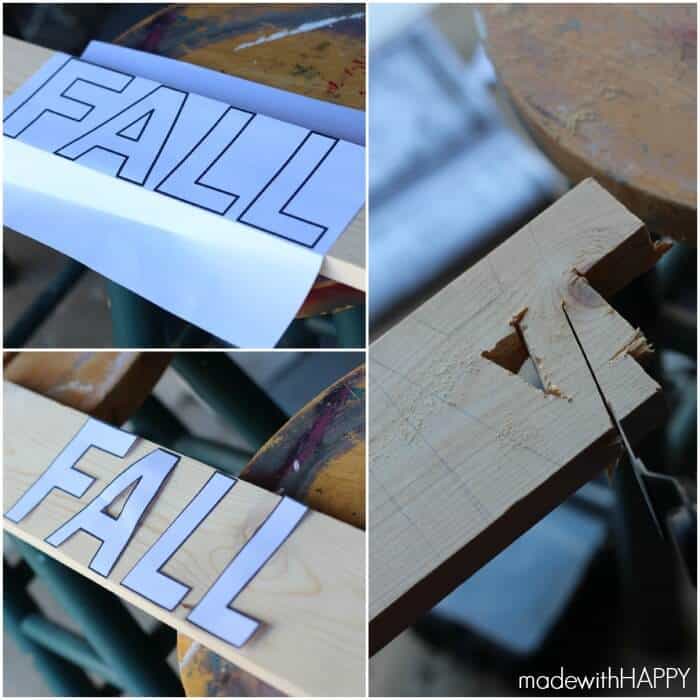

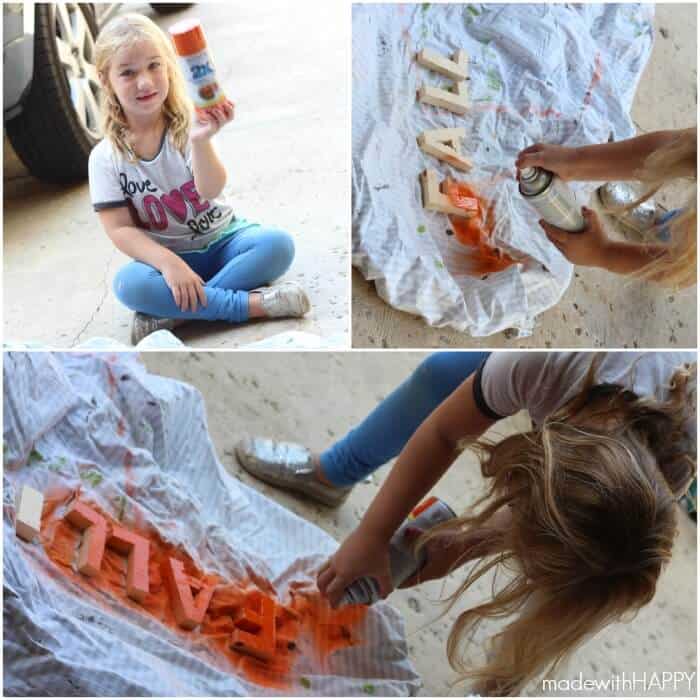
First, on the computer, I printed out some 3.5 inch tall letters that spelled "FALL." If you have stencils, those would be perfect too. After cutting the letters out, I traced them onto the 3.5 inch wood piece. Using the Rockwell Crafter, I sawed out the letters. P.S. the Crafter is awesome for pumpkin carving too... who doesn't love that?Next I created a vinyl stencil of the word happy using my silhouette. Once you have the stencil on the larger wood piece, measure out the length and cut the length to the size you want for the sign.Using either spray paint or acrylic, grab your super cute helper and have them paint both the letters and the larger wood board. Once the board is dry then apply the vinyl stencil and paint the "happy" in a fun FALL color.
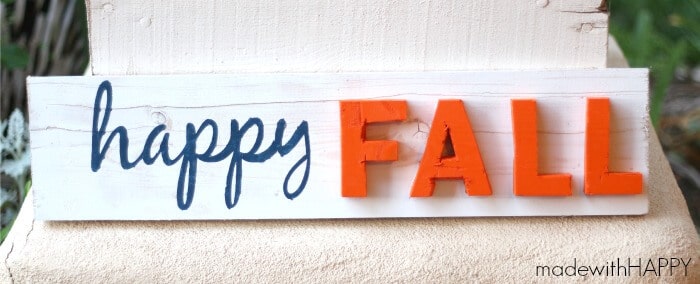
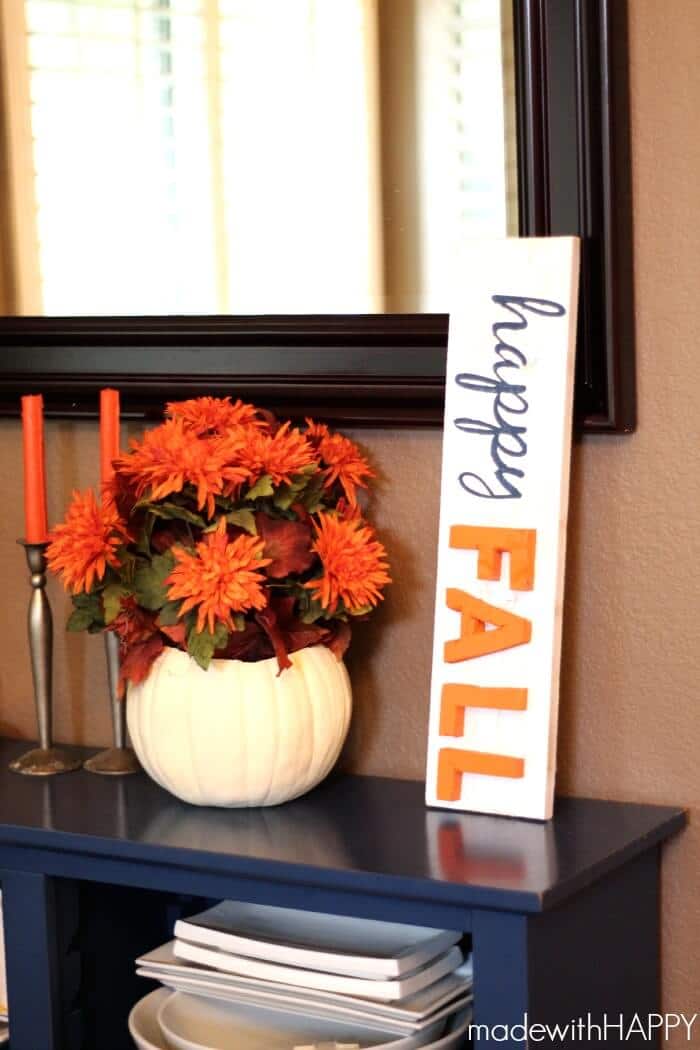
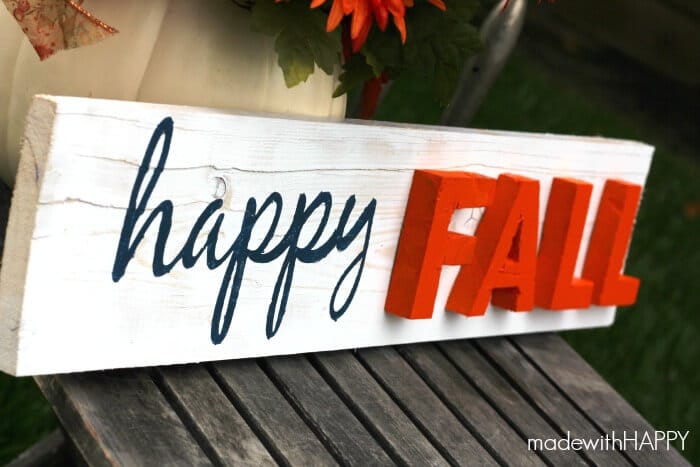
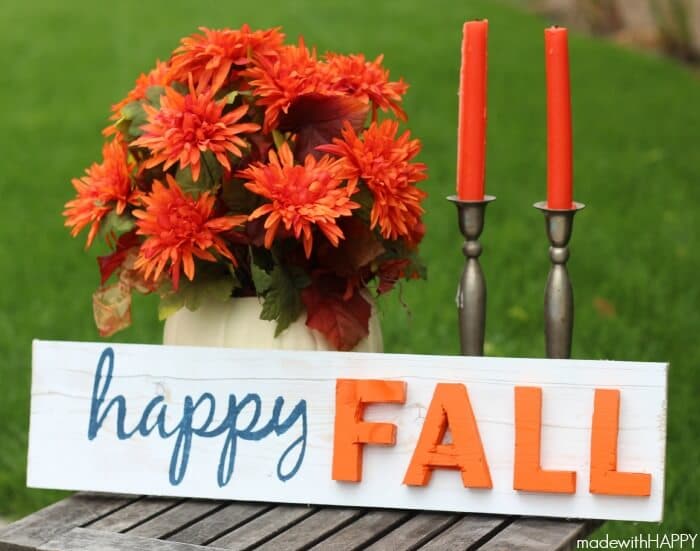
Lastly, using wood glue, glue the wood "FALL" letters to the sign. Viola, you have yourself a super cute FALL sign for your front door or inside the house.


