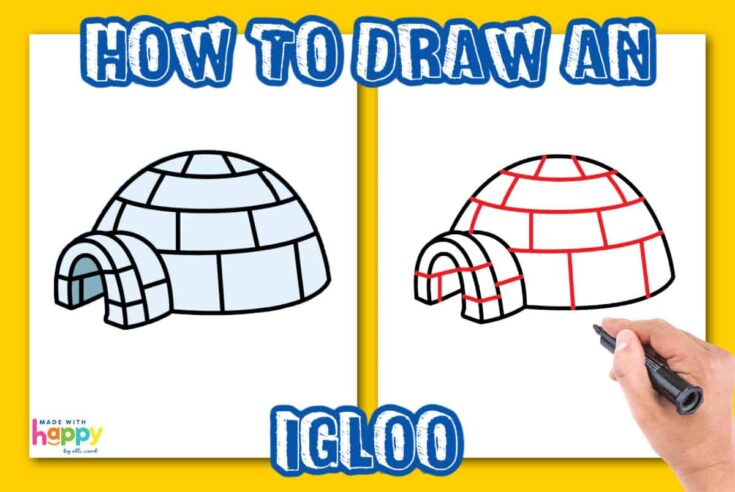
Draw an igloo with our simple guide! Easy for all ages. Start your snowy adventure now and create a winter wonderland on paper.
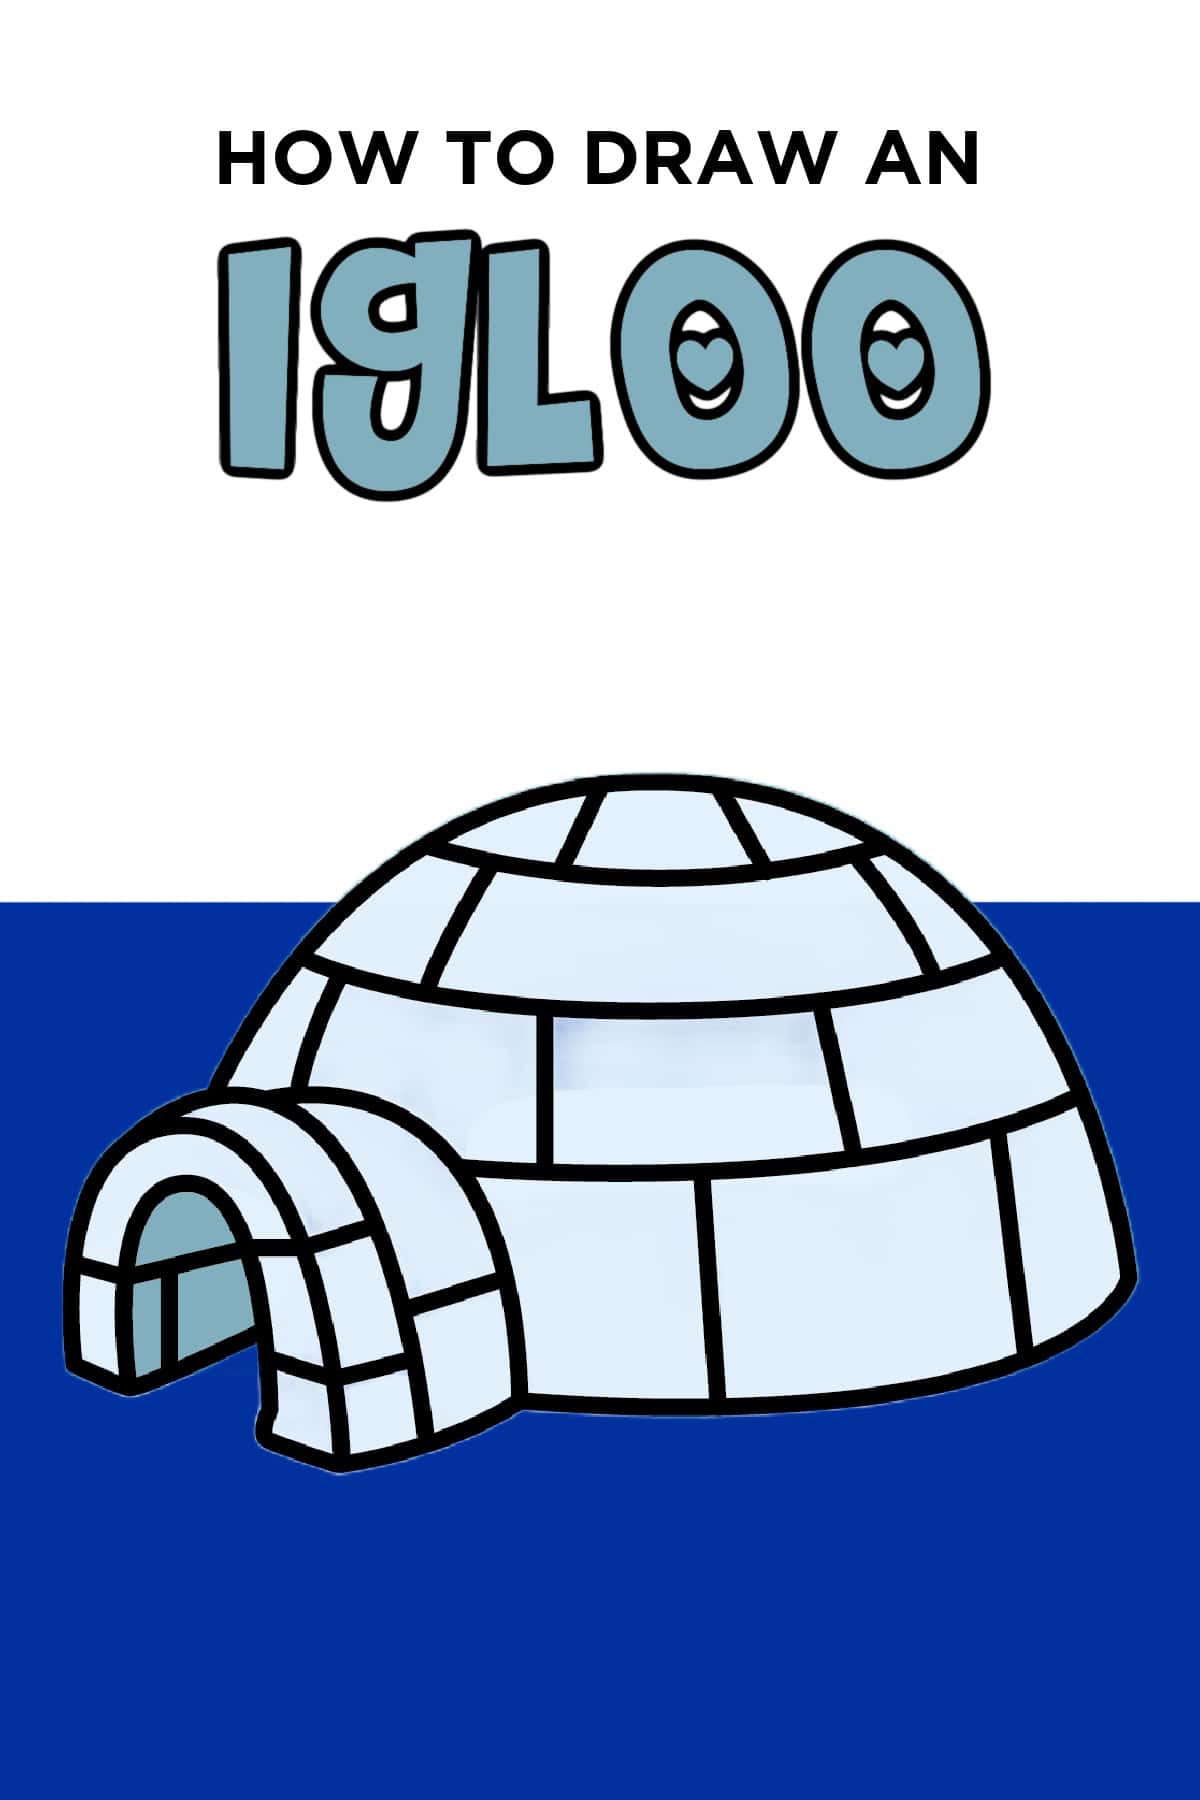
This How to Draw an Igloo Tutorial is great for kids of all ages to learn the easy drawing lesson on how to make their own igloo drawing.
We're about to embark on a whimsical journey into the world of art, and our focus is on capturing the charm of a winter wonderland by learning how to draw an igloo. It's an easy yet immensely enjoyable project that promises to unleash your creativity and add a touch of seasonal magic to your artistic repertoire.
Whether you're a seasoned artist or a beginner artist just starting your creative adventures. Join us as we guide you through the step-by-step process of creating your very own igloo sketch and sharpening your drawing skills. Get ready to turn a blank canvas into a cozy snow house that perfectly encapsulates the spirit of winter.
Want to save this project?
Enter your email below, and then we'll send it straight to your inbox. Plus get awesome new projects from us each week.
Winter Drawings For Kids
Winter drawings are a fantastic way to explore the enchanting beauty of the season through art. From winter scenes to a polar bear to adorable snowmen, the possibilities are as vast as the snowy landscapes outside. And today, we're delving into the world of winter drawings with a special focus on crafting the perfect igloo masterpiece. It's not just about drawing; it's about capturing the essence of winter and bringing it to life on a sheet of paper.
As you embark on this creative journey, imagine the thrill of creating your own winter wonderland. Drawing an igloo becomes a gateway to expressing the coziness and charm that winter brings. So, whether you're a budding artist or just looking for a delightful winter project, grab your tools, follow our steps, and let's infuse some snowy magic into your artistic creations. Get ready to turn your paper into a canvas of winter joy!
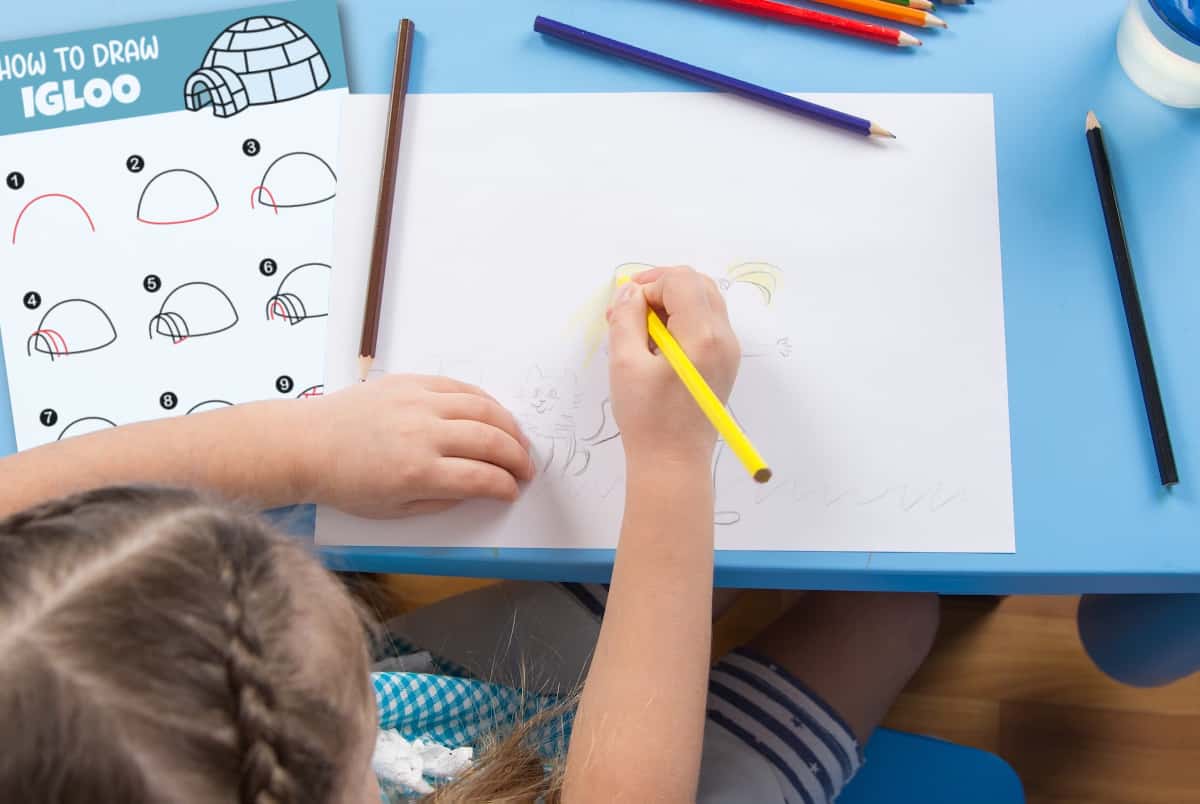
We love breaking down drawings into a step-by-step guide. I also think having the printable drawing guide helps in making the simple steps come to life. Grab the free printable step-by-step instructions at the bottom of the post.
If you love drawing tutorials as much as we do, then you will not want to miss some of our other easy drawings.
Cool Igloo Facts
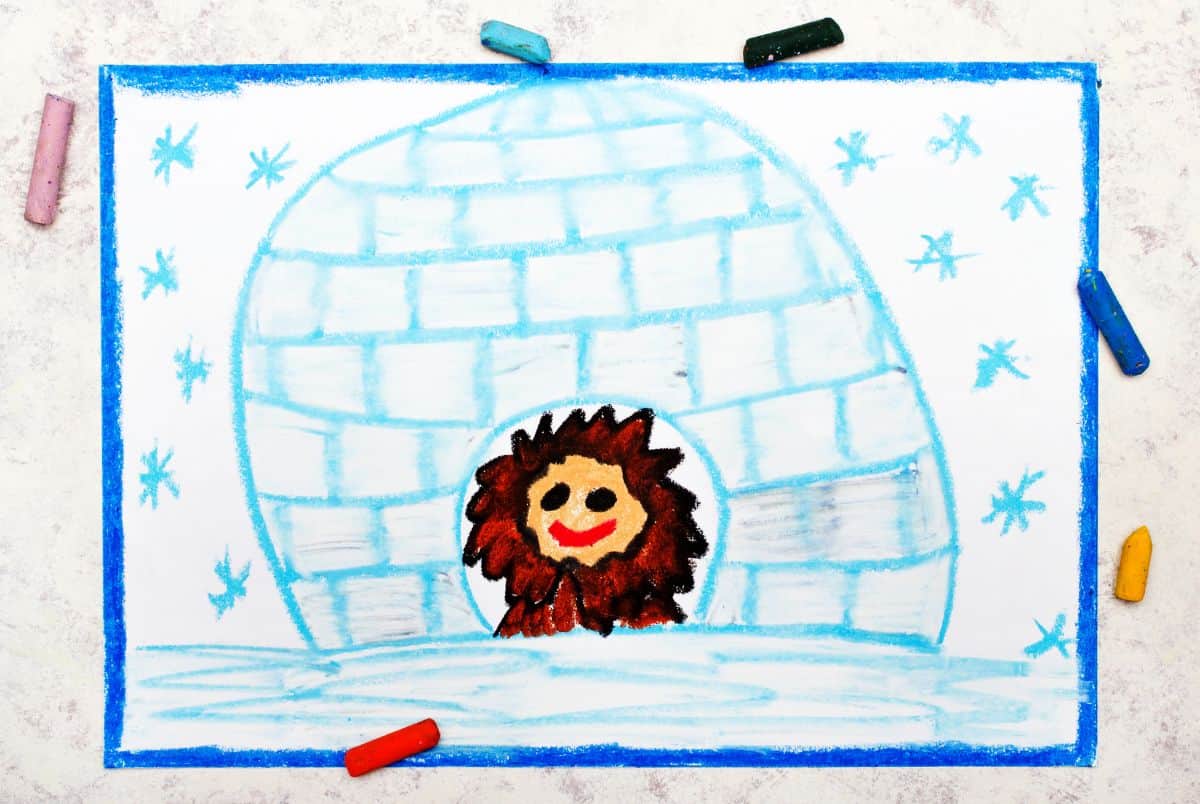
Did you know that igloos are traditional winter homes built by the Inuit people? They're not just cozy shelters. They're cleverly designed to keep warmth in and cold out. The word 'igloo' means 'house' in Inuktitut, the language of the Inuit. Imagine living in a house made of snow – pretty awesome, right?
Now, here's the cool part – igloos aren't just icy hideouts; they're architectural marvels. The rounded shape isn't just for looks! It helps distribute the weight of the snow and ice blocks, making the igloo strong and stable. Plus, the entrance is lower than the living area, creating a natural barrier against cold winds.
As we dive into drawing our own igloos, let's appreciate these ingenious structures and the incredible winter wisdom behind them!
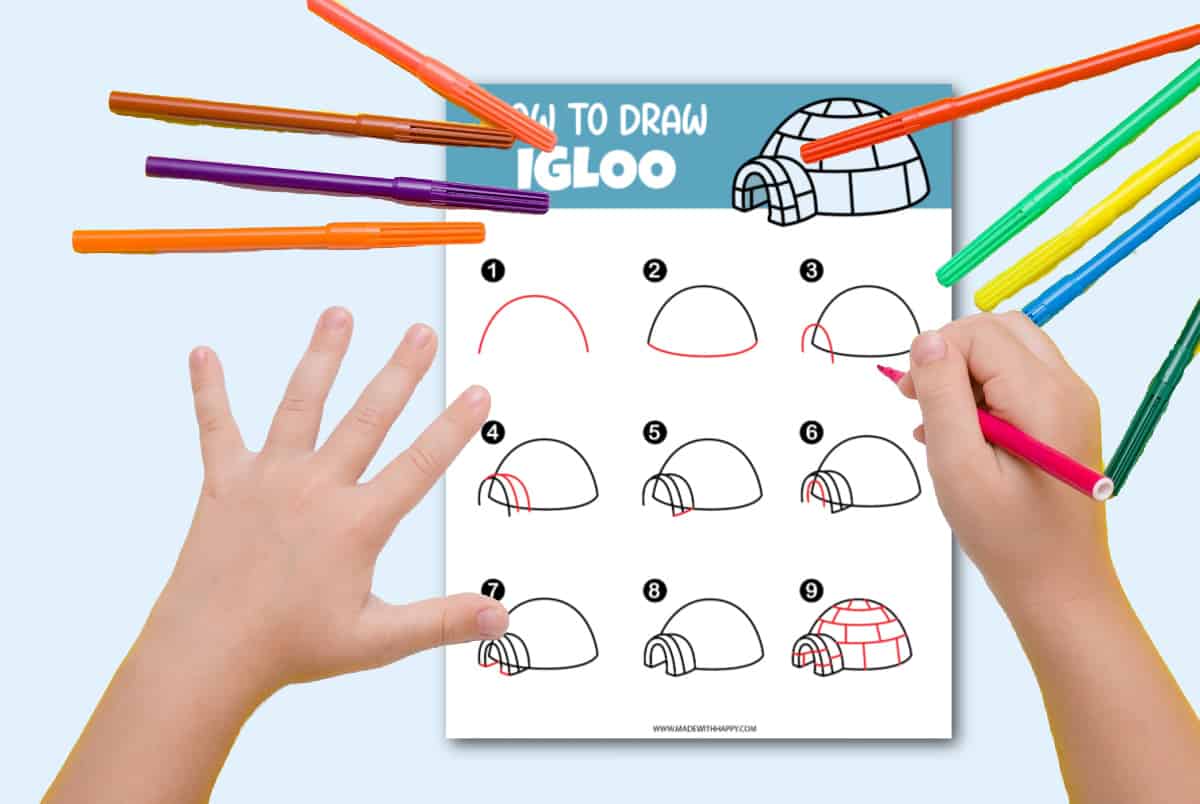
How To Draw an Igloo
Before you start to draw make sure you have the right tools. Here are the drawing paper, and drawing pencils that we like to use. Now a few easy steps on how to draw an igloo!

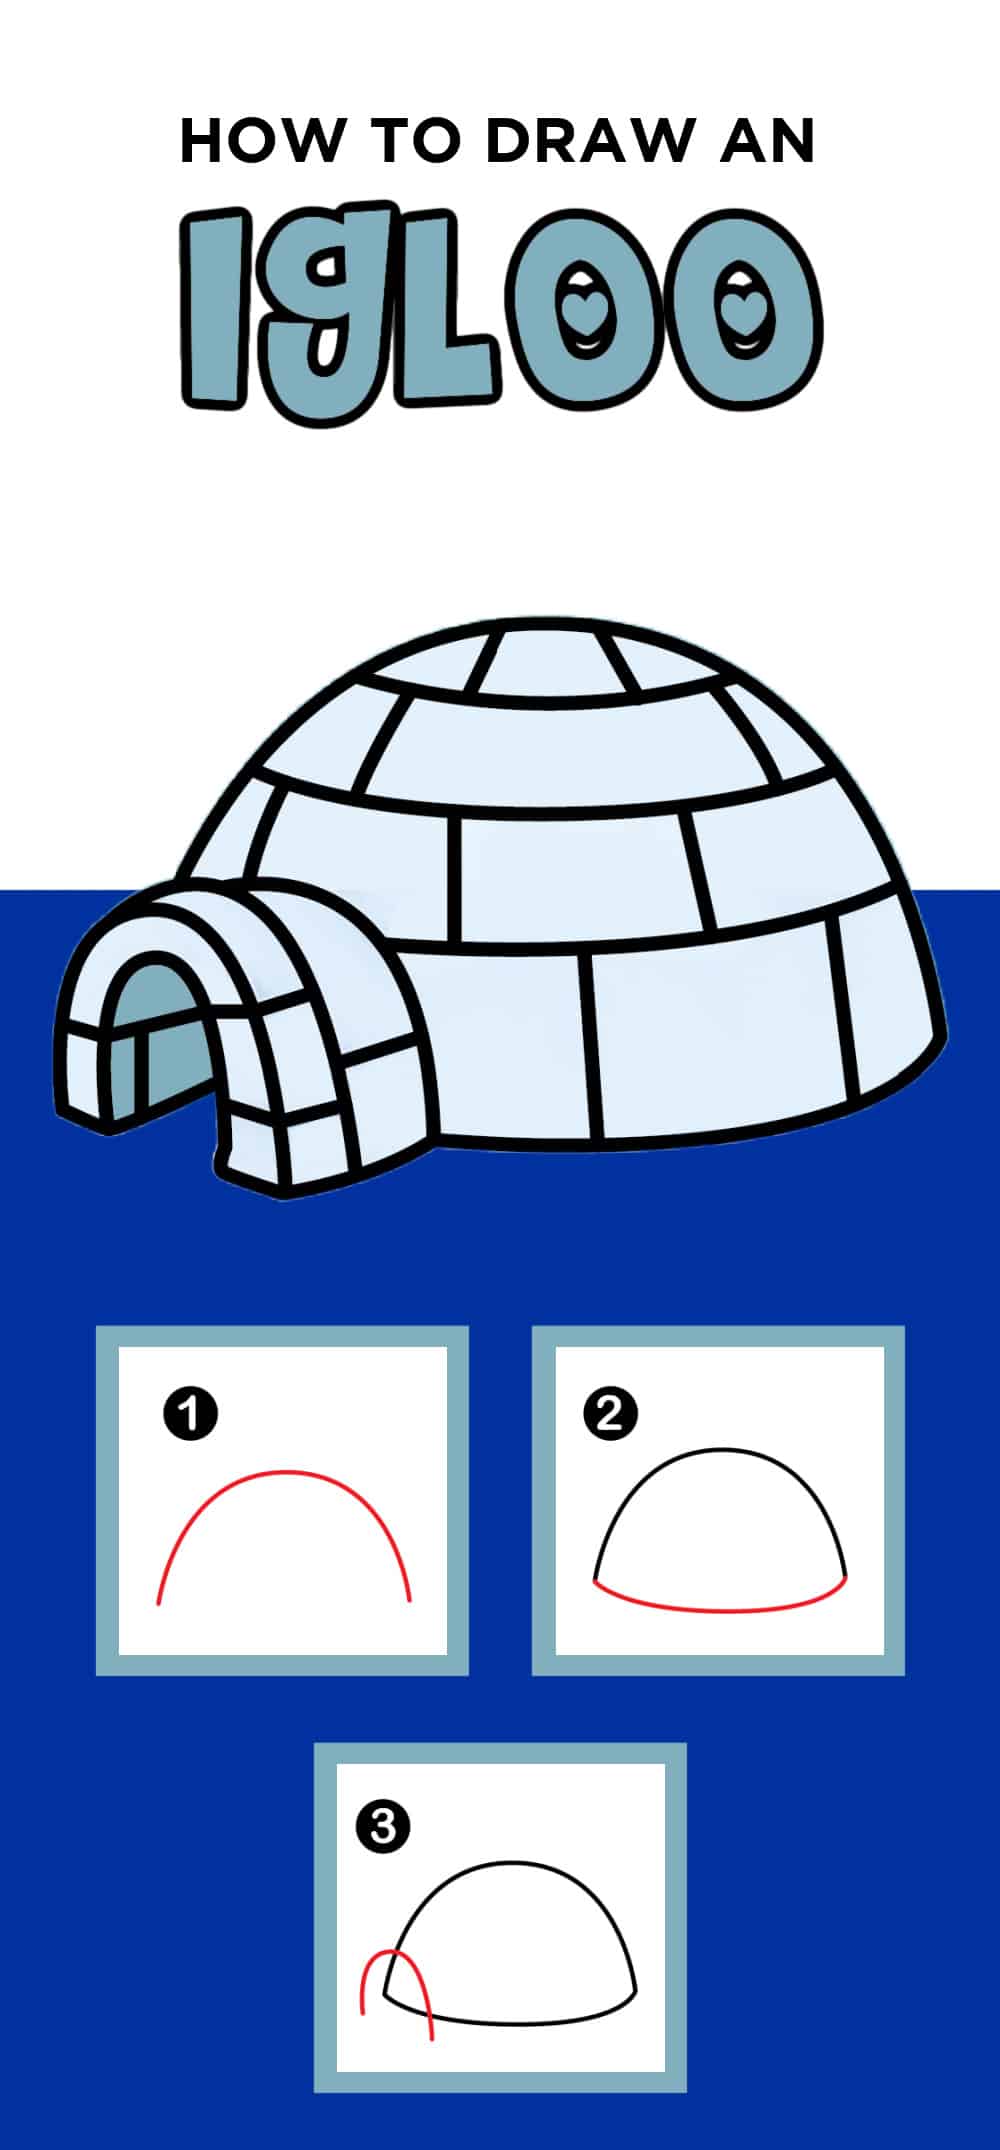
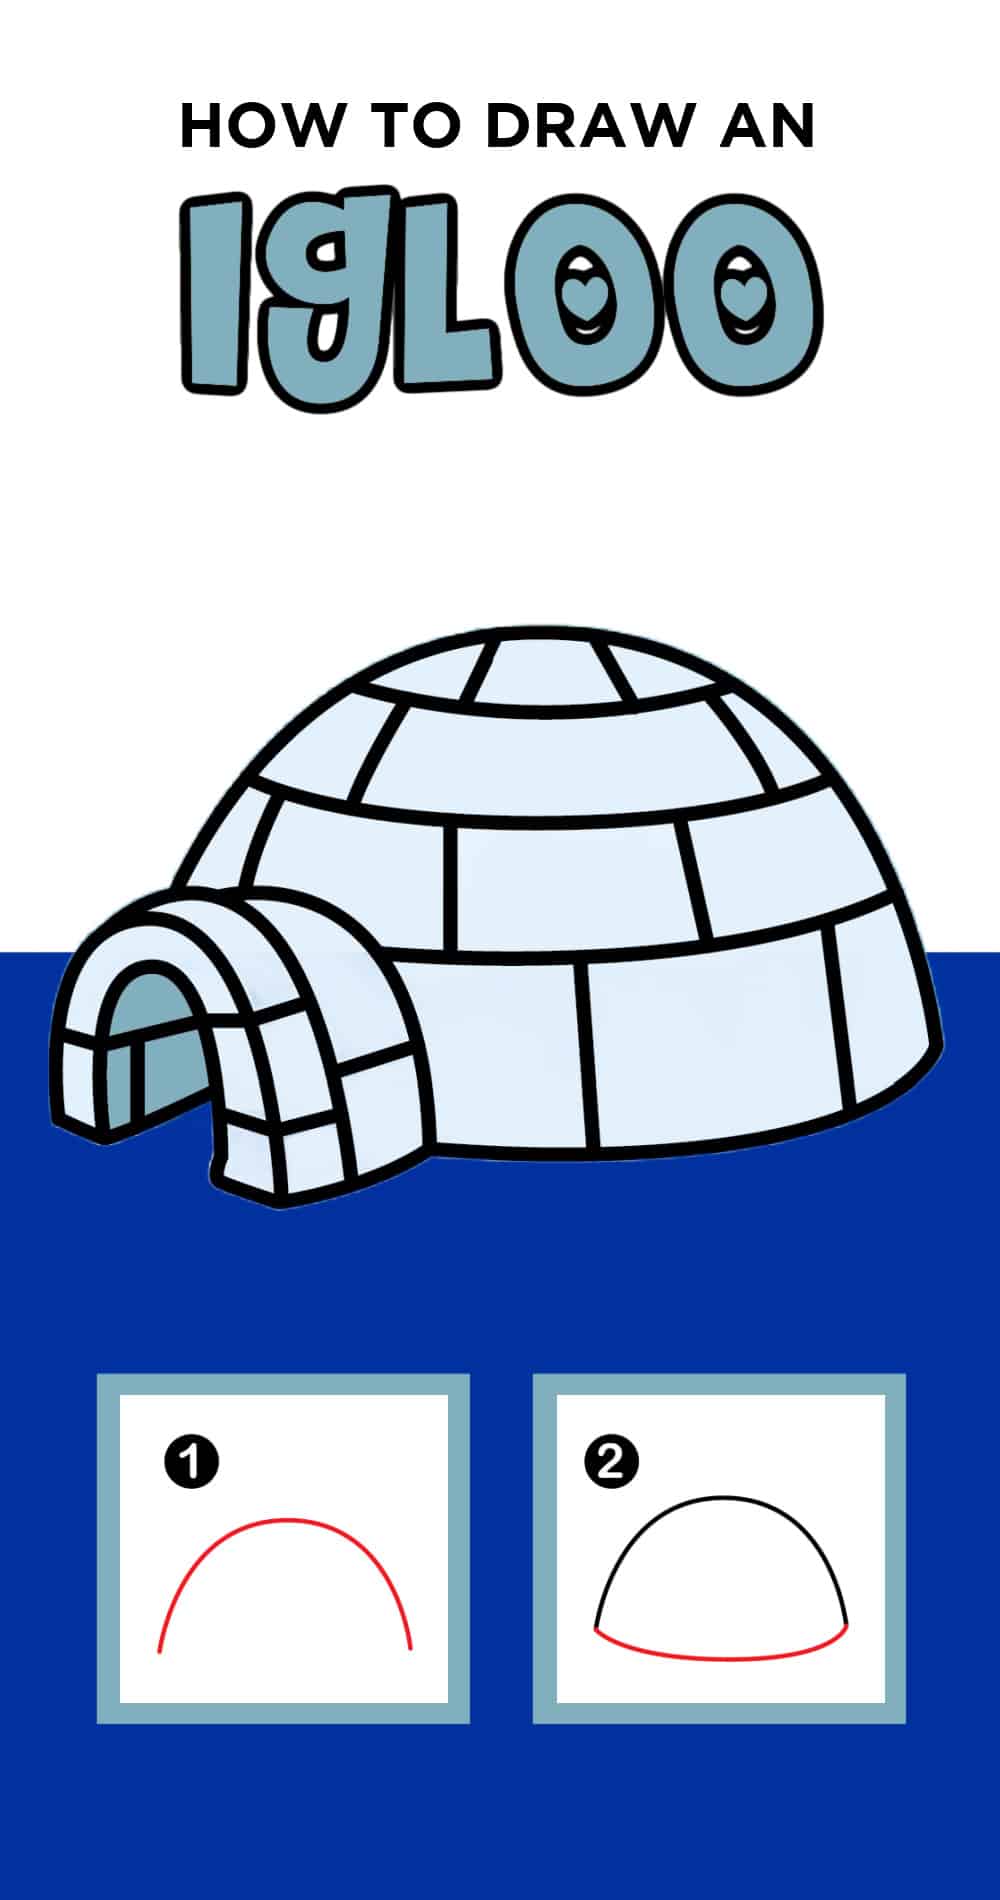
Start with drawing a curved line arch on your paper.
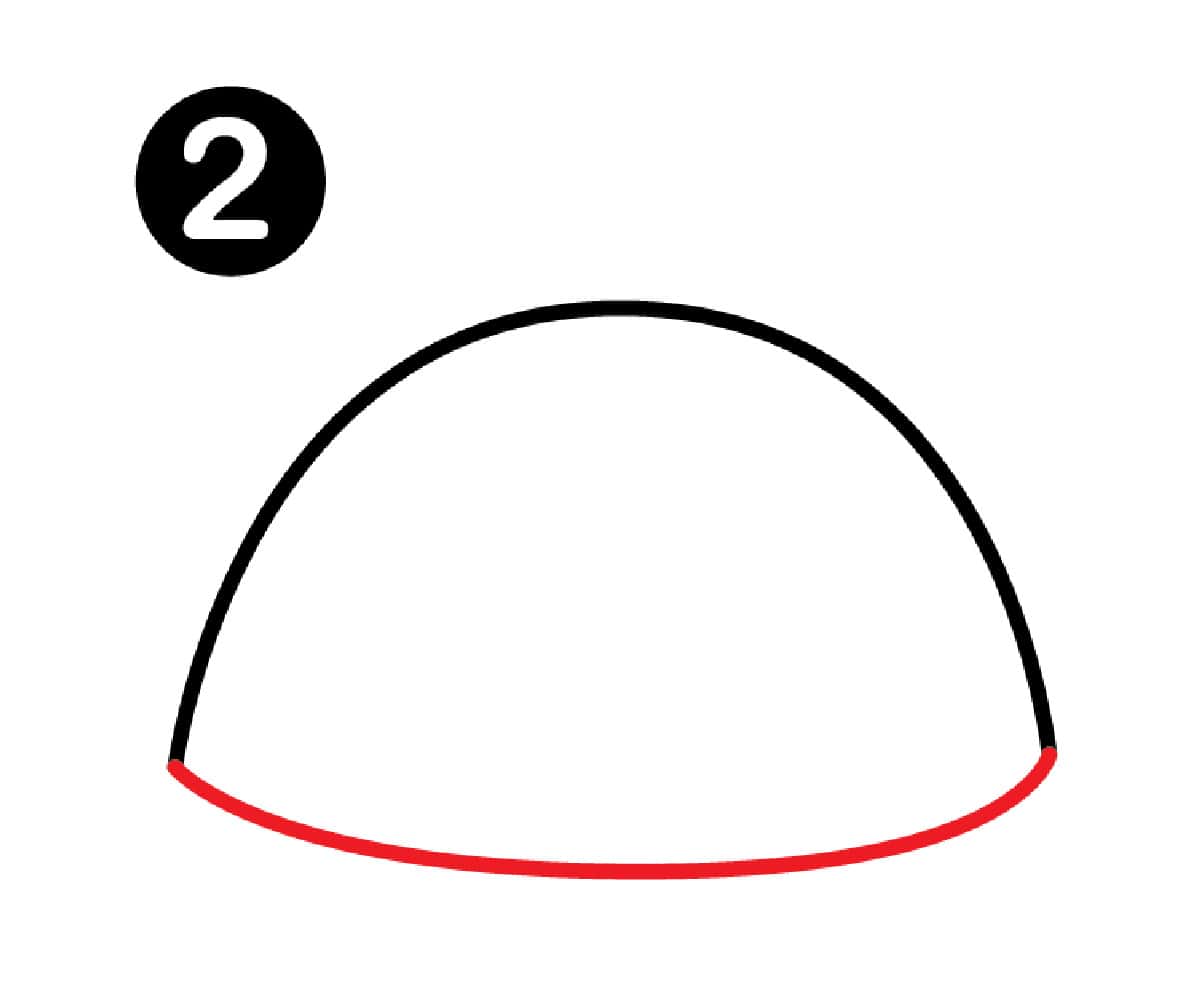
Draw a smaller curved line for the bottom of the arch.
Entrance to the Igloo
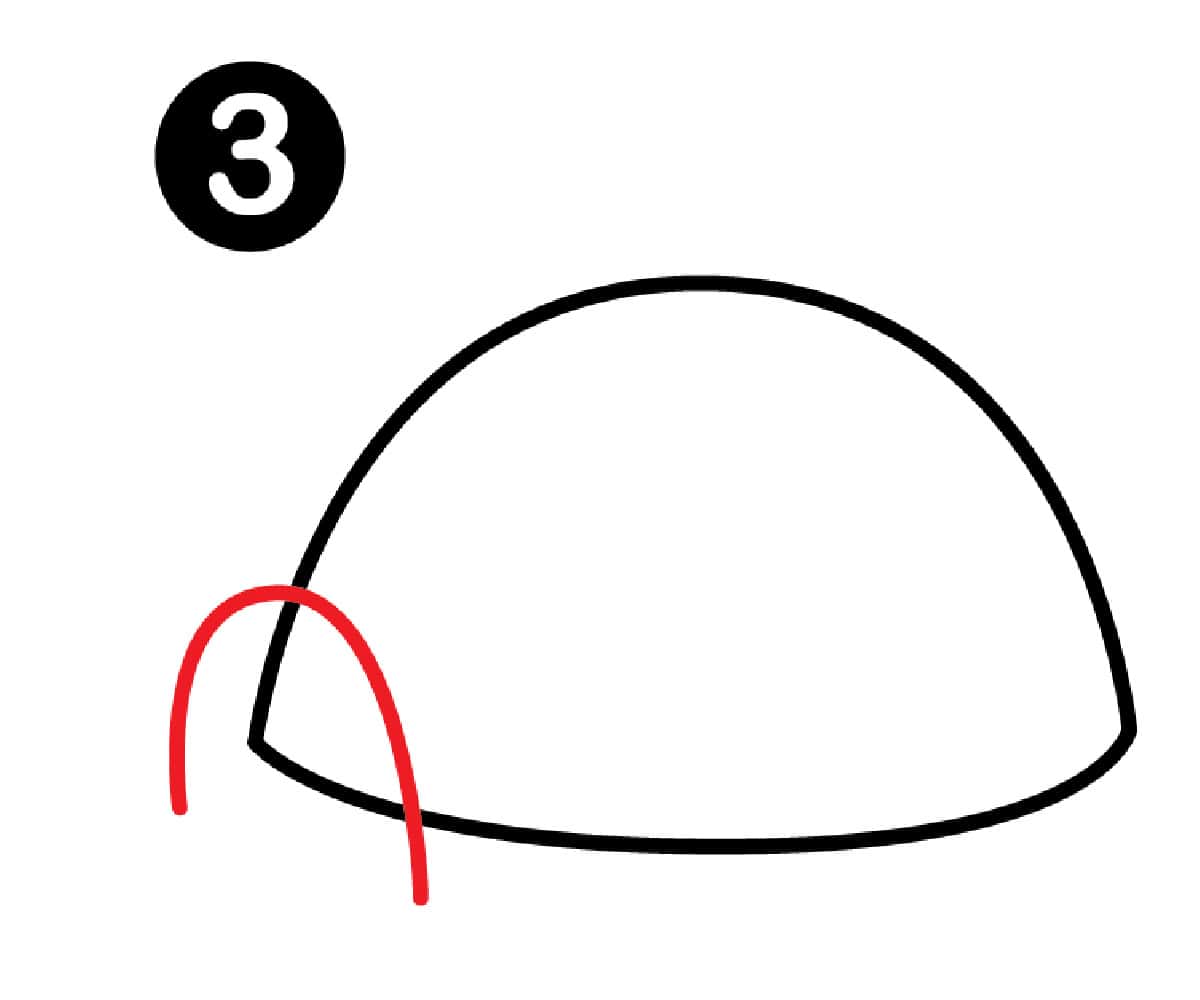
The next step is to draw an arch from one side of the igloo shape. This is the front of the entrance of the igloo.
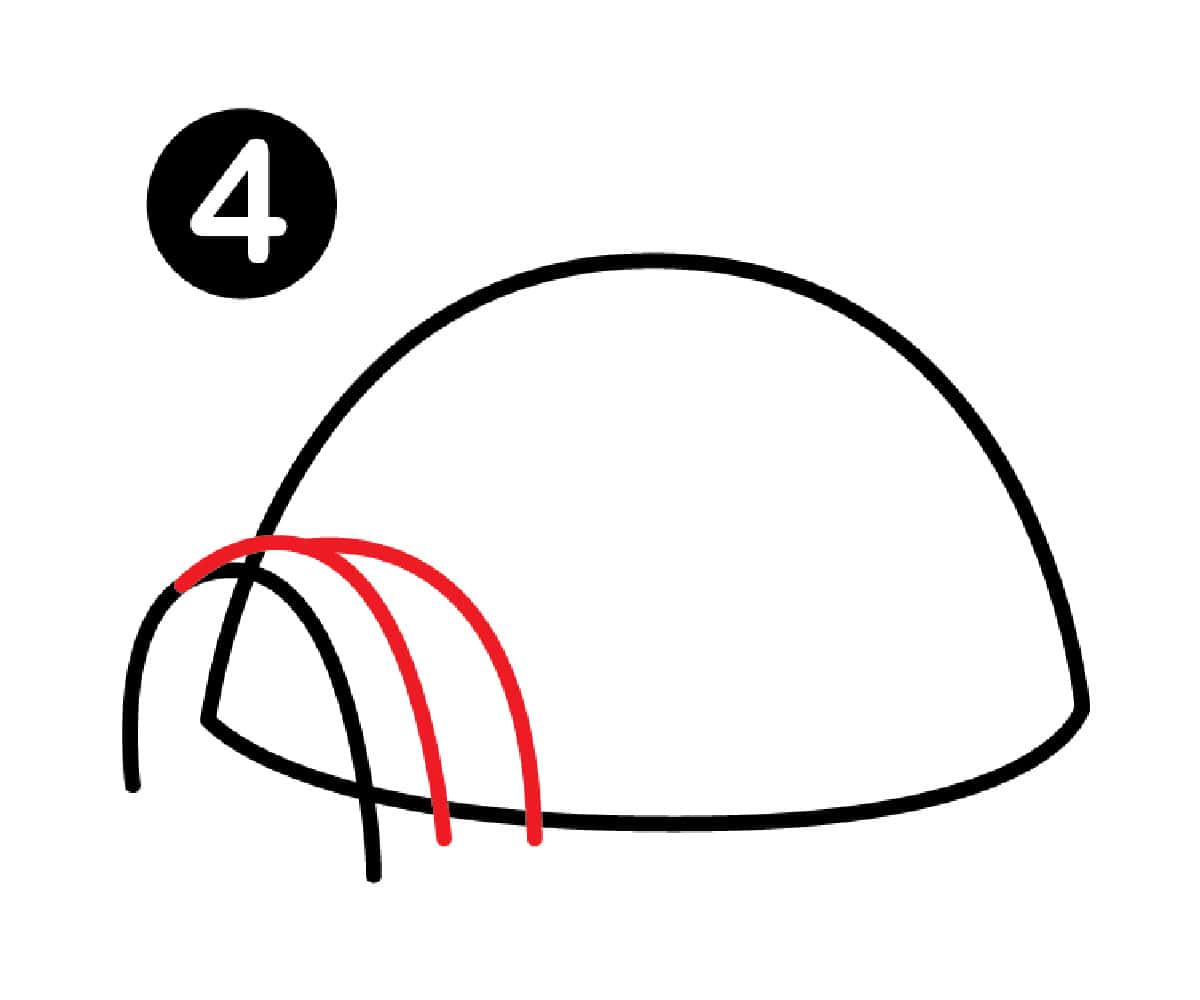
Next, draw two half arches off the front entrance arch starting right as the left arch is starting.
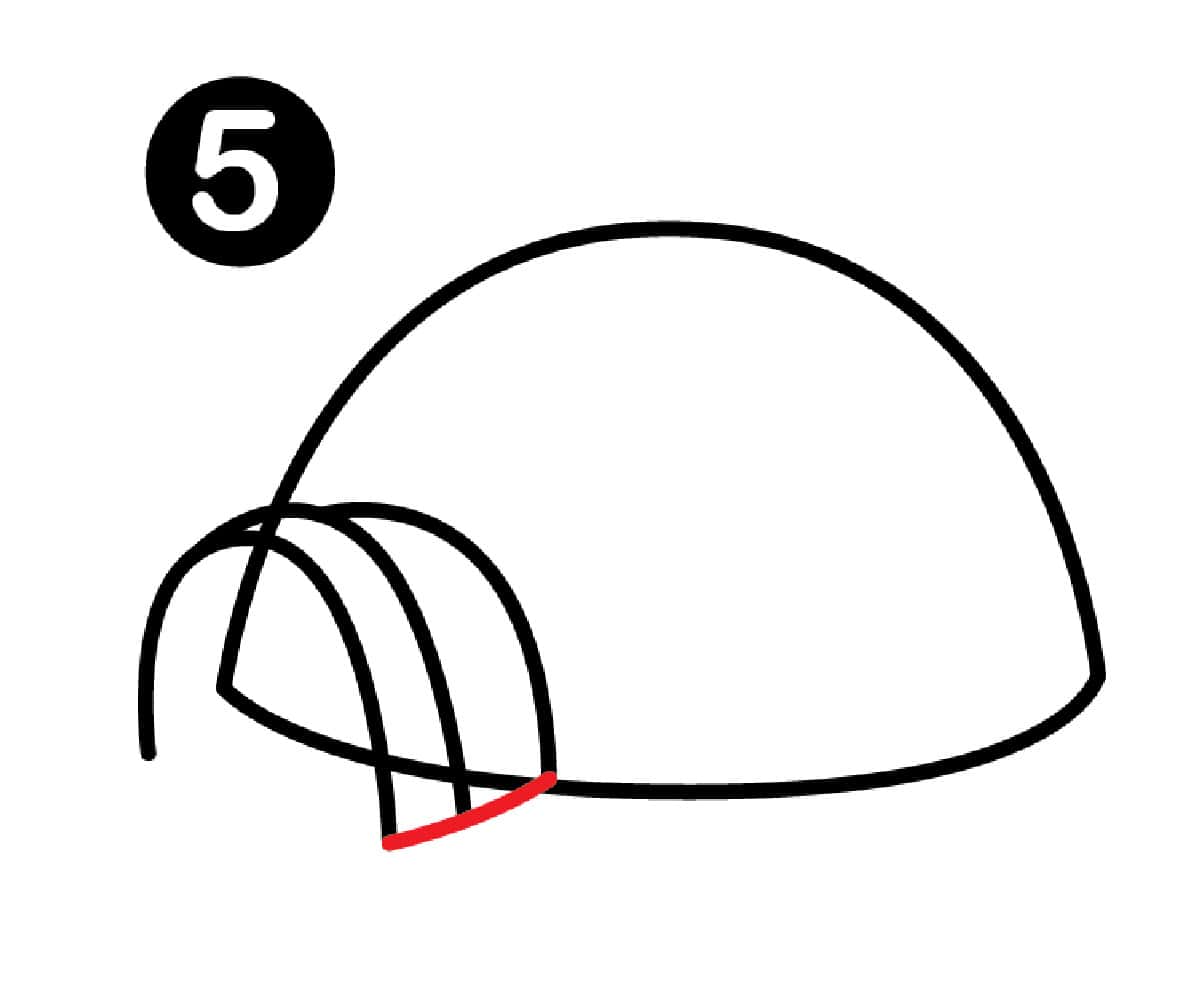
Next, draw a straight line at the bottom of the three arched lines from the bottom of the igloo out to the front arch of the entrance.
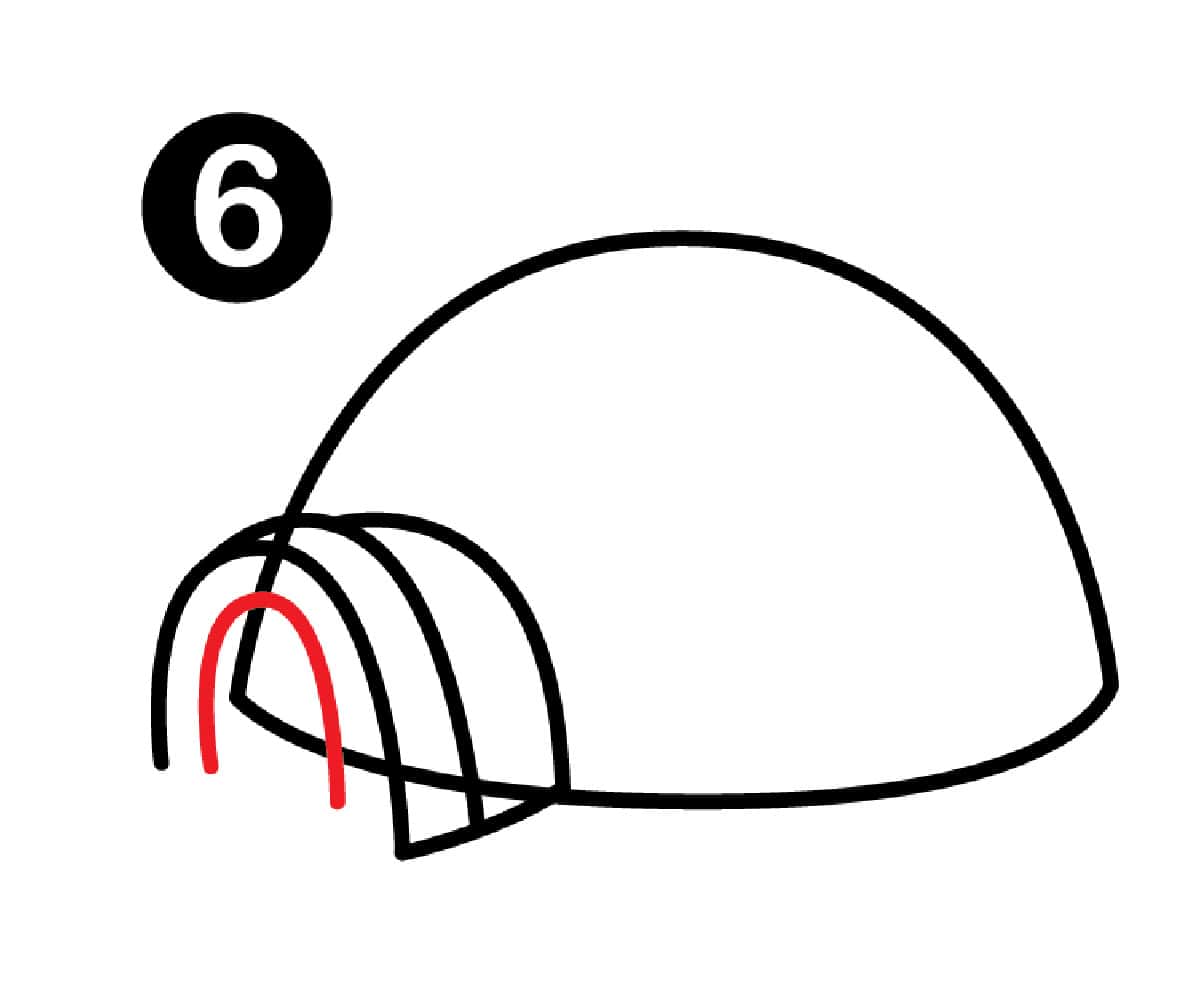
Draw a small arch inside the front arch of the entrance creating a rainbow shape as the front entrance.
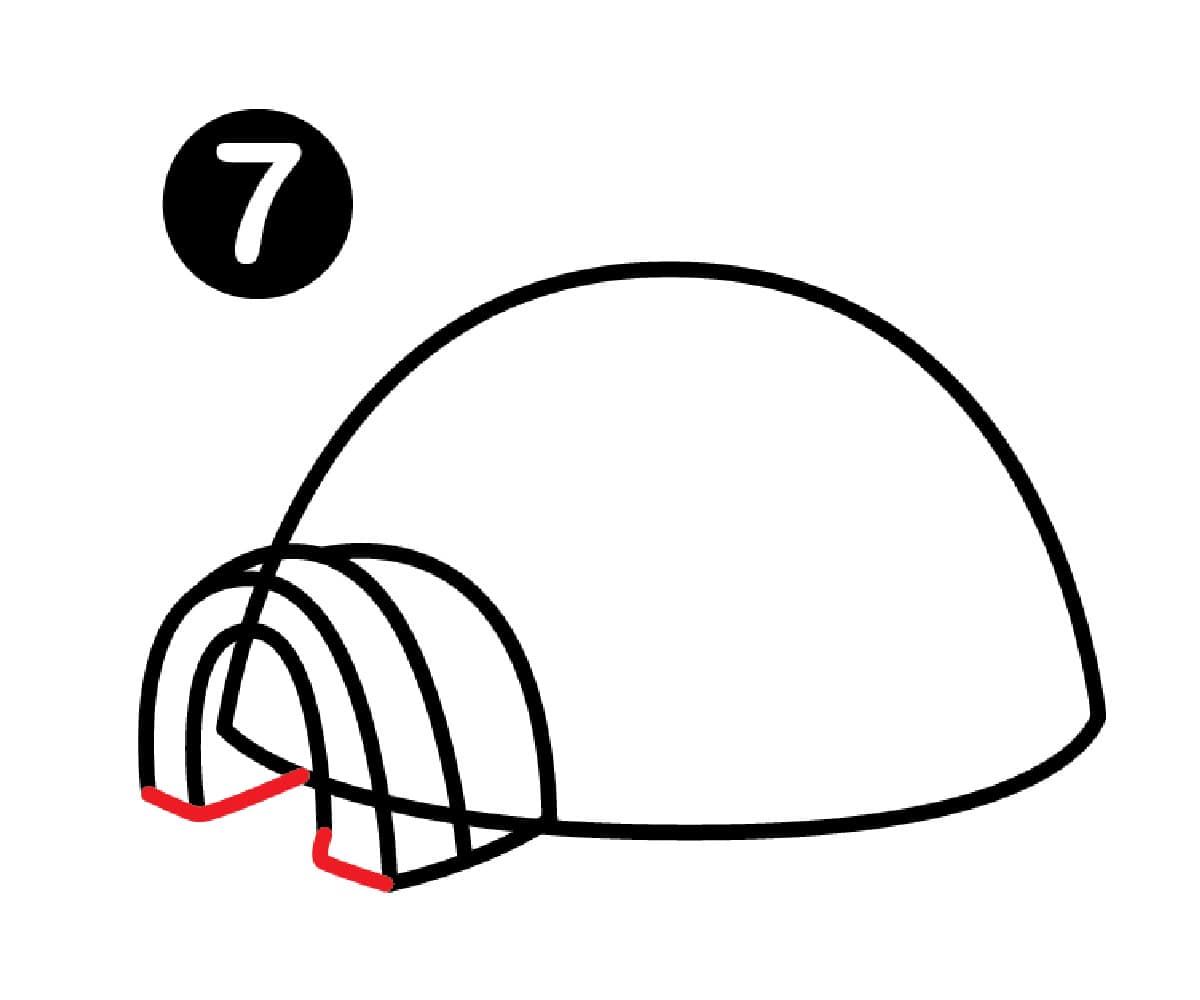
The next step is to draw a small line at the bottom ends of the rainbow shape. Then draw a line from the left middle arch bottom towards the bottom of the igloo.
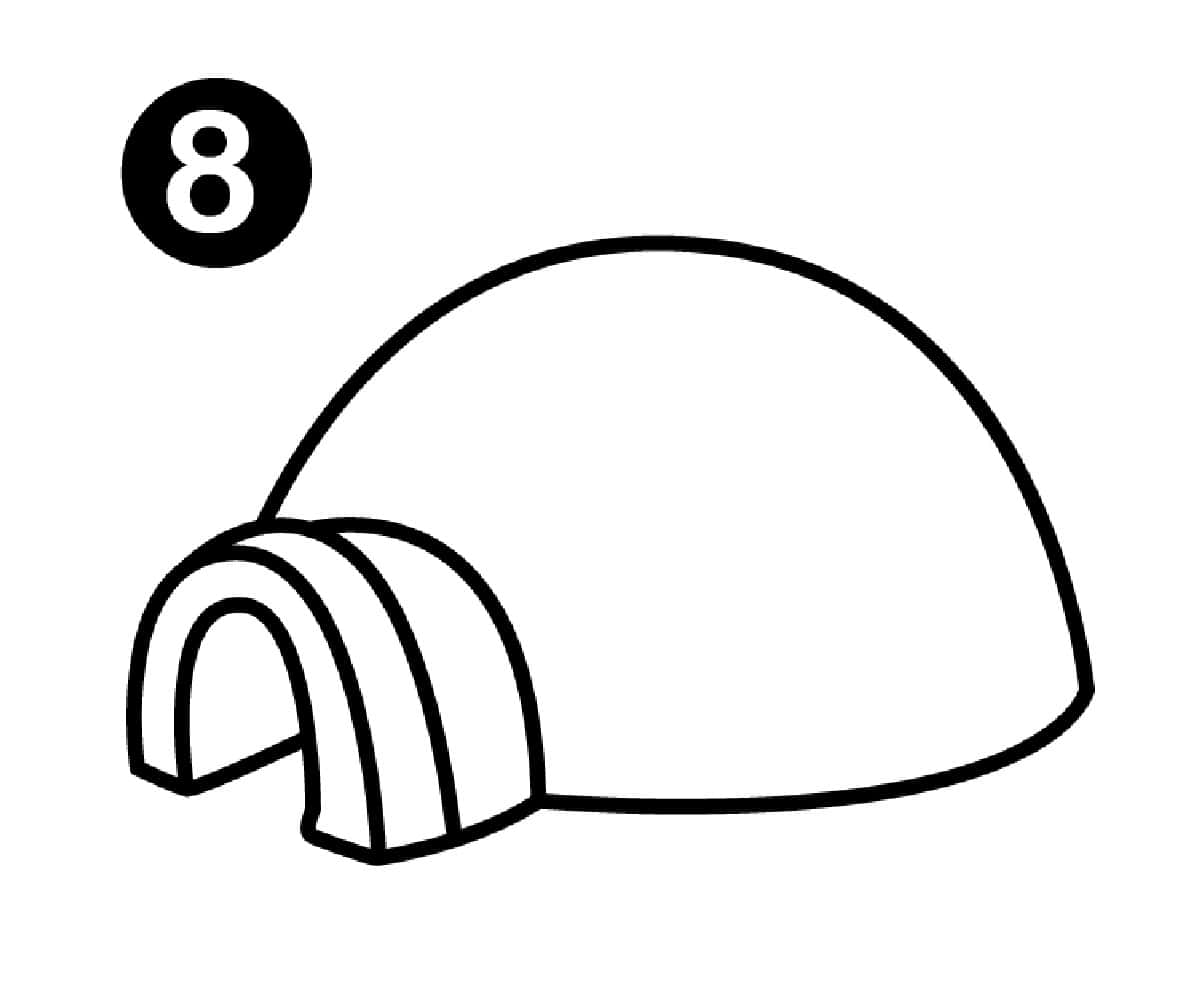
For the next step, you will want to erase the extra lines from the initial igloo shape that are in the entrance.
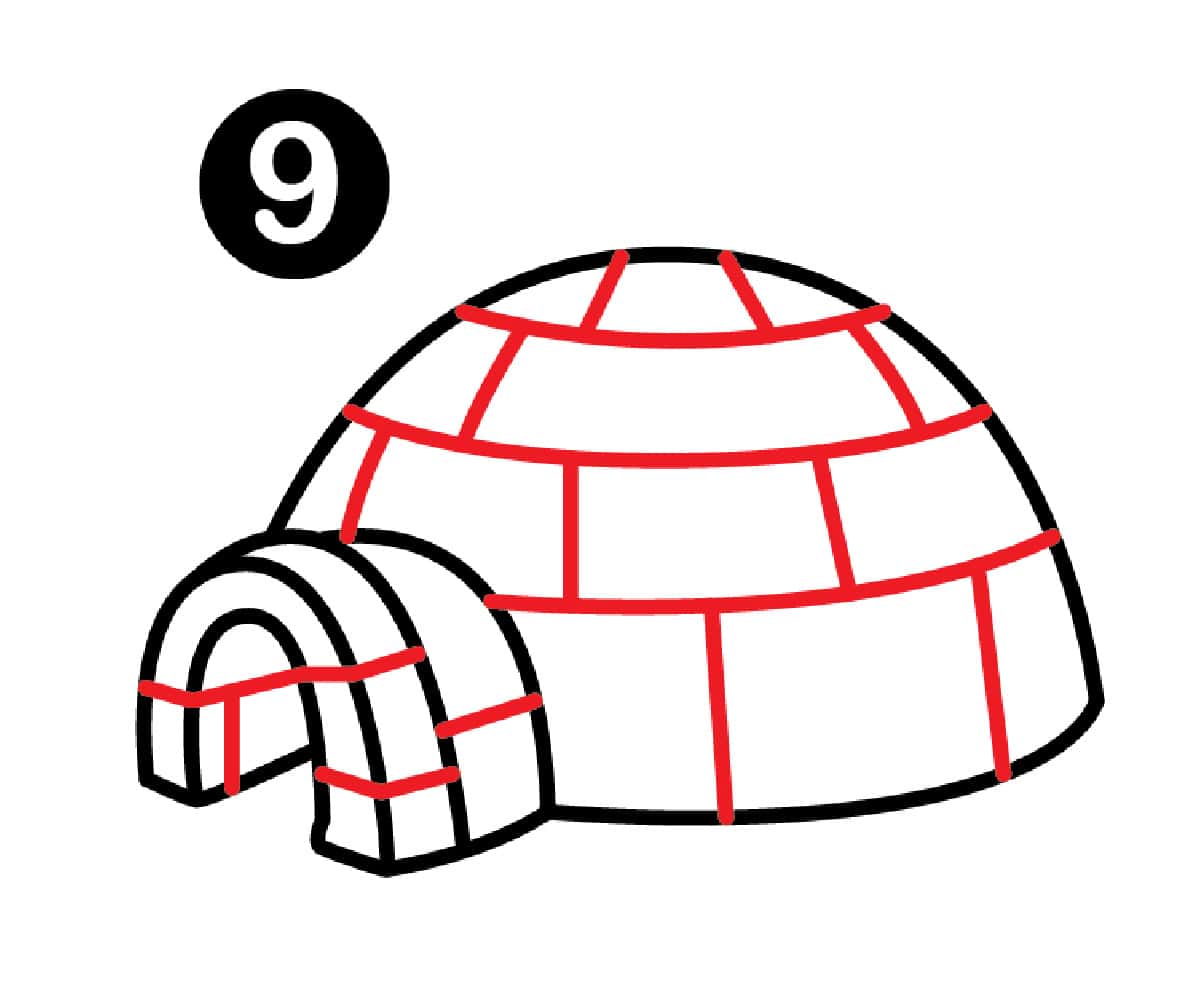
The last step is to draw brick-type lines along the top dome of the igloo as well as a few as part of the entrance.
Now you have an igloo drawing. You can trace over the lines you have drawn in pencil with a pen or marker.
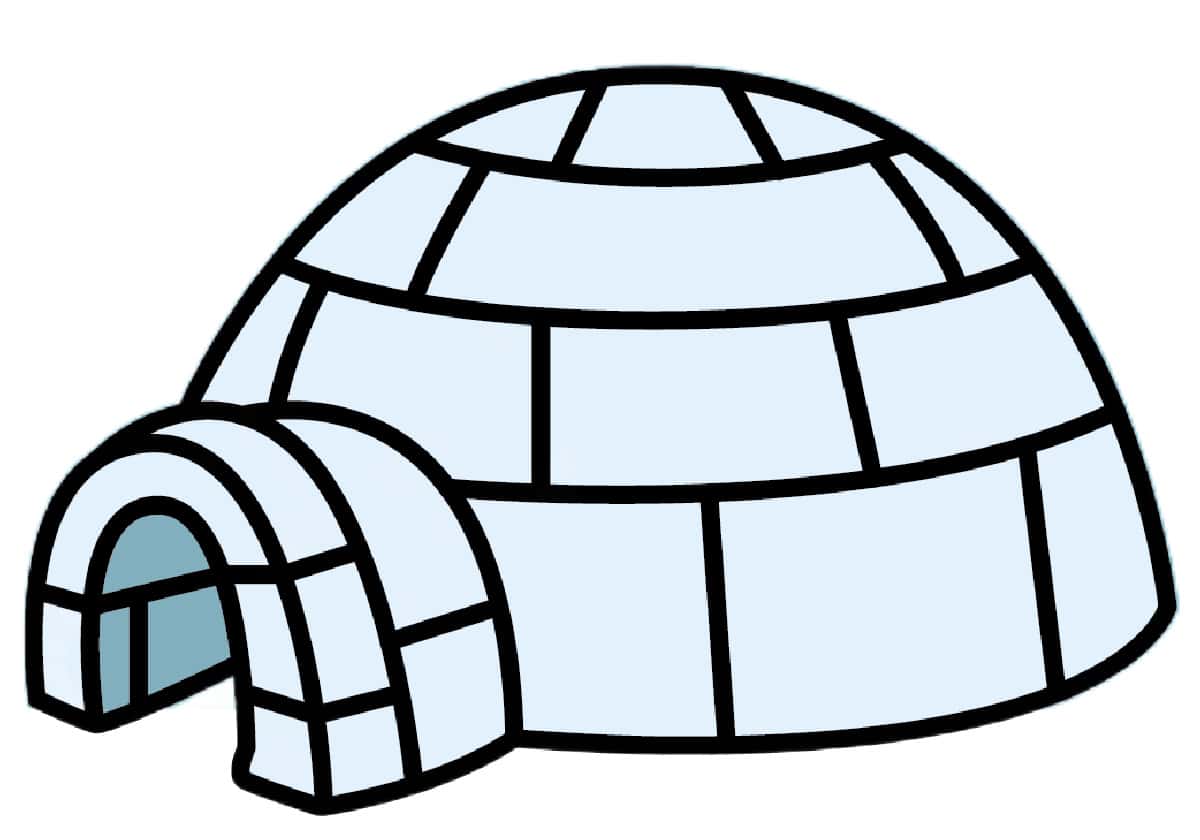
The last step is to color in your igloo. We love the idea of light blues on the outside and a slightly darker blue on the inside of the entrance, but you be as unique and creative as your heart desires.
We highlighted this Winter Drawing along with some other fun kid's crafts in our Winter Crafts as well as January Drawings along with our Easy Craft Ideas for kids.
You also do not want to miss our 101+ Coloring Pages For Kids and 101+ Free Printables full of Crafts and Coloring Pages.
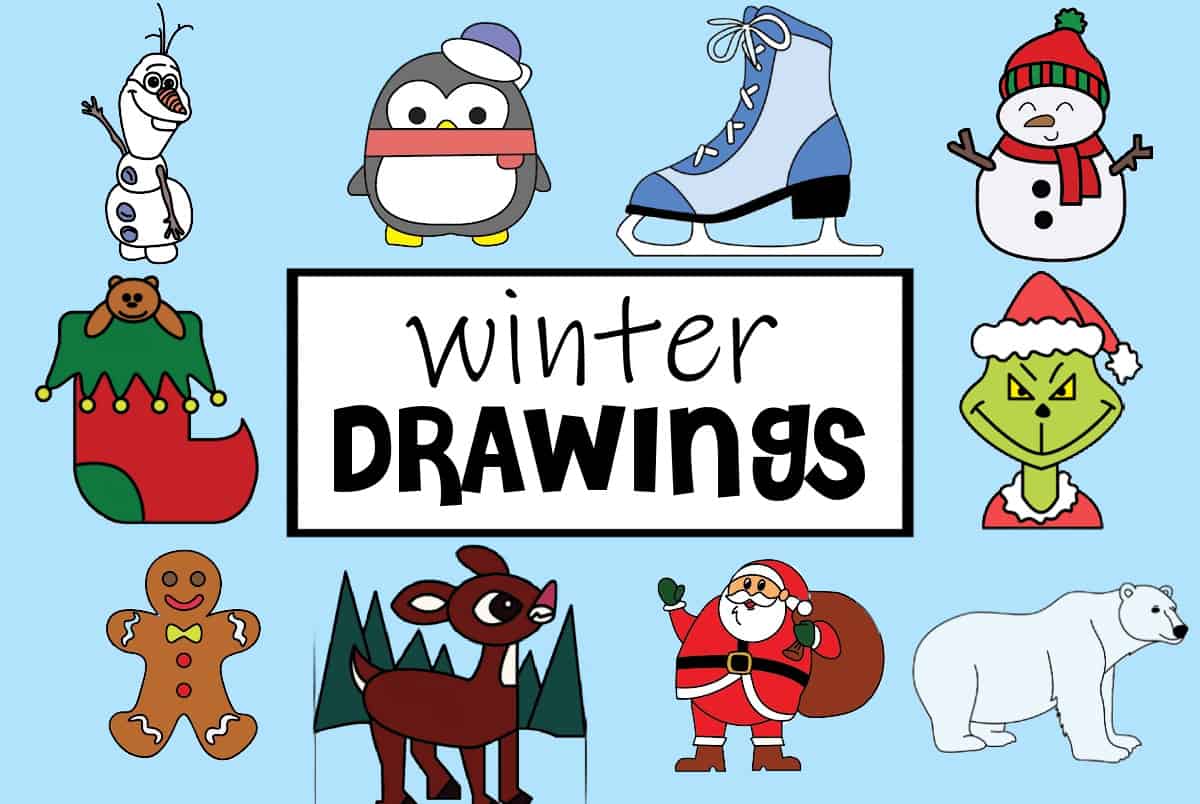
Other Winter Drawings You'll Enjoy
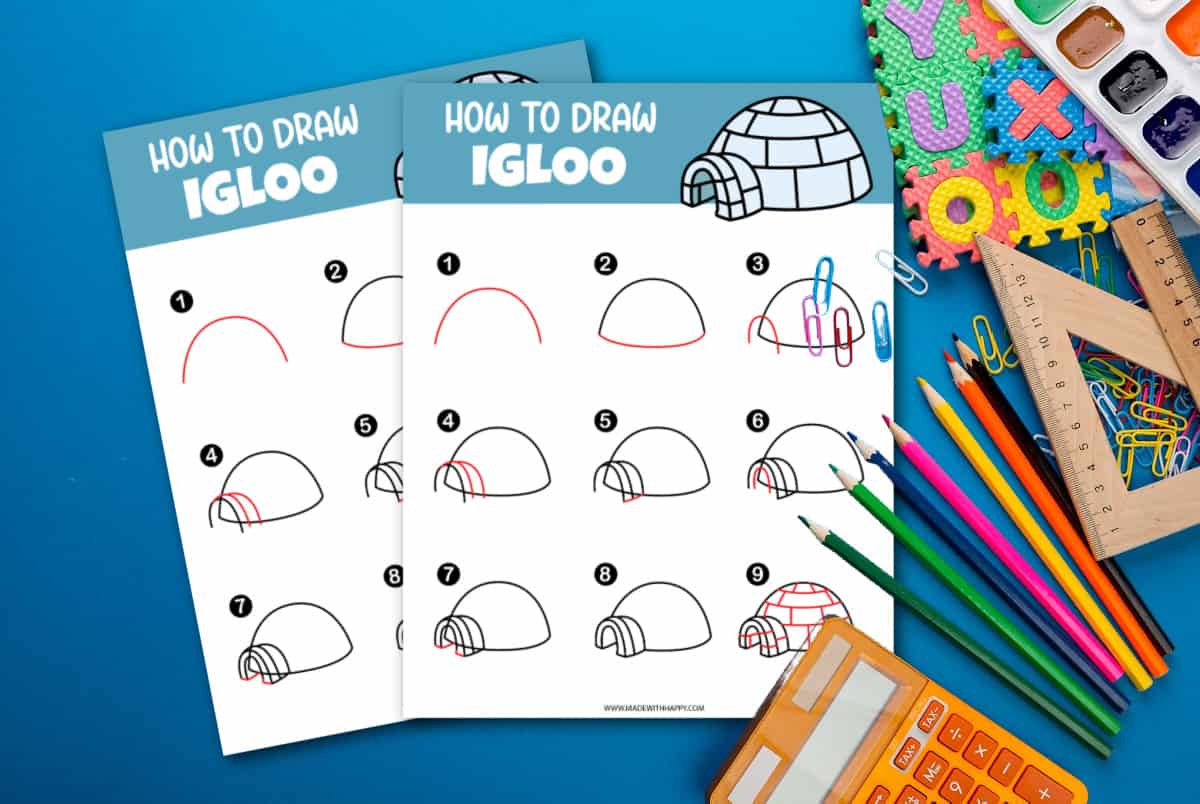
Download The Free Igloo Drawing Tutorial
Enter your name and email in the form below. Once you hit enter, you will be taken directly to the free tutorial igloo step by step tutorial PDF file.
*For personal use only
Igloo Drawing
Draw an igloo with our simple guide! Easy for all ages. Start your snowy adventure now and create a winter wonderland on paper.
Materials
- Paper
- Igloo Drawing Tutorial
Tools
- Pencil
Instructions
Start with drawing a curved line arch on your paper.
Draw a smaller curved line for the bottom of the arch.
The next step is to draw an arch from one side of the igloo shape. This is the front of the entrance of the igloo.
Next, draw two half arches off the front entrance arch starting right as the left arch is starting.
Next, draw a straight line at the bottom of the three arched lines from the bottom of the igloo out to the front arch of the entrance.
Draw a small arch inside the front arch of the entrance creating a rainbow shape as the front entrance.
The next step is to draw a small line at the bottom ends of the rainbow shape. Then draw a line from the left middle arch bottom towards the bottom of the igloo.
For the next step, you will want to erase the extra lines from the initial igloo shape that are in the entrance.
The last step is to draw brick-type lines along the top dome of the igloo as well as a few as part of the entrance. Now you have an igloo drawing. You can trace over the lines you have drawn in pencil with a pen or marker.
The last step is to color in your igloo. We love the idea of light blues on the outside and a slightly darker blue on the inside of the entrance, but you be as unique and creative as your heart desires.
CONNECT WITH MADE WITH HAPPY!
Be sure to follow me on social media, so you never miss a post!
Facebook | Twitter | Youtube | Pinterest | Instagram
Find and shop my favorite products on my Amazon storefront here!
How To Draw an Igloo
PIN IT TO YOUR DIY BOARD ON PINTEREST!
FOLLOW MADE WITH HAPPY ON PINTEREST FOR ALL THINGS HAPPY!
