Discover the magic of drawing a polar bear with our step-by-step guide. Unleash your creativity and bring these majestic creatures to life on paper!
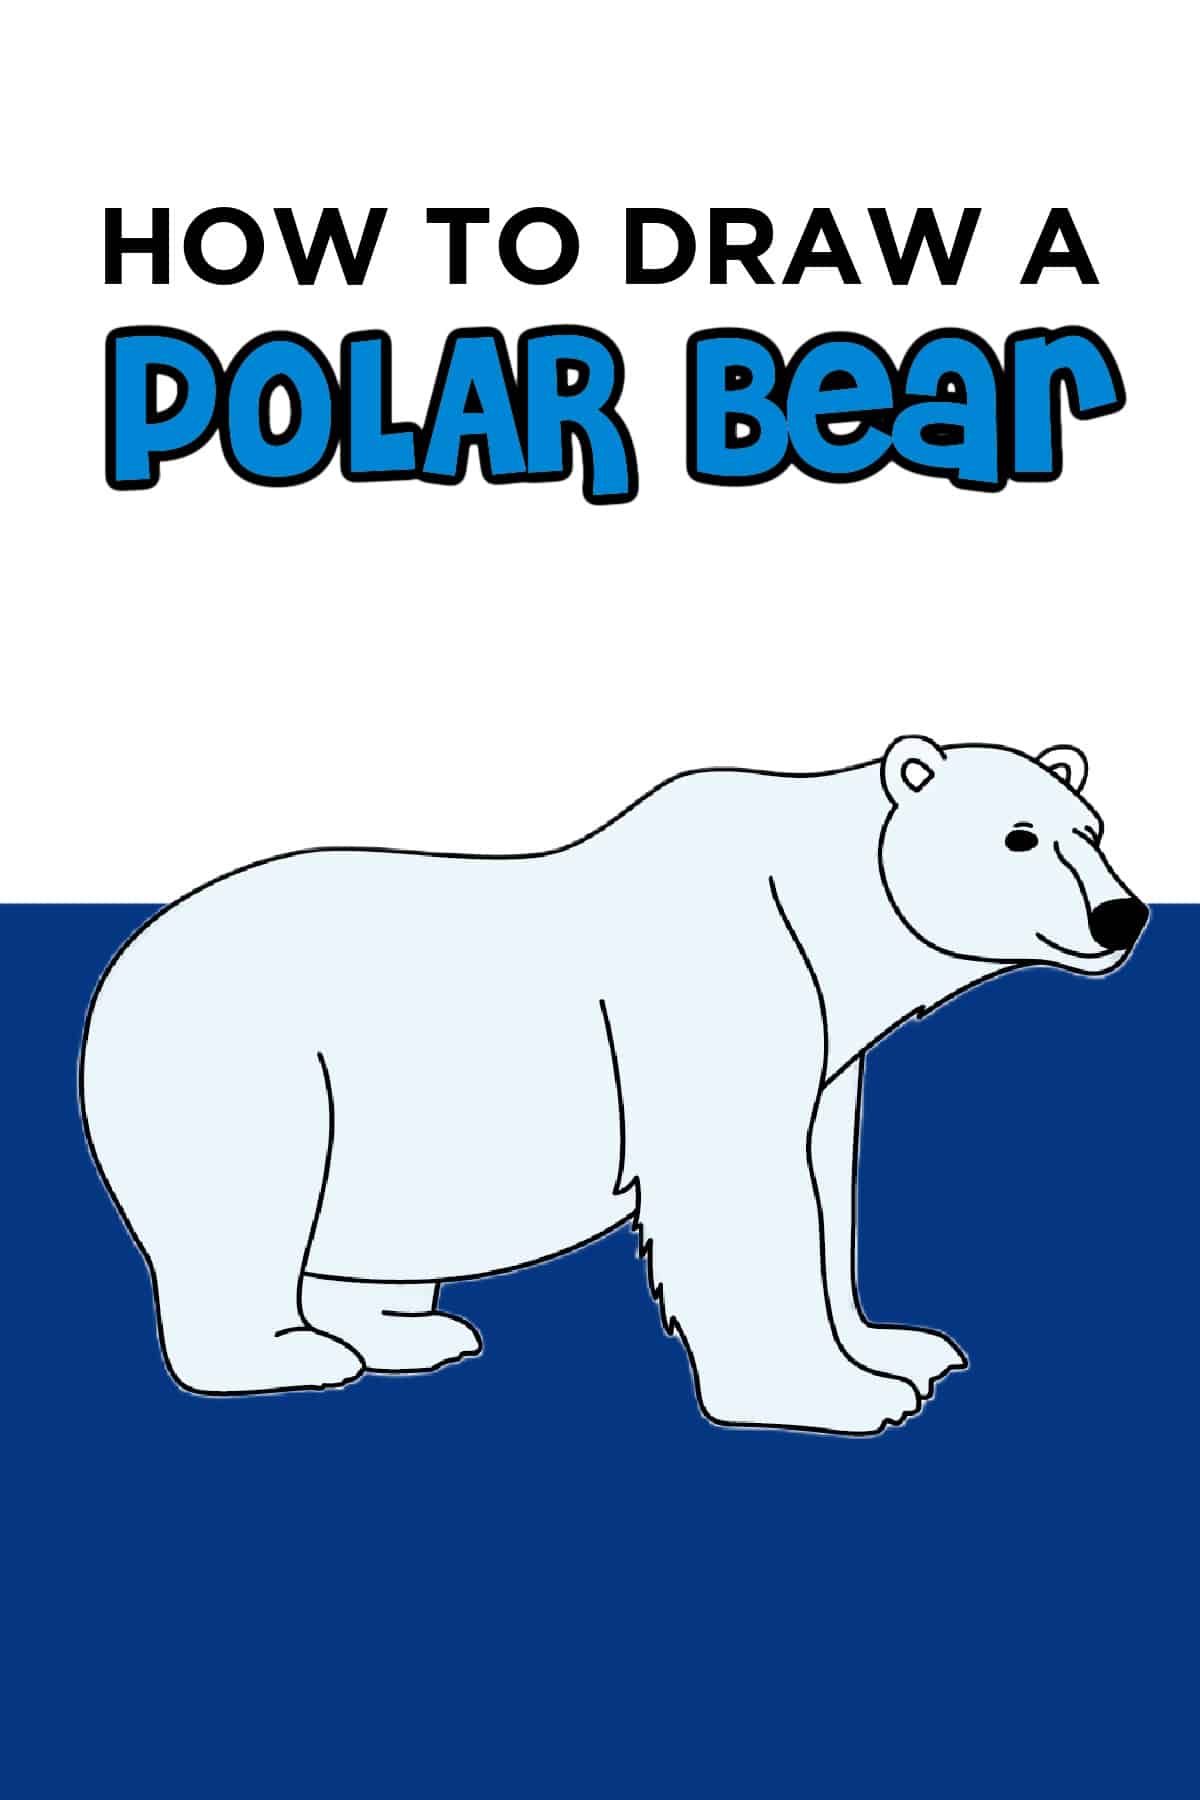
This How to Draw a Polar Bear tutorial is so fun for the kids to learn the easy step-by-step instruction guide on how to draw their polar bear drawing.
Ever wondered how artists bring polar bears to life on paper? Well, get ready to dive into the exciting world of drawing as we explore the step-by-step process of creating your very own beautiful polar bear masterpiece. You don't need fancy tools – just grab a pencil and some paper, and let your creativity flow!
Polar bears are incredible creatures that live in the cold Arctic region, and we're going to learn how to draw them from scratch. This guide is like a map for your artistic journey, showing you the way to sketch, shade, and make your polar bear sketch look amazing. So, let's get started on this fun adventure and discover how to draw a polar bear that's as cool as the real thing!
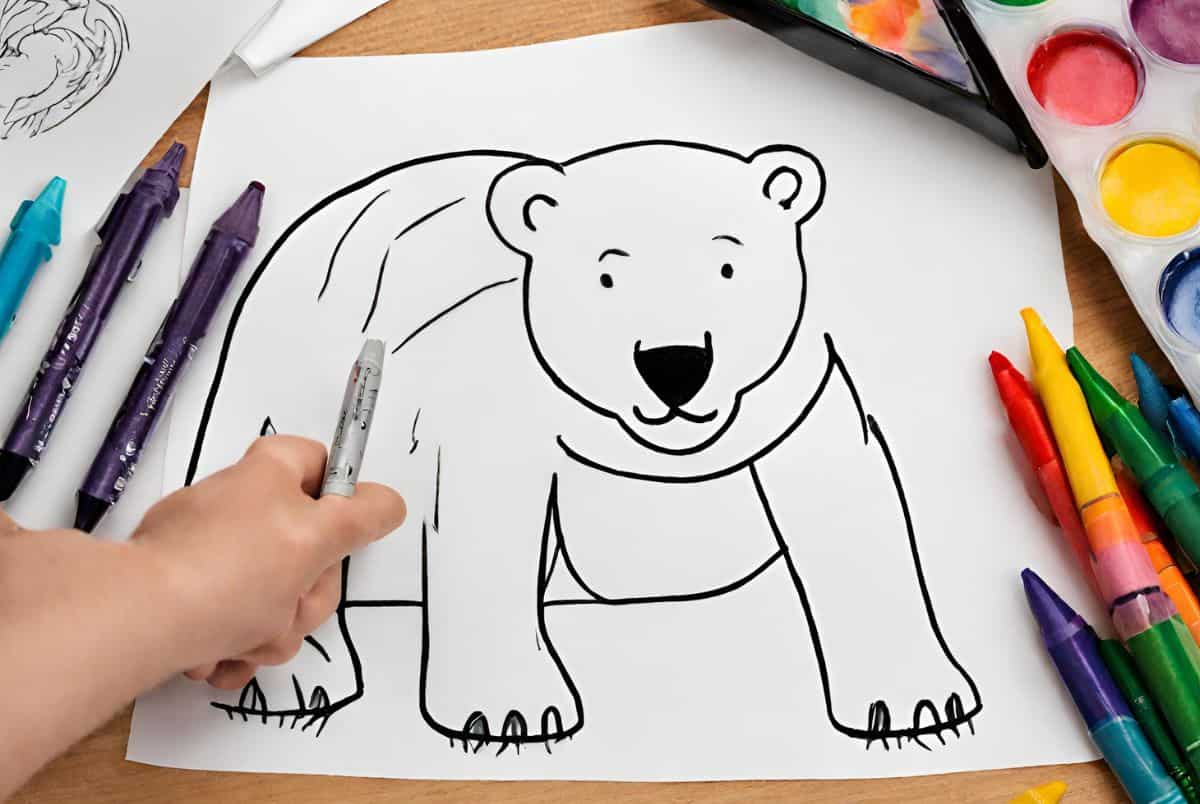
Want to save this project?
Enter your email below, and then we'll send it straight to your inbox. Plus get awesome new projects from us each week.
Polar Bears are Awesome!
Polar bears are like the superheroes of the Arctic, and they have some pretty cool tricks up their furry sleeves. First off, did you know they are fantastic swimmers?
Yep, these bears can paddle through icy waters for super long distances, like real aquatic champs. Another fun interesting fact – their fur might look white, but it's actually kind of see-through! Underneath that snowy exterior, their fur is clear, and it traps the sun's heat to keep them warm in the cold.
But wait, there's more! Polar bears are expert hunters, and their favorite snack is seals. They use their keen sense of smell to sniff out seals from crazy far away.
Also, did you know that polar bears are left-handed? Well, not exactly, but they prefer using their left paw. Just like us, they have a dominant side! These facts make polar bears not just cool in looks but also pretty fascinating in the way they live and survive in the chilly Arctic ice.
Check out our Polar Bear Craft for more grizzly fun!
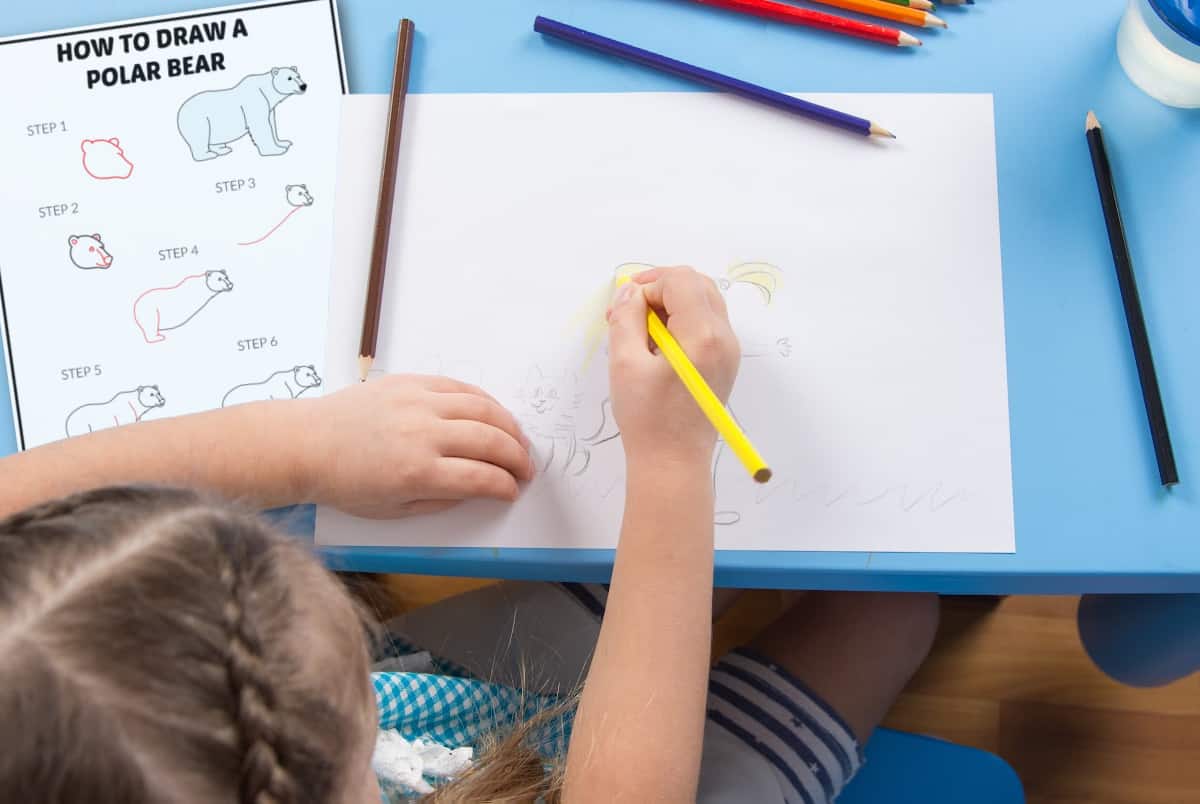
Easy Animal Drawings
Now, before we dive into the world of drawing polar bears, let's talk about the joy of creating easy animal drawings. Animals are incredible subjects for art because they come in all shapes and sizes, each with its unique features.
Whether it's a playful kitten, a soaring eagle, or, in our case, the mighty polar bear, there's something magical about bringing these creatures to life on paper.
The best part? You don't need to be a professional with artistic skills to enjoy drawing animals. With a bit of practice and the right guidance, anyone can discover the fun and satisfaction of creating easy animal drawings.
Don't Miss Our Easy Drawings For Kids!
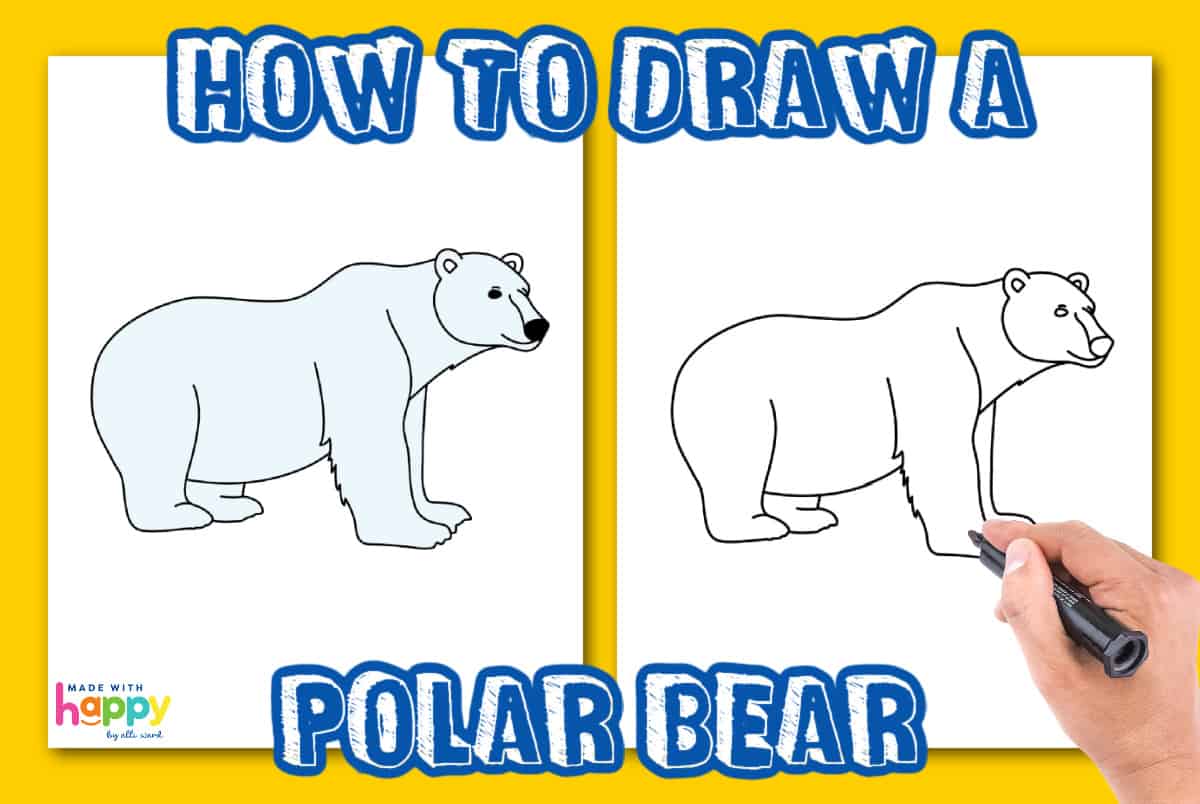
How To Draw a Polar Bear
Before diving into the simple steps, gather your materials. All you need is a piece of paper, a pencil, an eraser, and enthusiasm! And don't forget the free printable polar bear step-by-step tutorial at the bottom of the post.
Head of the Polar Bear
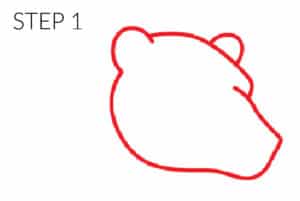
Start with the polar bear's head. You can draw his head in an oval shape. Then add small ears to the top of the head. There is a small curved line right above the nose (or snout) this is an easy way to give the illusion that the polar bear is slightly turned towards the paper.
The Face of the Polar Bear
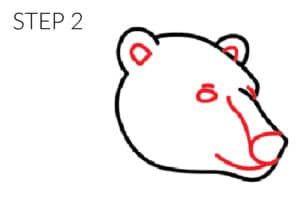
The next step is to add the facial features of the polar bear. Draw two small curved lines inside each of the years. Then draw a circle at the tip of the stout and then a small line up from the nose towards the eyes. Draw one small circle for the eye along with a small line for the eyebrows and lastly a small line for the smile,
Body of the Polar Bear
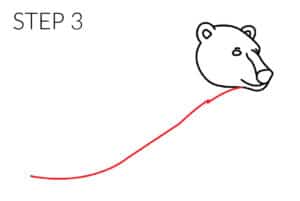
Next, draw a slightly curved line diagonally down from the bottom of the face, and then curve slightly up at the belly.
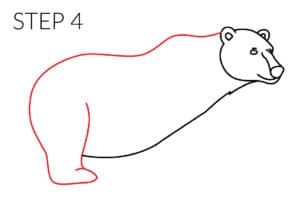
The next step is to draw the polar bear's back and hind legs. With any large size bear (polar bear or grizzly bear) they have a few bumps on their back. So if you are going for a more realistic polar bear drawing, then add a few bumps. If you are going for a more cartoon polar bear drawing, then a smooth curved line will be just fine. Once you get to the hind legs, curve down and then draw a flat paw.
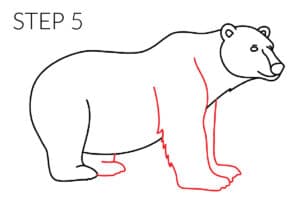
Then add the other hind leg under the belly similar to the first hind leg. Draw the front legs between the belly and the bear's face. You can even add some fur details to the back of the front legs.
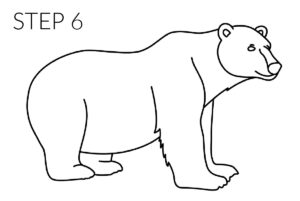
Once you have your polar bear exactly how you want it, the final step is tracing over all your light lines with a sharp pencil and even outlining it all with a black marker!
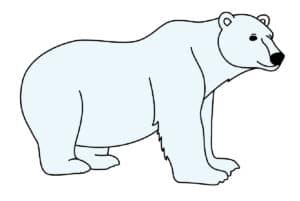
The final step if you choose to is to use markers, crayons, colored pencils, or paints and turn your drawing lesson into a massive bear drawing! Different colors and bright colors make for a great drawing!
Drawing a polar bear is not just an artistic endeavor but also an opportunity to connect with the beauty of these incredible animals. Remember, practice makes perfect, so keep honing your skills and exploring the wonderful world of art. Unleash your creativity and let the polar bear on your paper come to life!
Happy Drawing!
We highlighted these Easy Drawings along with some other fun kid's crafts in our February Crafts in celebration of National Polar Bear Day - February 27th along with our 101+ Kiddie Craft Ideas.
You also do not want to miss our 101+ Coloring Pages and 101+ Printables full of Crafts and Coloring Pages.
Other Winter Drawings You'll Enjoy
- How to Draw Olaf
- How to Draw a Reindeer
- How to Draw a Snowman
- How to Draw a Penguin
- How to Draw a Winter Scene
- How to Draw an Igloo
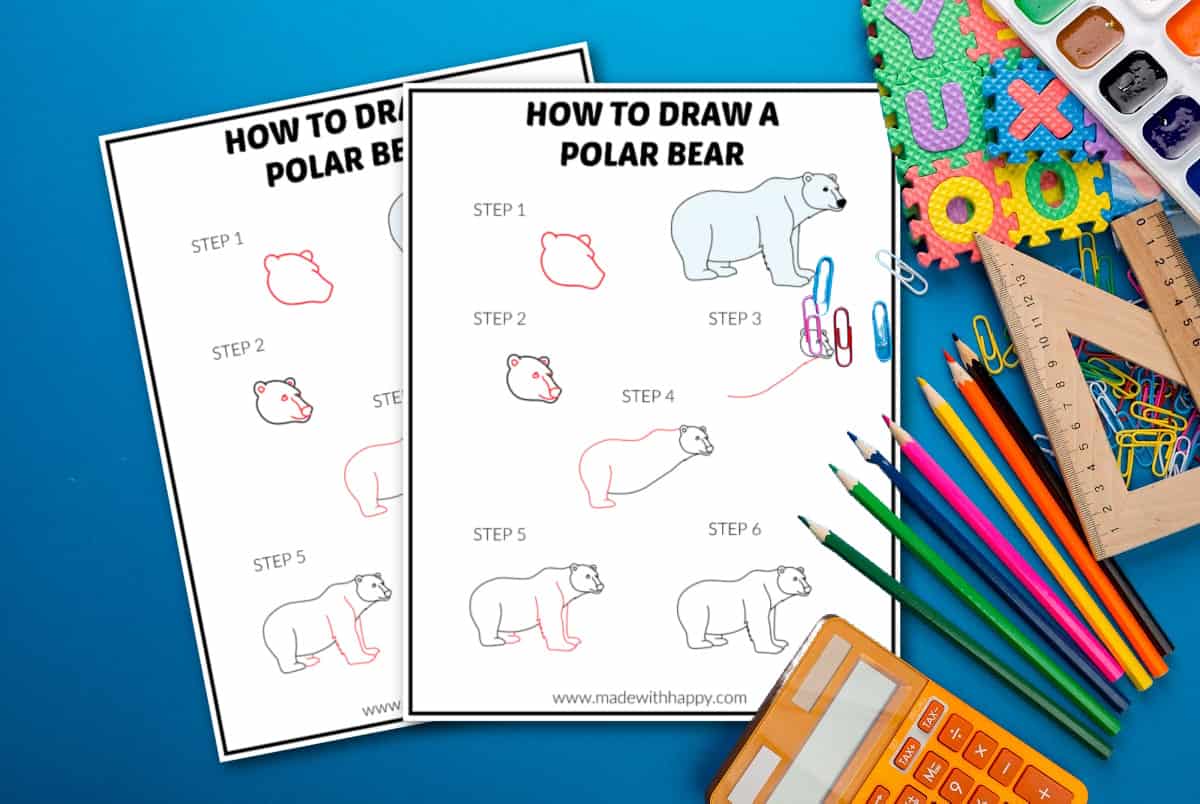
Download Free Printable Polar Bear Drawing Guide
Enter your email address in the form below and you'll be taken directly to the Polar Bear Drawing Tutorial PDF File.
*For personal use only.
How To Draw a Polar Bear
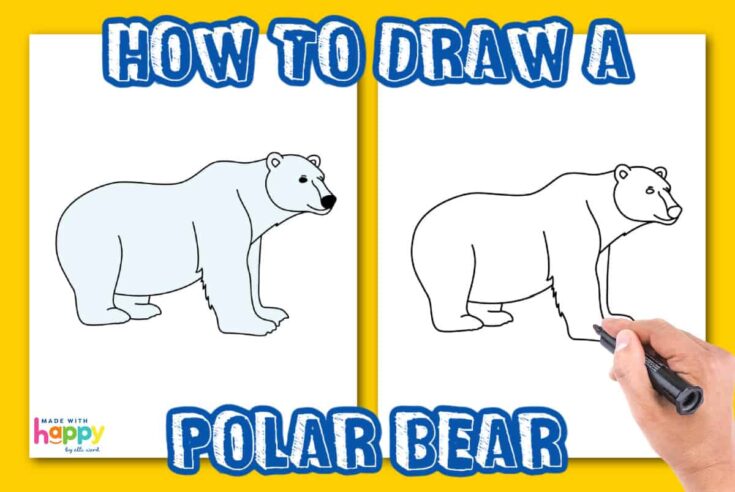
Discover the magic of drawing a polar bear with our step-by-step guide. Unleash your creativity and bring these majestic creatures to life on paper!
Materials
Tools
- Pencil
Instructions
Start with the polar bear's head. You can draw his head in an oval shape. Then add small ears to the top of the head. There is a small curved line right above the nose (or snout) this is an easy way to give the illusion that the polar bear is slightly turned towards the paper.
The next step is to add the facial features of the polar bear. Draw two small curved lines inside each of the years. Then draw a circle at the tip of the stout and then a small line up from the nose towards the eyes. Draw one small circle for the eye along with a small line for the eyebrows and lastly a small line for the smile,
Next, draw a slightly curved line diagonally down from the bottom of the face, and then curve slightly up at the belly.
The next step is to draw the polar bear's back and hind legs. With any large size bear (polar bear or grizzly bear) they have a few bumps on their back. So if you are going for a more realistic polar bear drawing, then add a few bumps. If you are going for a more cartoon polar bear drawing, then a smooth curved line will be just fine. Once you get to the hind legs, curve down and then draw a flat paw.
Then add the other hind leg under the belly similar to the first hind leg. Draw the front legs between the belly and the bear's face. You can even add some fur details to the back of the front legs.
Once you have your polar bear exactly how you want it, the final step is tracing over all your light lines with a sharp pencil and even outlining it all with a black marker!
The final step if you choose to is to use markers, crayons, colored pencils, or paints and turn your drawing lesson into a massive bear drawing! Different colors and bright colors make for a great drawing!
CONNECT WITH MADE WITH HAPPY!
Be sure to follow me on social media, so you never miss a post!
Facebook | Twitter | Youtube | Pinterest | Instagram
Find and shop my favorite products on my Amazon storefront here!
How To Draw a Polar Bear
PIN IT TO YOUR DIY BOARD ON PINTEREST!
FOLLOW MADE WITH HAPPY ON PINTEREST FOR ALL THINGS HAPPY!


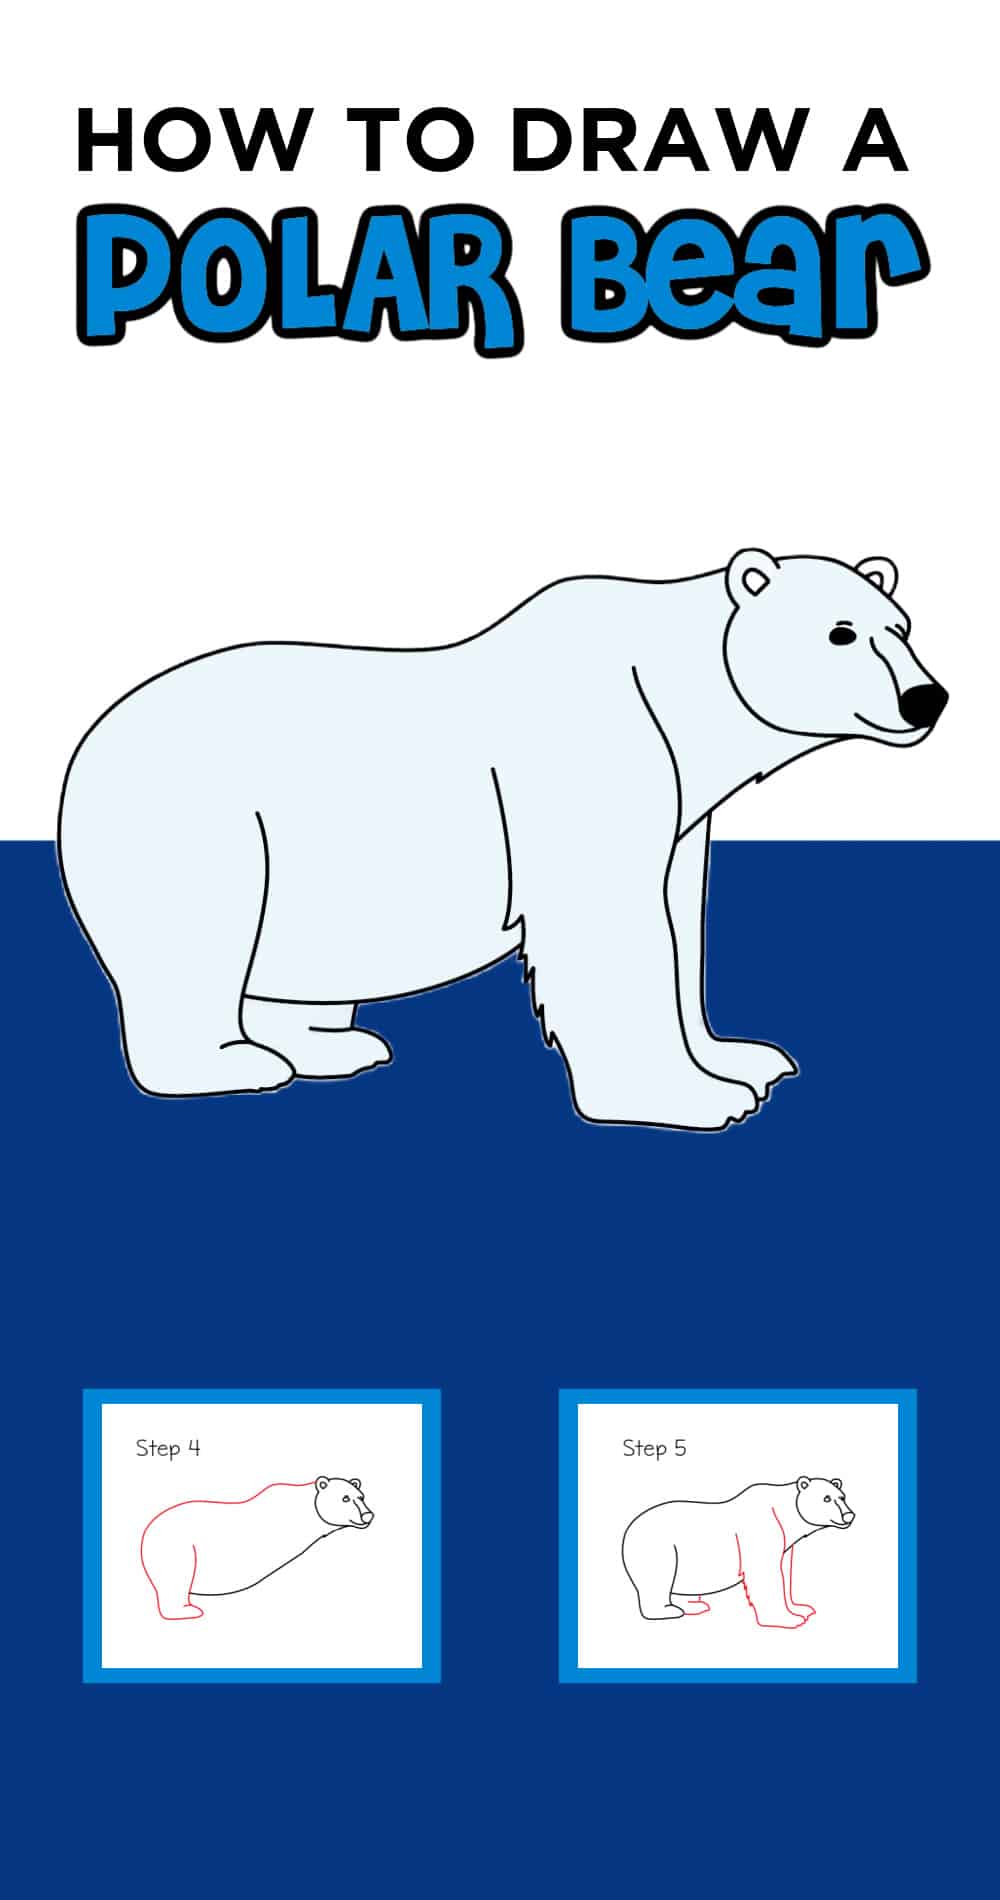
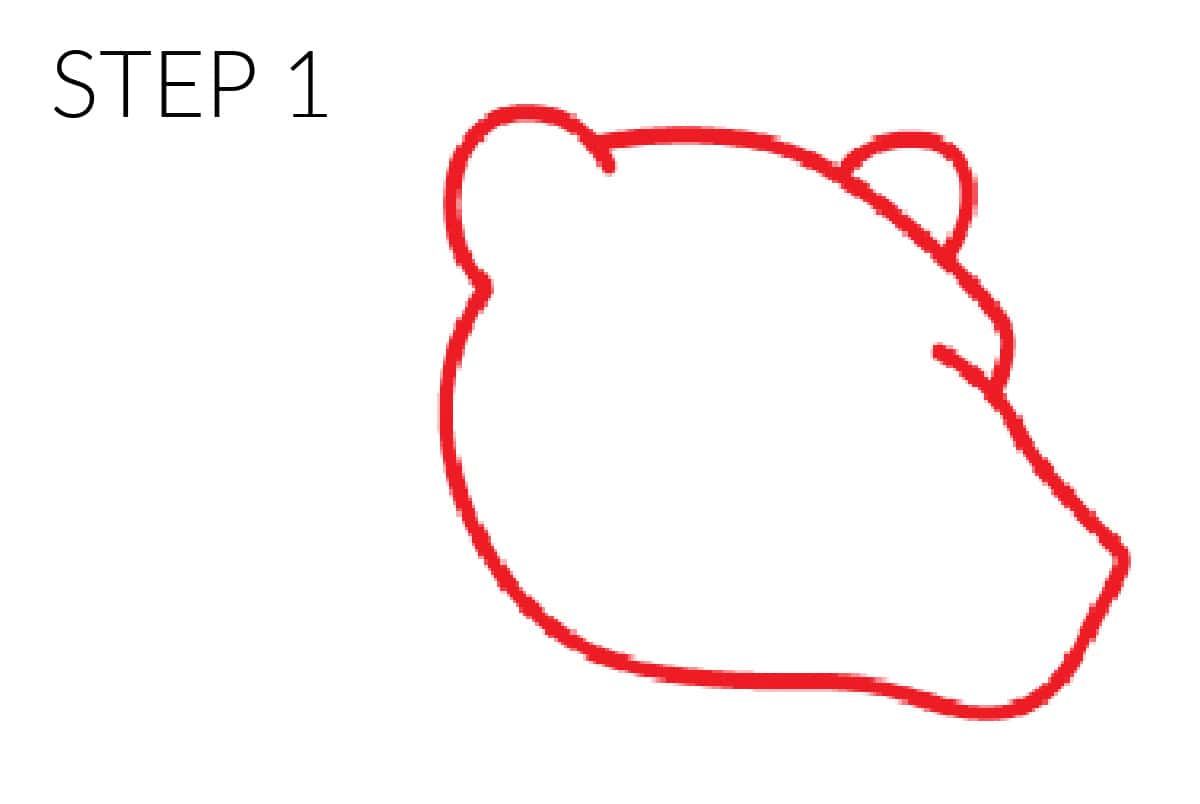 Start with the polar bear's head. You can draw his head in an oval shape. Then add small ears to the top of the head. There is a small curved line right above the nose (or snout) this is an easy way to give the illusion that the polar bear is slightly turned towards the paper.
 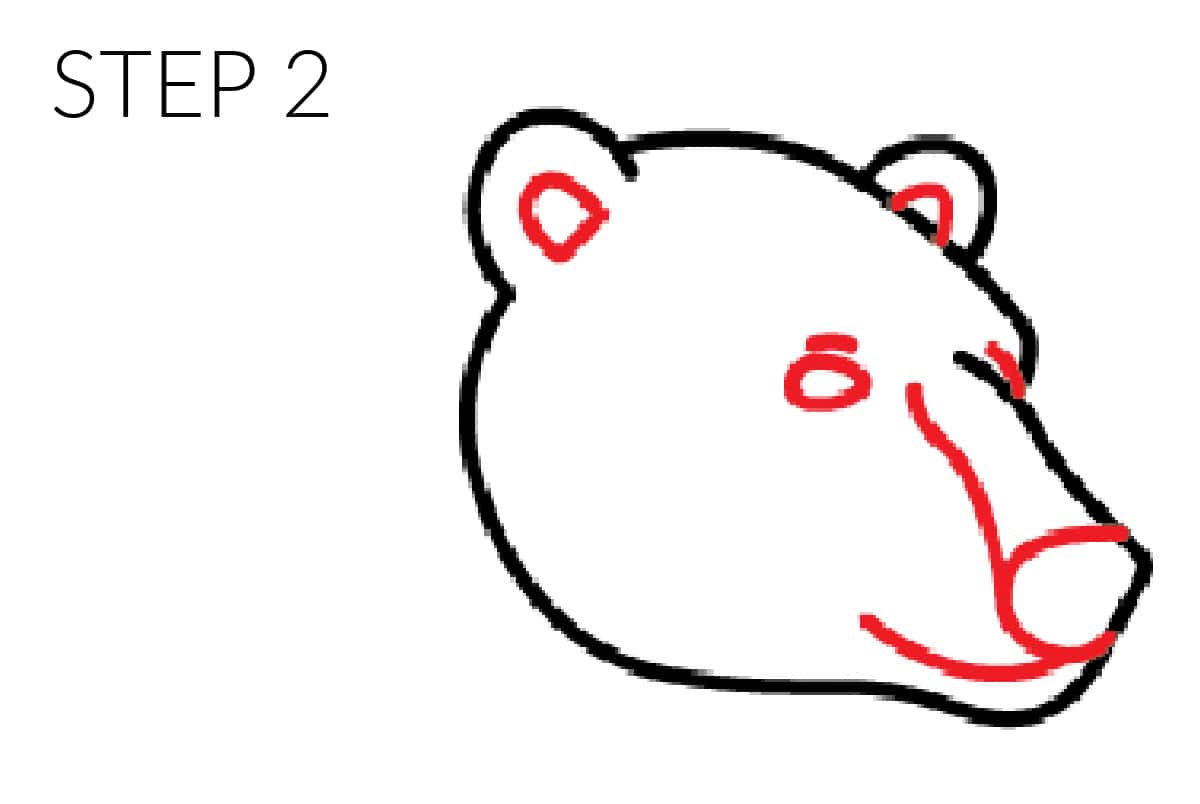 The next step is to add the facial features of the polar bear. Draw two small curved lines inside each of the years. Then draw a circle at the tip of the stout and then a small line up from the nose towards the eyes. Draw one small circle for the eye along with a small line for the eyebrows and lastly a small line for the smile,
 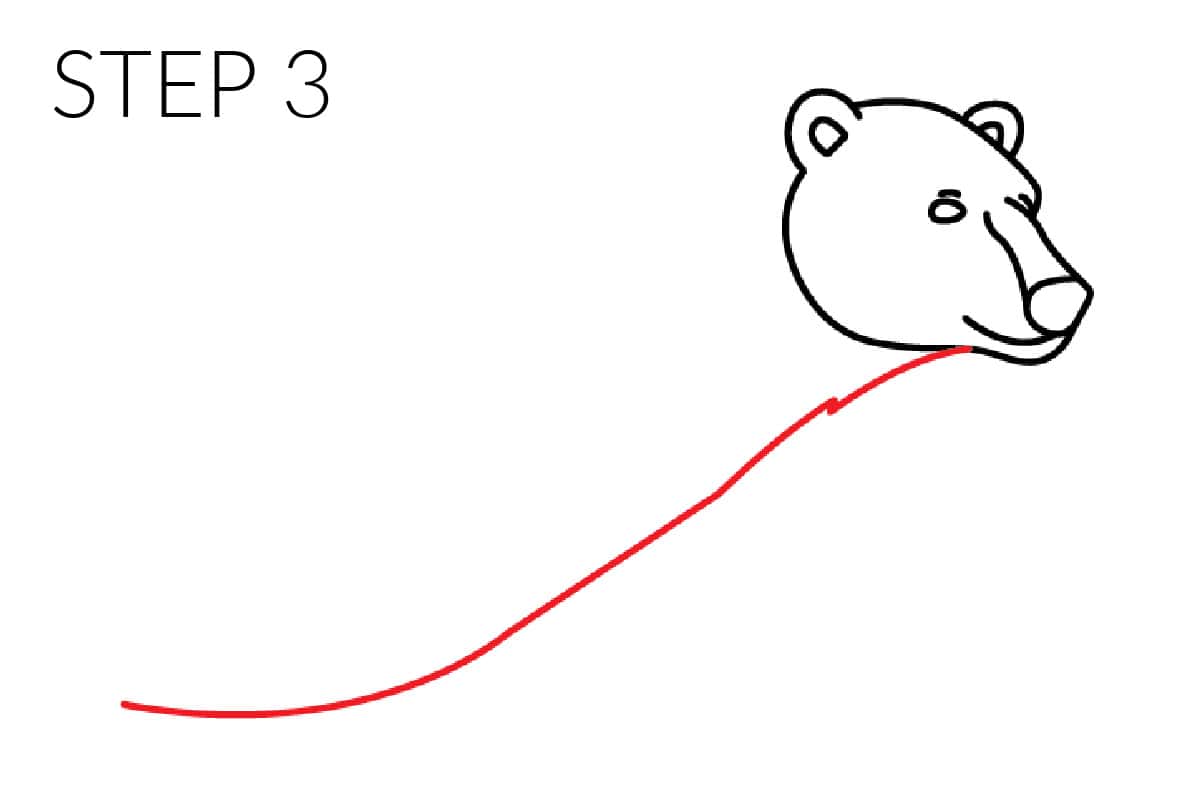 Next, draw a slightly curved line diagonally down from the bottom of the face, and then curve slightly up at the belly.
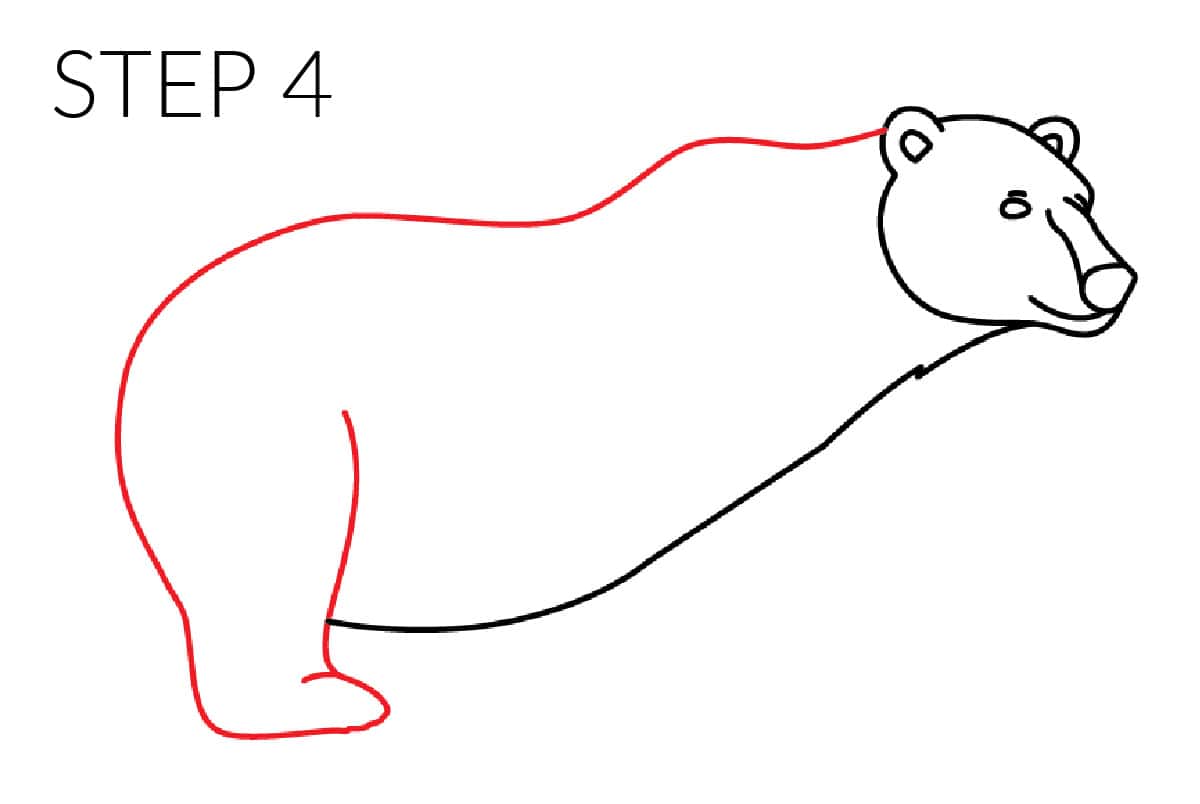 The next step is to draw the polar bear's back and hind legs. With any large size bear (polar bear or grizzly bear) they have a few bumps on their back. So if you are going for a more realistic polar bear drawing, then add a few bumps. If you are going for a more cartoon polar bear drawing, then a smooth curved line will be just fine. Once you get to the hind legs, curve down and then draw a flat paw.
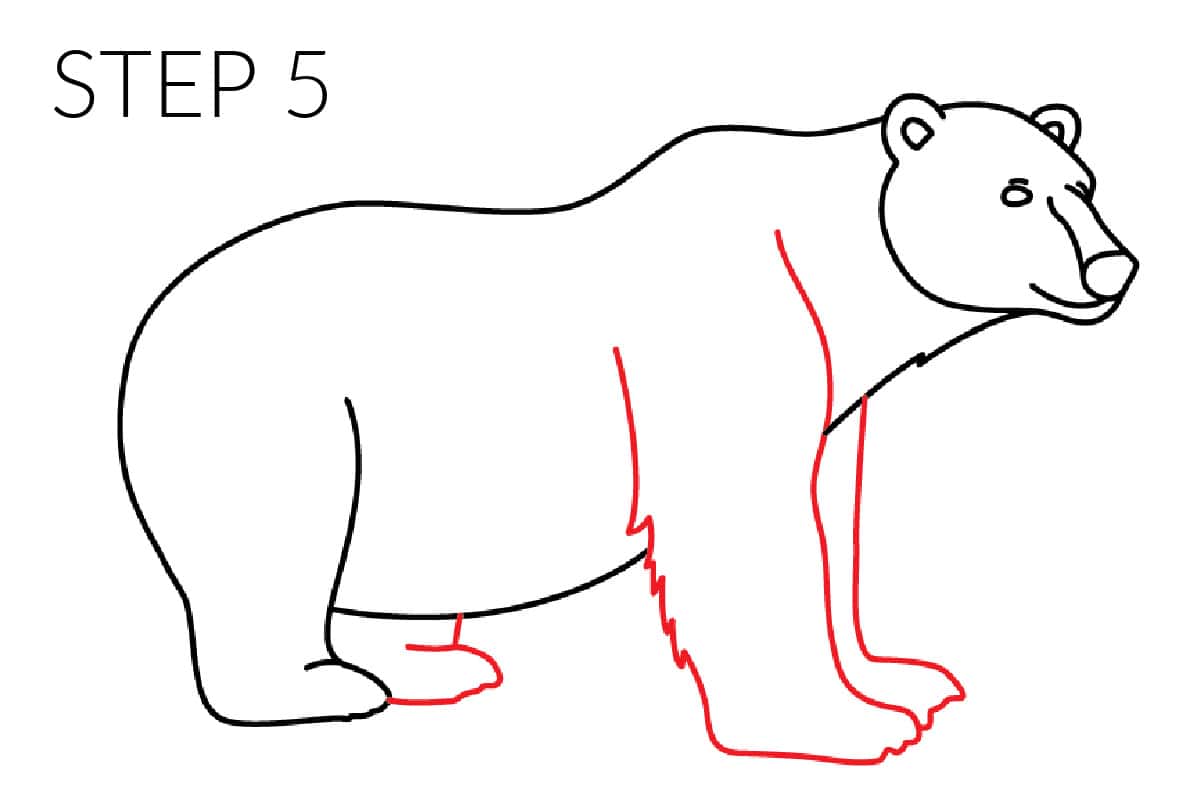 Then add the other hind leg under the belly similar to the first hind leg. Draw the front legs between the belly and the bear's face. You can even add some fur details to the back of the front legs.
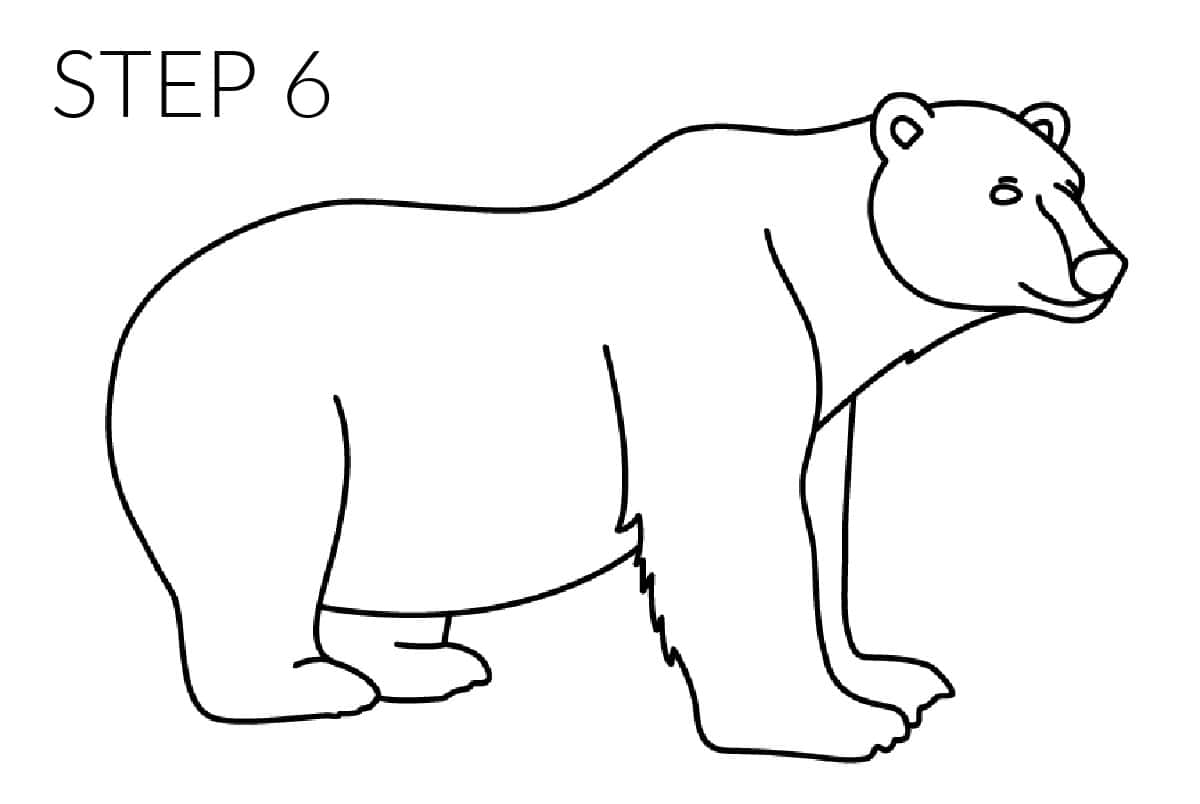 Once you have your polar bear exactly how you want it, the final step is tracing over all your light lines with a sharp pencil and even outlining it all with a black marker!
 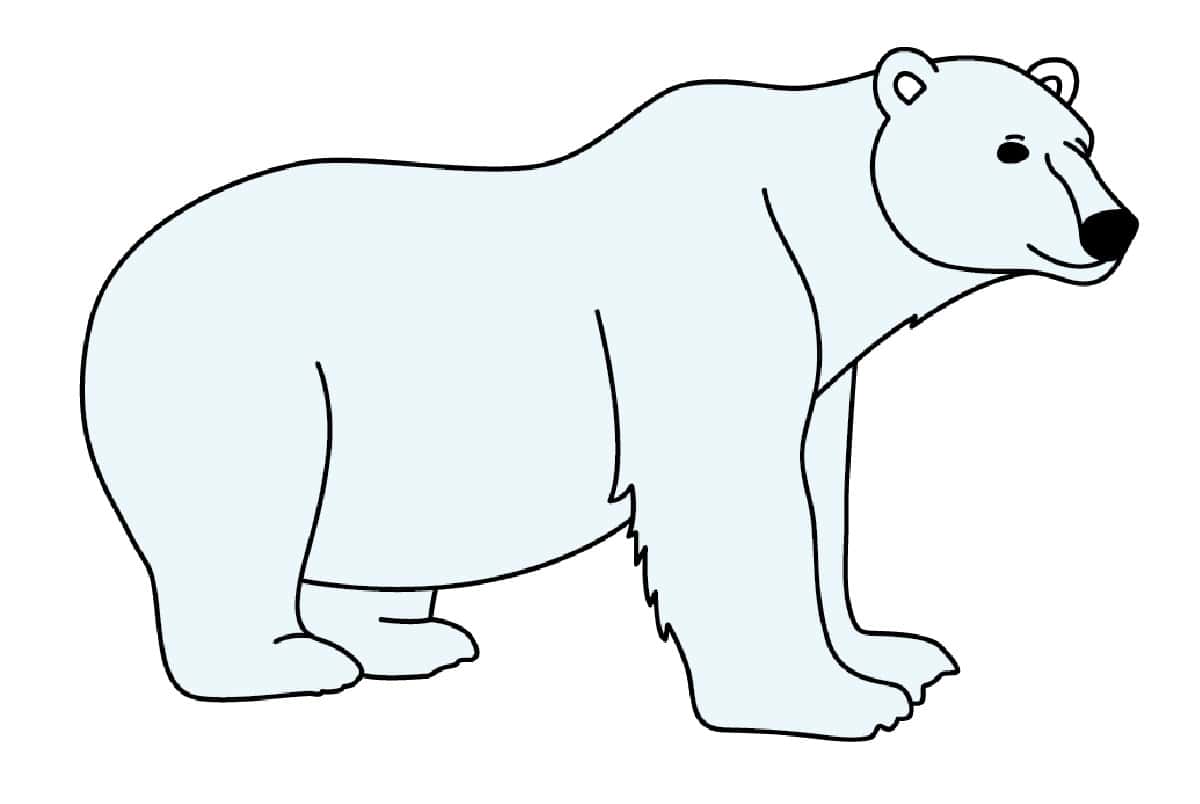 The final step if you choose to is to use markers, crayons, colored pencils, or paints and turn your drawing lesson into a massive bear drawing! Different colors and bright colors make for a great drawing!