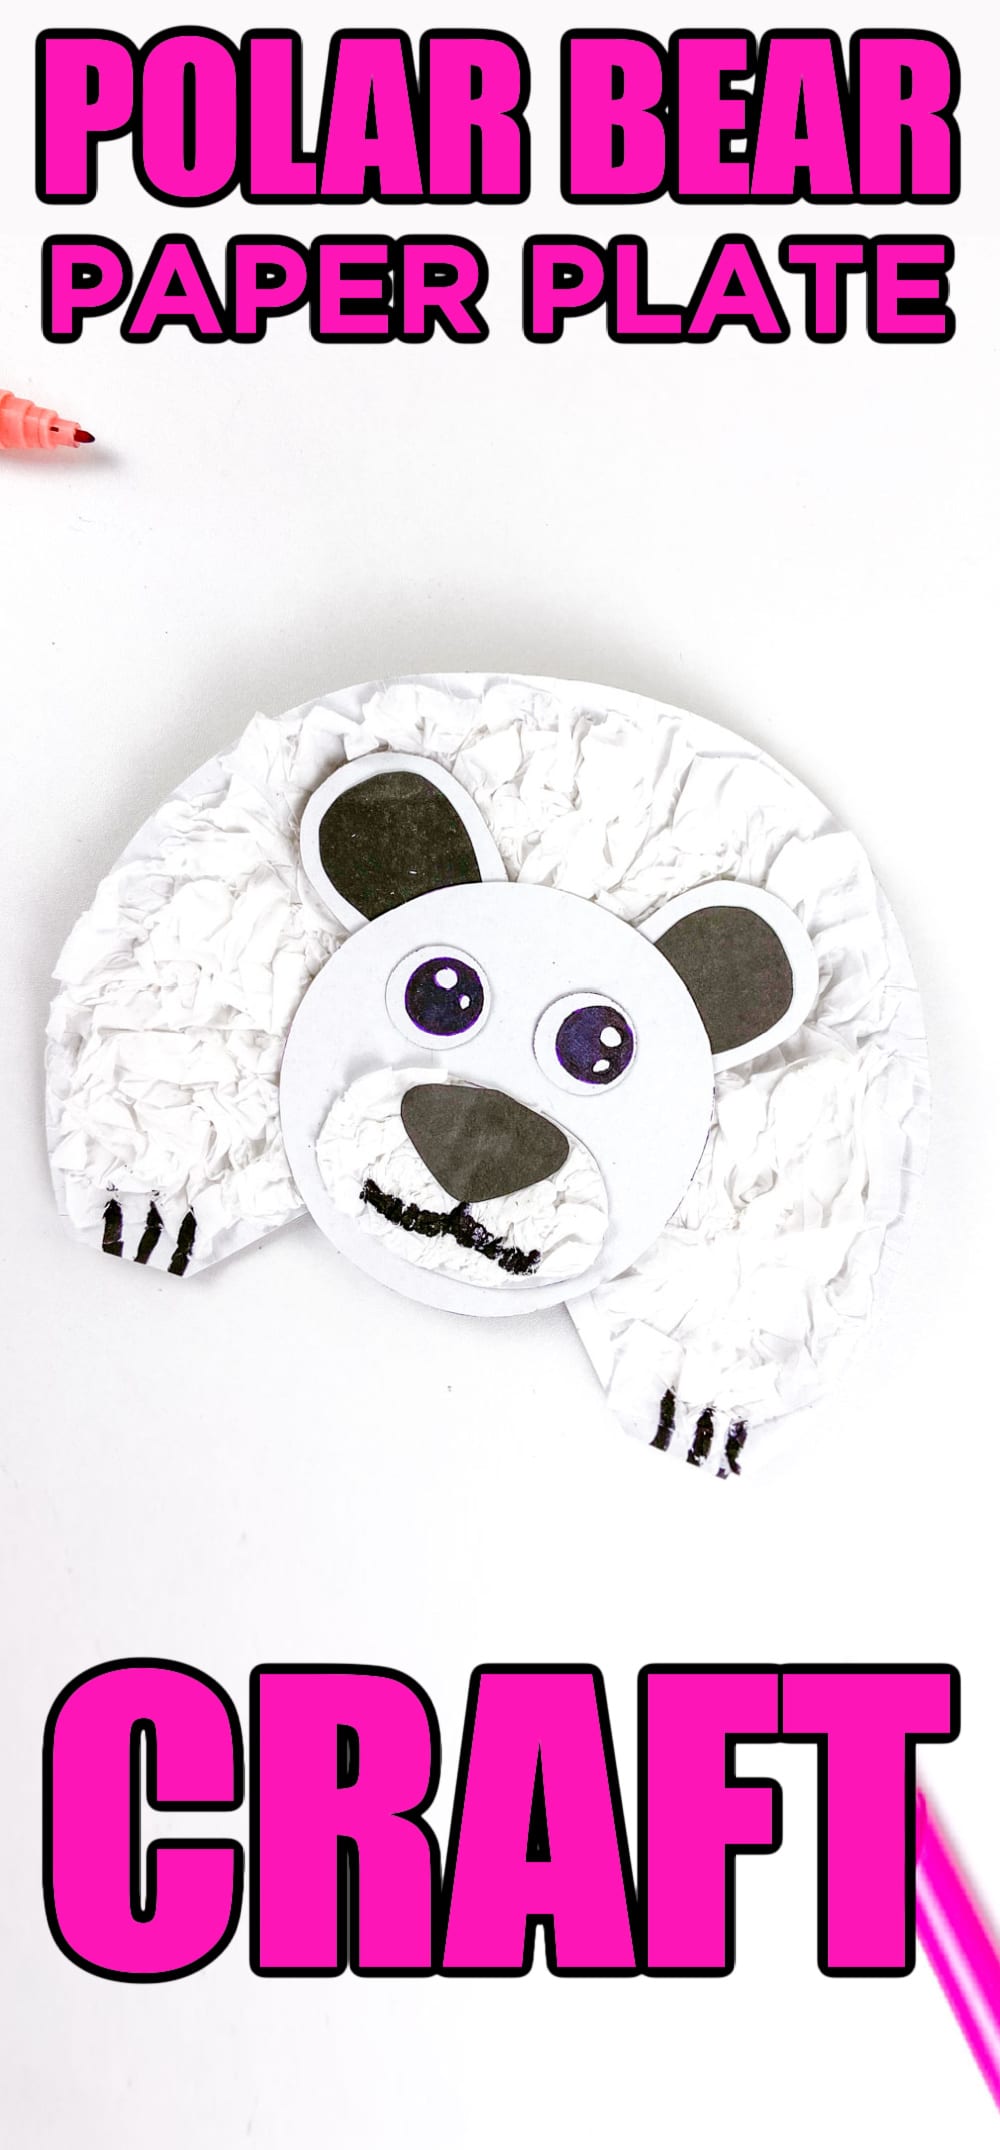
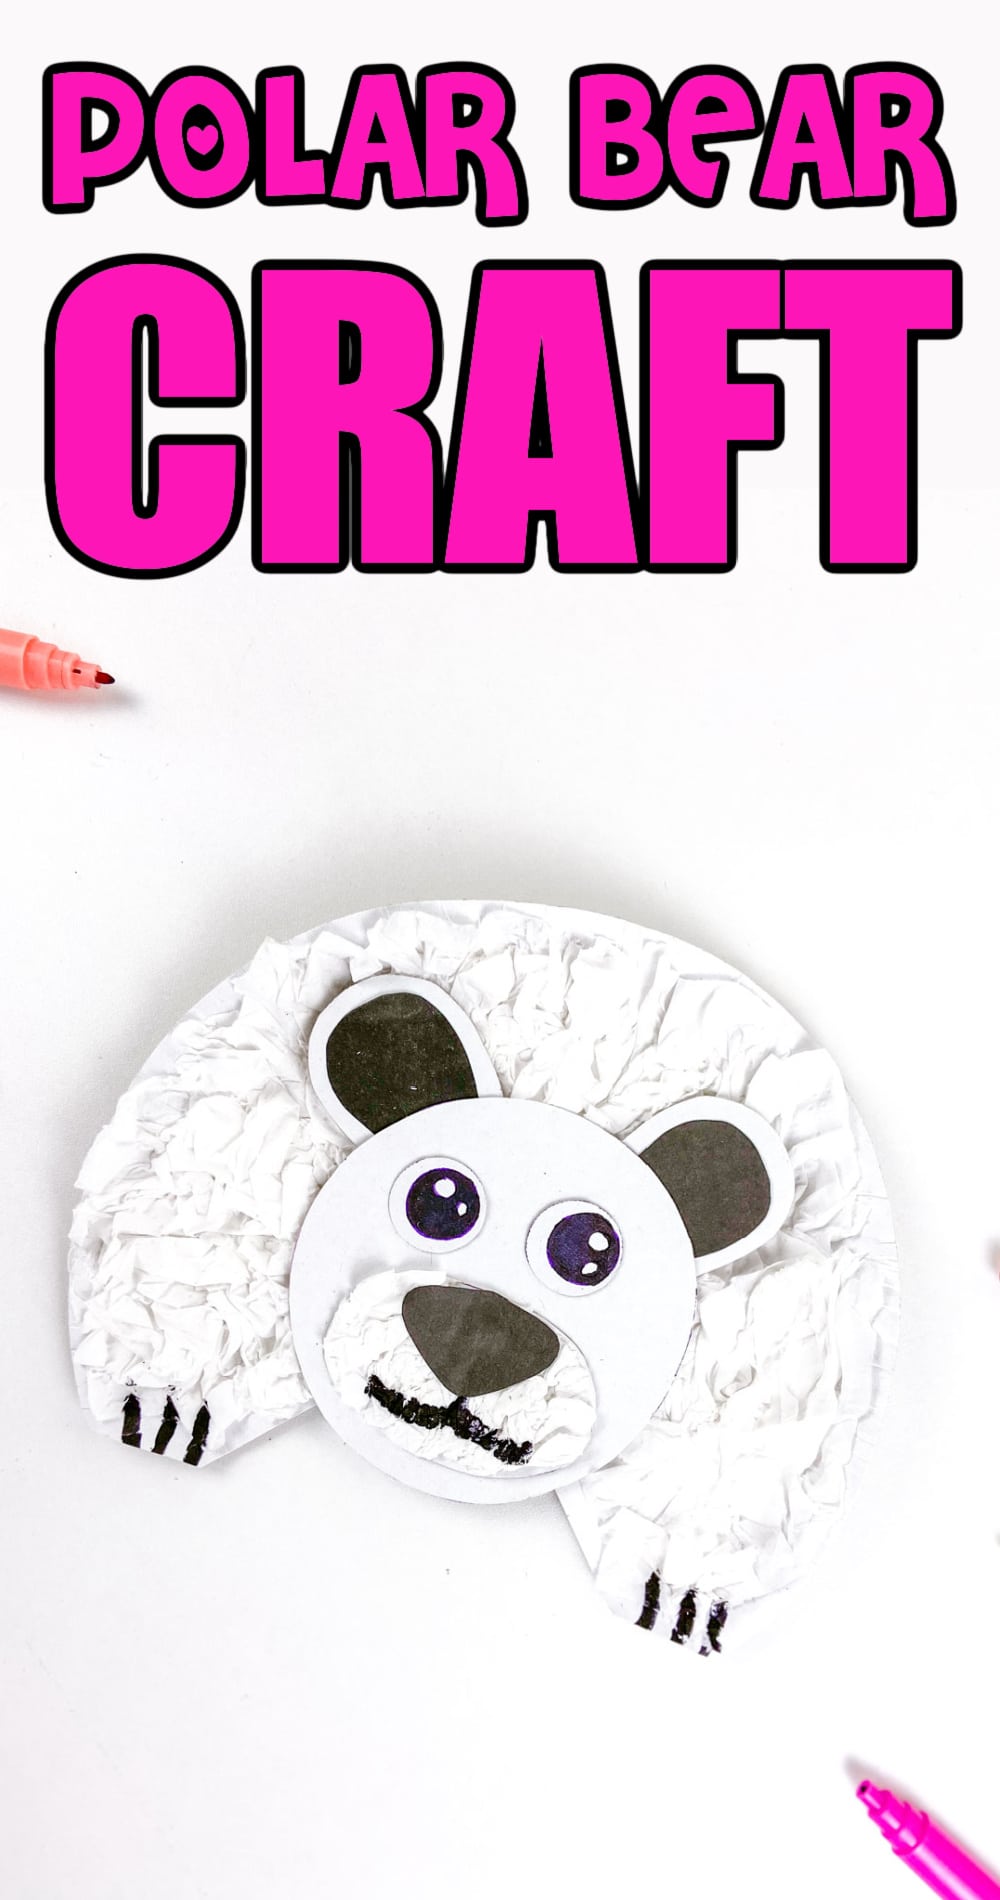
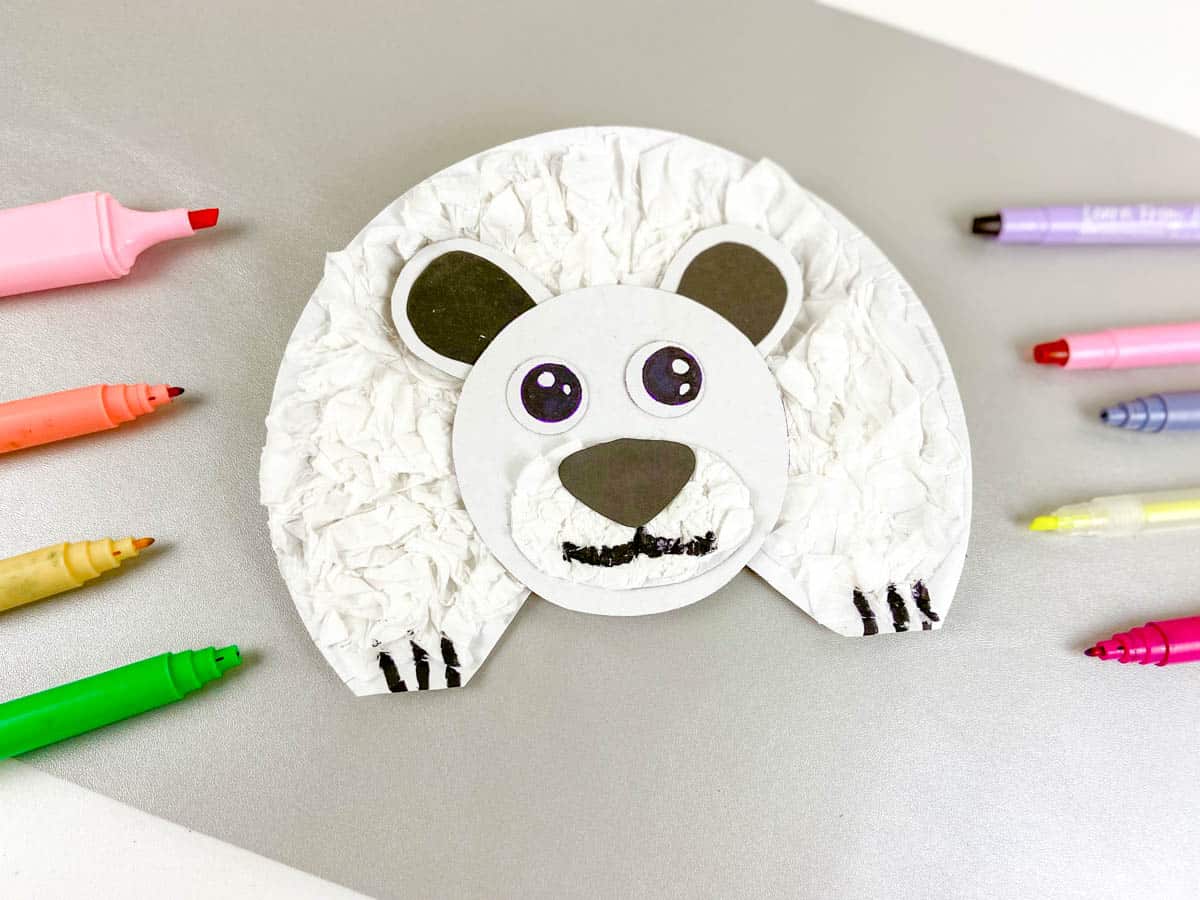
Craft a cute Arctic buddy with our simple paper plate polar bear craft! Easy steps for winter crafting fun.
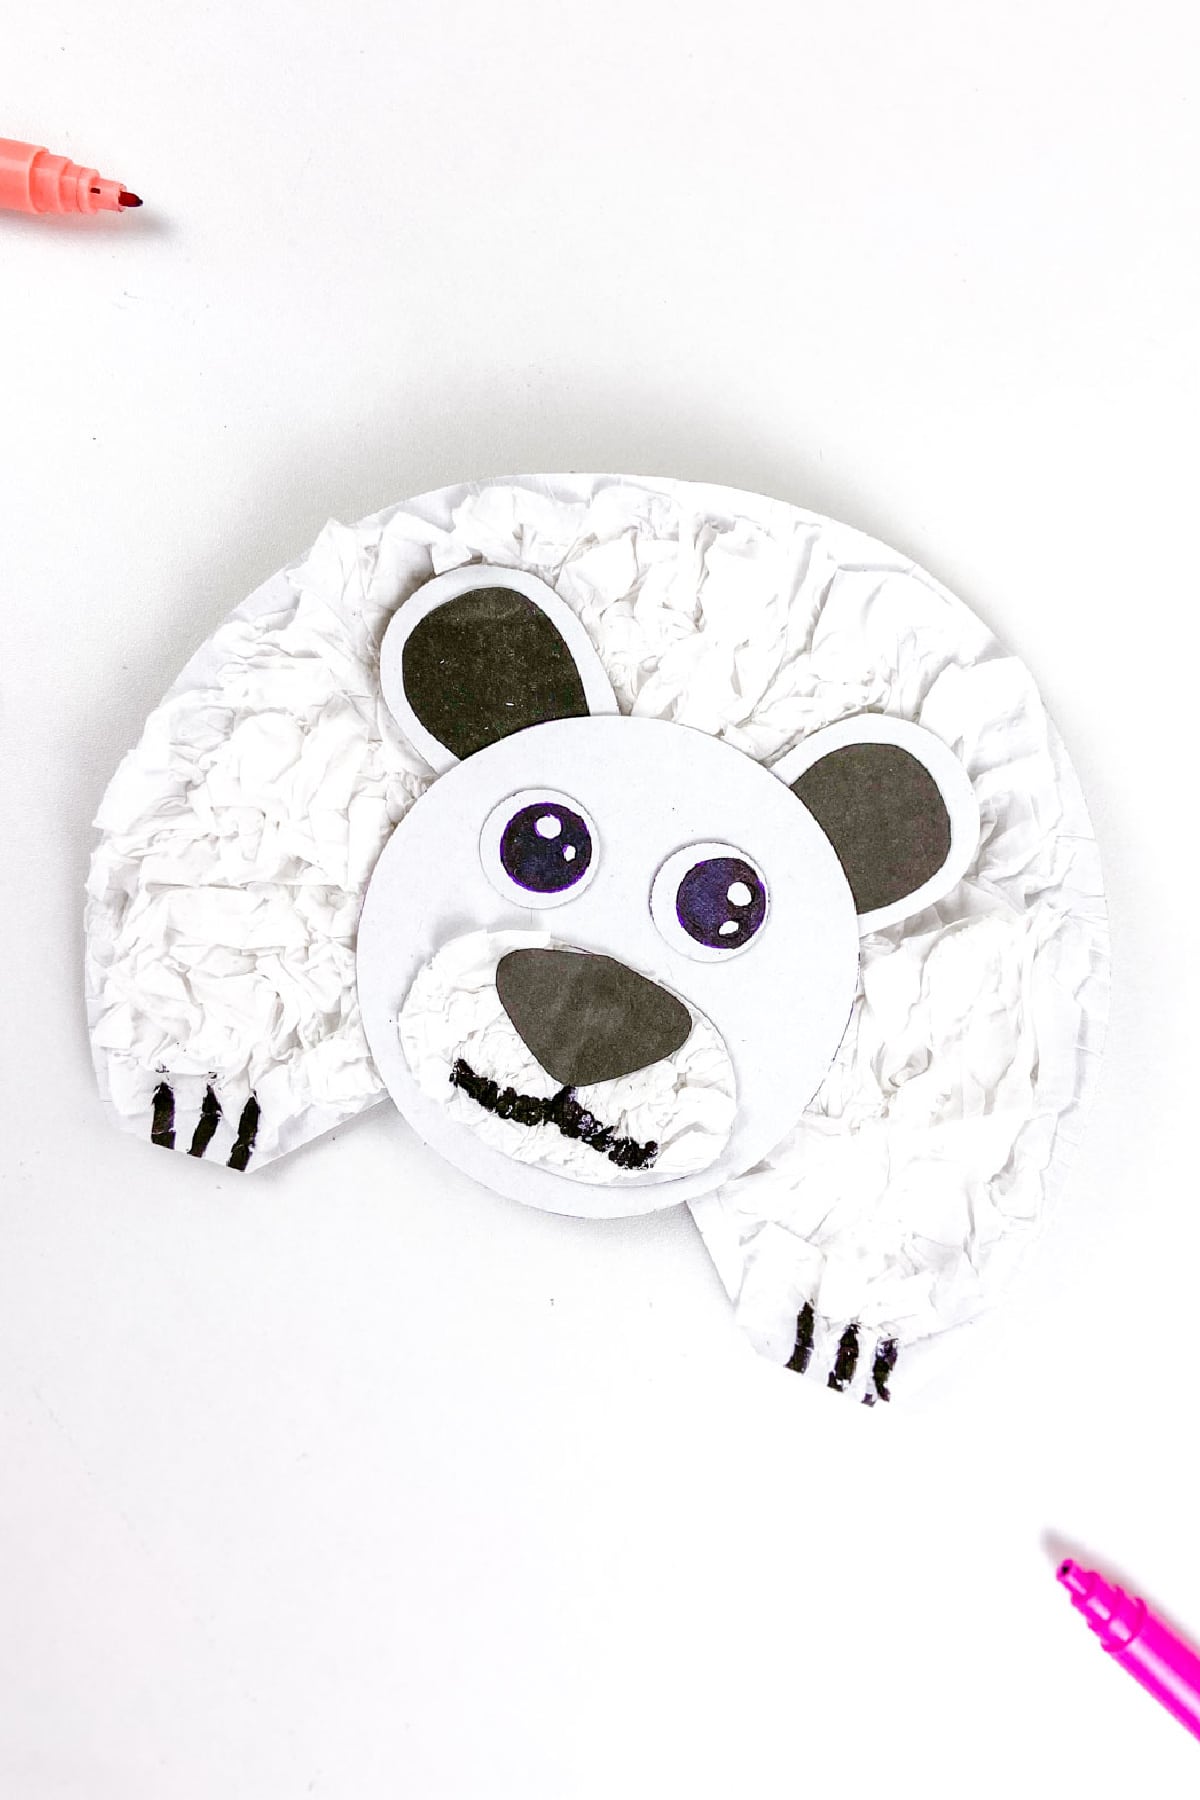
This easy polar bear craft is a great addition to winter crafts for kids of all ages.
Searching for perfect winter crafts to keep the little ones busy during the school break? Try this polar bear craft. You can make this easy craft at a winter party or with your kids on a weekend afternoon. It's a fun way to work on their fine motor skills, and the final result will be a great addition to their bulletin board.
The best part? You don't need too much for it. Just some googly eyes, pom poms, and cotton balls (or tissue paper). It's a paper plate craft, so it's not going to be too messy, either. And if you like to convert it into a puppet or a polar bear on a stick, use a popsicle stick on the back. Simple as that.
If you scroll to the bottom of the page, you'll find the step-by-step instructions for this easy polar bear craft. Don't miss it!
Want to save this project?
Enter your email below, and then we'll send it straight to your inbox. Plus get awesome new projects from us each week.
When to Make The Polar Bear Craft
There's no wrong time to do craft work with kids. So, you can do this polar bear art throughout the year. But if you specifically want to do them on special days, here are some ideas for you:
- Make it on International Polar Bear Day. It's on Feb 27.
- Make it during winter holidays to give as holiday gifts to friends.
- Use them as winter decoration items (in school or class).
- When the snow outside is just too much to handle, stay inside and do this polar bear craft.
Don't Miss Our How To Draw a Polar Bear.
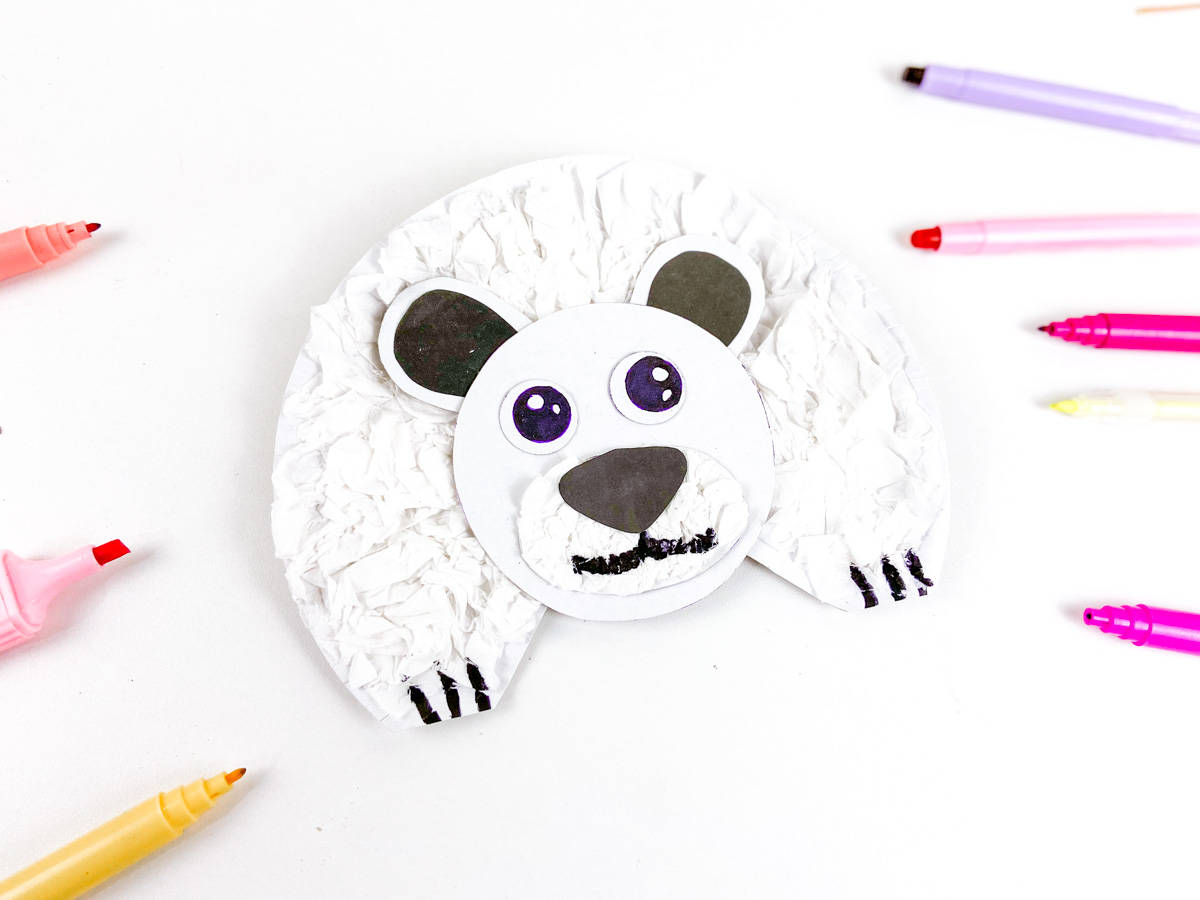
Decorating the Fun Polar Bear Craft
Ready to make some cute polar bear crafts? Then, step up and decorate yours differently.
- Young children can finger-paint the body of a polar bear instead of using tissue paper or cotton balls.
- Use puffy paint to make a small scarf around its neck. It'll look really lovely and give it some personality.
- You can also give your polar bear a hat! Trace the shape of the hat on construction paper, color it, and glue it over its head.
- Use pipe cleaners to make the expression on the polar bear's face.
The good thing about this craft is that kids of all ages can add personality to it in their own ways. It's a great way to boost their confidence and let them practice some decision-making.
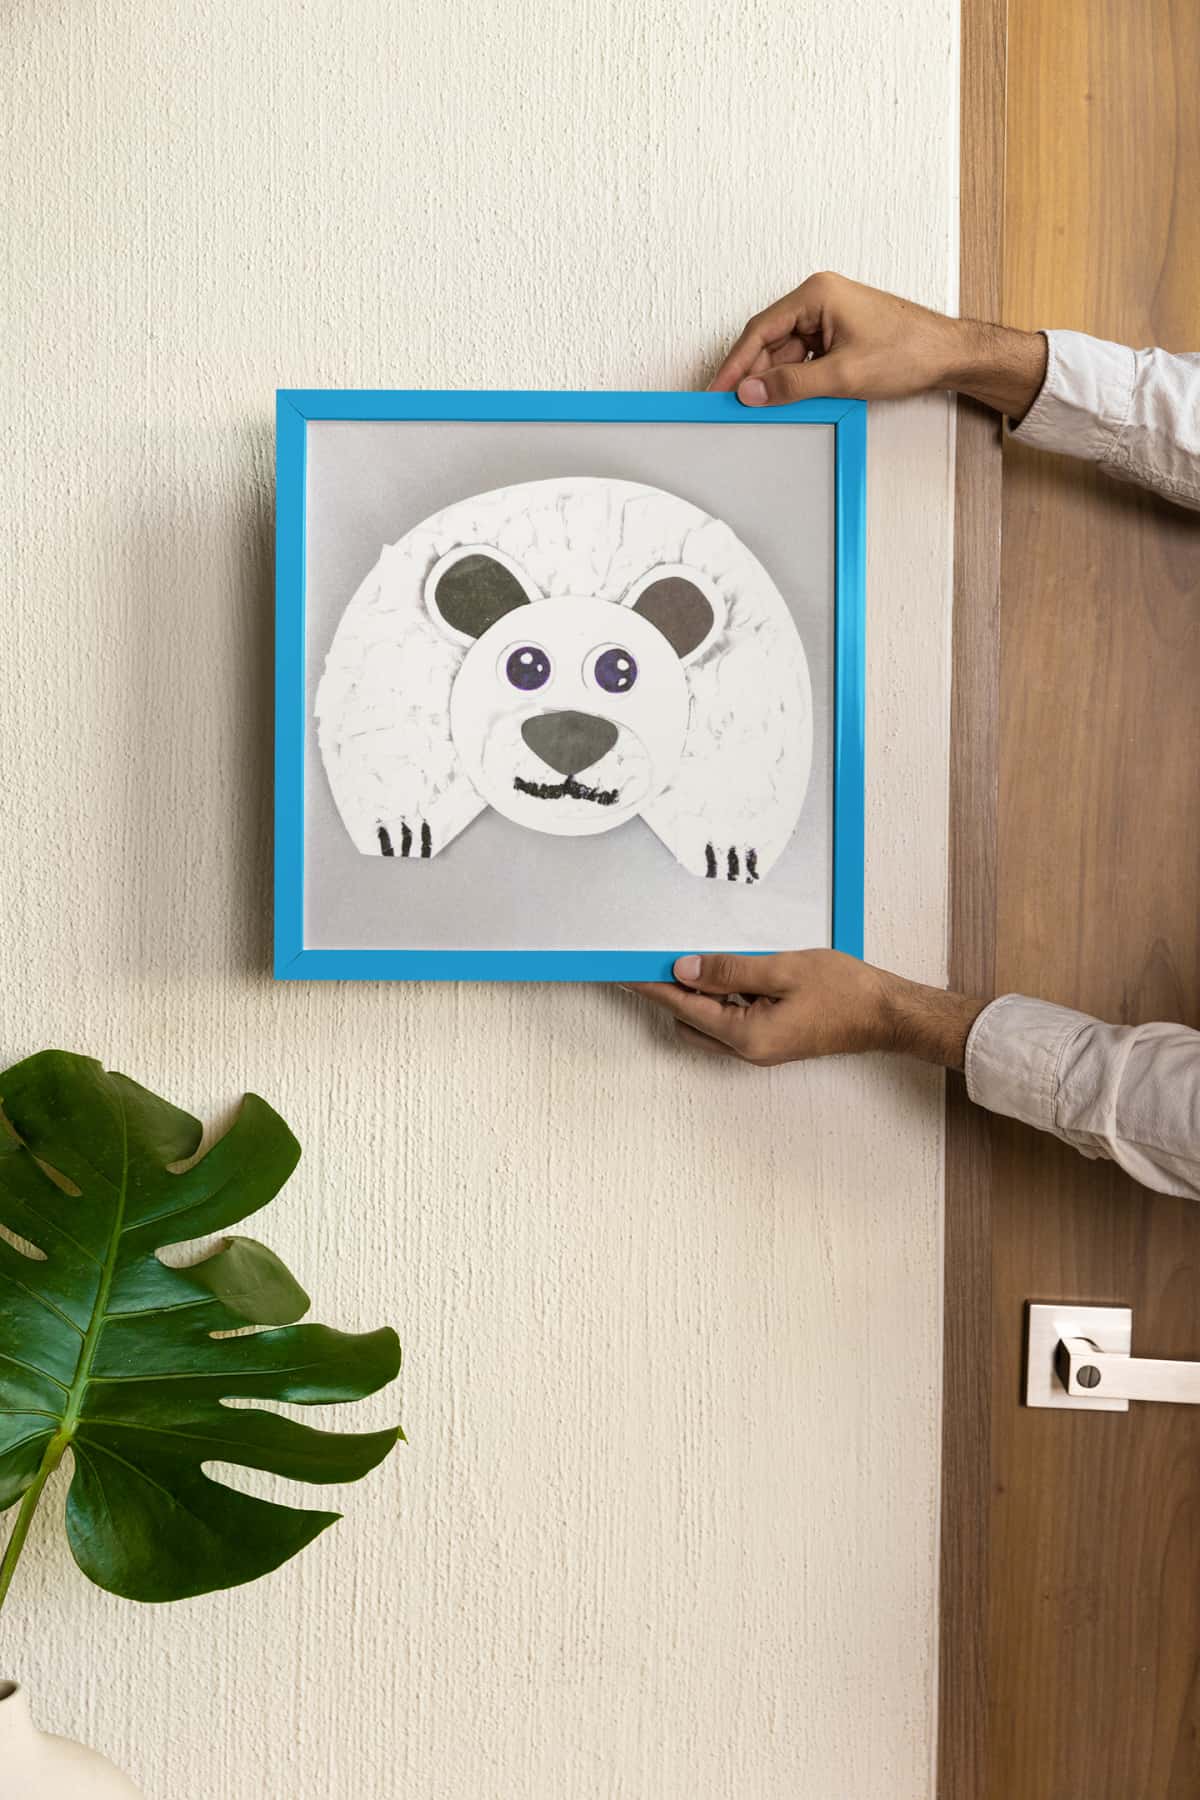
Using the Simple Polar Bear Craft
There are a lot of different ways to use this cute craft.
- Stick the polar bear on a canvas or a frame to make winter wall art.
- Make several polar bears and arrange them on cotton balls to create an igloo model.
- You can even stick it on the front of a greeting card!
- Make a polar bear finger puppet by sticking the cutout on a popsicle stick or straw.
- You can also create a polar bear mask by using a larger paper plate and cutting out eye holes.

Lesson Plans for the Polar Bear Craft
This craft is not just fun but educational, too! Here are some lesson plans related to polar bears that you can do after making this easy polar bear craft:
- Learn about the winter season and what makes polar bears so well adapted to cold climates.
- Use this craft as an opportunity to introduce some fun facts about polar bears, such as how their black skin helps them absorb heat from the sun.
- Discuss with kids how climate change is affecting polar bears and what we can do to help.
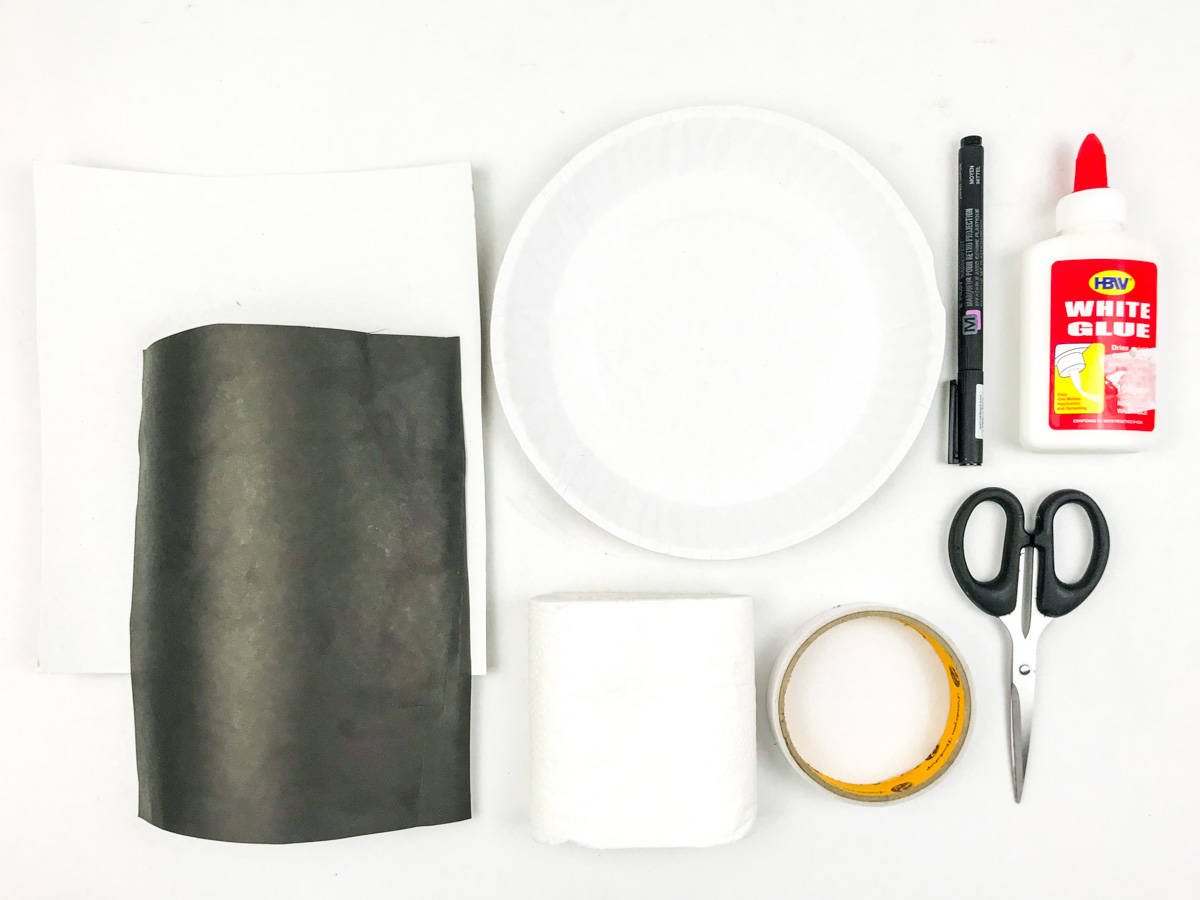
Polar Bear Paper Plate Craft Supplies
- Polar Bear Template (Bottom of Post)
- Paper plate
- Tissue Paper
- Black construction paper
- White Cardstock or White Printer Paper
- Glue (Hot Glue and Glue Stick) or Craft Glue
- Black Marker
How To Make Polar Bear Craft
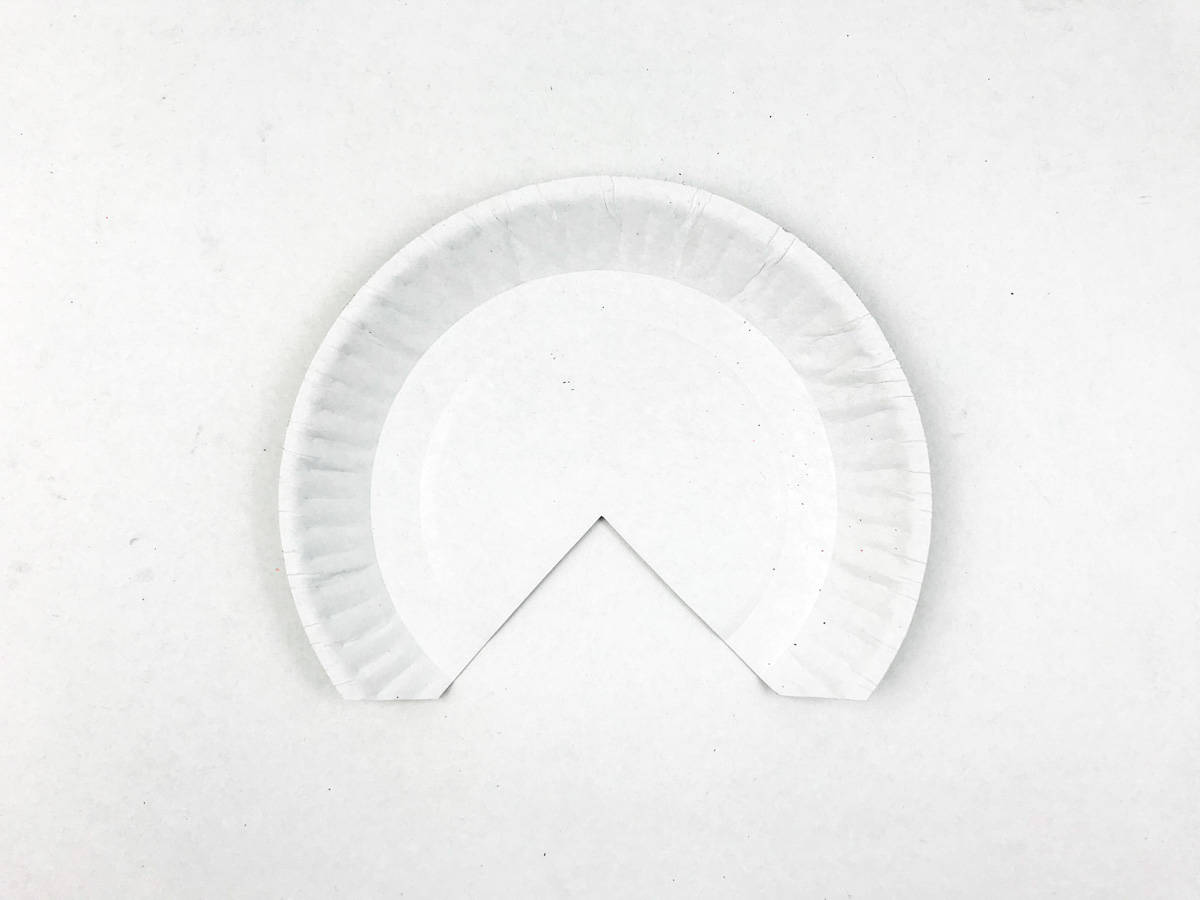
Start with your paper plate and scissors and cut out a pizza slice from the bottom of the paper plate. Then cut the two ends of the triangle off horizontally.
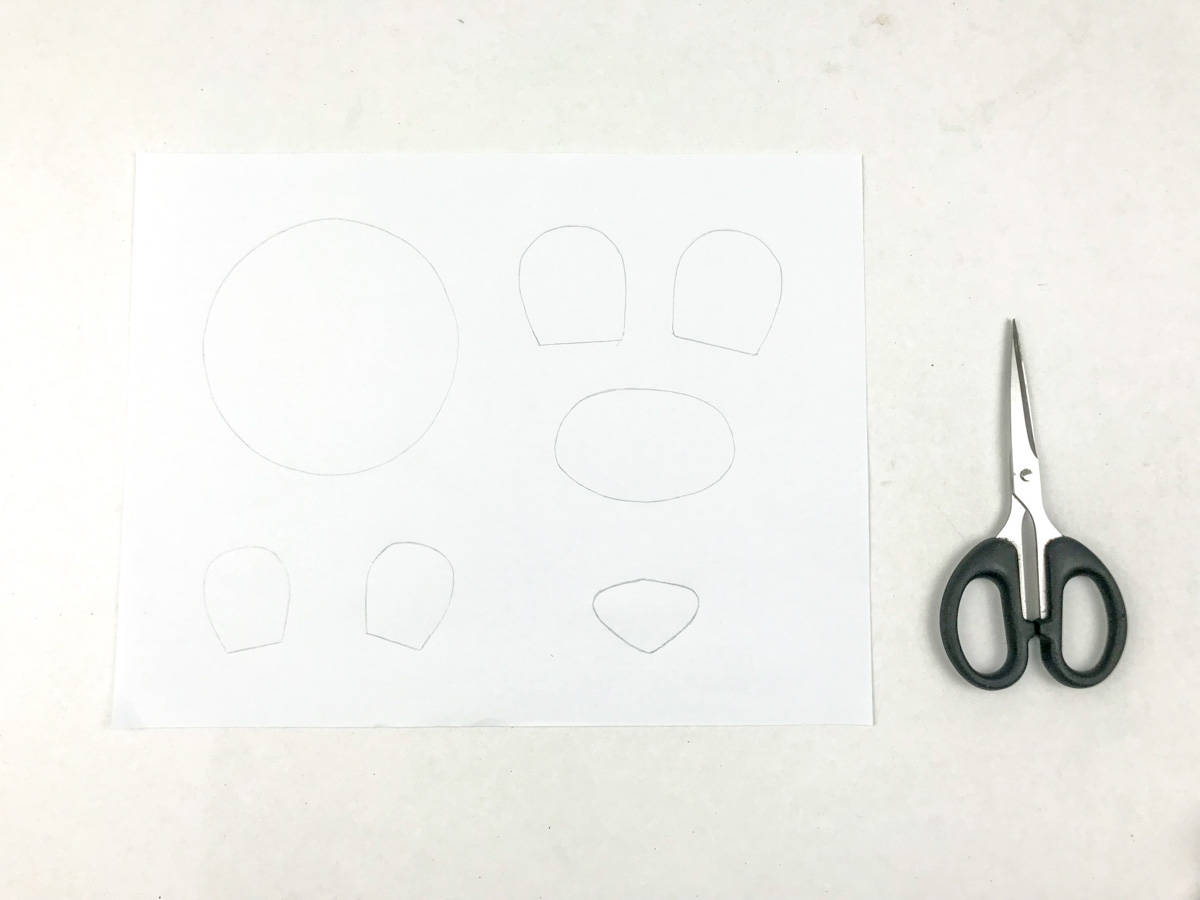
Then print out the free printable template on plain white paper. Cut out each of the template pieces.
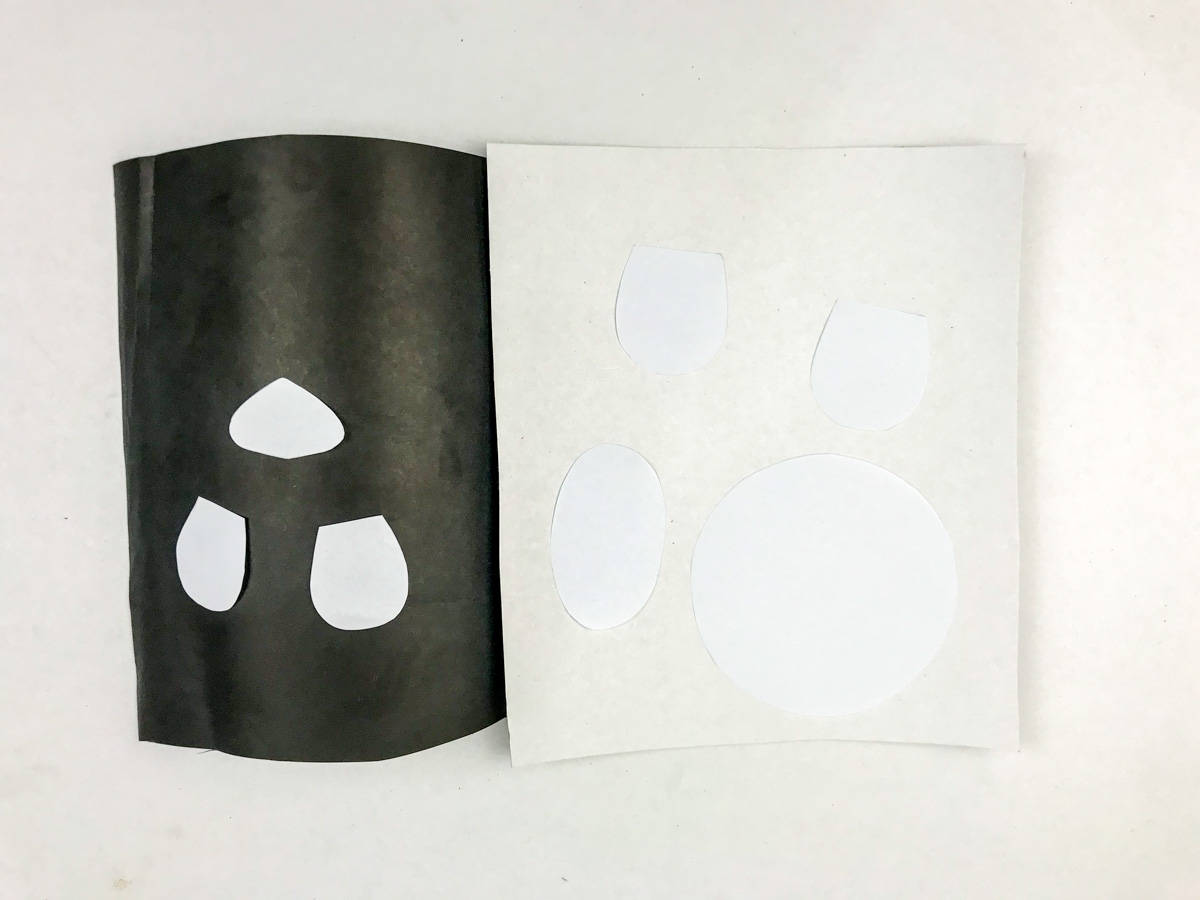
Trace the two smaller earpieces and nose pieces on the black paper. Trace the large circle, larger earpieces, and the oval pieces on the white card stock.
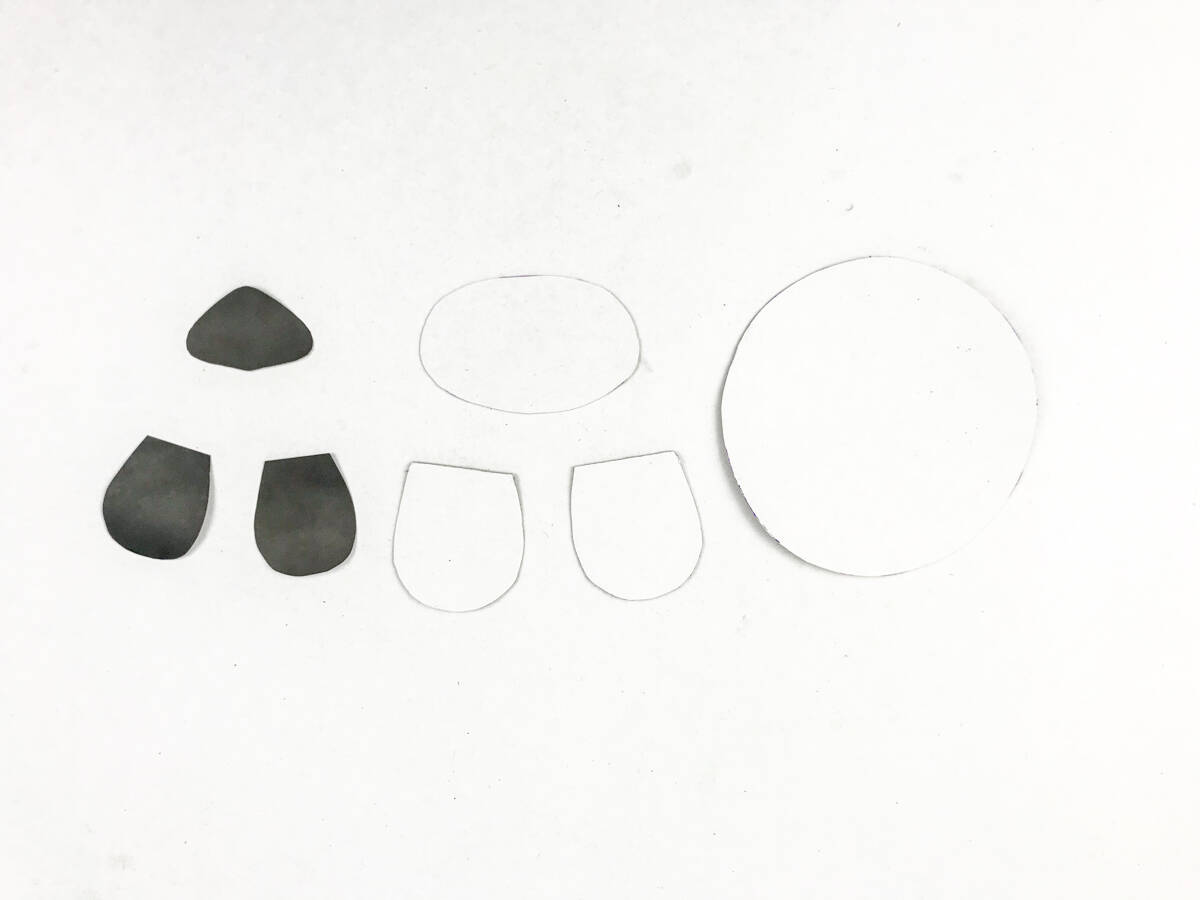
Cut out each of the traced pieces.
Polar Bear's Head
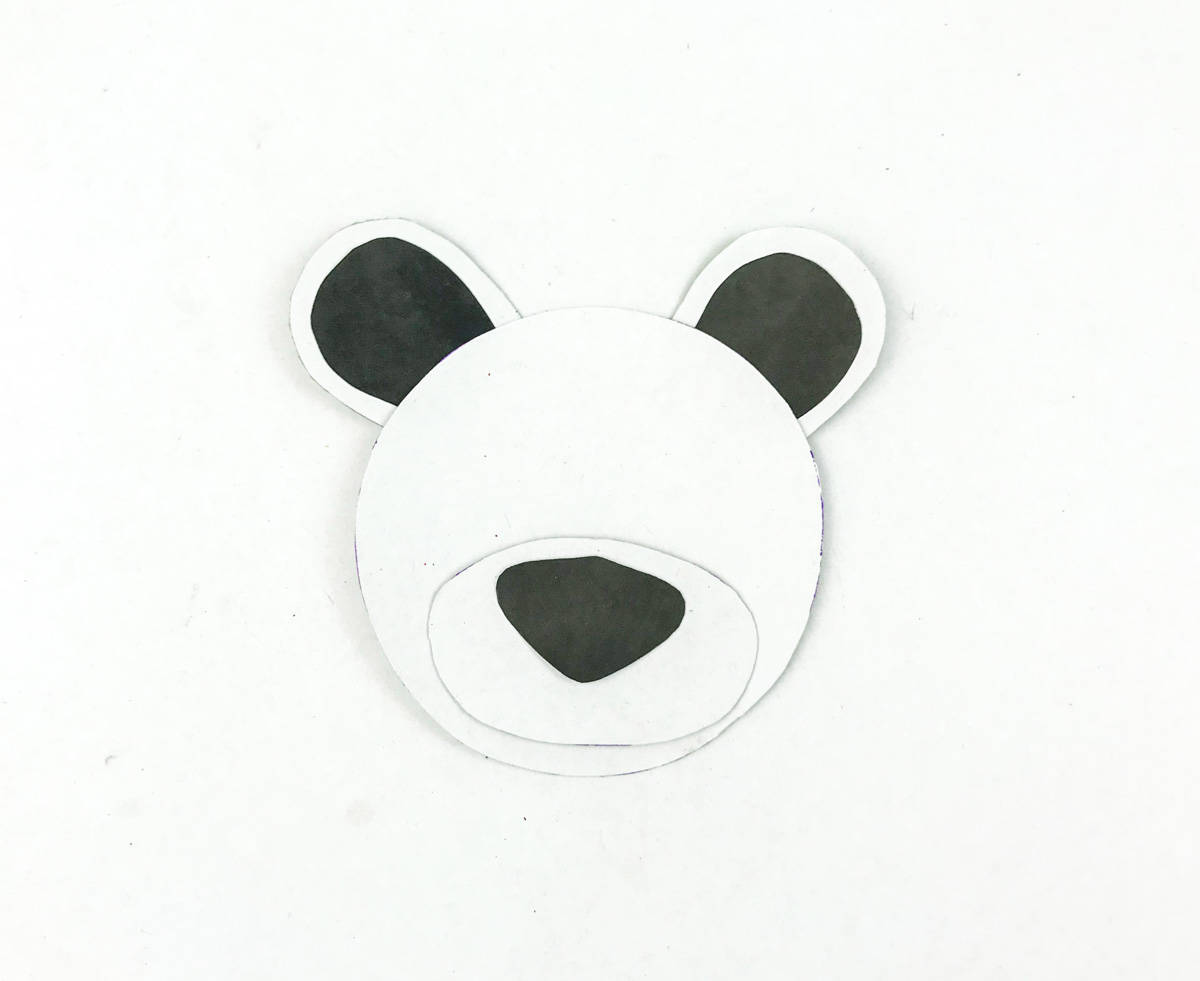
Glue each of the polar bear's ears together with the black inside the white. Then glue the black nose to the top of the oval shape.
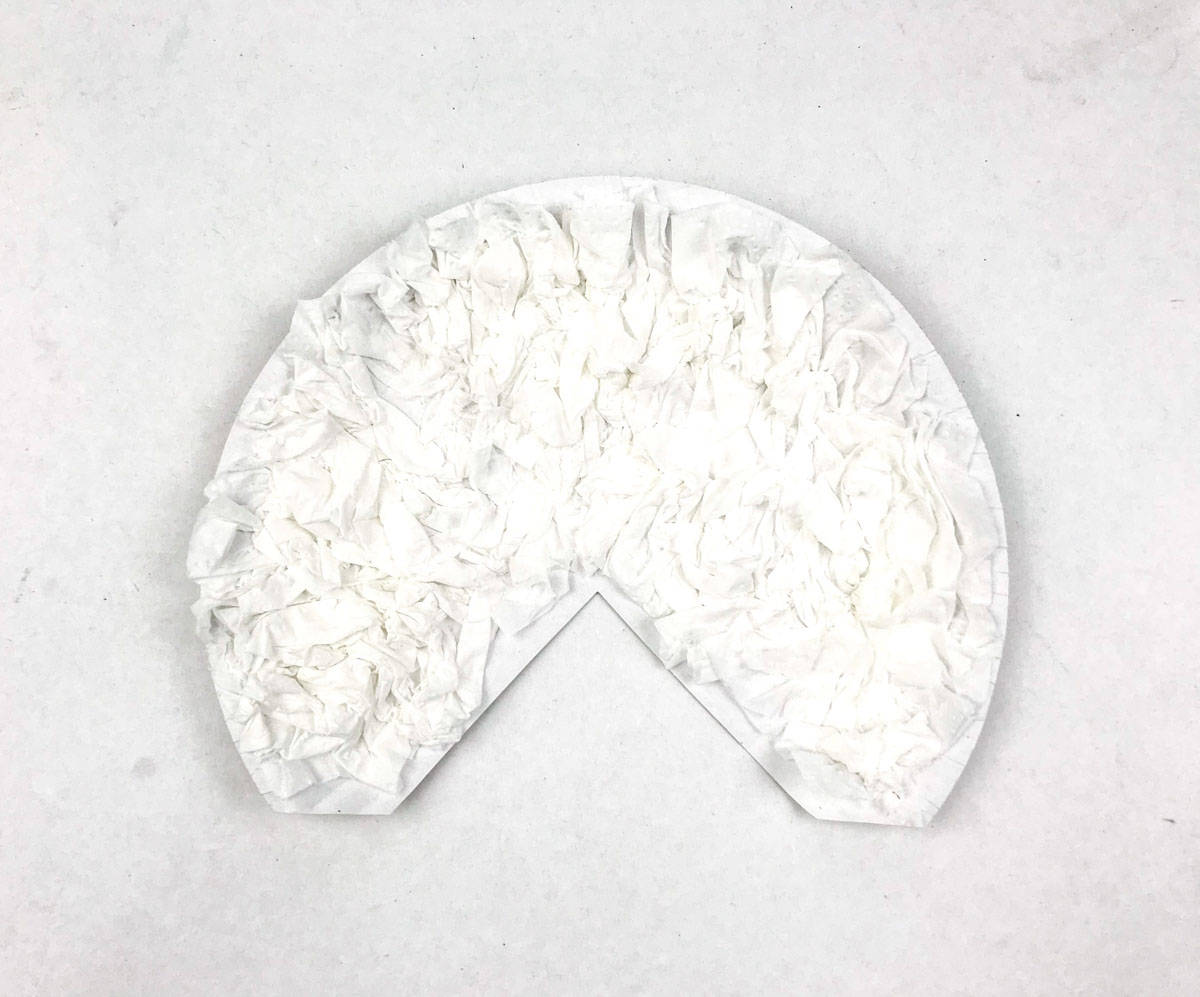
Next, crumble up pieces of white tissue paper and glue them to the full front of the paper plate. This is to represent the polar bear's thick white fur.
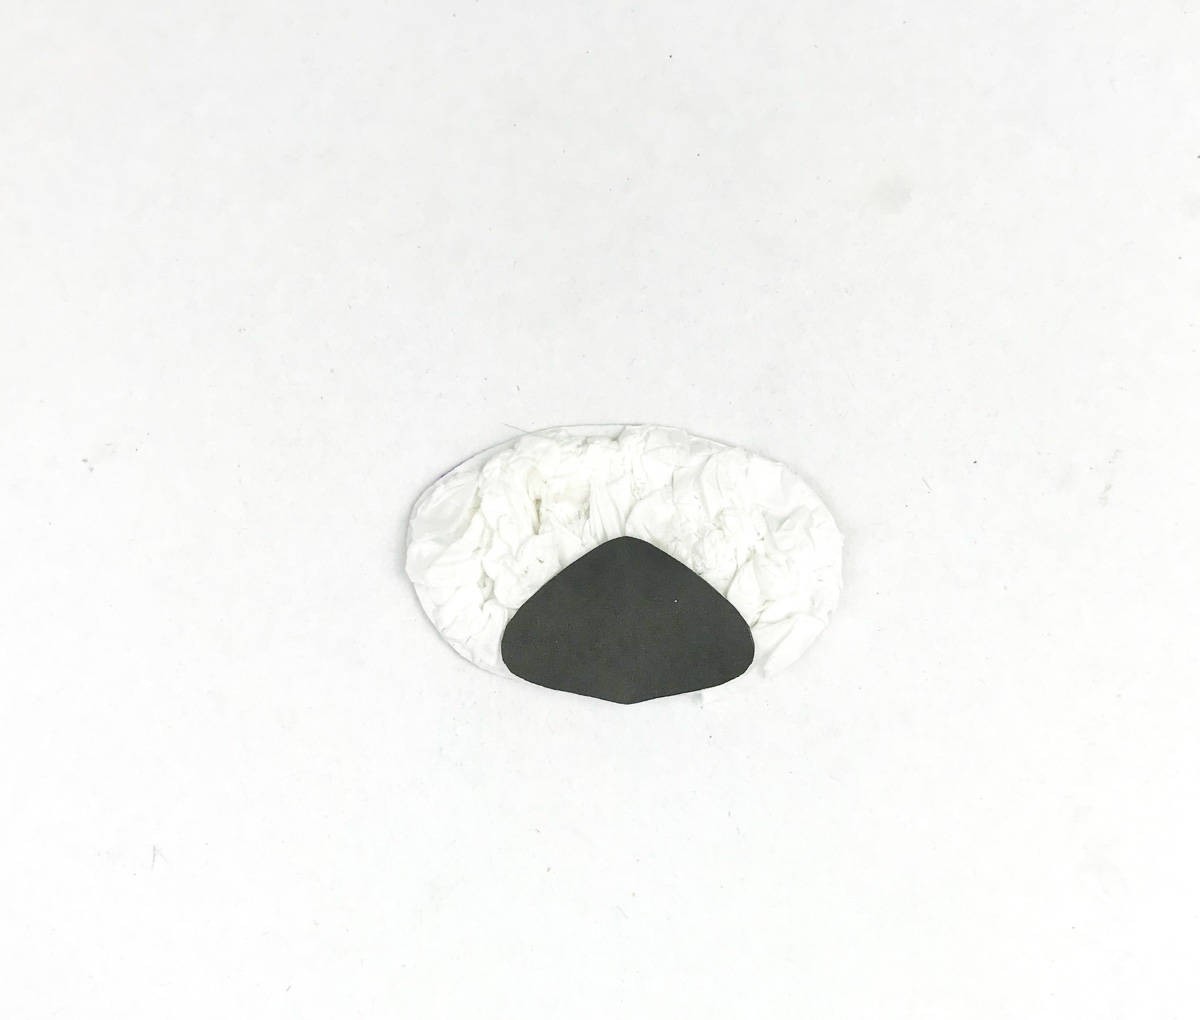
Glue additional crumbled tissue paper to the polar bear's snout.
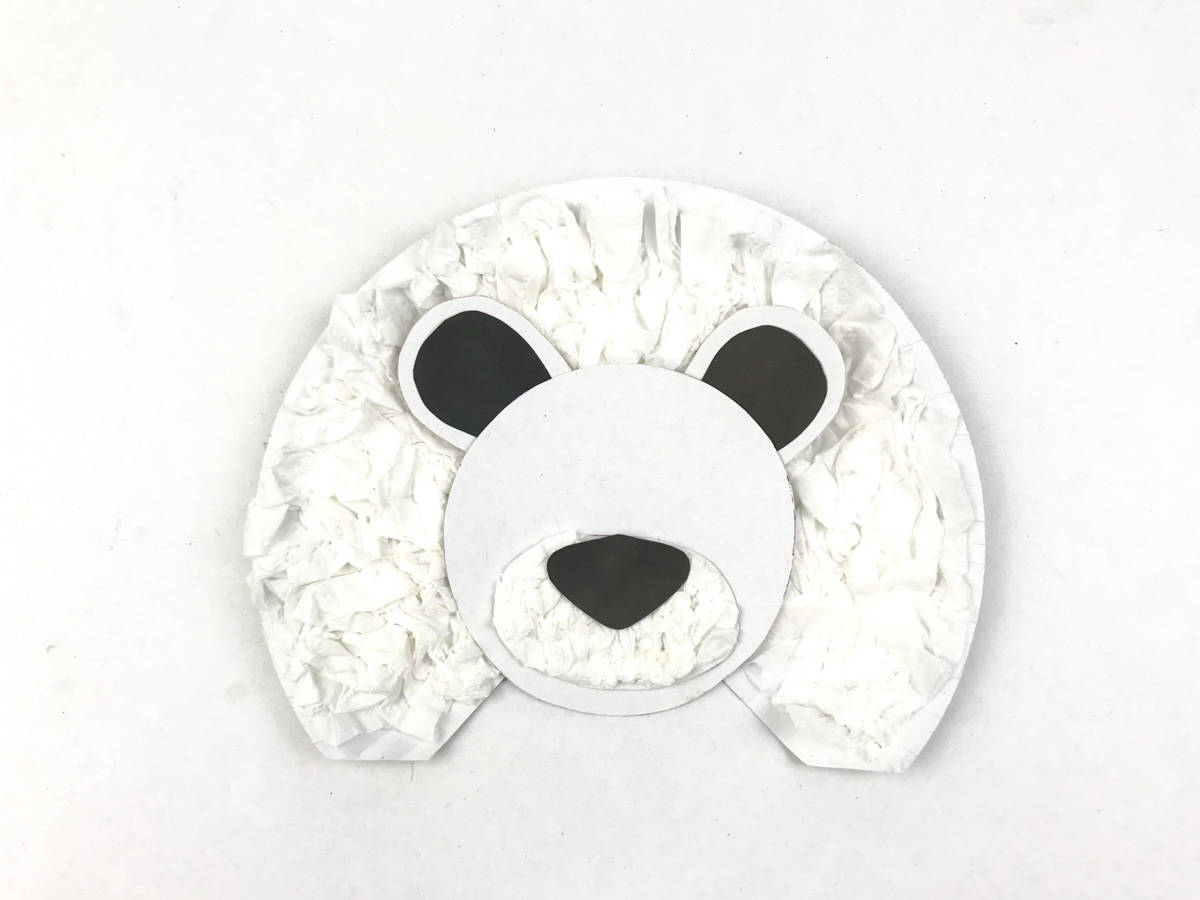
Next, assemble the polar bear. First, glue the snout to the polar bear's face and the ears to the top back of the head. Then glue the head to the body, right at the top of the V.
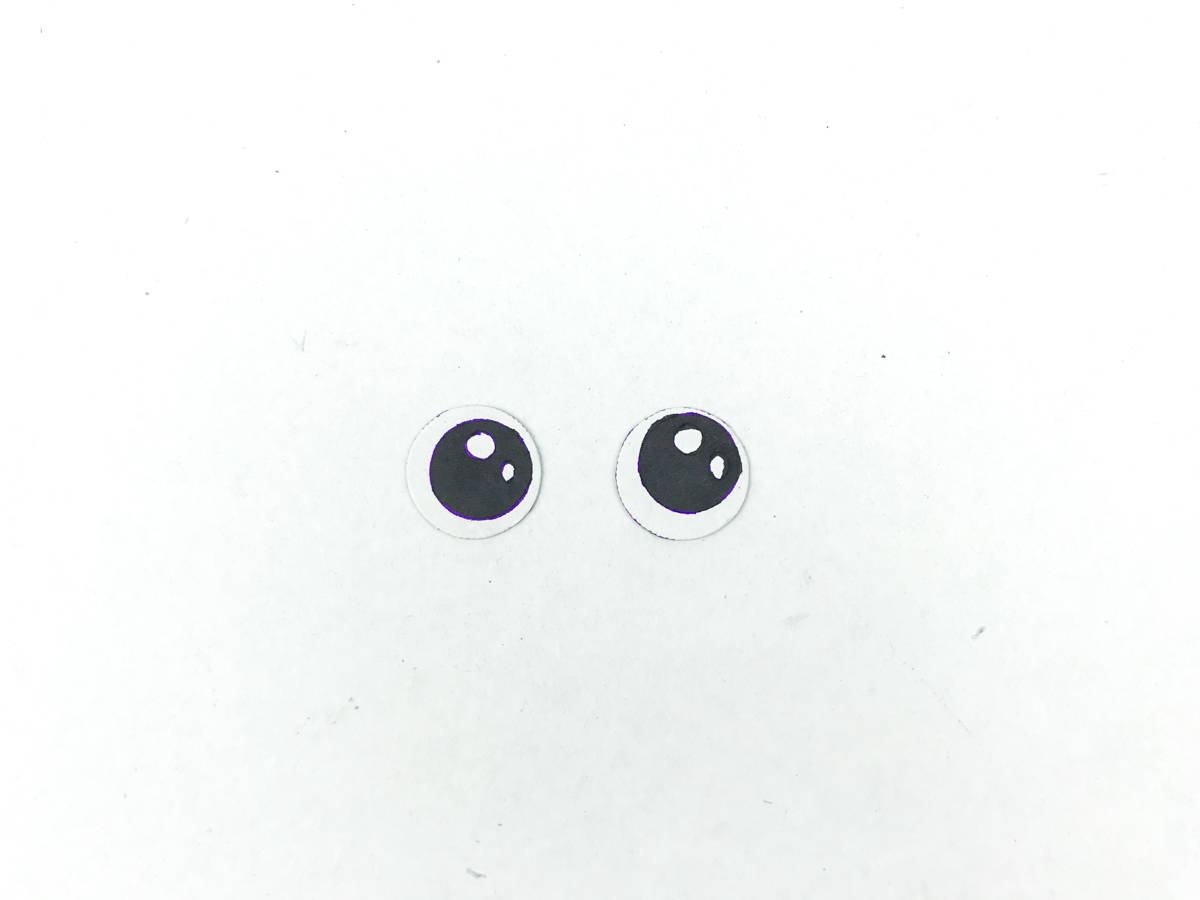
Cut out two small circles from the leftover paper plate scraps. Then using a black marker, draw in the eyes. *If you have googly eyes, you can certainly use them here too.
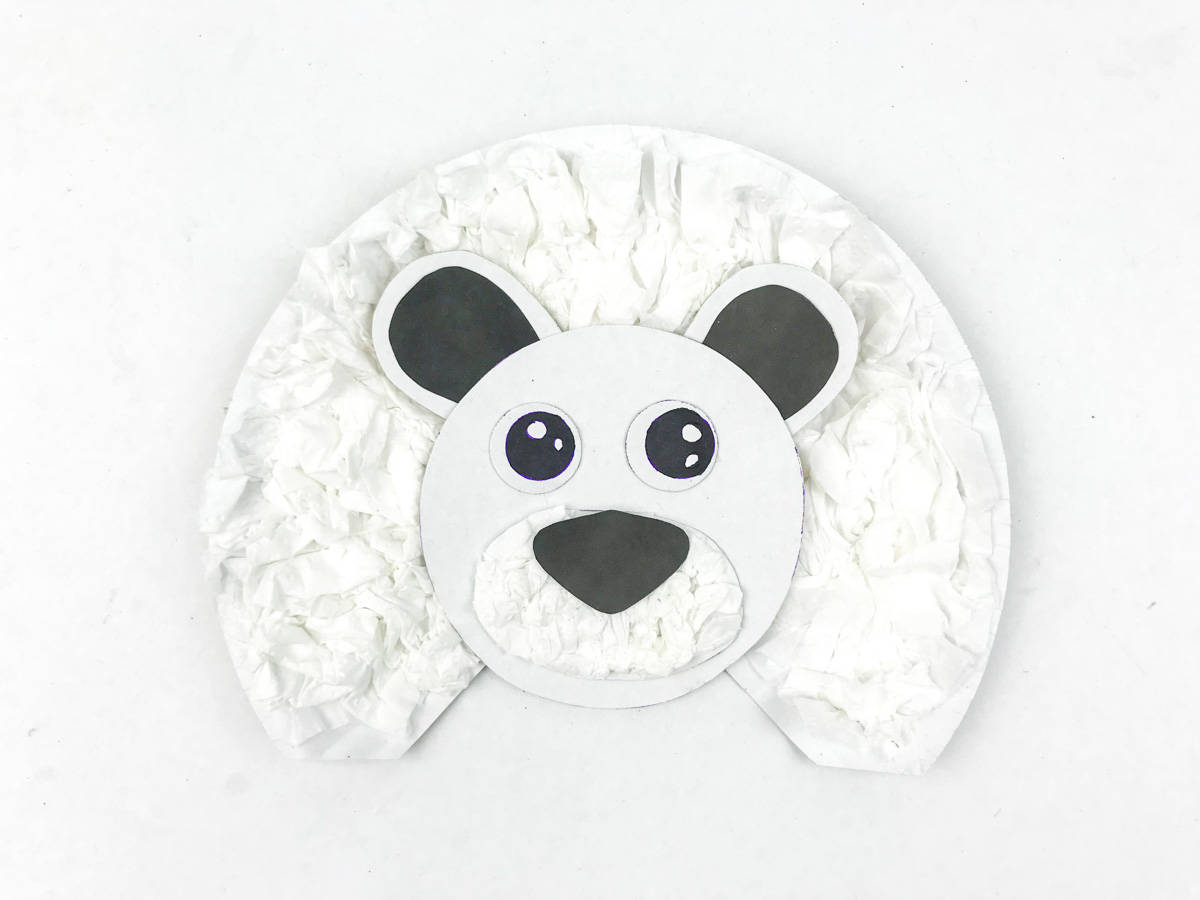
Glue the eyes to the polar bear's face.
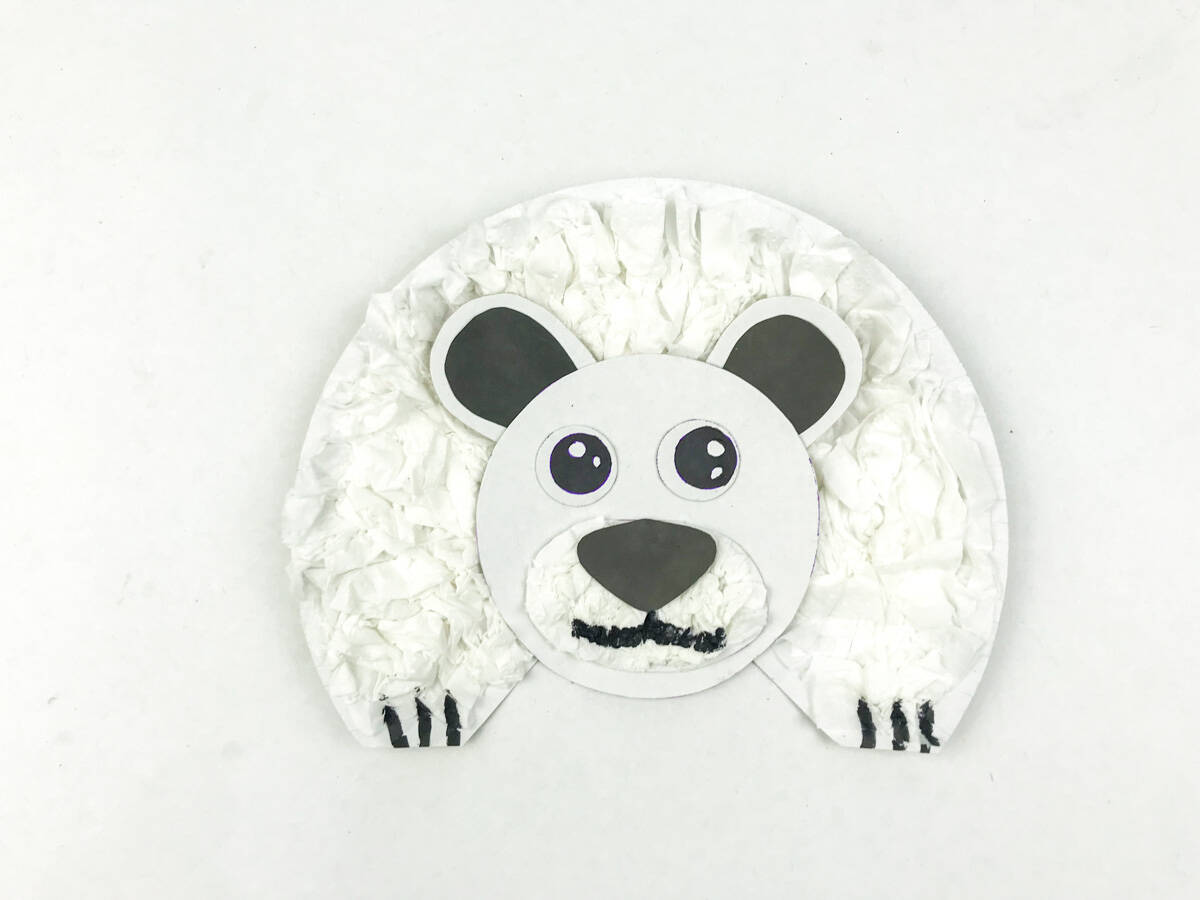
Lastly, using the black marker, draw three small lines on each of the paws as well as a small line off the tip of the nose and smile.
Viola, you have some adorable polar bear crafts.
We highlighted this Animal Craft along with some other fun kid's crafts in our Winter Crafts and Winter Printables as well as December Crafts along with our Easy Craft Ideas for kids.
You also do not want to miss our 101+ Coloring Pages and 101+ Printables full of Crafts and Coloring Pages.
Other Winter Crafts You'll Enjoy
- Wine Cork Snowman
- Paper Plate Penguin
- Snowman Hats For Crafts
- How to Make Fake Snow
- Heart Shape Birdseed Ornament
CONNECT WITH MADE WITH HAPPY!
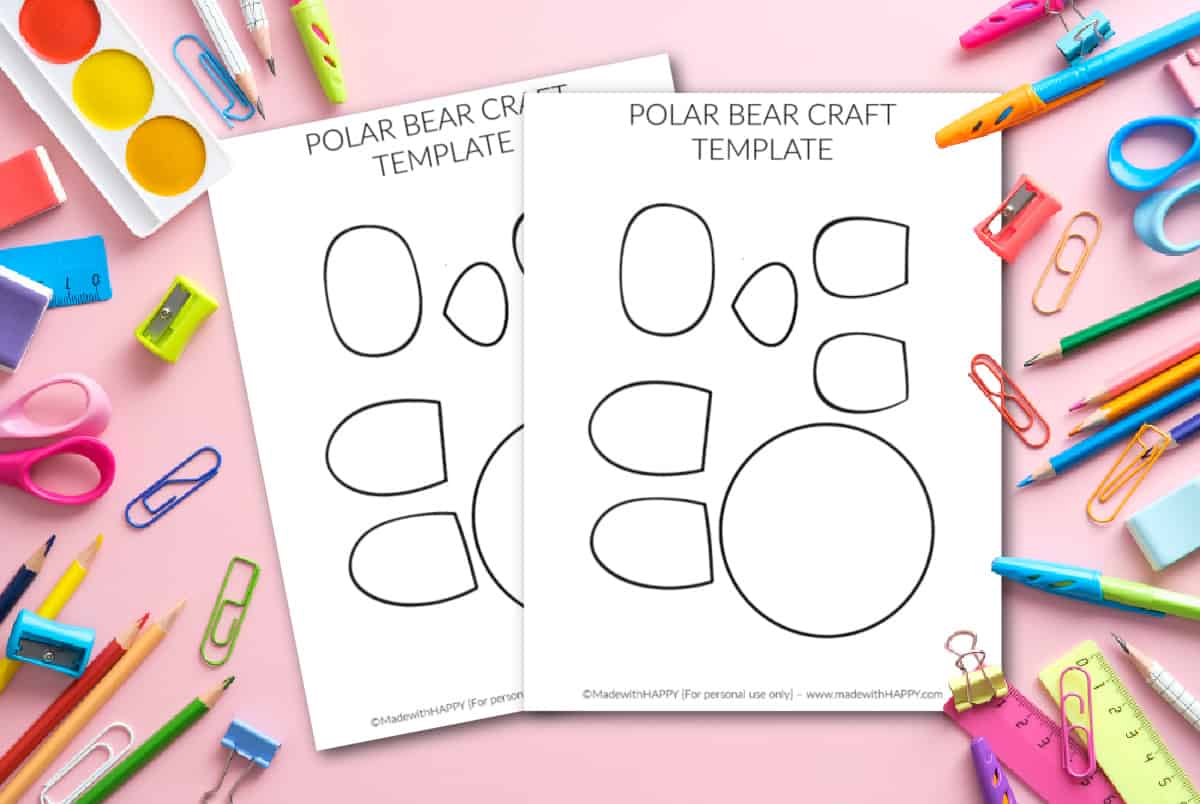
Download the Free Printable Polar Bear Template
Enter your email address in the form below and you'll be taken directly to the polar bear template PDF file.
*For personal use only
Polar Bear Craft
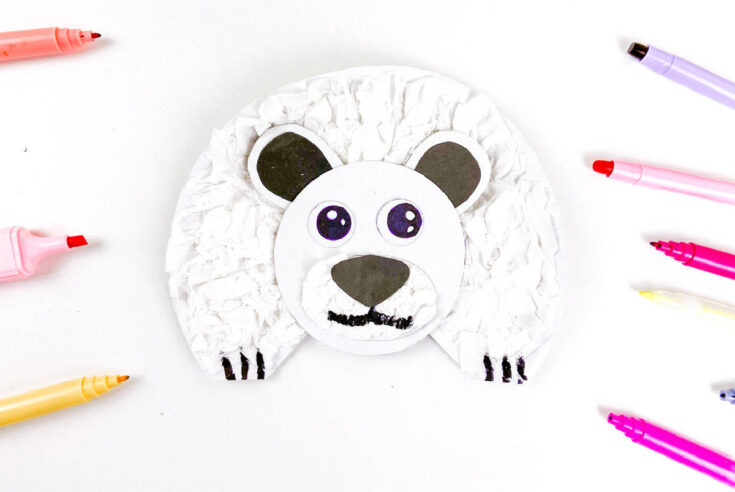
Craft a cute Arctic buddy with our simple paper plate polar bear craft! Easy steps for winter crafting fun.
Materials
- Polar Bear Template
- Paper plate
- Tissue Paper
- Black construction paper
- White Cardstock
- Glue
- Black Marker
Tools
Instructions
Start with your paper plate and scissors and cut out a pizza slice from the bottom of the paper plate. Then cut the two ends of the triangle off horizontally.
Then print out the free printable template on plain white paper. Cut out each of the template pieces.
Trace the two smaller earpieces and nose pieces on the black paper. Trace the large circle, larger earpieces, and the oval pieces on the white card stock.
Cut out each of the traced pieces.
Glue each of the polar bear's ears together with the black inside the white. Then glue the black nose to the top of the oval shape.
Next, crumble up pieces of white tissue paper and glue them to the full front of the paper plate. This is to represent the polar bear's thick white fur.
Glue additional crumbled tissue paper to the polar bear's snout.
Next, assemble the polar bear. First, glue the snout to the polar bear's face and the ears to the top back of the head. Then glue the head to the body, right at the top of the V.
Cut out two small circles from the leftover paper plate scraps. Then using a black marker, draw in the eyes.
Glue the eyes to the polar bear's face.
Lastly, using the black marker, draw three small lines on each of the paws as well as a small line off the tip of the nose and smile.
Be sure to follow me on social media, so you never miss a post!
Facebook | Twitter | Youtube | Pinterest | Instagram
Find and shop my favorite products on my Amazon storefront here!
Polar Bear Craft
PIN IT TO YOUR DIY BOARD ON PINTEREST!
FOLLOW MADE WITH HAPPY ON PINTEREST FOR ALL THINGS HAPPY!
