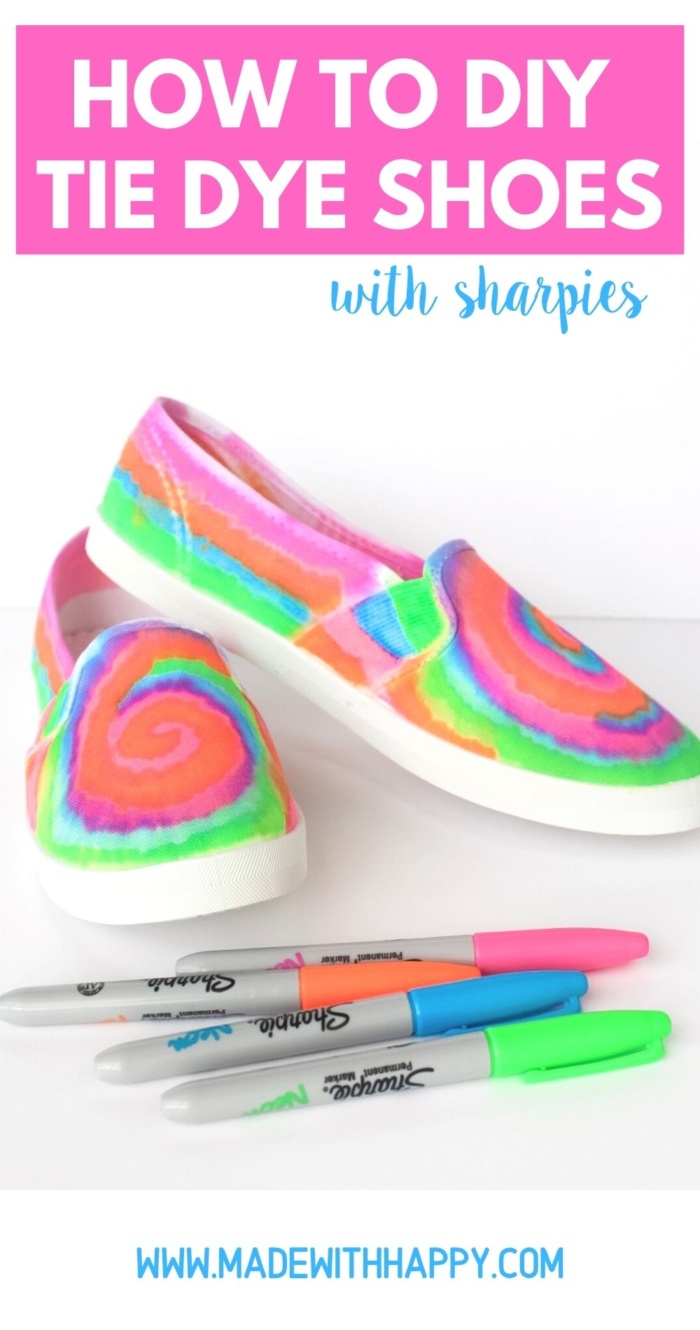
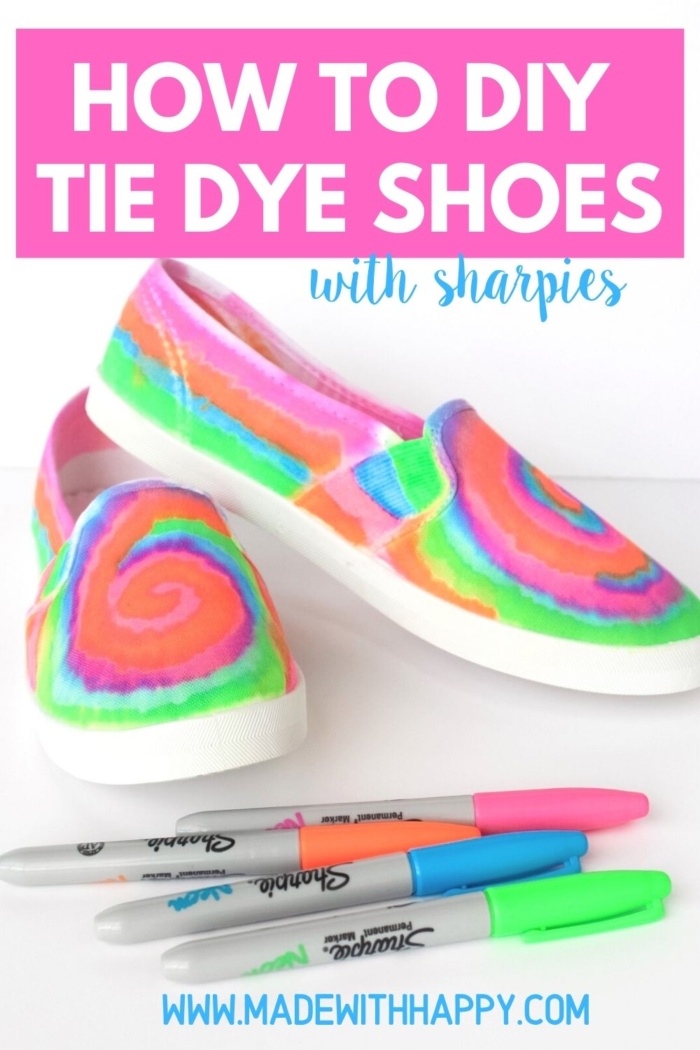
The tie dye trend is back and I am so excited! If you're just as pumped as I am, this craft is for you. This is the easiest way to make tie-dye shoes at home using a few materials you may already have. It's a great DIY project for kids, teens, or anyone that wants to try the tie-dye trend.
Want to save this project?
Enter your email below, and then we'll send it straight to your inbox. Plus get awesome new projects from us each week.
How to Make Tie Dye Shoes with Sharpies at Home
This craft is so simple and you only need a few materials. Anyone can enjoy this DIY project but young kids need adult supervision.
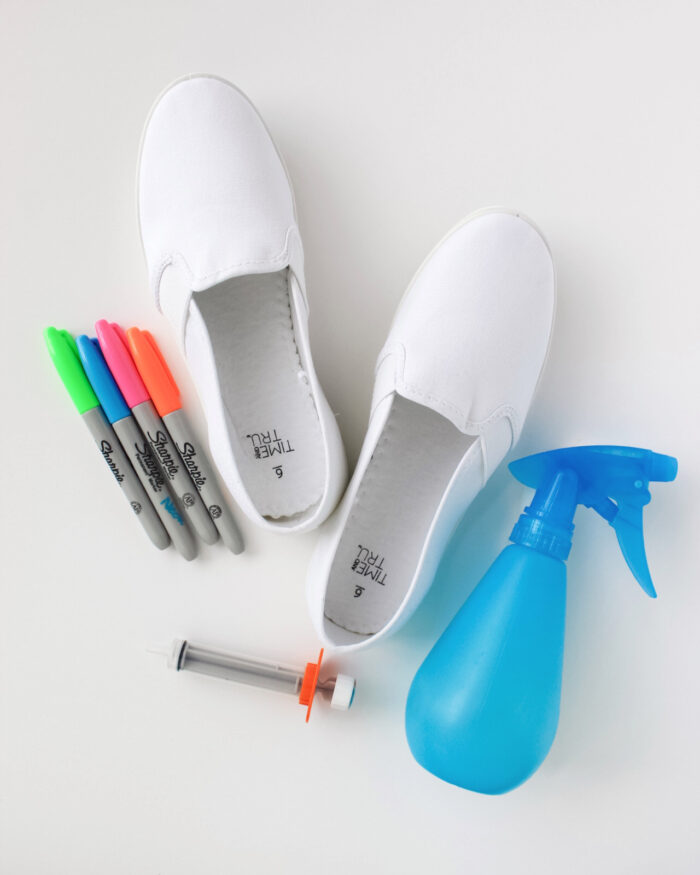
Materials Needed:
- white canvas shoes - I chose non laced slip-on for me but you can use any kind so long as they're the white canvas. The ones I used are from Walmart and are only $5.87!
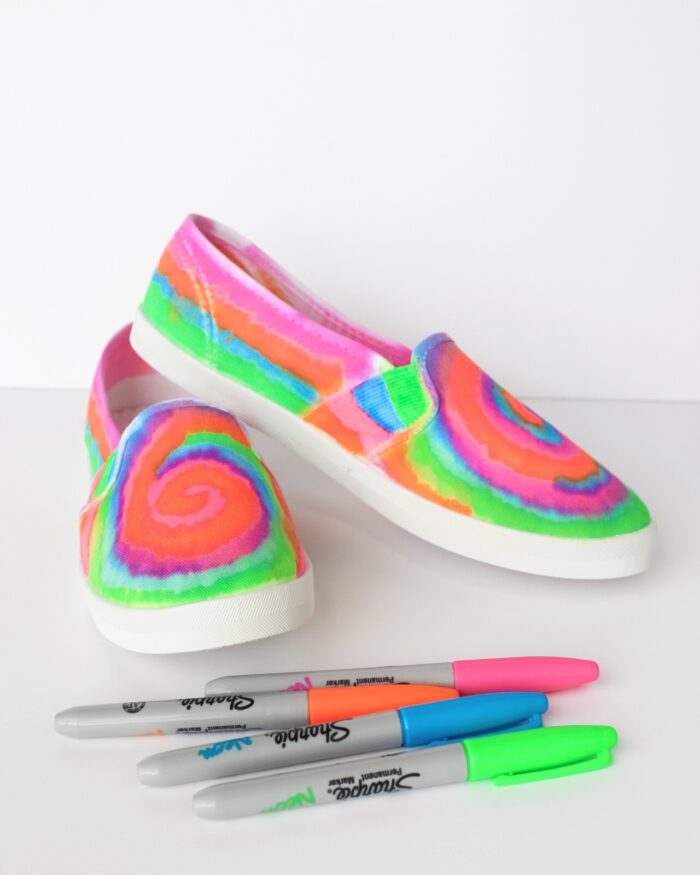
- Sharpie markers in various colors
- rubbing alcohol
- dropper or plastic medicine syringe
Now that you have all the materials, let's get into the DIY!
How to Make Tie Dye Shoes with Sharpies at Home
Follow these steps to make your own tie-dye shoes at home.
- Gather your materials and set up your workspace.
- You can choose to tape the soles of the shoes but I didn't do this. I found the colors didn't run and it wasn't an issue with these shoes.
- Start drawing your design with the sharpies. I did lines and turned them into a spiral-type design on the front of the shoes. You can do any design or shape you like! Try to copy the same design on the other shoe but don't worry about perfection.
- Add rubbing alcohol to the dropper or syringe and slowly add the alcohol to the shoe. Do this slowly and only one shoe at a time. As I added the alcohol I patted it with a paper towel to kind of soak some of it and reduce the mess.
- Once done with both shoes, set aside to dry. You can set it to dry outside in the sun or by a window. If you're impatient like me, you can also use a blow drier and speed up the process.
- When dry, wear your new cool tie-dye shoes!
How To Tie Dye Shoes
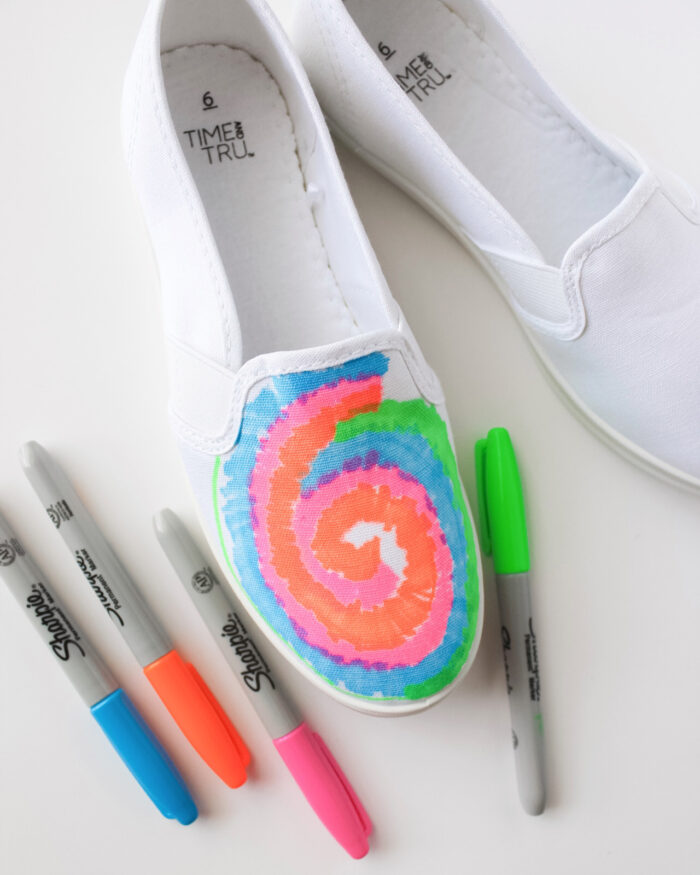
To make the spiral design, I first drew it with singular lines and went over it with markers sort of shading it in.
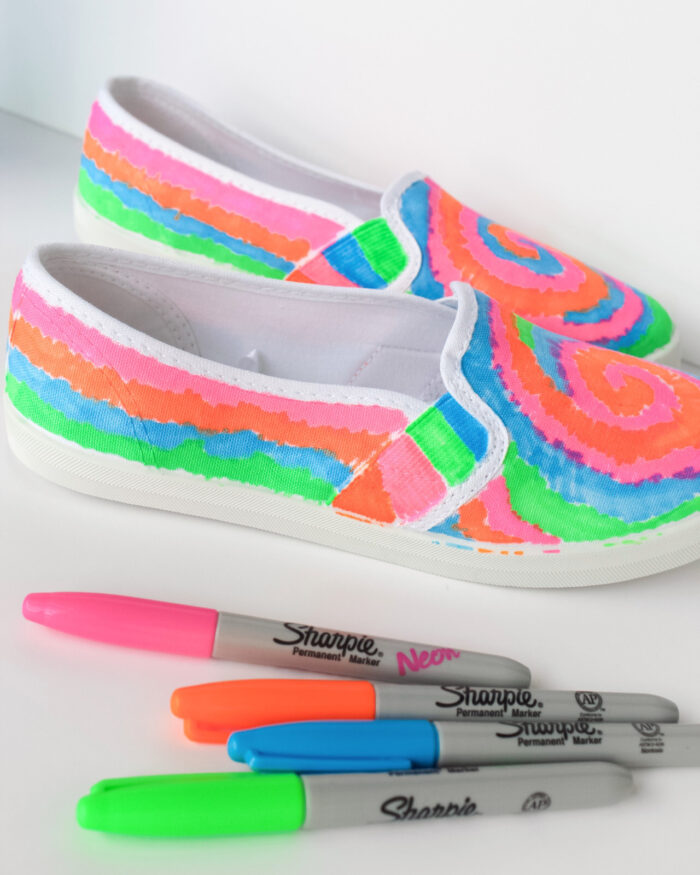
For the sides, I drew squiggly lines all across and then shaded in the same. The colors do not have to touch. It's really up to you.
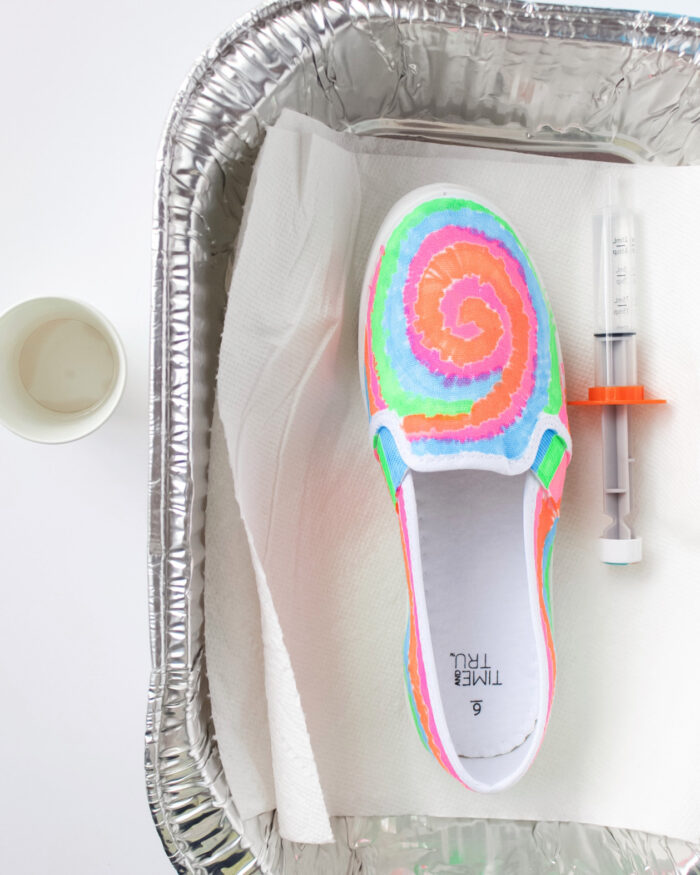
When you're ready for the rubbing alcohol, a good tip is to use an aluminum pan. It contains the mess and you can reuse it for other things afterward. Also, you can see a spray bottle in one of the photos but I didn't use that. I added the alcohol from the bottle to a cup and used the syringe. You can definitely use a spray bottle if you prefer. The syringe is easier to control and I like that better.
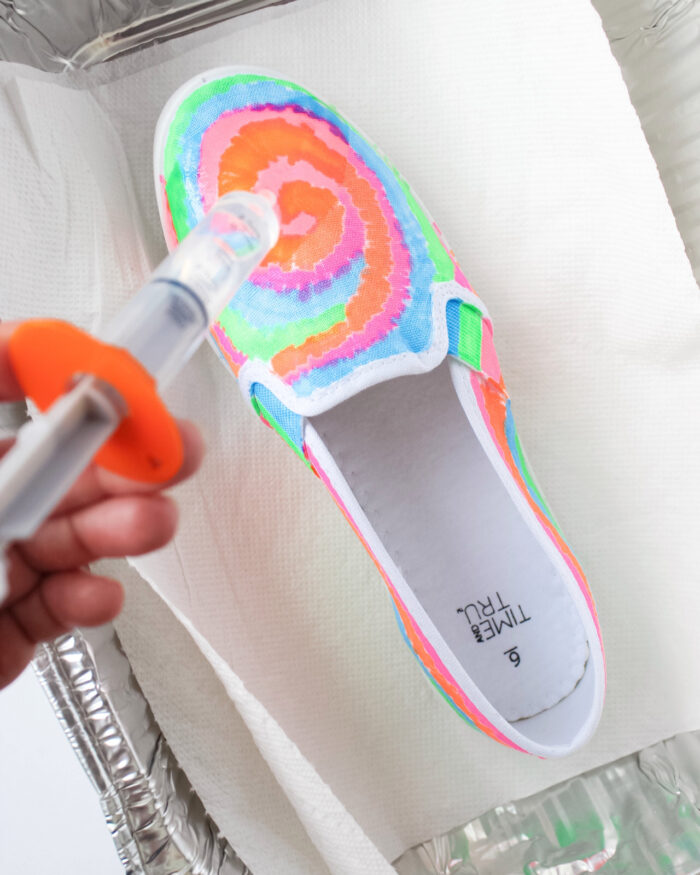
Pro tip: work in small sections and use a paper towel to pat dry right after adding alcohol. This helps reduce mess and keeps the liquid from running on the sole.

This is what they'll look like when done still wet. Like I said above, I used a blow drier to speed up the drying process. Keep in mind the inside of the shoes will be painted as well but it's fine no one sees that.
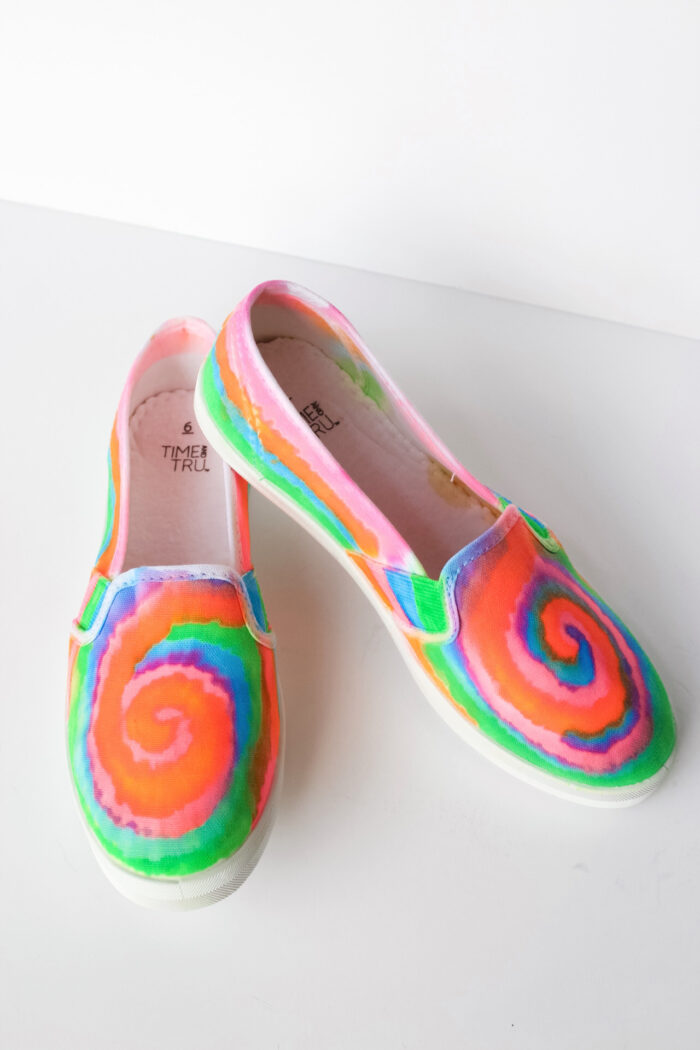
After about 20 minutes of drying, here's the end result:
I love how some of the colors bleed together and others don't. I also love how they're both similar but not exactly the same. They turned out exactly how I wanted!
If you're looking for more tie dye ideas, check out this Marble Paper Mickey Mouse Craft!
Other Fun Summer DIYs You'll Enjoy
CONNECT WITH MADE WITH HAPPY!
Be sure to follow me on social media, so you never miss a post!
Facebook | Twitter | Youtube | Pinterest | Instagram
Find and shop my favorite products in my Amazon storefront here!
HOW TO TIE-DYE SHOES
PIN IT TO YOUR DIY BOARD ON PINTEREST!
FOLLOW MADE WITH HAPPY ON PINTEREST FOR ALL THINGS HAPPY!